


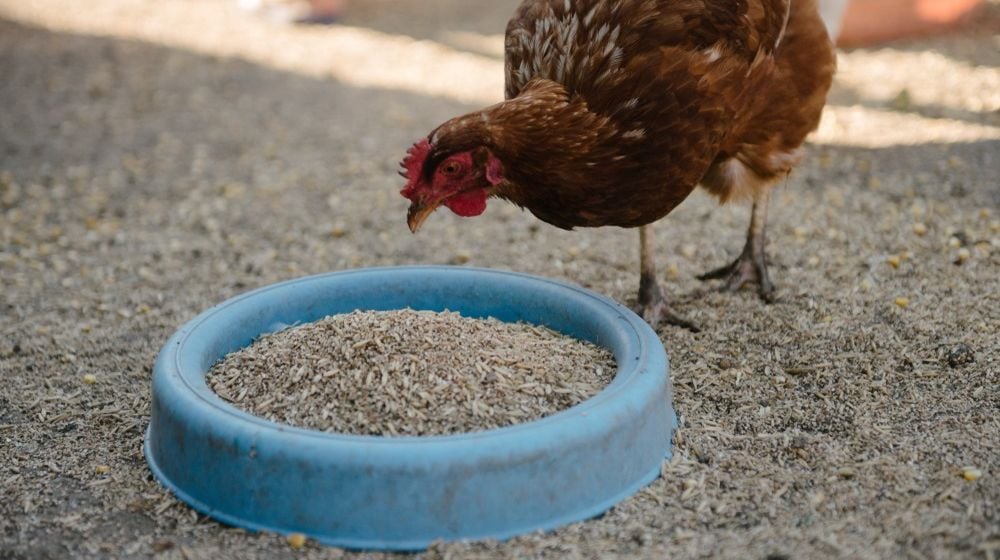

Building a DIY chicken feeder makes feeding sessions fuss and mess-free. It’s easy to fill up, built to last, and able to withstand the elements.
RELATED: 20 Cool DIY Homesteading Projects For a Simpler Life
No-Spill DIY Chicken Feeder Tutorial
What You Need:
- 1 4 in.-wide PVC pipe, cut to size depending on your desired length
- PVC pipe cap, 4 in. wide
- A Scrap wood piece
- Zip ties
- High-corner litter pan
- Screws
- Washers
- Hand drill
1. Drill Holes in the Pipe and Stud
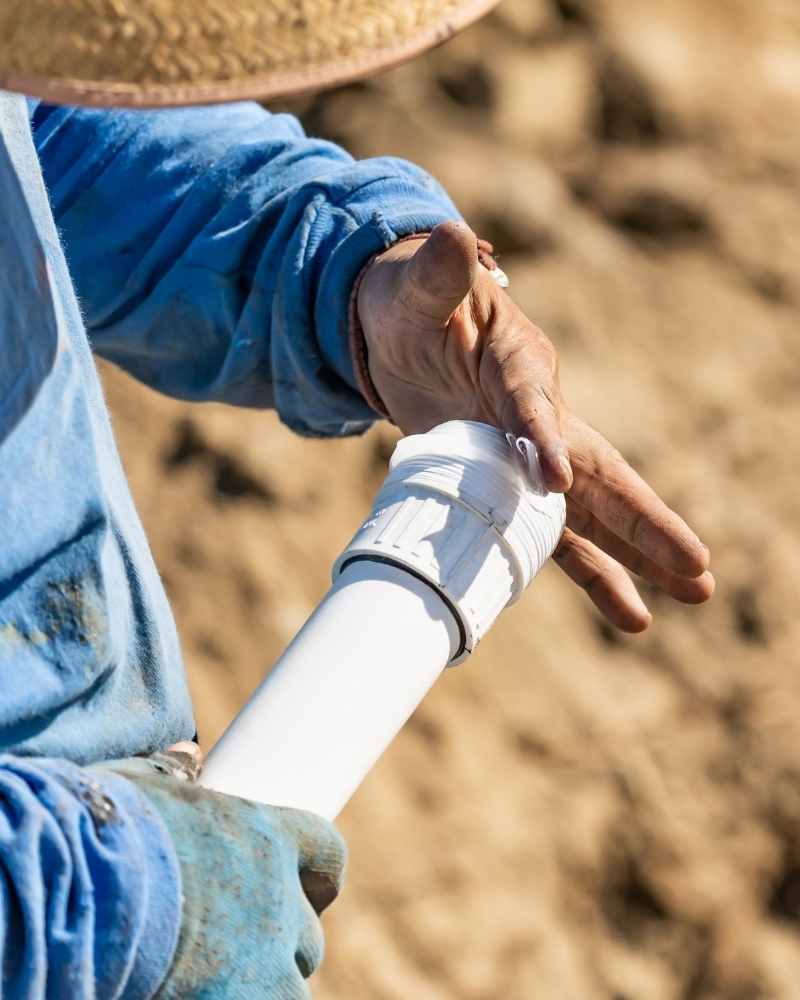
First, drill two holes on each side of the pipe. These four holes will then align with the holes you will drill in the pipe stud later.
Next, drill a couple of holes through your stud matching the holes in your pipe.
2. Measure the Mount Point for Feeder Dish
Mark the point in the pipe where you will mount your feeder dish. Make sure to leave a 1/4″ to 1/2” gap between the feeder and the bottom part of your pipe, otherwise, the chicken feed will remain stuck and not flow through the feeder.
3. Secure the Scrap Wood to Your Pipe
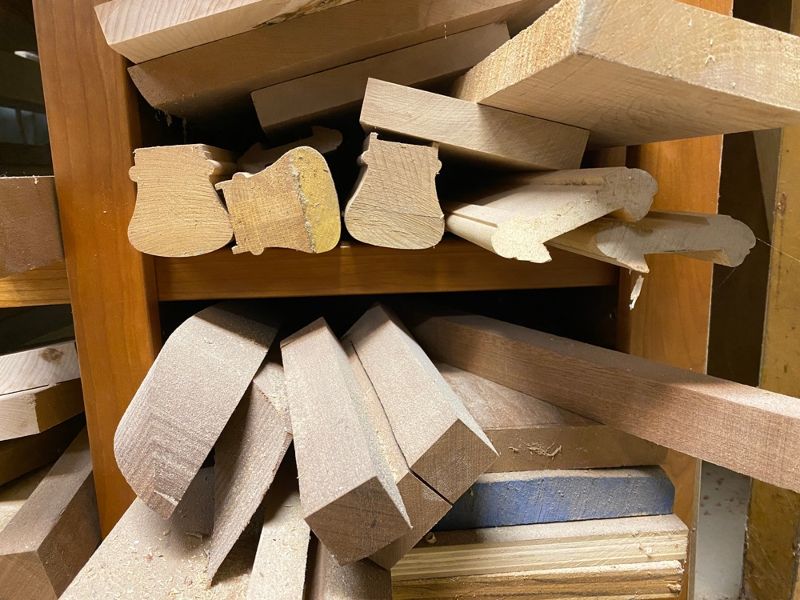
Use your screws and washers to secure the scrap wood to your pipe. This is what you will use to secure the pipe to the wall or wherever you will hang your DIY chicken feeder.
Ideally, you should place this inside the chicken run, but if infestation becomes a problem (especially at night), you can place the feeder in the coop.
RELATED: 10 Epic Chicken Coops for your Backyard!
4. Drill Holes on the Litter Pan
Drill two more holes at the back of your litter pan where you can mount them to the stud. Leave some space so your washers sit one above the other.
5. Mount the Litter Pan to the Pipe
Use some screws and washers to secure the litter pan to the stud. Then, thread a zip tie through the stud and the holes in the pipe and close the zip tie tightly.
Repeat the process for the second set of holes to ensure that your litter pan’s nice and secure.
6. Cover Other End of the Pipe with a PVC Cap
Once you mounted the litter pan, cover the other end of your pipe with a PVC pipe cap so that dirt and other things don’t go through the pipe when you’re not feeding chickens with it. It also prevents other birds and rodents from stealing precious chicken feed when you can’t watch over them.
Watch this video from Matt’s Finds for a closer look at how to make this DIY chicken feeder:
Say goodbye to mess and wasted chicken feed with this DIY chicken feeder. Gone are the days of picking up piles of grain on the floor and wasting money in the process.
We hope you enjoyed this tutorial and stay tuned for more tips.
Do you have more chicken feeder ideas? Share them in the comments section below!
Up Next:
- 121 Homesteading Skills You Should Know
- DIY Homemade Incubator
- 10 DIY Foot Peel Recipes For Dry And Cracked Feet
Calling all crafting DIYhards, DIY Projects needs YOU! Click here if you want to write for us.
Don’t forget to stay connected with us on Facebook, Twitter, Pinterest, and Instagram!









