

The Cross Stitch | Embroidery Stitches
Cross stitching is a whole genre of hand sewing unto itself, but the basic stitch is useful when doing embroidery. The stitch makes little X’s, and can be a fun, textured way to fill space. Think of each completed cross stitch as a little box.
You’ll start with:
- blank piece of fabric (cotton is best)
- embroidery hoop, if you have one
- embroidery thread
- needle
- scissors
Thread one end of a length of thread through your needle. Knot the far end and trim any excess. It’s helpful when first beginning to draw on the fabric with a fabric pencil, and then trace those lines or fill in those shapes with your stitches.
To Cross Stitch:
Start by making a diagonal stitch from one corner of your box to the other. Poke the needle and thread through at the opposite corner, and finish the stitch at the final corner, making an X.
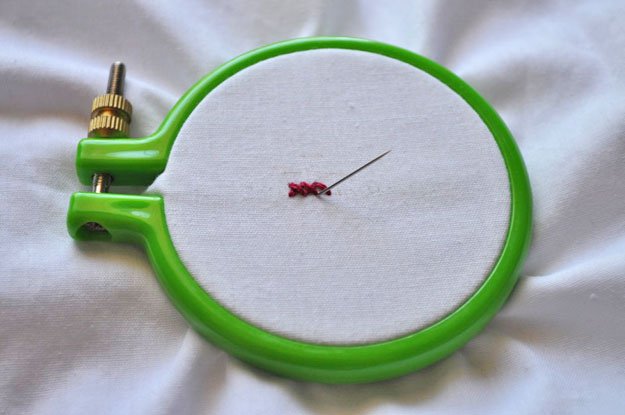
Repeat as many times as you like, connecting the X’s.

That’s the cross stitch, a very common embroidery stitch


