


The Split Stitch | Embroidery Stitches
The split stitch is a lot like the back stitch, but with some added texture. It can be used for outlining and adding textural interest to your embroidery design.
You’ll start with:
- blank piece of fabric (cotton is best)
- embroidery hoop, if you have one
- embroidery thread
- needle
- scissors
Thread one end of a length of thread through your needle. Knot the far end and trim any excess. It’s helpful when first beginning to draw on the fabric with a fabric pencil, and then trace those lines or fill in those shapes with your stitches.
To do the Split Stitch
Begin by making one stitch, just like with a back stitch. Poke your needle up through the back of the fabric and through the middle of your first stitch, threading the needle and thread up and through the stitch. 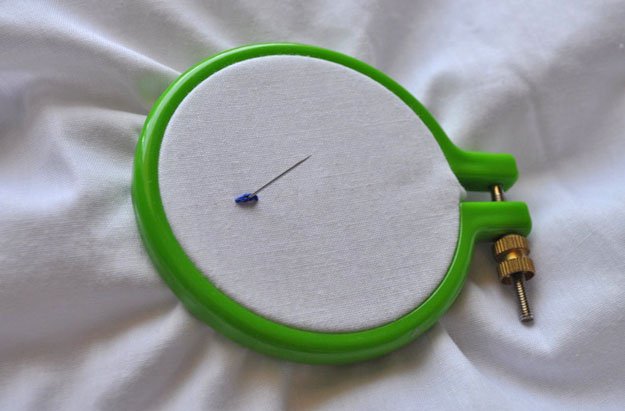
Finish your second stitch at the same length as the first and pull your thread through to the back of the fabric. 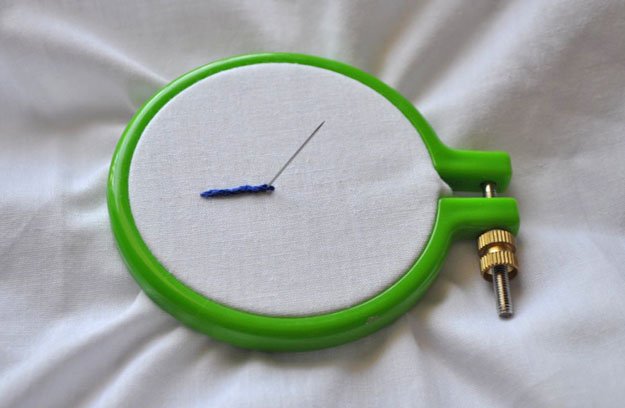
Continue by beginning the next stitch in the middle of the previous one, and so on and so forth.
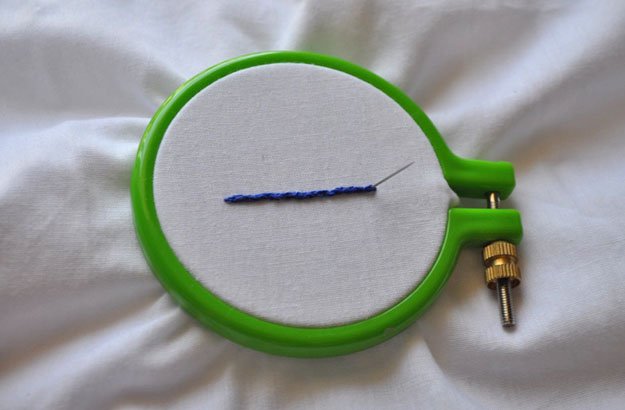
That’s the split stitch, a very common embroidery stitch.
More Basic Embroidery Stitches:
How to Back Stitch
How to Cross Stitch
Hand Sew The French Knot
Hand Sew The Running Stitch
How to Satin Stitch
How to Split Stitch
How to Stem Stitch
 Stay connected with us on Facebook, Twitter, Pinterest, and Instagram!
Looking for personalized embroidery pieces?









