


In this tutorial we are going to show you how easy it is to make your own magnetic chalkboard. Whether it’s in your office, your kitchen or in your kid’s playroom, a magnetic chalkboard is the ultimate addition to any space.
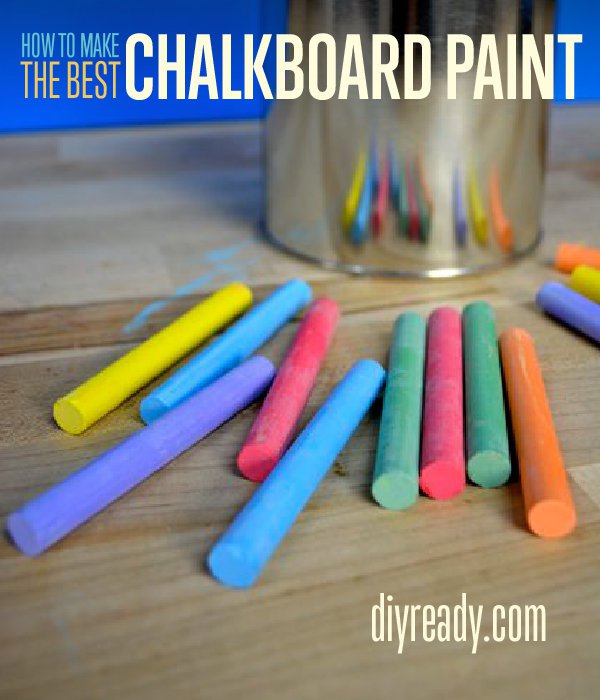
We are going to show you how to make your very own chalkboard paint. It’s easy, and way less expensive than buying pre-made chalkboard paint. Plus, you won’t be limited to the colors in the store and can make your magnetic chalkboard any color your DIY-heart desires!
How to Make a Magnetic Chalkboard:
Supplies You Need:
- Magnetic Primer
- Surface of your choice (wall, table, piece of wood)
- Plaster of Paris
- Matte Paint
- Container for mixing the paint
- Stir stick

Magnetic primer, Paint, Plaster of Paris, Sand Paper, Paint Brush, Stirring Sticks
Step 1:
Start by cleaning off the surface you are going to paint. If you are painting a part of your wall, be sure to measure and tape off the section you want painted. If you have to sand down any bumps or rough spots, be sure to do that before you wipe the wall down with your wash cloth.
While the surface dries, start prepping your magnetic primer by stirring. This can take about 10 minutes of constant stirring. You’ll want to stir until it begins to thicken slightly – you’ll be able to feel that it’s ready to go.

Step 2:
Start painting the magnetic primer on your wall/surface. We found, through trial and error, that if you want the magnets to actually hold items like paper or post cards, you’ll need to apply five coats of the magnetic primer. Trust us, we know that’s not what you wanted to hear, but it totally pays off in the end.
As you paint, continue to stir the paint in the can, otherwise it will start to settle and separate.
In between each coat, wait about 30 minutes for it to dry before applying the next coat.


Step 3:
As the magnetic primer dries, let’s start mixing the chalkboard paint. For this recipe, we will use plaster of paris, paint and water. A good rule of thumb for creating your mixture is 3 parts paint, 2 parts Plaster of Paris, and 1 part water.
Depending on how thick your coats of paint are, you may need to wait about 4 hours until you can start painting again. You’ll want to make sure your magnetic primer is completely dry before you paint anything on top of it.

Stir your paint well.

3 parts paint : 2 parts plaster of paris : 1 part water
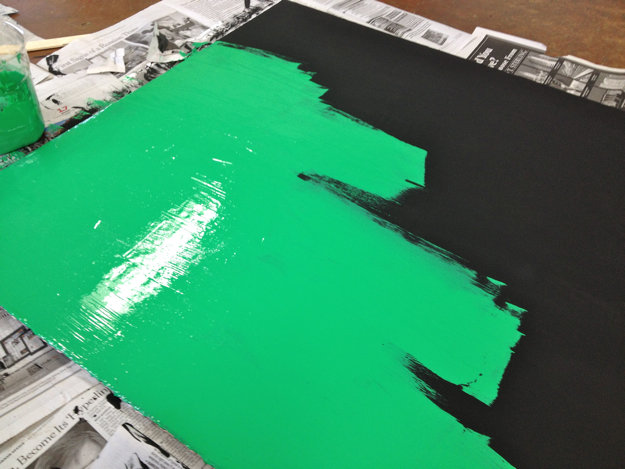
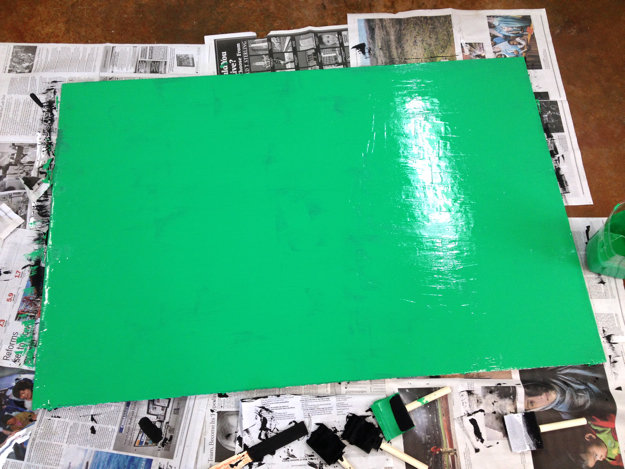
Step 4:
Start painting the chalkboard paint over the magnetic primer. Start in one spot, go over it a couple of times, then move outward from there. Depending on the color of your chalkboard paint, you made need to apply a couple of coats. Be sure to let it dry completely in between each coat. (approximately 30-4 minutes)

Step 5:
Once your board dries, you’ll need to condition it. If you skip this step, the first thing you draw on your board will not come off. So, don’t skip this step!
To condition your board, just take a piece of chalk and turn it on it’s side. Then rub it all over the surface. Leave it like this for a couple of hours then wipe it of with a slightly damp paper towel.
Step 6:
Enjoy your new magnetic chalkboard!


