


At a Glance: Beginner Woodworking Projects for Kids
- Start with a one-session win. A painted name puzzle or a birdhouse kit gives your kid a finished piece on the very first day.
- Skills set the pace, not birthdays. Use the age ranges as a starting point, then move up only when your kid shows steady control of the tool they already use.
- Gear goes on first. Marked safety glasses and a clamp come out before any wood does. Add earmuffs once a power tool joins the bench.
The best beginner woodworking projects for kids are builds they can finish in one or two sessions. Younger kids usually start with sanding, painting, and putting together pre-cut pieces. Older kids add a hand saw, then a drill, as their control improves. An adult sets up every clamp and handles the big saws. Jump to the 8 builds.
There’s nothing quite like the look on a kid’s face when they hold up something they made from real wood. This guide gives you 8 beginner woodworking projects for kids, sorted by skill stage. Each one comes with real time estimates, three budget options, and a clear split between the adult’s job and the kid’s job.
What safety gear and tools do kids need for woodworking?
Starter kit for one young builder
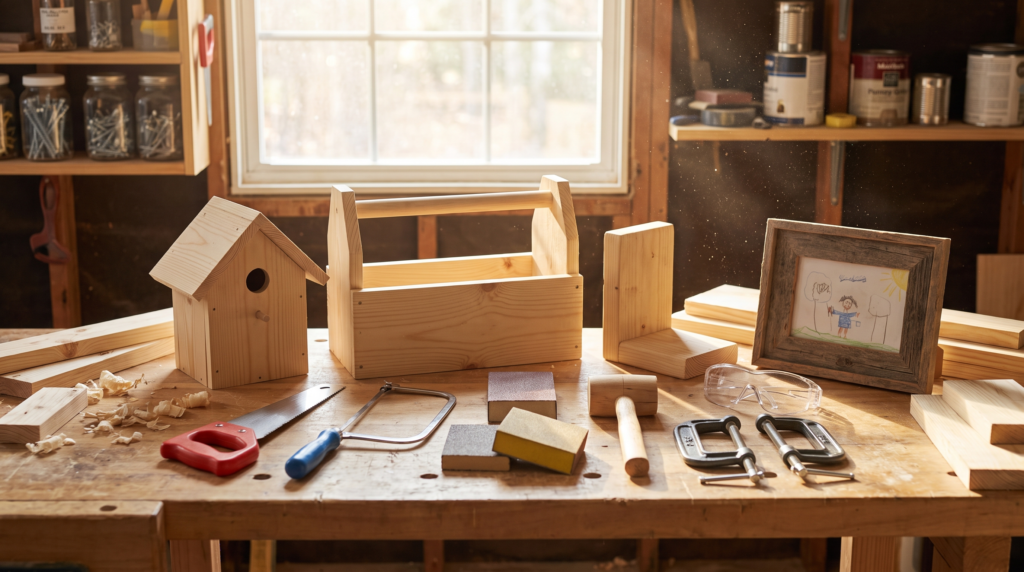
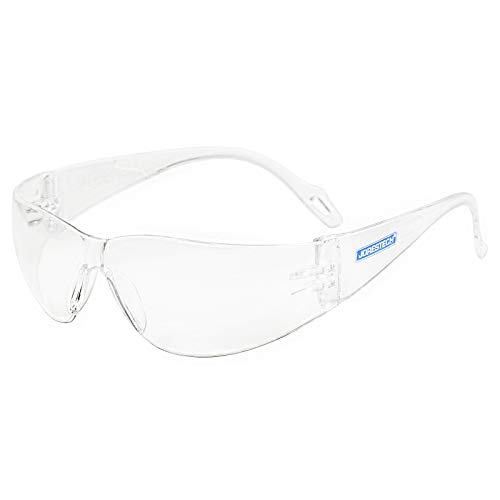
- Safety glasses. Kid-sized, with the Z87 marking on the frame.
- Low-profile earmuffs. For any day a power tool gets used.
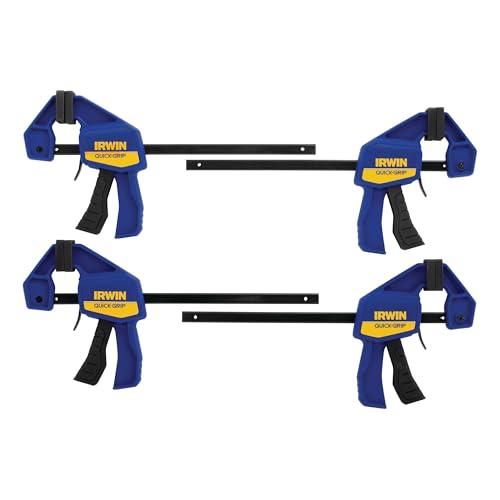
- 2 bar clamps. They hold the wood so small hands don’t have to.
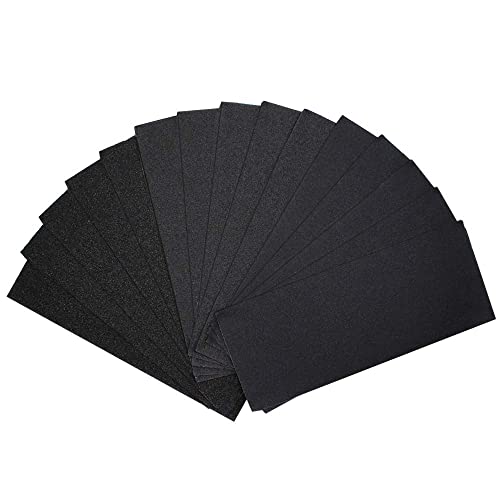
- Sanding block. Plus 80, 150, and 220 grit sandpaper.
- 12 oz hammer. A real one, just lighter than the usual 16 oz.
- Smooth pine boards. Sanded pine, never splintery pallet wood.
Add as skills grow: hand saw with a miter box, short combination square, and a battery drill with an adjustable clutch. Skip: plastic toy tool sets. They don’t cut or drive, so they don’t teach much.
Want to grab the starter kit in one go? These are the pieces we’d set out for a young builder.



This post contains affiliate links. If you buy through them, we may earn a small commission at no extra cost to you.
Quick tip: Look for the Z87 marking when you shop for glasses. The current eye protection standard uses those markings to show what hazards a pair is built for.
What goes wrong on a kid’s first woodworking project?
A project that’s too big
A 7-year-old handed a step stool gets stuck, asks you to finish it, and walks away thinking they’re bad at this. Pick a build one small step past what your kid can already do. Finishing is the whole point of a first project.
Hands doing a clamp’s job
A kid holding the board with one hand and cutting with the other is how a fun Saturday ends at urgent care. The adult sets up the clamp or vise before every cut. Hands stay out of the cutting path, even for a quick trim.
How do you match woodworking tools to your kid’s skills?
Age ranges are a starting point, not a permission slip. Youth woodworking programs like Illinois 4-H move kids through beginner, intermediate, and advanced levels by skill. Safety rules and gear come first. Measuring, cutting, and power tools come later. Here’s how that plays out with beginner woodworking projects for kids at home.
- Stage 1, often ages 5 to 7: Sanding by hand, painting, gluing, and putting together pre-cut or pre-drilled pieces. Hammering nails into soft wood with you right there. The adult does all the cutting.
- Stage 2, often ages 8 to 10: Straight cuts with a hand saw in a clamped miter box. Measuring and marking with a combination square. Drilling pre-marked holes with a battery drill while you stand beside them.
- Stage 3, often ages 11 to 13: Multi-step builds with a drill for assembly, clamps, and sanding through the grits. Some kids at this stage are ready for a jigsaw on a marked line with an adult at their elbow.
- Adult-only tools: Circular saws, table saws, and routers stay with you. A teen who wants to learn them should get hands-on training first, like a supervised class.
Move up a stage when your kid can do the current work the same safe way every time without reminders. Read each tool’s manual too, since many list their own age and supervision rules.
Hearing needs a little attention once power tools come out. The CDC’s noise safety guidance lists power tools among equipment that can reach about 85 to 90 dBA. Risk depends on how loud a tool is and how long you’re around it. Put earmuffs on your kid any time a saw or sander is running nearby, even when you’re the one using it.
Which beginner woodworking projects for kids should you try first?
These 8 builds run from easiest to most involved. Tap any one to jump to its materials, budget, and a full tutorial.
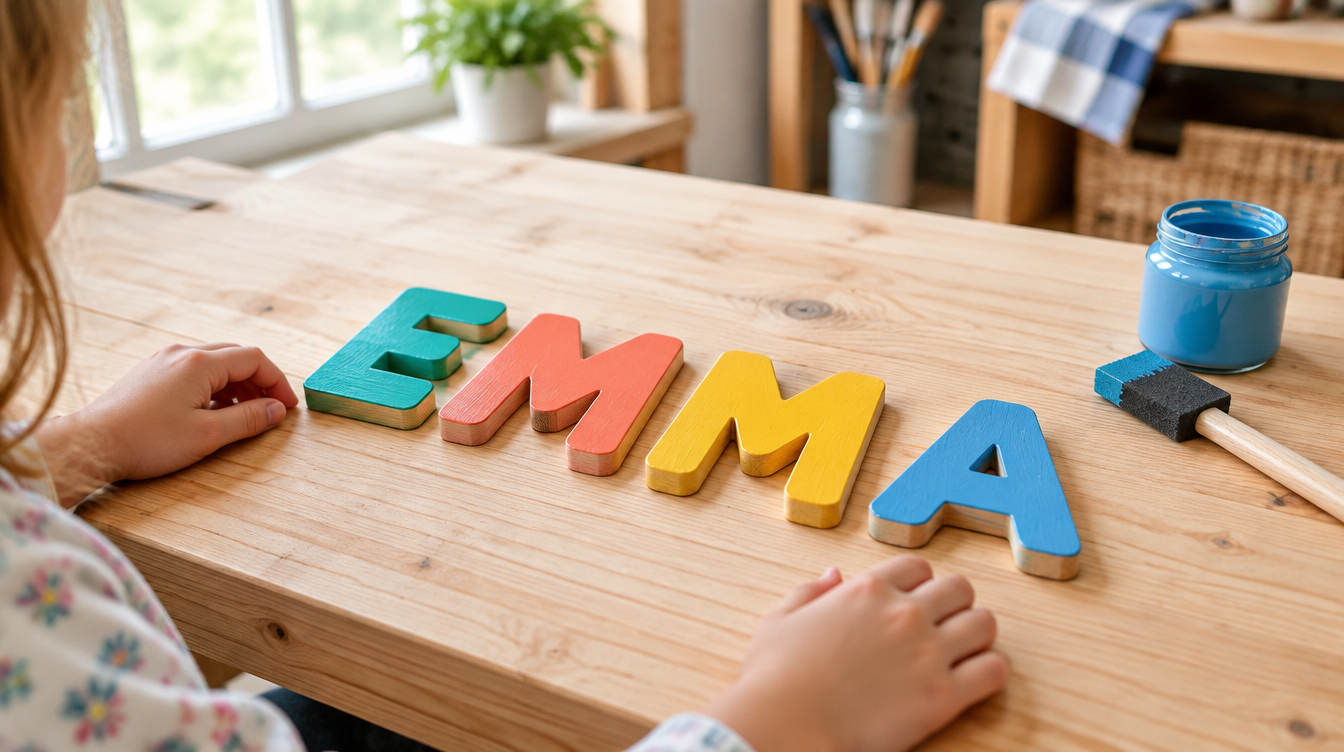
Painted wooden name puzzle
Stage 1. The adult cuts the letters, and your kid sands, paints, and seals them.
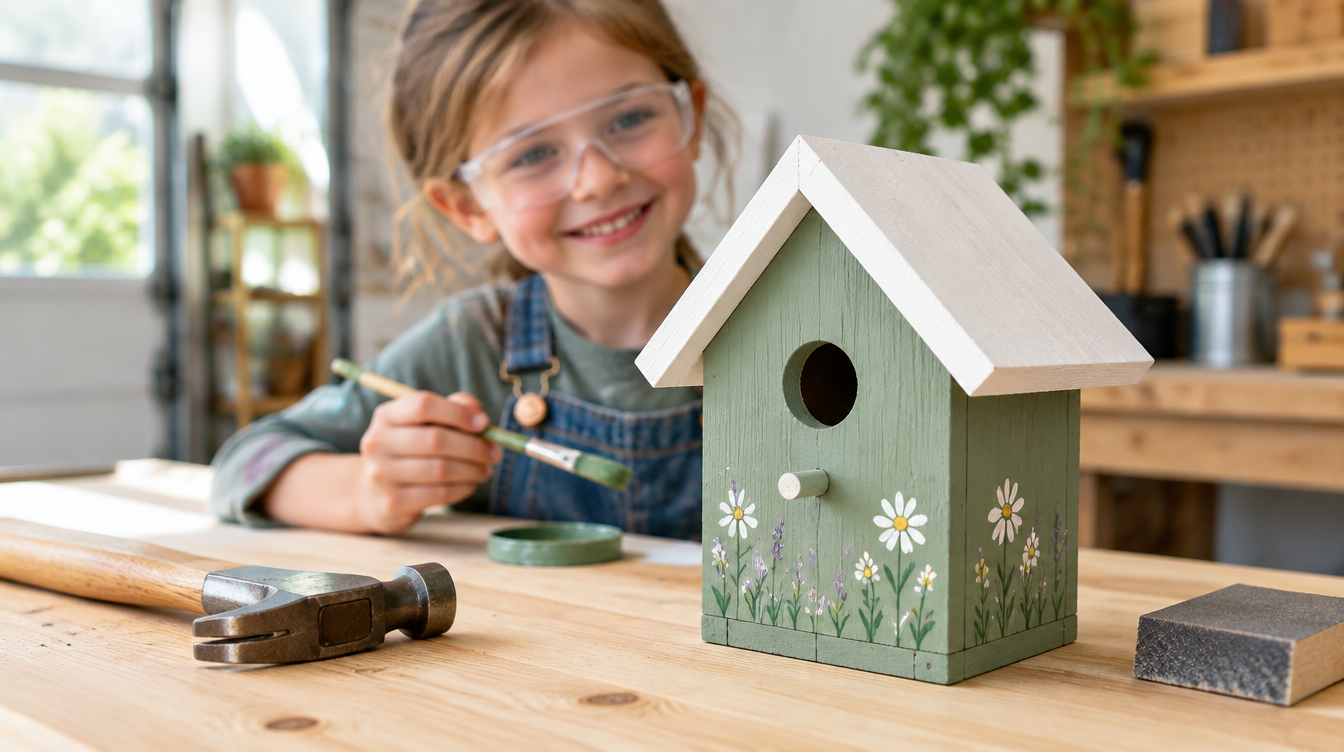
Birdhouse kit build
Stage 1. Pre-drilled pieces to hammer together and paint in one session.
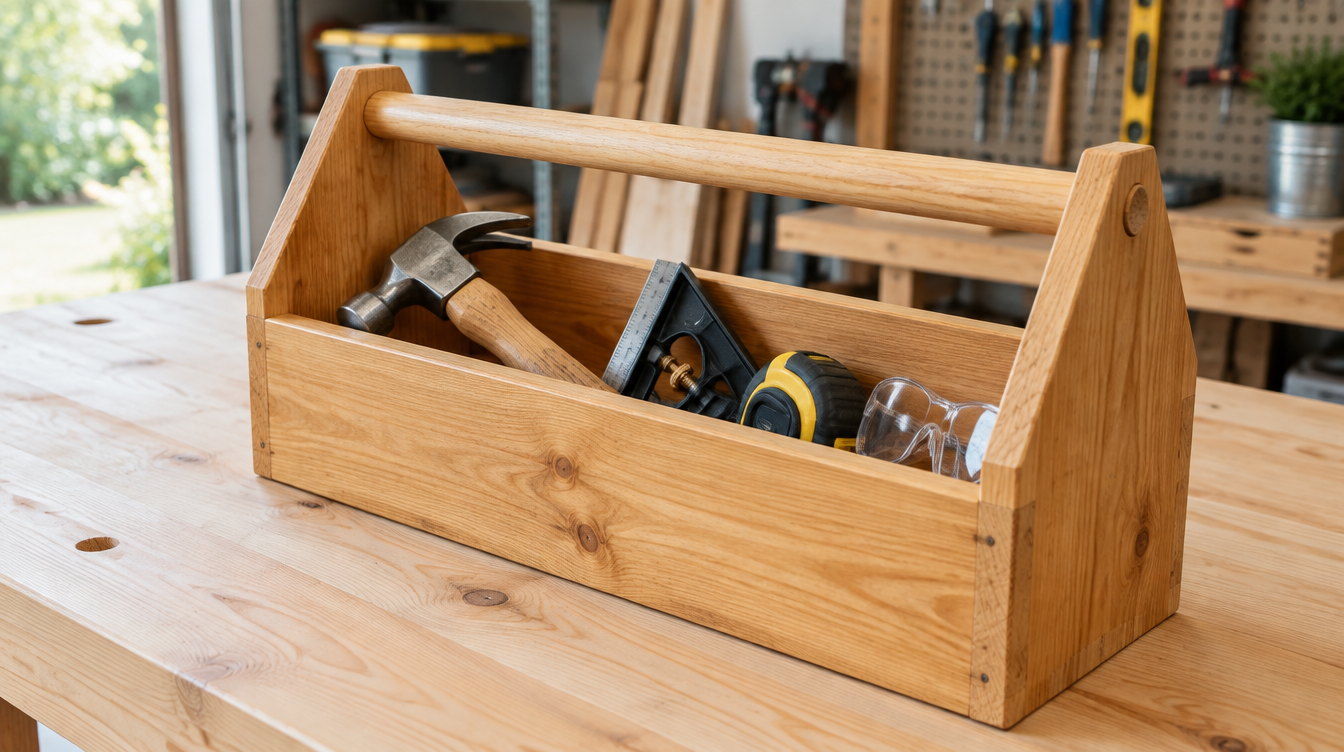
Wooden toolbox
Stage 2. A box with a handle that holds their tools for every build after.
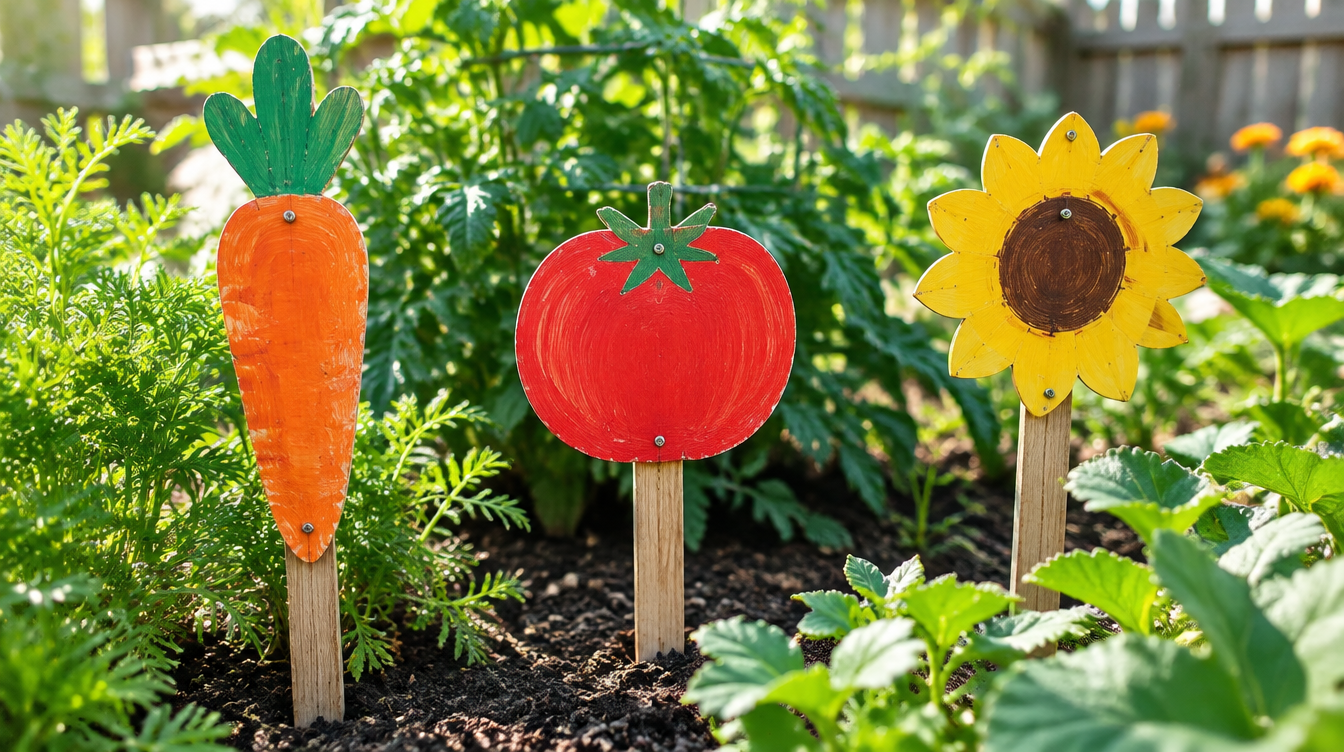
Garden stake signs
Stage 2. Your kid draws the shapes, you cut them, and they paint and install.
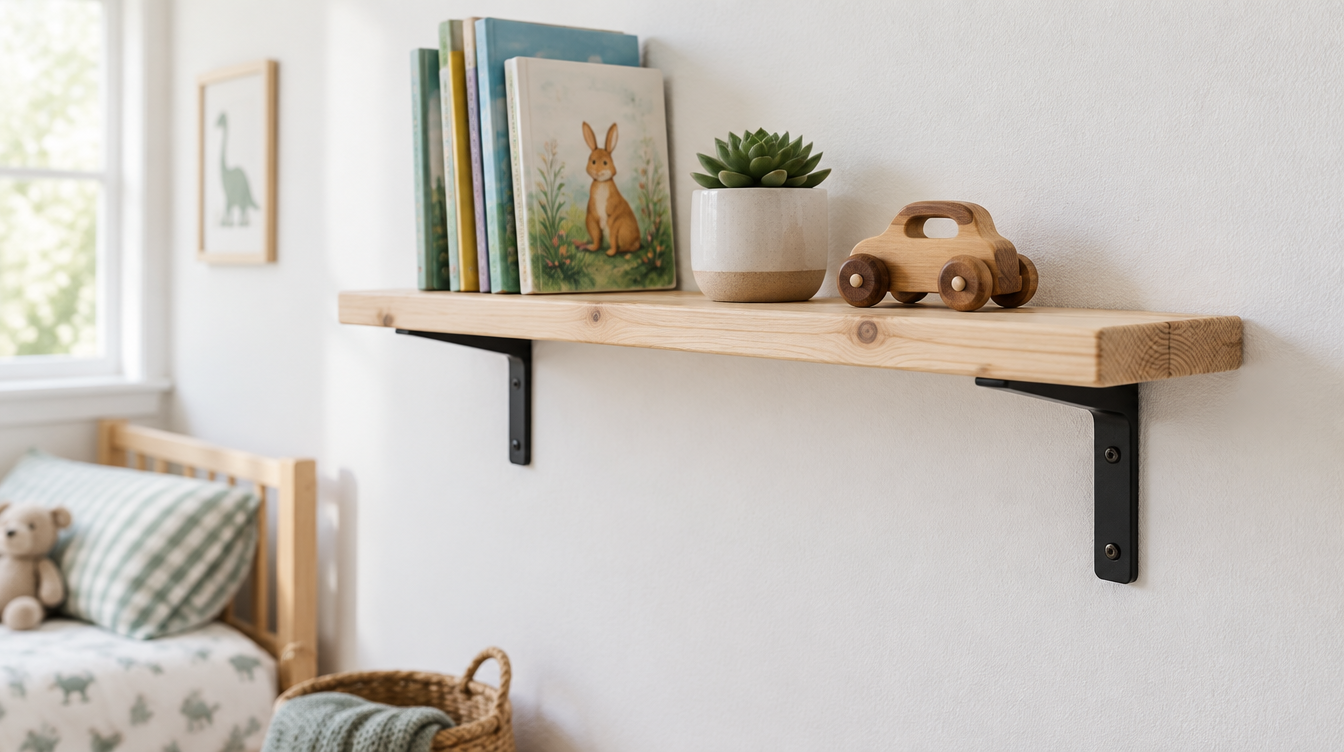
Simple two-board shelf
Stage 2. A measuring lesson that ends with a real shelf in their room.
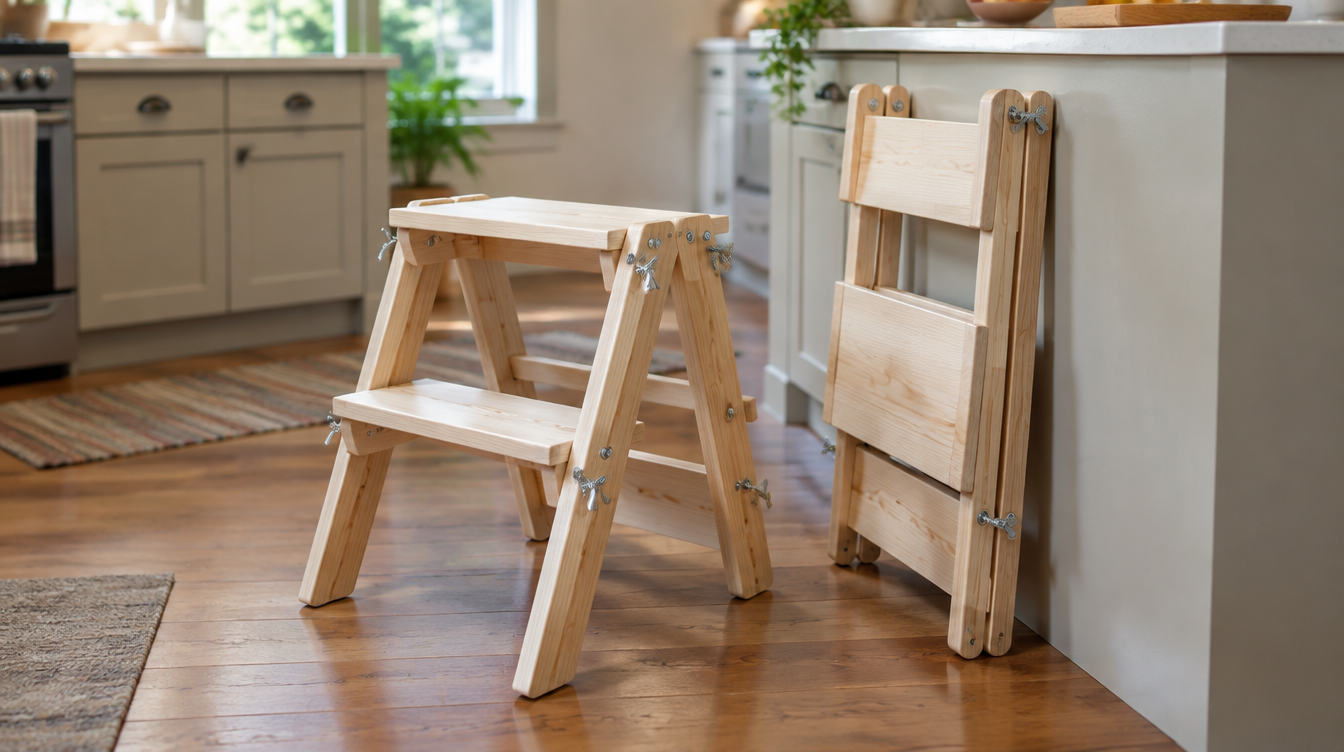
Folding step stool
Stage 3. Two sessions and careful measuring for something the whole family uses.
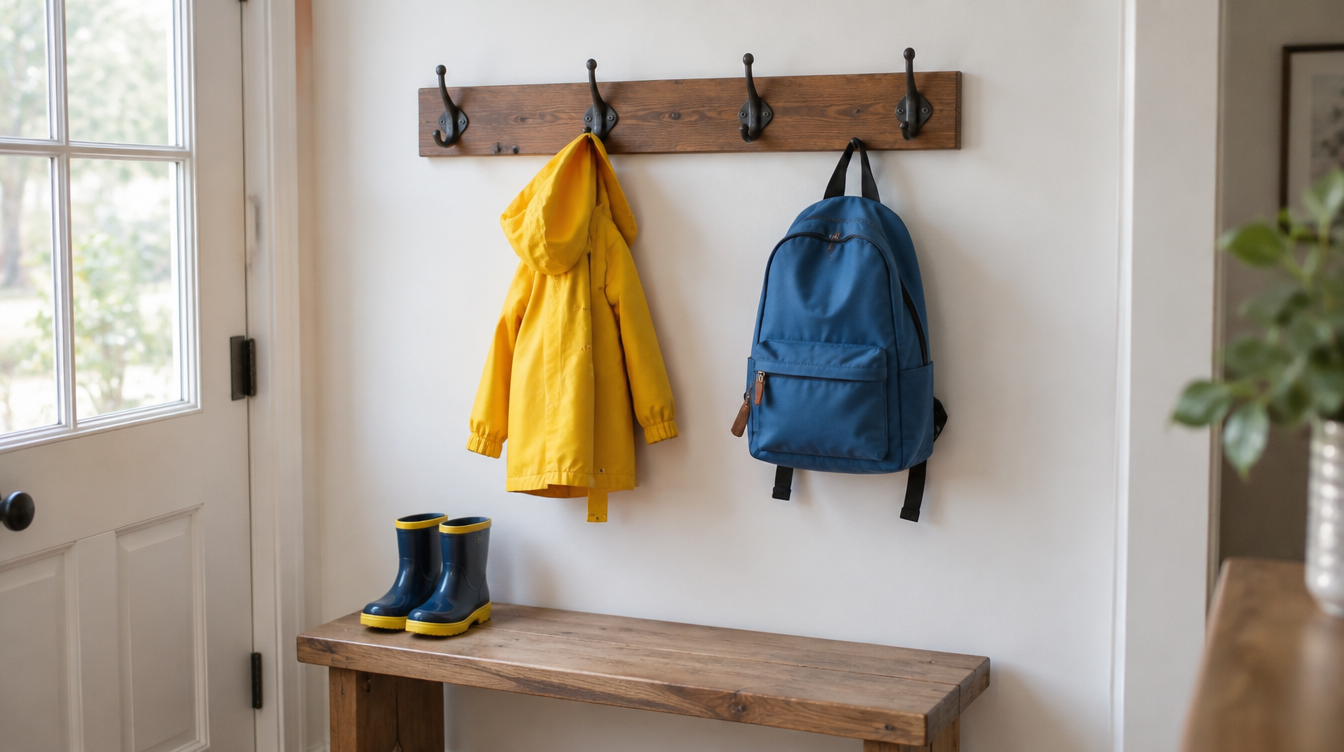
Wall-mounted coat hook board
Stage 3. Even spacing and pilot holes on a board they’ll use every day.
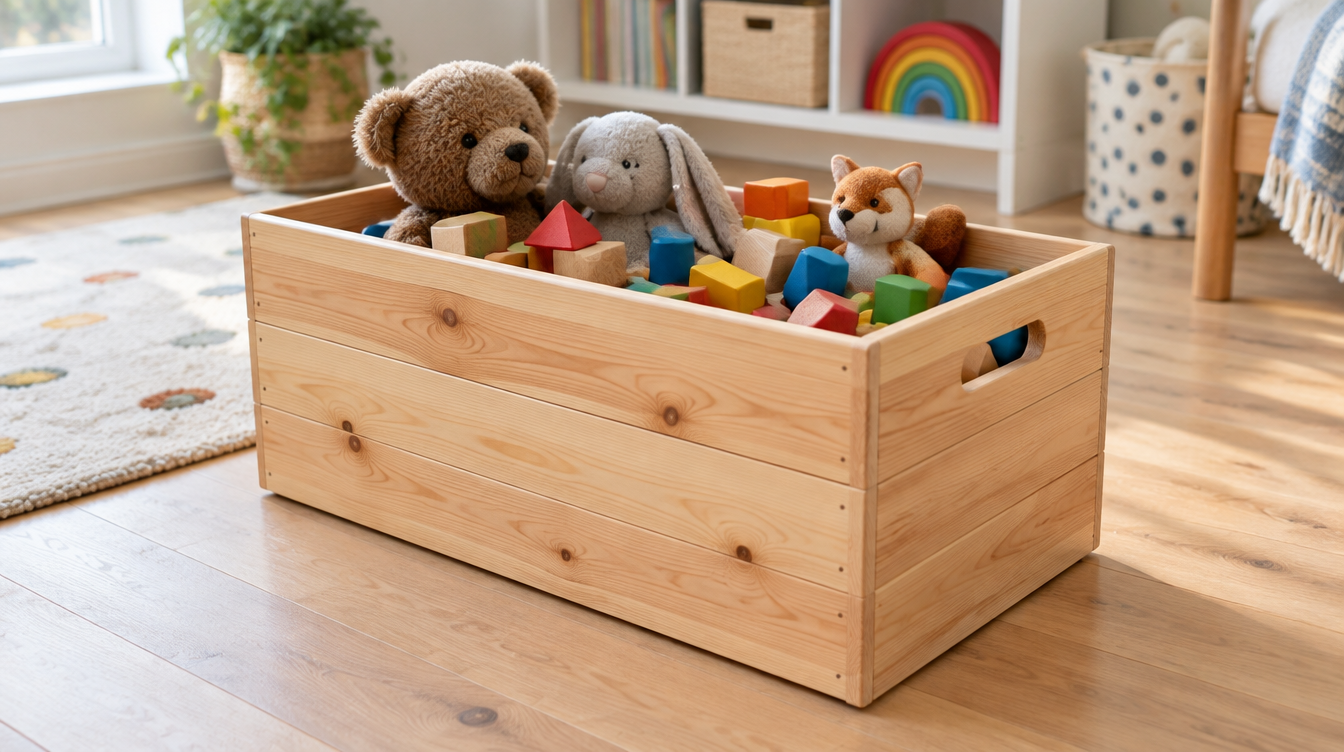
Wooden storage crate
Stage 3. Their first square box, which is the base of almost every woodworking build.
Which beginner woodworking projects for kids fit Stage 1?
1. Painted wooden name puzzle
You pre-cut large block letters from 3/4″ pine. Your kid sands, paints, and seals them. A set of name letters for a bedroom door is a project a 5-year-old can own from start to finish.
- Materials: 3/4″ pine board, sandpaper (80/150/220 grit), non-toxic acrylic paint, water-based polyurethane
- Time: Adult cutting 20 min, kid sanding and painting 45 to 60 min. Plan 90 min total, since first-timers take longer.
- Budget: Minimum $8 / Mid $18 / Quality $30 (depends on letter count and paint)
- Adult role: All cutting, workspace setup, and helping with paint
- Kid role: All sanding and painting, plus the final seal coat with a foam brush
Watch it built: This scroll saw video shows the adult cutting step. Your kid takes over once the letters come off the saw.
2. Birdhouse kit build
This is the most reliable of all beginner woodworking projects for kids. A pre-drilled kit gives your kid something to assemble, paint, and hang in one session. The hammering feels great, and the painting makes it theirs. Then it goes outside where a bird might move in.
- Materials: Pre-drilled cedar birdhouse kit, non-toxic exterior paint, sandpaper (120/220), exterior polyurethane or spar varnish
- Time: 60 to 90 min. Plan 2 hours.
- Budget: Minimum $12 / Mid $25 / Quality $40 (hardwood kit, better hardware)
- Adult role: Checking every kit piece, guiding nail placement, and setting up clamps
- Kid role: Assembly and hammering, then all sanding and painting
Full tutorial: Once your kid outgrows the kit, build our classic birdhouse build plan together. It has a full cut list.
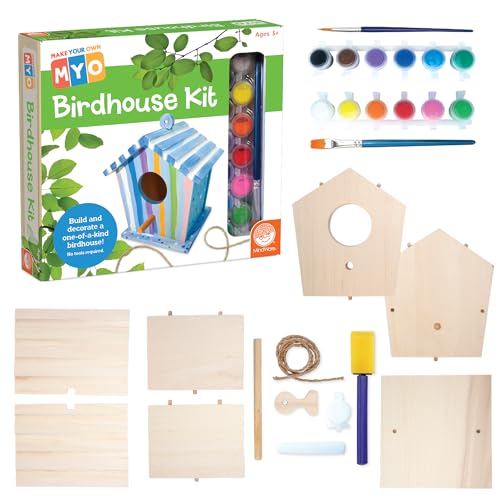
- Toys That Teach: The included guide in this bird house kit teaches paint mixing and brush...
- All-Inclusive Birdhouse Kit: Our birdhouse kits for kids require no extra tools; start by assembling...
This post contains affiliate links. If you buy through them, we may earn a small commission at no extra cost to you.
Which beginner woodworking projects for kids fit Stage 2?
3. Wooden toolbox
A toolbox is a great first real build because your kid will use it. It’s a box with a handle that goes together in one session. From then on, it holds their own tools.
- Materials: 1×6 pine (8 feet), 1″ wooden dowel for the handle, 1.25″ wood screws (24), wood glue, sandpaper (80/150), paint or stain
- Time: 2 to 3 hours. Plan 4 with glue drying time.
- Budget: Minimum $15 / Mid $28 / Quality $45 (hardwood, brass screws)
- Adult role: All circular saw or miter saw cuts, drilling pilot holes, checking measurements
- Kid role: Measuring and marking, hand saw trim cuts with you beside them, driving screws, all finishing
Full tutorial: Get the measurements and cuts in our wooden toolbox build plan.
4. Garden stake signs
Fun shapes cut from 1/4″ plywood get painted and mounted on a wood stake. Your kid designs the shape on paper, and you cut it with a jigsaw. Then they paint it and push it into the garden. The materials cost very little, and every sign turns out different.
- Materials: 1/4″ plywood scrap, wooden garden stakes, outdoor paint, exterior sealant, screws
- Time: 60 to 90 min
- Budget: Minimum $5 / Mid $15 / Quality $25 (Baltic birch plywood, weather-rated paint)
- Adult role: Jigsaw cutting all shapes, pilot drilling for stakes
- Kid role: Designing and tracing shapes, painting and sealing, final assembly
Full tutorial: Mama Needs a Project walks through scrap wood garden signs made with kids, with the jigsaw cutting on the adult side.
5. Simple two-board shelf
All you need is 1×6 pine, a couple of right-angle brackets, and a drill. Your kid measures, marks, and drills the pilot holes. You handle mounting it to the wall. It’s one of the most useful beginner woodworking projects for kids, since they end up with a real shelf that holds their stuff.
- Materials: 1×6 pine (cut to length), two right-angle brackets, screws, wall anchors (adult picks based on wall type), sandpaper, paint or stain
- Time: 90 min including drying
- Budget: Minimum $10 / Mid $22 / Quality $40 (hardwood, decorative brackets)
- Adult role: Cutting the board to length, choosing and installing wall anchors
- Kid role: Measuring and marking, drilling pilot holes, sanding and finishing, holding brackets in place
Watch it built: This video covers the shelf basics. Your kid can handle the measuring and pilot holes while you mount it.
Which beginner woodworking projects for kids fit Stage 3?
6. Folding step stool
This is the build that shows a kid they can really do woodworking. A folding step stool needs accurate measuring and real hardware. Plan two sessions, one for cutting and assembly and one for finishing. The pride when it folds and holds weight is worth every minute.
- Materials: 1×8 pine or poplar (8 feet), four 1/4″ carriage bolts with wing nuts, sandpaper (80/120/220), water-based polyurethane or varnish
- Time: 3 to 4 hours over two sessions. Plan 5 hours total.
- Budget: Minimum $20 / Mid $35 / Quality $60 (poplar, premium hardware)
- Adult role: All saw cuts, checking measurements before each cut, testing the stool before anyone stands on it
- Kid role: Measuring and marking, drilling pilot holes and assembling, sanding and applying finish
Watch it built: This folding stool video shows one design you can follow or adapt. Test the finished stool yourself before anyone stands on it.
Here’s the glue, finish, and hardware we reach for on the bigger Stage 3 builds.


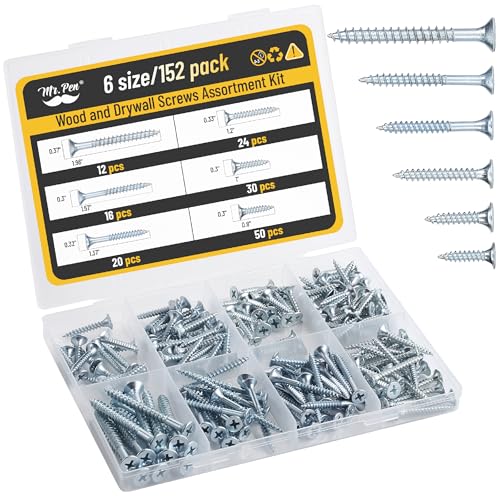
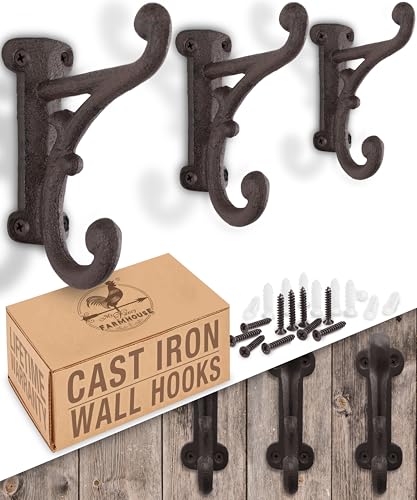
This post contains affiliate links. If you buy through them, we may earn a small commission at no extra cost to you.
7. Wall-mounted coat hook board
A 1×6 board gets sanded, stained, and fitted with 3 to 5 coat hooks. Your kid learns to space hooks evenly and drill pilot holes so the wood doesn’t split. It looks great in their room or by the front door.
- Materials: 1×6 pine (24 to 36″), 3 to 5 screw-in coat hooks, sandpaper, wood stain or chalk paint, wall anchors
- Time: 2 to 3 hours including stain drying time
- Budget: Minimum $18 / Mid $35 / Quality $55 (hardwood, cast-iron hooks)
- Adult role: Cutting the board to length, installing wall anchors
- Kid role: Marking hook spots, drilling pilot holes, mounting hooks, all sanding and finishing
Watch it built: This easy coat rack video is a good one to watch together before you start.
8. Wooden storage crate
Four sides and a bottom come together with glue and screws. It’s a great finale for beginner woodworking projects for kids, because it teaches your kid to square a box. That skill is the base of almost everything in woodworking. You handle the saw cuts and any pocket hole jig setup. Your kid assembles, clamps, and finishes it.
- Materials: 1×6 pine (12 feet), wood glue, 1.25″ pocket screws (or 1.5″ screws with pilot holes), sandpaper (80/150/220), finish of choice
- Time: 3 to 4 hours. Plan 5 with clamping and drying.
- Budget: Minimum $20 / Mid $38 / Quality $65 (hardwood, pocket hole jig)
- Adult role: All saw cuts, jig setup, checking that the box is square
- Kid role: Measuring and marking, gluing and clamping, filling screw holes, all sanding and finishing
Watch it built: This beginner crate video shows how the sides and bottom come together square.
Shop tip: Add 50% to every time estimate on beginner woodworking projects for kids. Snack breaks and showing off to a sibling are part of the fun.
What mistakes do parents make on first woodworking projects with kids?
- Skipping gear on easy days. Glasses go on before anything starts, even for sanding. The habit your kid builds on easy projects carries over to harder ones.
- Taking over during a rough patch. When a screw won’t bite, it’s so tempting to grab the drill. Give one tip, step back, and let them work it out. The moment you take the tool, the project becomes yours.
- Moving up a stage too soon. A kid who breezed through a birdhouse may still wobble with a hand saw. Let them repeat a skill until it looks steady.
- Buying splintery wood to save money. Pallet wood and rough bargain boards are hard on small hands. Pay a few dollars more for sanded pine so your kid stays happy to touch the wood.
When should you get help from a pro?
Most beginner woodworking projects for kids are right at home in a garage. A few moments call for someone with more training, though.
- Your teen wants to learn a table saw or router. Look for a hands-on class with a trained instructor, like a youth woodworking program or a makerspace.
- A shelf or hook board will hold real weight. If you aren’t sure how to find studs or pick anchors for your wall, a handyman can mount it in a short visit.
- Someone gets a deep cut or something in their eye. Stop the project and get medical care right away.
How do you know your kid’s first build went well?
- Your kid did at least two full steps with their own hands on the work.
- The glasses stayed on from start to cleanup.
- The piece is finished and has a spot in your home or yard.
- They’re already asking what they get to build next.
Ready to start your first build this weekend?
Pick one of these beginner woodworking projects for kids from your kid’s stage, and gather the gear before Saturday morning. Let them own at least two full steps. The goal is a finished piece they can point to and say “I made that.” When they’re ready for more, browse these easy woodworking projects for kids or our wooden board games and toys. Our guide to woodworking hand tools for beginners covers what to add to the bench next.
Show us what your little builder made! Post a photo of the finished piece on our Facebook page, and pin this guide to your family projects board on Pinterest so it’s handy for the next rainy weekend.
A few helpful answers
Kids woodworking FAQs
Picking projects, tools, and teaching at home.
A painted birdhouse kit. It needs no cutting and turns into a real birdhouse in under two hours. After that, a wooden toolbox makes a great first build with a saw and drill.
No. The first builds work with sandpaper, a hammer, and paint while an adult does the cutting. A battery drill can come in once your kid measures and marks with care. Keep bigger saws adult-only.
Start with the safety rules and explain why each one matters. Let your kid choose from a short list you’ve already checked for their stage, since the project they pick is the one they’ll finish. Then set up the clamps and stay close without taking over.
Watch the tool they already use. If they wear their gear without reminders and keep their hands clear, they’re close. Try the new tool on scrap wood with you right beside them before using it on a project.
Smooth, sanded pine. It’s soft enough for small hammers and cuts easily with a hand saw. It also costs little at any home center. Skip pallet wood, which splinters and can hide old nails.
Still have a question? Ask in the comments.
Should kids learn on real tools or kid-sized toy sets?
Some parents hand a 6-year-old a real hammer on day one. Others start with a plastic set and wait. Where do you land?
Cast your vote, then tell us in the comments about the first tool your kid ever used. Bonus points if there’s a story behind it.
Last updated: September 2026









