
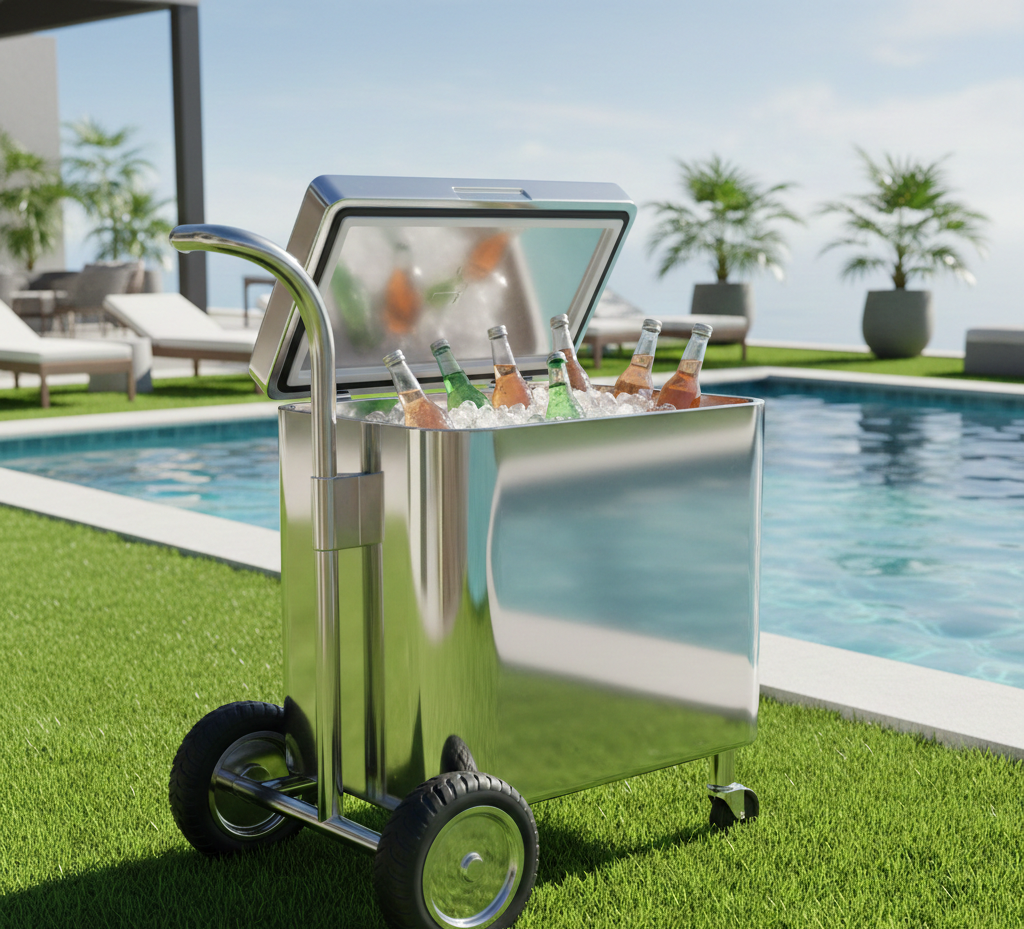
Quick Summary: DIY Rolling Cooler Cart
- DIY Rolling Cooler Cart: Build a custom cart in under 2 hours for $25–$40.
- Materials: Use scrap wood, 2x4s, 1x4s, caster wheels, and basic tools.
- Step-by-Step: Simple instructions for assembling the base, attaching casters, and customizing the cart.
- Time & Cost: Total build time of 90–120 minutes. Budget-friendly with an estimated cost of $25–$40 (under $15 if using scrap wood).
- Customization: Add hooks, a bottle opener, or adjust the caster placement for uneven ground.
You know the routine. The game starts in 20 minutes, guests are already planted on the couch, and you’re making your fourth trip to the kitchen for cold drinks. The cooler is heavy. The coffee table is crowded. And nobody wants to miss kickoff because they needed another soda.
A DIY rolling cooler cart fixes that problem for good. You wheel it out once, park it next to the action, and stay put. No more hauling a 50-pound cooler across the patio. No more stacking drinks on whatever flat surface you can find.
Why Build a DIY Rolling Cooler Cart Instead of Buying One?
Building your own DIY rolling cooler cart offers several benefits over store-bought versions:
- Cost-effective: Store-bought cooler carts can range from $80 to $200, while building your own can cost as little as $25–$40, or under $15 if using scrap wood.
- Custom Fit: You can control the dimensions of your cart. Measure your cooler, add a couple of inches for clearance, and build a cart that fits perfectly without any guessing or returns.
- Use What You Have: Repurpose materials like leftover 2x4s, scrap deck boards, or pallet wood to reduce costs significantly. This can bring your cart’s cost to almost nothing if you have scrap lumber on hand.
- Enhanced Mobility: Four swivel casters allow you to easily roll the cart from place to place without lifting. Two locking casters keep the cart stationary when needed, offering flexibility that most store-bought carts lack.
Building your DIY rolling cooler cart provides a customized, functional, and budget-friendly solution you won’t find with mass-produced options.
(As an Amazon Associate, we earn from qualifying purchases.)
Materials for Your DIY Rolling Cooler Cart
Here’s a list of materials and tools you’ll need for building your own DIY rolling cooler cart. Scrap material alternatives are provided where applicable.
Lumber
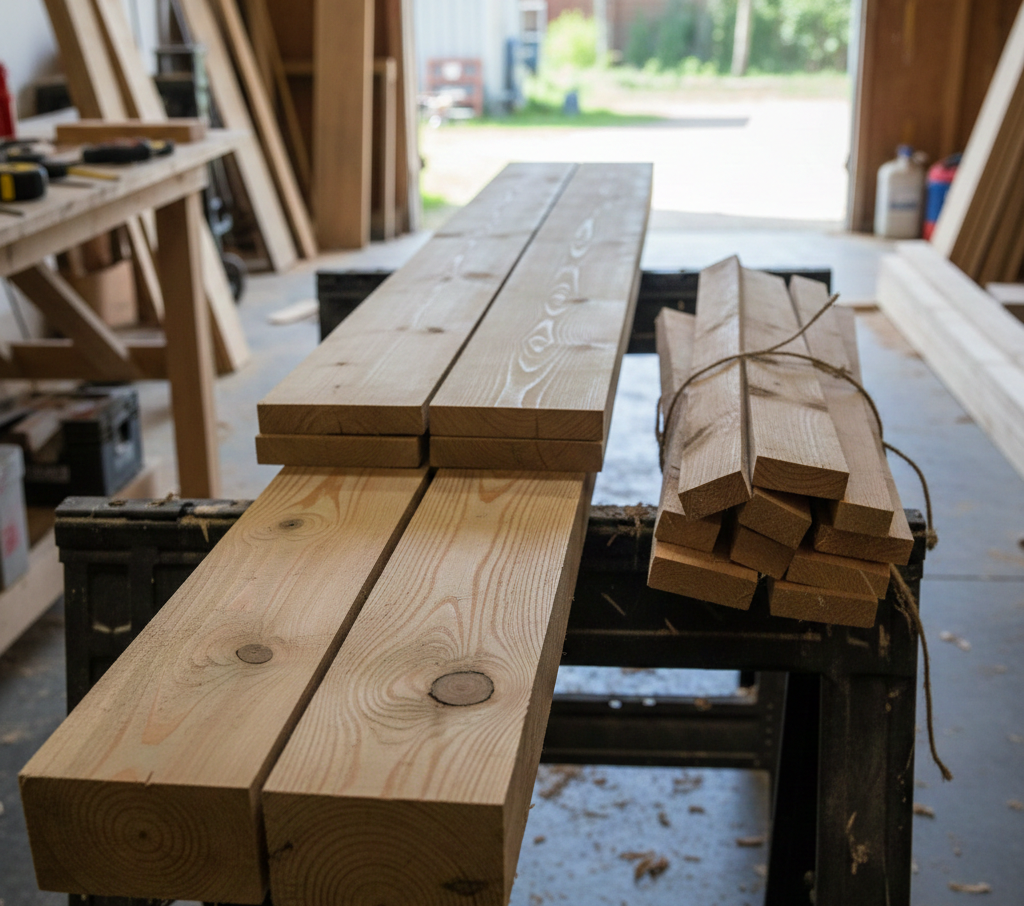
- Two 8-foot 2x4s for the frame (or equivalent scrap lengths totaling around 12 linear feet)
- Three to four 1×4 boards or deck boards for the platform surface (6-foot lengths work well)
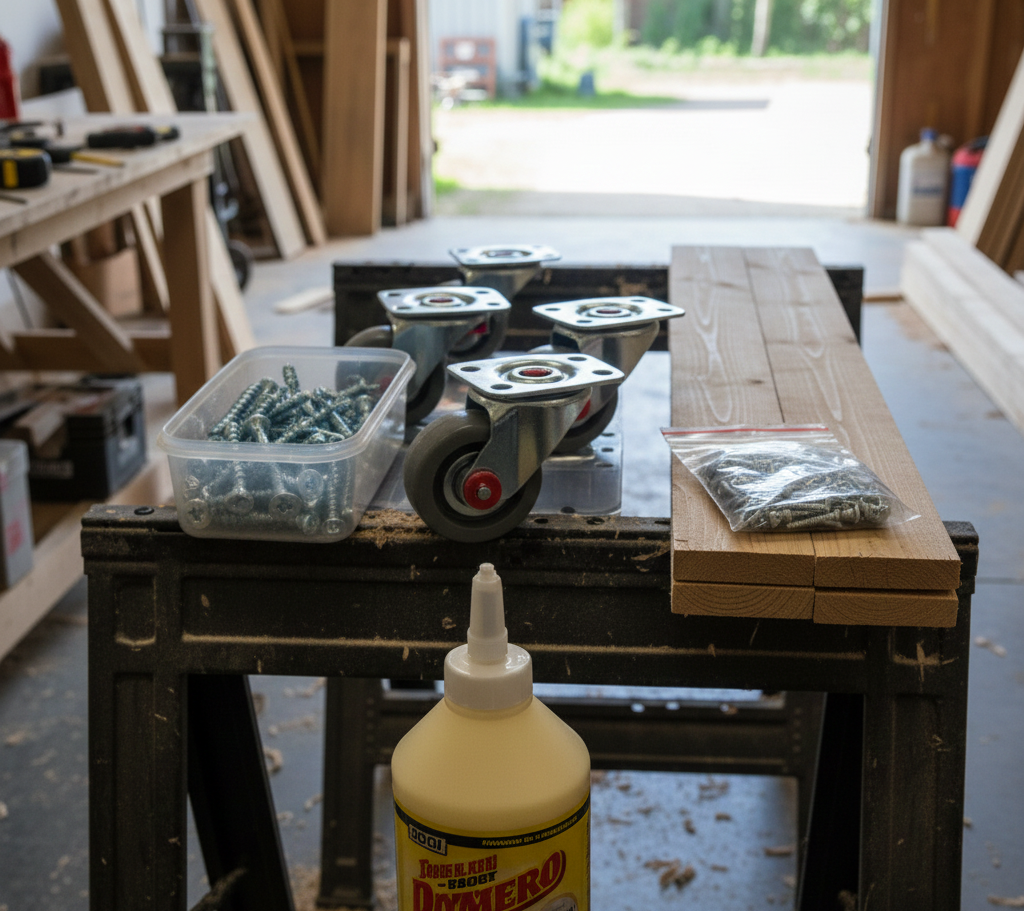
Hardware
- 3-inch exterior wood screws (around 24)
- Four 3-inch swivel casters (two with locks preferred for stability)
- 1.5-inch screws for attaching casters (16 total)
- Wood glue (optional but recommended for extra strength)
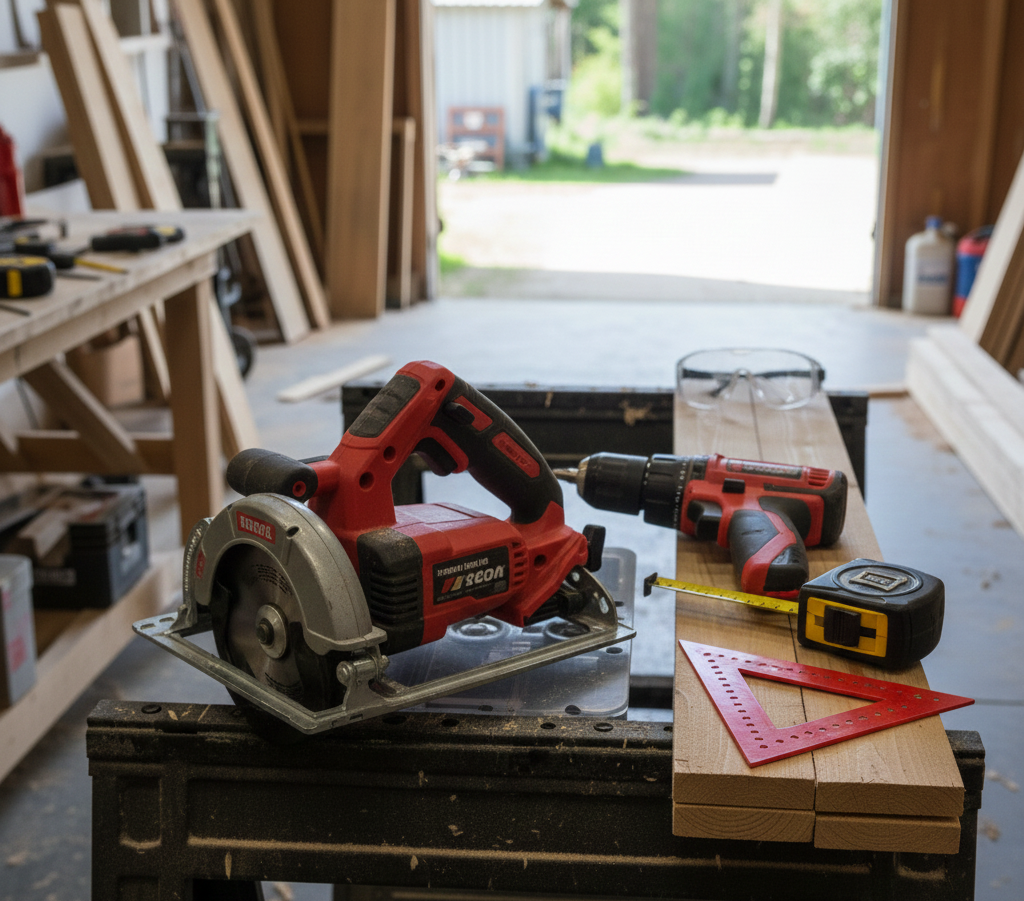
Tools
- Circular saw or miter saw for cutting wood
- Drill/driver with bits for screwing and pre-drilling
- Measuring tape to ensure accurate dimensions
- Speed square to keep angles precise
- Pencil for marking cuts
- Safety glasses for protection during cutting and drilling
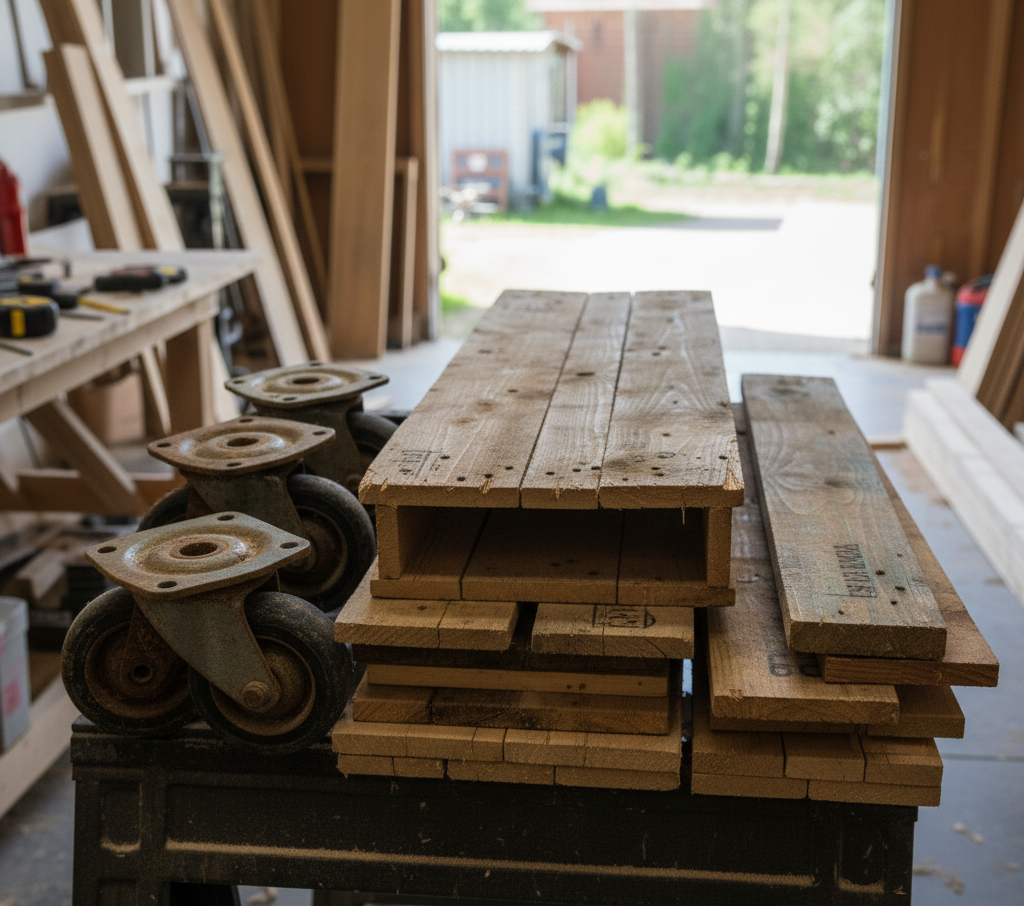
Scrap Material Alternatives
- Pallet wood can replace deck boards if broken down carefully
- Old furniture casters (at least 50 pounds weight capacity each)
- Reclaimed lumber from previous projects to save money and reduce waste
Tip: Before heading to the garage, print out the cut list with all your measurements to speed up the process and keep things organized.

- Silent & Smooth Rolling : Featuring precision ball bearings and soft, high-resilience polyurethane...
- Safe for All Floor Types : HOSALI caster wheels feature a non-marking, soft polyurethane surface...
Step-by-Step Assembly Instructions
Step 1: Measure Your Cooler
Before cutting anything, measure the footprint of your cooler. Write down the length and width. Add 1.5 to 2 inches to each dimension for clearance.
For reference, a standard 48-quart cooler measures roughly 24 inches long by 14 inches wide. A 70-quart cooler runs closer to 28 by 16 inches.
Time: 5 minutes
Step 2: Cut Your Frame Pieces
Using your adjusted measurements, cut the 2x4s for the base frame. You need two long pieces (the length of your cooler plus clearance) and two short pieces (the width plus clearance).
Example for a 48-quart cooler:
- Two pieces at 26 inches (long sides)
- Two pieces at 16 inches (short sides)
Label each piece with a pencil as you cut. This keeps assembly moving without confusion.
Time: 10 to 15 minutes
Step 3: Assemble the Base Frame
Lay out the four frame pieces in a rectangle on a flat surface. The short pieces fit inside the long pieces at each corner.
Pre-drill two holes at each joint to prevent the wood from splitting. Then drive 3-inch screws through the long pieces into the ends of the short pieces. Use two screws per corner for a total of eight screws.
Check for square by measuring diagonally from corner to corner. Both measurements should match. If they do not, nudge the frame until it squares up before adding the final screws.
Time: 15 to 20 minutes
Step 4: Attach the Platform Boards
Cut your 1x4s or deck boards to match the width of the frame (the short dimension, roughly 16 inches in our example).
Lay them across the top of the frame with about half an inch of space between each board. This gap allows water and debris to drain through instead of pooling on the surface.
Secure each board with two screws on each end, driving them into the 2×4 frame below. Pre-drill if using hardwood or if the boards are prone to splitting.
Time: 15 to 20 minutes
Step 5: Mount the Casters
Flip the frame upside down. Position one caster at each corner, about 1 inch in from the edges.
Mark the screw holes with a pencil. Pre-drill each hole, then attach the casters using 1.5-inch screws. If your 2×4 frame is thinner than expected, add a small piece of plywood as a backer to give the screws more material to grip.
Place the two locking casters on the same end. This becomes the “parked” end of your cooler cart with wheels.
Time: 10 to 15 minutes
Step 6: Add a Handle (Optional but Recommended)
A handle makes the cart easier to steer, especially when loaded.
Cut a 2×4 to about 32 inches for a vertical handle or 18 inches for a horizontal push bar. Attach it to one end of the frame using 3-inch screws driven at an angle (toe-screwing) or with a small L-bracket for extra support.
Ideal handle height is between 30 and 36 inches from the ground. This puts it at a comfortable pushing height for most adults.
Time: 10 minutes
Step 7: Test and Adjust
Flip the cart right-side up. Load your cooler onto the platform and roll it around the garage or driveway. Check for wobble. Confirm that the locking casters hold firm when engaged.
If the cart tilts, make sure all four casters are mounted level. Uneven mounting is the most common cause of instability.
Time: 5 minutes
Budget and Build Time for Your DIY Rolling Cooler Cart
Here’s what you can expect in terms of time and cost for your DIY rolling cooler cart project:
Build Time
- Total time: 90 to 120 minutes
This depends on your experience and tool setup.
Estimated Cost
- New materials: $25 to $40
- Using scrap wood and salvaged materials: Under $15
Cost Breakdown
Tip: Save on casters by checking the clearance bin at your local hardware store or repurposing them from old office chairs or rolling carts.
Casters: The biggest cost factor. A pack of four swivel casters typically costs $12 to $20.
By using scrap wood and salvaged parts, you can keep costs low while still building a functional and sturdy cooler cart.
Optional Tweaks and Customization Ideas for Your DIY Rolling Cooler Cart
Add a Bottle Opener
Upgrade your cart: Mount a wall-mount bottle opener on the side of the frame for easy access. Position it near the handle for quick use. This simple addition transforms your DIY rolling cooler cart into a complete drink station for tailgates or outdoor parties.
Install Side Hooks or a Towel Bar
Extra storage: Add a short towel bar or a few cup hooks on the frame for hanging towels, bag clips, or utensils. This is especially useful during tailgates or outdoor events where counter space is limited, helping you keep everything organized and within reach.
Paint in Team Colors or Add a Custom Design
Personalize your cart: Use exterior paint or spray paint to add personality and weather protection to your rolling cooler cart. Tape off sections for stripes or stencil your team’s logo to show off your spirit. One coat dries quickly in about an hour, so you can easily complete this in an afternoon.
Adjust Caster Placement for Uneven Ground
Upgrade for outdoor use: If you plan to use your rolling cooler cart on grass, gravel, or uneven terrain, consider upgrading to larger 4-inch casters. Larger wheels roll more easily over rough surfaces. Mount them slightly inward from the corners to reduce tipping and improve stability on uneven ground.
Build a Lower Shelf for Extra Storage
Increase storage space: Add a second tier to your cart by attaching short 2×4 legs (around 6 inches) to the inside of the frame. Lay additional 1×4 boards across the legs to create a lower shelf. This extra storage gives you room for bags of ice, snacks, or extra cups—perfect for keeping everything in one spot.
Final Takeaway
You now have a complete plan for building a DIY rolling cooler cart in under two hours. The materials are affordable. The tools are basic. And the finished product fits your cooler exactly.
Build this before your next watch party or tailgate. Wheel it out once, lock the casters, and stay where the action is. No more kitchen runs. No more juggling drinks on crowded tables.

- 80 QUART COOLER CART: Holds up to 80 quarts (20 gallons) 96 aluminum can, It Will Be a Perfect Tool...
- MULTI DIRECTIONAL ROLLING WHEELS: 2 Caster with lock and 2 Caster without lock, Move it anywhere or...
How much does it cost to build a DIY rolling cooler cart?
Building a DIY rolling cooler cart typically costs between $25 and $40, depending on whether you use new materials or scrap wood. If you already have leftover materials like pallet wood or spare casters, you can reduce the cost to under $15.
How long does it take to build a DIY rolling cooler cart?
You can complete your rolling cooler cart in just 90 to 120 minutes.
What materials are needed for a DIY rolling cooler cart?
To build it, you’ll need materials like 2x4s for the frame, 1x4s or deck boards for the platform, swivel casters, screws, and wood glue. You can use scrap wood to save money and make the project more affordable.
Can I use different types of wood for the DIY rolling cooler cart?
Yes, you can use a variety of wood types. If you have leftover wood from other projects, pallet wood, or reclaimed lumber, they can all be great options. Just make sure the wood is sturdy enough to hold your cooler and any extra items.
Do I need special tools to build a DIY rolling cooler cart?
No, you don’t need special tools. Basic tools such as a saw, drill, measuring tape, and screws are all you’ll need to build. This project is perfect for beginners and can be done with standard woodworking tools.
How can I make my rolling cooler cart more stable?
To ensure stability, mount your casters properly, use thick, strong wood for the frame, and reinforce the base if needed. If the cart will be carrying a heavy cooler, consider adding extra cross supports under the platform to prevent sagging.
How do I maintain my rolling cooler cart?
To keep your DIY rolling cooler cart in good condition, regularly check the casters for any signs of wear or rust, and apply a fresh coat of paint or wood finish as needed to protect it from the elements. Keeping it clean and lubricating the casters will help maintain its functionality.