At A Glance: UV Resin Vs. Epoxy Resin
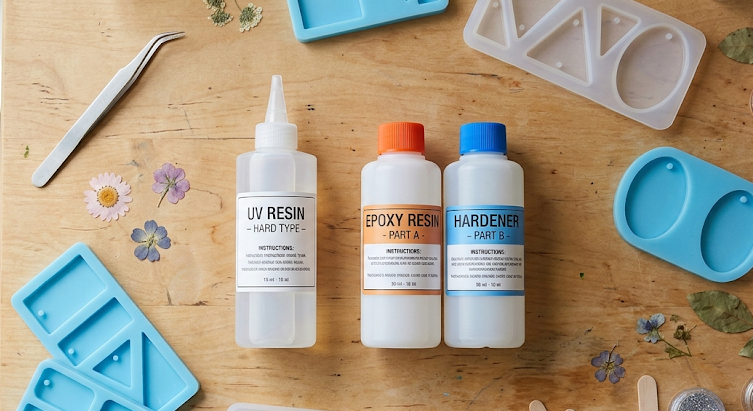
What’s the difference between UV resin and epoxy resin? UV resin is a single-part formula that cures under a UV lamp in 60 to 120 seconds. Epoxy resin is a two-part system, mixed in a fixed ratio, that cures at room temperature over 12 to 72 hours. A UV lamp has no effect on epoxy.
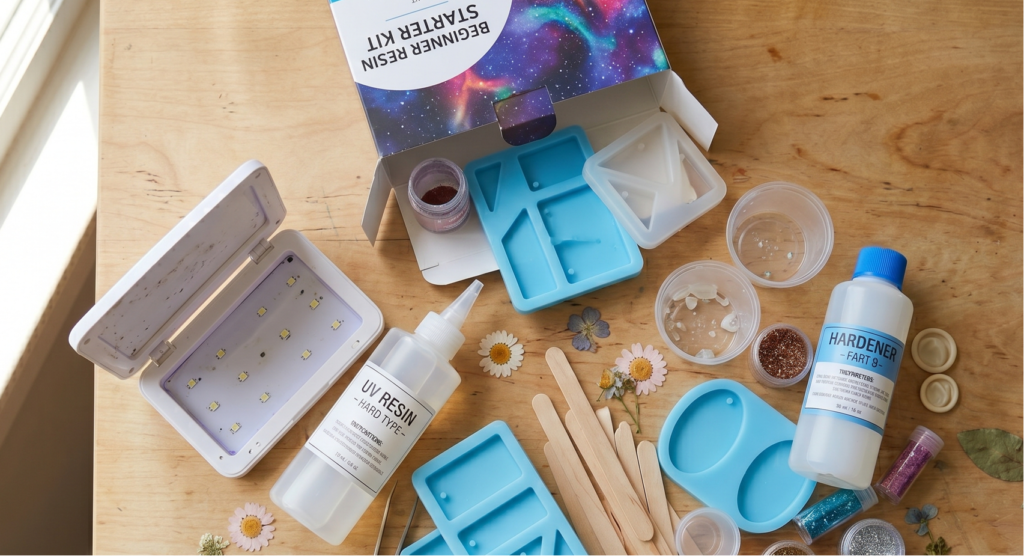
How do I know which one is in my starter kit? Single bottle, no mixing ratio printed on it: that’s UV resin. Two bottles, or any mixing ratio on the label: that’s epoxy. Check the label before your next pour.
Will my UV lamp work on epoxy? No. UV light doesn’t speed up, partially cure, or affect epoxy resin in any way. If your kit contains epoxy and you’re using a UV lamp, the resin will stay tacky regardless of how long you leave it under the lamp.
What wattage does a UV lamp need to be for jewelry making? At least 36 watts for pendant-scale work. Most starter kit lamps run 6 to 9 watts, which is sufficient for nail gel but not for resin jewelry. A lamp upgrade runs $20 to $35.
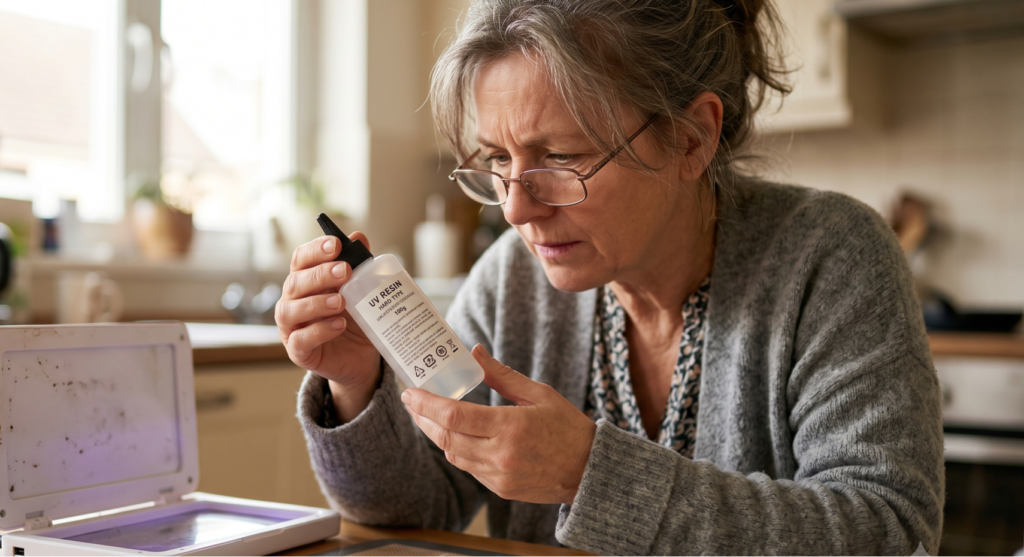
Most starter kits marketed as UV resin kits contain epoxy. This isn’t a personal failure or a beginner mistake. It’s a labeling problem that’s common enough across craft suppliers that it deserves a direct answer before you pour another drop. If you’ve been running your resin under a UV lamp and getting a sticky, uncured surface every time, the issue probably isn’t your technique. It’s your product.
The distinction between UV resin and epoxy resin determines whether your UV lamp will do anything useful at all. Getting this wrong doesn’t just waste resin. It wastes hours.
How to Identify Your Resin Right Now
Look at your resin bottle. If it’s a single bottle with no mixing ratio on the label, you have UV resin.
If you have two bottles, or if the label specifies any mixing ratio, you have epoxy. That’s the complete identification method. You know what kind of resin is in your starter kit before you read another section.
Everything below explains why the confusion is so common, what each resin type actually does, and what to fix before your next pour.
What UV Resin Is
UV resin is a single-part formula. You pour it directly from the bottle, position it in your mold or bezel, and cure it under a UV lamp. Cure time for pendant-scale work is typically 60 to 120 seconds. If something goes wrong, you know within two minutes and can adjust before the next attempt.
That fast feedback loop is what makes UV resin well-suited for beginners learning jewelry making. You’re not committing to a 24-hour wait to find out whether the pour worked. Small pendants, bezel fills, and thin dome layers all respond well to UV resin when the resin type and lamp wattage are correctly matched.
What kind of resin for jewelry generally comes down to pour size and curing preference. For small pieces under about 3mm depth, UV resin is the practical choice. For deeper pours or larger casting work, epoxy is the appropriate tool.
What Epoxy Resin Is and Why Beginners Get Misled
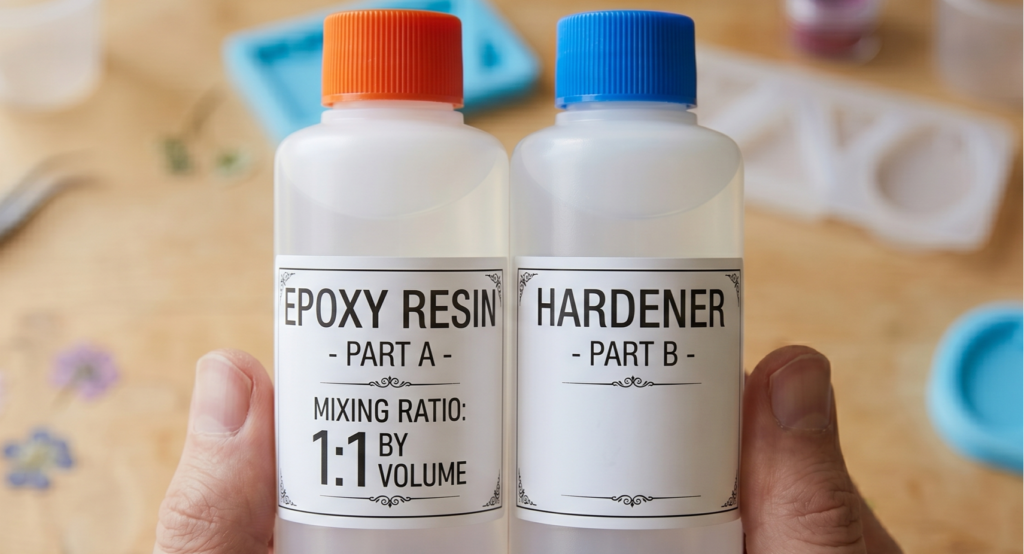
Epoxy resin is a two-part system. One bottle contains the resin base. The other contains the hardener. The two parts must be combined in a specific ratio, typically 1:1 or 2:1 by volume, and that ratio has to be accurate. Off-ratio mixing produces a pour that never fully cures, regardless of how long you wait.
Once mixed correctly, epoxy cures at room temperature over 12 to 72 hours. No lamp required, because UV light isn’t part of the epoxy curing process. Running epoxy under a UV lamp doesn’t accelerate the cure, doesn’t partially cure the surface, and doesn’t do anything at all to the resin.
This is why the two-week failure cycle happens. Chapter 2 of the bundle documents it specifically: two weeks of running epoxy under a UV lamp, session after session, because the resin bottle was labeled “crystal clear UV craft resin.” There was no mixing ratio printed on the bottle. The label said UV. The lamp was UV. Every visible signal pointed the same direction, and every pour came out tacky and uncured anyway.
The problem resolved on the next pour after switching to actual UV resin. Two weeks of failures, one product swap, and the issue was gone.
If that’s what’s been happening in your workspace, you weren’t making an error in technique. You were using a product that was mislabeled or miscategorized, and your UV lamp was doing exactly what it’s designed to do. It just wasn’t designed to cure epoxy.
The reason these kits get bundled this way is that “craft resin” is a category name, not a specification. A supplier can market an epoxy kit with a UV lamp included, call it a UV craft resin starter kit, and be technically describing the lamp. The resin doesn’t need to be UV-curable for the label to use that language. Checking the resin bottle independently is the only reliable way to know what you’ve got.
UV Resin vs. Epoxy: Five Points of Difference
Cure time. UV resin cures in 60 to 120 seconds under a UV lamp. Epoxy cures at room temperature over 12 to 72 hours.
Mixing required. UV resin needs no mixing. Epoxy requires a precise ratio of resin to hardener, and that ratio must be measured accurately.
Beginner error tolerance. UV resin gives you immediate feedback. A bad pour shows itself in two minutes. Epoxy gives you nothing for 12 to 24 hours, which means you may not discover the problem until you’ve already repeated it.
Product suitability. UV resin works well for small pendants, thin layers, and bezel work. Epoxy works better for large pours, deep molds, and casting at scale.
Cost per pour. UV resin costs more per gram. Epoxy is cheaper at volume once you’ve developed the mixing and timing skills to use it reliably.
For UV resin for beginners starting with pendant jewelry, the faster feedback cycle and no-mix workflow are worth the higher per-gram cost while you’re learning. Switching to epoxy for certain applications makes sense once you know your process.
Ready to Choose What to Make?
Once you know which resin you’re working with, the next question is which products are actually worth making for Etsy. That’s a separate problem from setup, and it’s covered in full at theresinjewelrybusiness.com. The guide walks through the six resin jewelry products with the strongest sell-through rates, along with the exact resin type and lamp specs each one requires.
The Lamp Wattage Problem
Identifying your resin type correctly is the first step. The second is checking your lamp.
Most starter kit lamps run 6 to 9 watts. Those lamps were designed for nail gel polish on a nail-sized surface. They’re not adequate for pendant-scale resin work. The minimum effective wattage for curing UV resin in pendants and bezel settings is 36 watts. If your lamp is under 24 watts, you’ll get a tacky surface even when your resin type is correct.
The symptom looks identical whether the problem is the wrong resin or an underpowered lamp. That’s why both need to be checked independently. A correct resin type with a 9-watt lamp produces the same uncured result as the wrong resin type under any lamp.
A 36-watt UV lamp upgrade costs $20 to $35. It’s a one-time fix that eliminates the wattage problem entirely for most pendant jewelry work.
What to Do Before Your Next Pour
Open your kit and check the resin bottle directly.
If it’s a single bottle with no mixing ratio: you have UV resin. Confirm your lamp wattage next. If the lamp is under 24 watts, order a 36-watt replacement before you pour again. Both issues are fixable for $20 to $35.
If you have two bottles or a mixing ratio on the label: you have epoxy. Your UV lamp won’t cure it. Order actual UV resin before your next session. UV resin for pendants and small bezel work runs $20 to $26 for a starter quantity.
Resin starter kit selection comes down to knowing what you’re actually buying. The label doesn’t always tell you. The bottle configuration does.
Conclusion
The UV resin vs. epoxy resin confusion is one of the most common reasons beginners get stuck in a loop of failed pours. It’s not a skill gap. It’s a product identification problem, and it’s fixable in one purchase once you know what you’re looking for. Check your resin bottle, check your lamp wattage, and both variables are resolved before you touch your next mold.
The failure diagnostic PDF includes the resin identification check alongside the full symptom-to-fix table. Download it and confirm your setup before your next pour.
The UV resin specs, lamp wattage requirements, and mold configurations for all six Etsy products are covered in Chapter 2 of the bundle.
Done Troubleshooting? Here’s What Comes Next.
If you’ve confirmed your resin type and your lamp wattage and you’re ready to move past the setup phase, theresinjewelrybusiness.com is the next step. The full guide covers product selection, pricing, and Etsy listing strategy for resin jewelry sellers who are done troubleshooting and ready to sell.
Frequently Asked Questions
Can I use a UV lamp to speed up epoxy resin curing? No. UV light has no effect on epoxy resin. The two curing processes are chemically different. Epoxy cures through a reaction between the resin base and the hardener, which occurs at room temperature over time. UV light isn’t part of that process. Running epoxy under a UV lamp for longer will not change the result.
Why does my resin stay tacky even after curing under a UV lamp? Two possible causes. Either your resin is epoxy rather than UV resin, in which case the lamp can’t cure it at all, or your lamp wattage is too low for the size of your pour. A 6-watt or 9-watt lamp is designed for nail-sized surfaces. Pendant-scale work needs at least 36 watts. Check your resin type first, then check your lamp wattage.
What’s the best resin for pendants if I’m just starting out? UV resin is the more beginner-friendly starting point for pendant jewelry. The cure is fast, there’s no mixing involved, and a bad pour shows itself in under two minutes. That immediate feedback makes it easier to adjust and improve. Once your process is consistent, epoxy becomes worth learning for larger or deeper work.
Is craft resin the same as UV resin? Not necessarily. “Craft resin” is a category label, not a specification. It can refer to UV resin, epoxy resin, or a kit that bundles both. The only reliable way to identify what you have is to check the bottle itself. Single bottle, no mixing ratio: UV resin. Two bottles or a mixing ratio: epoxy.
How do I know if my starter kit lamp is strong enough? Check the wattage printed on the lamp. If it’s under 24 watts, it’s not adequate for pendant-scale resin work regardless of what the kit claims. The minimum effective wattage for curing UV resin in jewelry settings is 36 watts. Most starter kit lamps are designed for nail gel and run 6 to 9 watts.
Does UV resin work in silicone molds? Yes, UV resin works in silicone molds, but depth matters. UV light needs to penetrate the full depth of the pour to cure it completely. For pours deeper than about 3mm, you’ll get a cured surface with uncured resin underneath. Pour in thin layers and cure each layer before adding the next.
What happens if I mix epoxy resin at the wrong ratio? The resin won’t cure correctly. Off-ratio mixing produces a pour that stays soft, sticky, or flexible indefinitely. The ratio isn’t a guideline. It’s the specification the chemistry requires. Use a scale or measured cups, follow the manufacturer’s ratio exactly, and mix thoroughly before pouring.