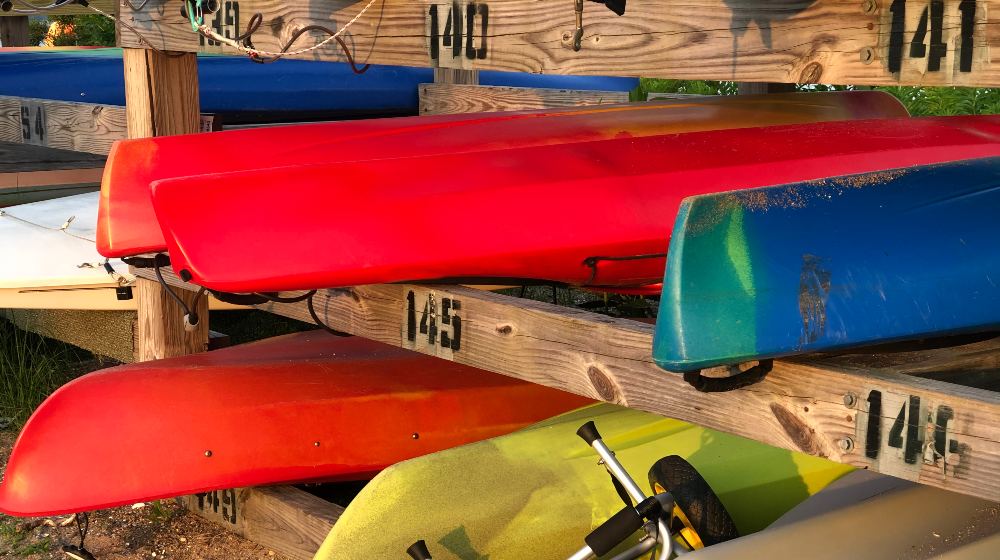

A DIY kayak rack makes it effortless for you to store and transport your boats. It gets your kayaks off the ground, protects them from crawling insects, and gives your yard a clean look. Stash them organized with these methods on making a kayak stand.
RELATED: 10 DIY Dumbbell Rack Layouts to Keep Your Weights Organized
Build a DIY Kayak Rack in 2 Ways | DIY Wooden and PVC Kayak Rack
DIY Wooden Kayak Rack
For this method, you can opt for untreated material so you can alter your rack the way you want it. You can complete this project within the day.
What You’ll Need:
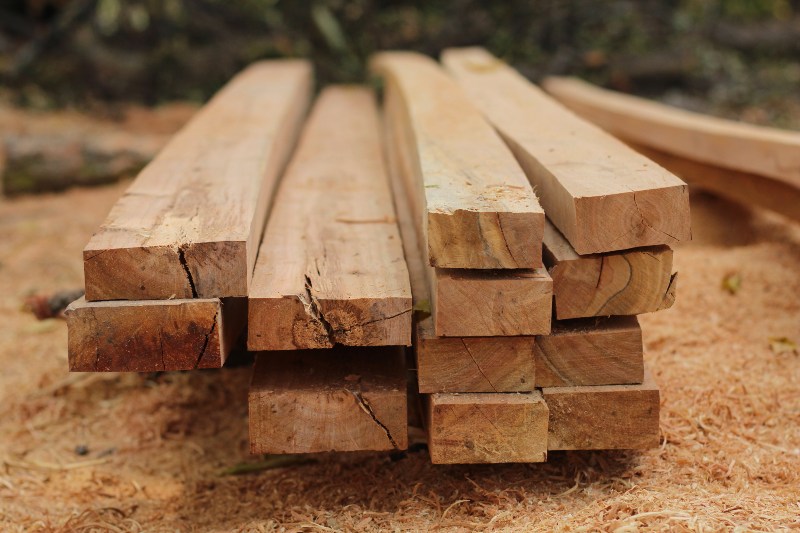
Step 1: Make Two Identical Posts
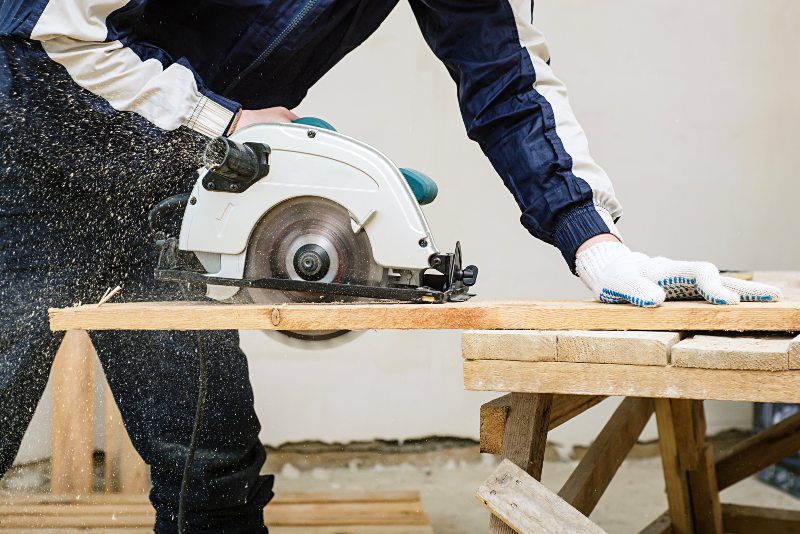
Cut your wood according to your desired length. Then, using your circular saw, make multiple cuts to create notches.
Clean up these indentations on the wood’s edges using your hammer and chisel. You’ll place the arms of your DIY kayak rack here later on.
Step 2: Create the Arms of Your DIY Kayak Rack
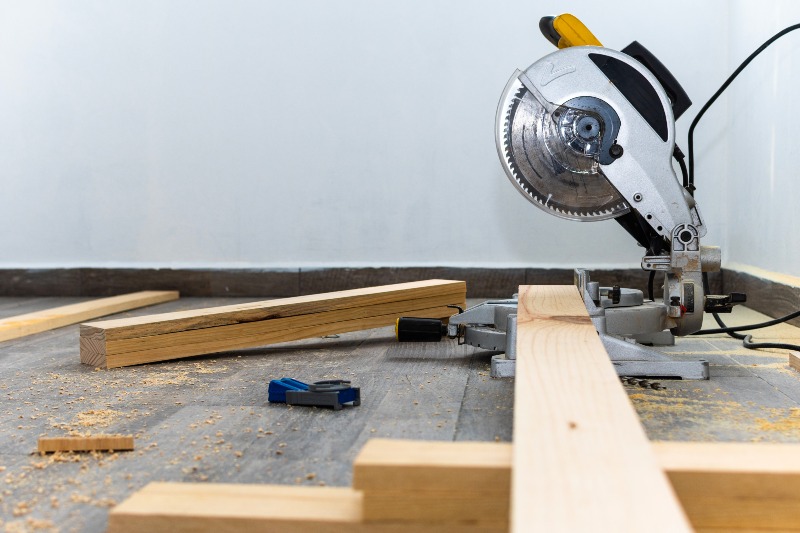
Using your miter saw, cut 12 pieces of wood to make up the arms of your kayak holder. For aesthetic purposes, you can make a diagonal cut on each arm.
Additionally, cut six shorter pieces of wood. These will provide extra support for the arms.
These can hold up to two kayaks. If you have several boats, you can add more arms to accommodate your kayaks.
Step 3: Assemble the Parts of Your DIY Kayak Rack

Now, it’s time to put your wood pieces together. Again, use wood glue for your entire build. You can also drill holes and put in screws for extra support.
Attach the arms on the notches of your posts. For each post, fix two components at the bottom, two at the middle, and another two at the top, giving each post a total of six arms. Keep in mind to leave some space between each pair of arms.
Afterward, glue each shorter piece of wood between a pair of arms, and secure its other end to your post.
Step 4: Connect Both Posts
After attaching the arms to each DIY kayak rack post, connect the two posts using three pieces of 2×4 wood. These will also serve as the back part of your rack.
Glue and drill these pieces onto your posts. This will provide enough support and stability to your DIY kayak rack. You can also make it multi-functional by using this part to hang your other kayaking essentials, such as river shoes and paddles.
Step 5: Finish the Back Part of Your DIY Kayak Rack
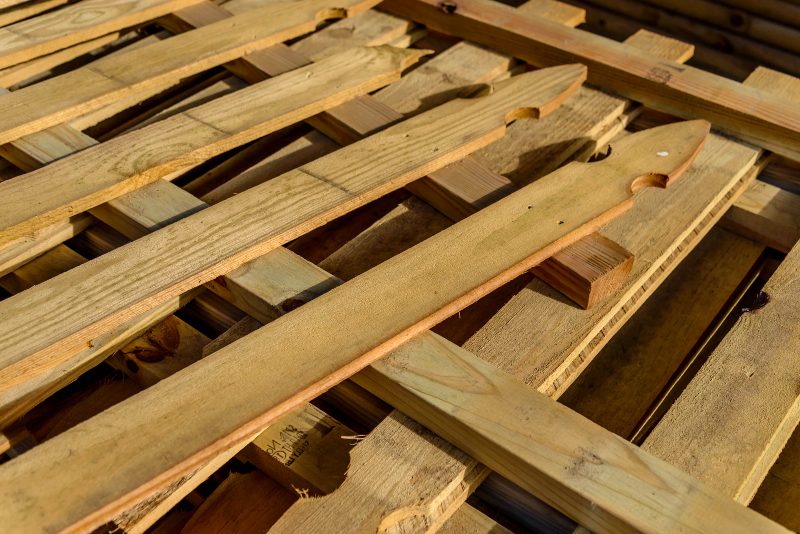
Cut your remaining wood into a picket fence-like shape using your miter saw. Remember that they should fit in the back of your rack. Then, attach them to the three pieces of 2×4 wood.
Step 6: Add Foams to the Arms
You don’t want to put dents on your kayaks. However, since they will be resting on these arms, cut some foams or kneeling pads, and put them on your DIY kayak rack’s arms.
RELATED: 5 Genius DIY Spice Rack Ideas For A More Organized Kitchen
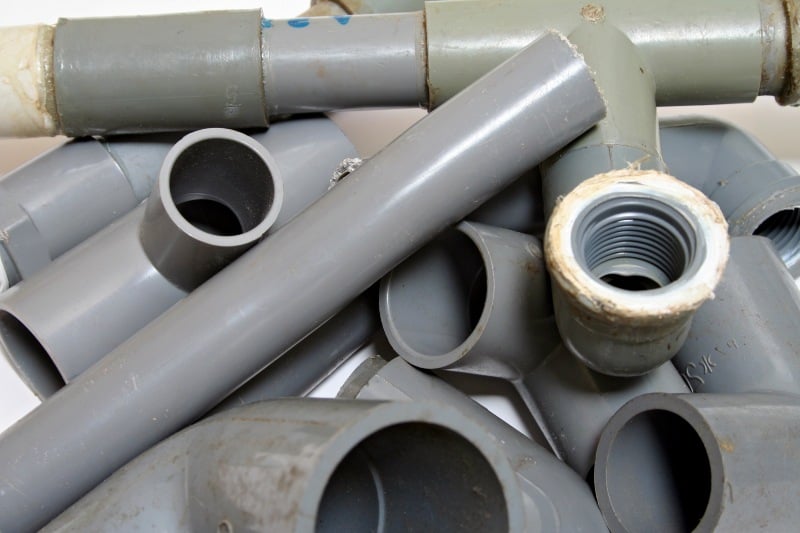
DIY PVC Kayak Rack
What You’ll Need:
- 1 1/4 schedule 40 PVC pipes with the following measurements:
- Two pieces at 24 inches
- Two pieces at 10 inches
- Four pieces at 30 inches
- Two pieces at five inches
- Two pieces at 18 inches
- A pair of five-foot pipes
- Six tee PVC pipes
- Two elbows
- Four PVC caps
Step 1: Attach Your Pipes to the Tees and Elbow
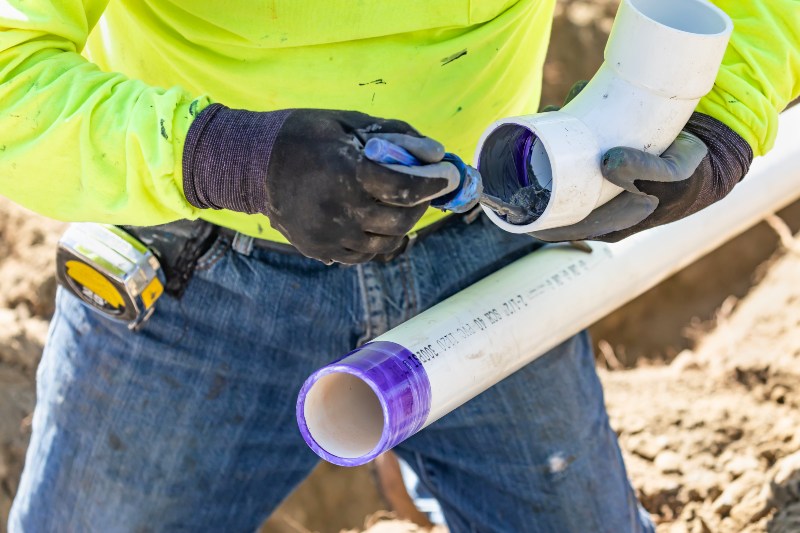
Join one of your 24-inch pipes to a tee. Then, on the other end of the tee, connect one of your 10-inch pipes. Then, link another tee.
If the open end of your first tee points upward, your second tee must point sideways.
Add one of your five-inch pipes to the other end of your second tee. Now, secure your third tee, ensuring that it faces the same direction as the first one.
Then, attach one of your 18-inch pipes. On its other end, fix an elbow. Its direction should face the same way as your second tee.
Step 2: Create Another Post With the Same Pattern
For the other side of your DIY kayak rack, you’ll repeat the same process. However, the second tee and the elbow must face the opposite direction.
Step 3: Join Your Other Pipes and Tees
Connect your 30-inch pipes to the four tees that face the same direction. Afterward, put caps on all your 30-inch lines. These will be the arms of your DIY kayak rack.
Step 4: Link the Two Posts Together
For the last part of this project, you’ll bring together the two posts for your DIY kayak rack. Next, insert your two five-foot pipes into the remaining tees and elbows. These will serve as the back part of your DIY kayak rack.
After that, you can go ahead and make your DIY kayak rack look however you want. Then, again, you can be creative and apply your preferred spray paint.
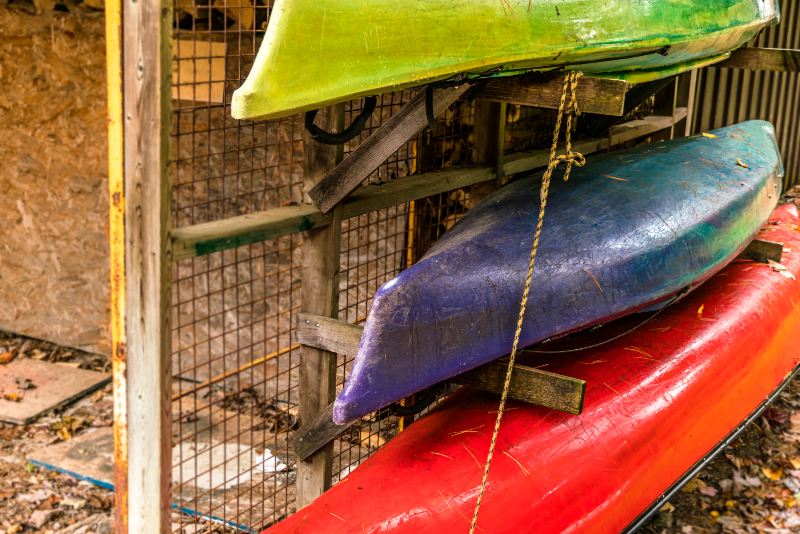
Give it a few minutes to dry, then lean it against the wall. You can now place your boats on this DIY kayak rack.
The project should look like this:
One way of taking care of your kayaks is by storing them in an organized manner. With this DIY kayak rack, you can arrange your boats during winter or conveniently carry them to the water come summer.
Do you have other ideas on how to make a DIY kayak rack? Please share your thoughts with us in the comment section below!
Up Next:
- DIY Pallet Wine Rack | Cool Upcycled Furniture Ideas
- 9 DIY Squat Rack Ideas For Your Home Gym
- Make Your Own Fire Starter At Home | 11 DIY Fire Starter Ideas
Don’t forget to stay connected with us on Facebook, Twitter, Pinterest, and Instagram!