


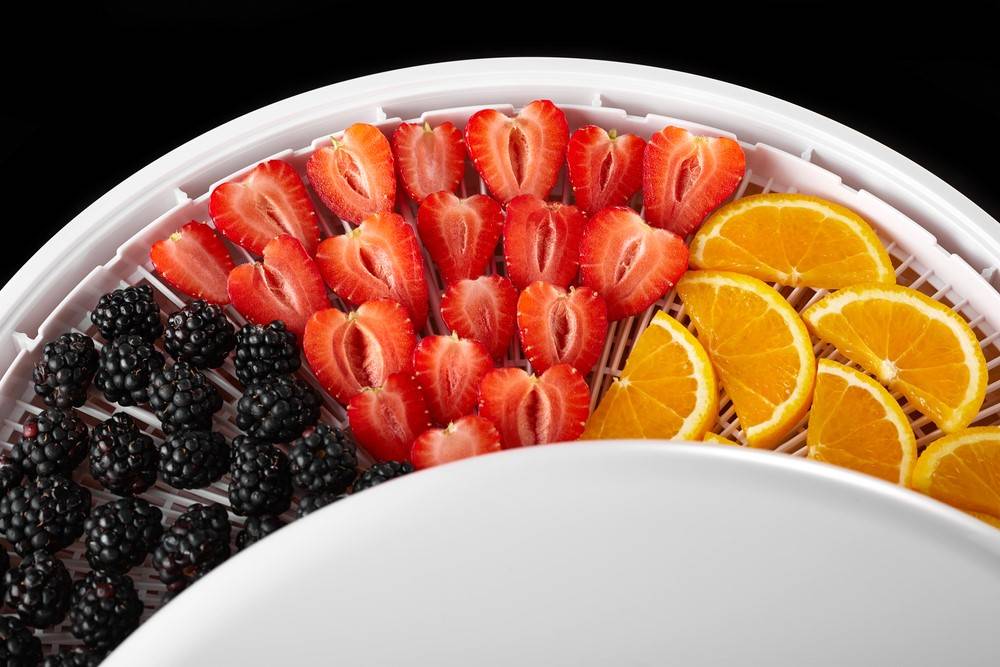

A DIY freeze dryer can preserve the taste and freshness of your food items for a long period of time. It can lengthen their shelf-life without losing their nutritional value. Here are two ways you can put up your own freeze dryer for less money.
RELATED: Wise Food Storage – Vacuum Sealing Food
DIY Freeze Dryer You Can Build at Home | 2 Quick and Simple Methods You Can Follow
DIY Freeze Dryer Using Vacuum Chambers and Pump
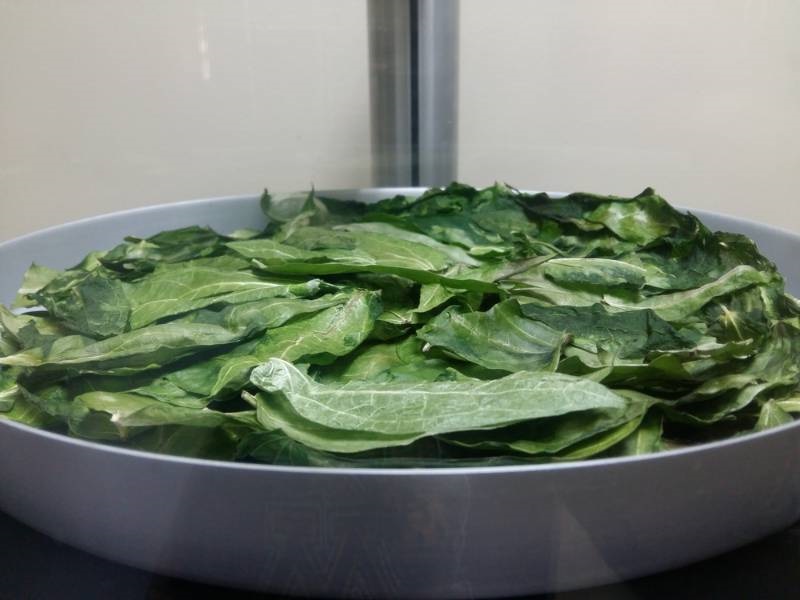
This DIY freeze dryer has two parts – the drying chamber and the water trap.
What You’ll Need:
- Styrofoam sheets
- Two-gallon pot
- Glue or spray adhesive
- Drying chamber
- Water trap chamber
- Digital vacuum gauge
- Teflon tape
- Epoxy
- Hose clamps
- Dry ice
- 1/4 inch union
- 5/8 inch barbed splice
- 5/8 inch braid-reinforced tubing
- Two-stage rotary vacuum pump
Step 1: Insulate Your Pot
Place your pot on a styrofoam sheet, then trace it around. Cut the sheet following the measurement and shape of your pot. Do the same process for the remaining sheets.
Afterward, stack your styrofoam sheets on one another until they cover your pot. You can apply glue or spray adhesive to each sheet to stick the pieces together. Wrap your pot as completely as possible to keep your food items cold.
Then trace the diameters of both the water trap chamber and your pot on another sheet to create a lid for your pot. You can also wrap your drying chamber to keep it cold.
Step 2: Upgrade the Gauge of Your Drying Chamber
Use stainless steel and acrylic vacuum chambers so you can easily control the temperature. You may use one-fourth gallon for the drying chamber and one gallon for your water trap.
The gauge that usually comes with a drying chamber reaches its peak quickly. Instead, use a digital vacuum gauge to verify the pressure.
Attach this gauge to the dryer chamber using a quarter-inch union. Seal it using quality Teflon tape to avoid leakage and blowing up the pressure.
Step 3: Assemble Your Water Trap Chamber
Detach the gauge that comes with your water trap chamber. Then, drill a hole on your water trap to place your barbed splicer. Apply epoxy to your splicer, then put it into place.
Place your water trap inside your two-gallon pot. Once the epoxy is dry, attach the tubing to the splicer and to the vacuum pump with hose clamps.
Step 4: Test Your DIY Freeze Dryer
Prepare some food items that you can use in trying your DIY freeze dryer. Put them inside a plastic bag, then sandwich them between two layers of dry ice. Then, wait for an hour to make the food items frozen solid.
As you wait, make the water trap chamber cold by filling your two-gallon pot with alcohol and dry ice. You can also lift your pot and place a block of dry ice underneath. This is to maintain the temperature for several hours without checking it every now and then.
Once your food items are frozen, transfer them into your drying chamber. Cover your chambers so outside air won’t enter.
Turn the valve. This will allow gases to flow between the drying chamber and the water trap chamber. Afterward, start your vacuum pump.
Don’t forget to wear gloves since dry ice and cryo fluid can burn you. There’s also a risk of implosion with vacuum apparatus so take proper precautions.
Step 5: Check Your Digital Gauge
If you notice that your gauge isn’t functioning, there’s a possibility that the pressure is too high. It could also mean that there’s a leak either in your chambers or in the connectors such as the tubing.
RELATED: 17 Small Kitchen Ideas for Renters: How to Organize Efficiently This Holiday
DIY Freeze Dryer Using Styrofoam Cooler
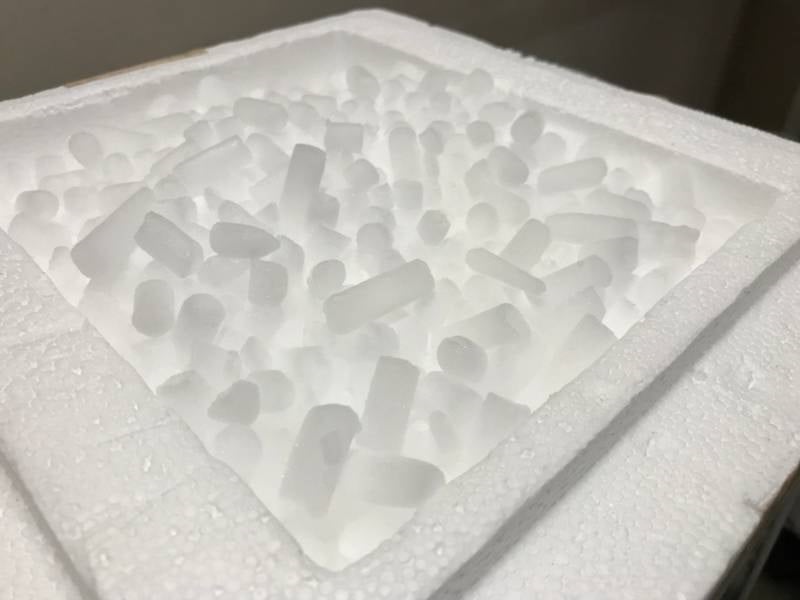
Another cost-efficient option for your DIY freeze dryer is to use a simple package that also maintains a cold zone.
What You’ll Need:
Step 1: Prepare Your Styrofoam Cooler
Be sure that the size of your styrofoam cooler is just enough for the food you’re about to freeze-dry. There shouldn’t be lots of extra room in it.
Step 2: Ready Your Layers of Ice
Put down a single layer of ice on the base of your styrofoam cooler. However, only do this once you’re ready to use your DIY freeze dryer.
Step 3: Arrange Your Food Items
Lay down your food items on top of your dry ice. Avoid stacking them up on each other. Instead, place them side by side inside your DIY freeze dryer.
Step 4: Cover Your Food Items
Add another layer of ice on top of your food items. Afterward, place additional food items on top of this layer of dry ice.
Do the same process until your DIY freeze dryer is almost full. Ensure that the topmost surface is dry ice. Put the cover on your cooler, then wait for around 30 minutes.
Step 5: Inspect Your Food Items
Scan your freeze-dried food to determine if they’re already rock solid. Otherwise, cover your DIY freeze dryer again, then look into your food items every after five minutes.
Step 6: Place Your Food Items in a Freezer
Once your freeze-dried food items are already frozen, remove them from your cooler. Store them inside a freezer until you’ll use them again.
However, if the food items are sealed in vacuum packaging, you don’t need to put them in a freezer. Instead, keep them in your food closet or pantry.
You can store your camping meals and healthy snacks in a DIY freeze dryer. Watch this video by Harvest Right to learn about other types of food that you can freeze dry:
You don’t need to buy a costly freeze drying machine to preserve your food. Instead, make a DIY freeze dryer using simple tools, and it’ll still give you the same results.
Do you have other ideas on how to make a DIY freeze dryer that you’d like us to know about? Share your thoughts with us in the comments section below!
Up Next:
- 10 Methods to DIY Kitchen That’ll Make Your Friends Jealous
- 51 Terrific Ways To A DIY Kitchen Upgrade | DIY Projects
- Make Your Own Fire Starter At Home | 11 DIY Fire Starter Ideas
Calling all crafting DIYhards, DIY Projects needs YOU! Click here if you want to write for us.
Don’t forget to stay connected with us on Facebook, Twitter, Pinterest, and Instagram!









