Do you want to know how to use a router so that you can come up with different designs for your woodworkings? I’m here to teach you the basics in operating a wood router. Intricate designs etched on wood are remarkably fascinating. The complexity of the craft can bedazzle anyone, which makes people ask: how was it made? The answer is simple: WOOD ROUTER. Scroll down and find out how to use a wood router.
How To Use A Router | Learn Woodworking Part 2
In this article, we are going to show the very basics on using a wood router. It’s not that difficult to use, but it’s also not easy to master. But once you get the hang of it, it’ll be as easy as picking wood from a lumber shop. Learning how to operate a router is the first thing you need to do before you can make a beautiful craft. The grooves and edges of a certain woodcraft, especially in cabinetry, are made with the use of these wood routers. There are a lot of types of wood router and one of them is the CNC (Computer Numerical Control) router, which is considered a huge technological advantage. But let’s start with the basics first. Check out the steps below on how to operate your hand router.
Steps :
1 Insert the router bit
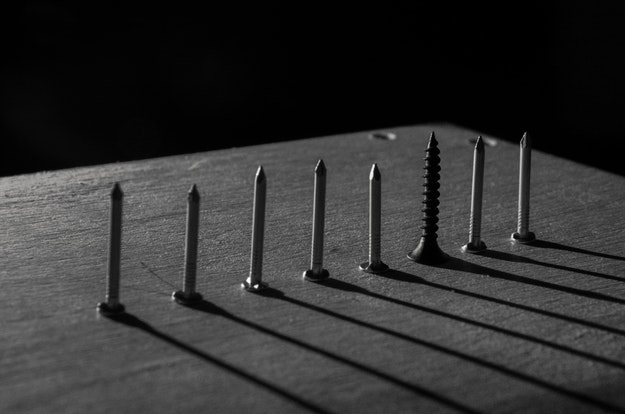
Router bits have different varieties that have a specific use. Their main purpose is to give an embellishing effect on the wood. Some of them are also used for restorations. You need to remember that a wood router is a power tool so before you insert the bit make sure it is unplugged. Wear protective goggles and mask before using the wood router because wood chips can go flying.
2 Tighten the Collet Nut

Once the bit is inserted, tighten the Collet nut and secure the bit in place.
3 Start the router and cut the wood
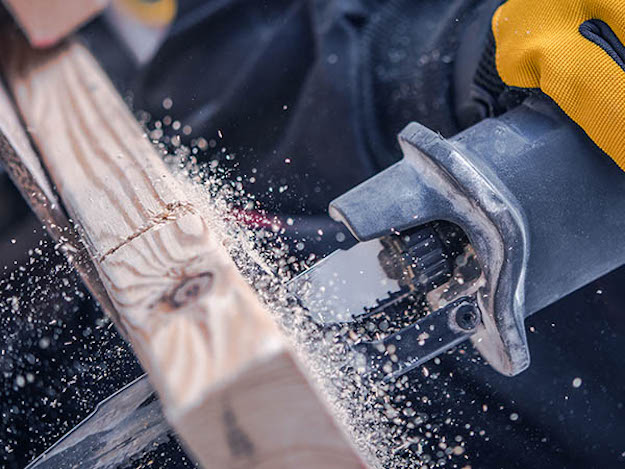
After securing the bit, plug the router and place it on the surface of the wood then release the lock lever. Press the router until the bit touches the surface then tighten the lock lever again.
Important tips:
- Start the router and let it reach the full speed. Then press the handle until the bit makes contact with the wood.
- You can also follow the owner’s manual for more instruction on how to use a wood router.
Some people uses templates to create different designs. Although modern technology is quickly taking over, there are still some craftsmen that still wants to go old school and use hand routers, especially if it’s DIY.
Watch this video from Steve Ramsey for more info on router basics :
If you want to learn woodworking, then you have to start with the basics. Mastering the wood router will definitely take some time, but with constant practice, you’re going to carve up designs far more intricate than any other woodworker in your area.
Click Here For More DIY Tips!
Like This? You’ll Also Like…
The Complete Guide To Wood Working Tools For Beginners

DIY Project: How To Build A Simple Cheap Work Bench In 60 Minutes

18 Simple Yet Creative Wood Pallet Projects To Give Your Home That Rustic Look

Featured Image Via popularwoodworking