
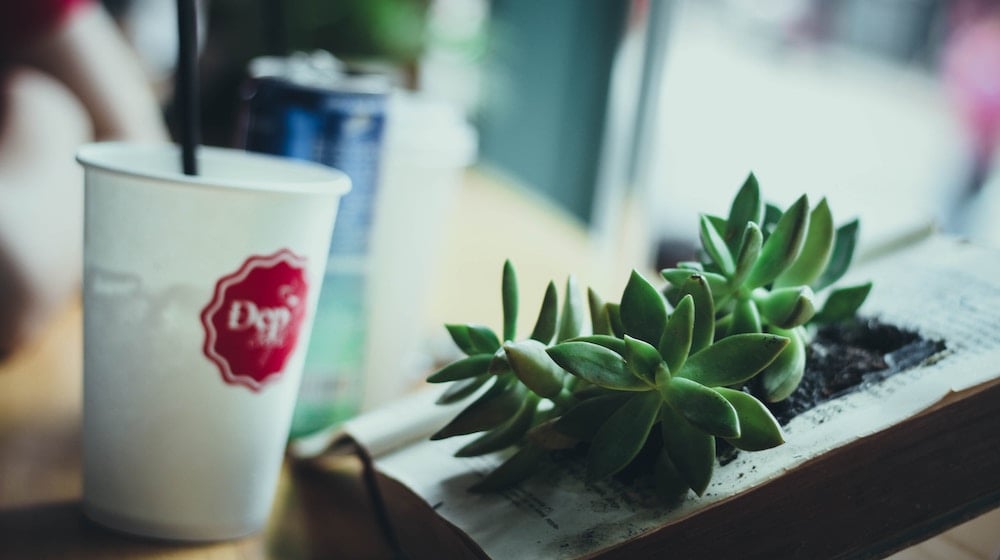

What a sight to see when your plants are well – placed and can really complement your garden space. Blooming flowers here and greenness there that create a picturesque garden. There just might be a little trouble placing the little ones well. Small succulents you have at home might be overshadowed by bigger plants. But worry no more! You can put an accent on your planters. Succulent planters redefine the aesthetics of your garden and give your plants a secured spot. Here, we will show you how it’s easily done. Create your own succulent planter in 6 easy steps!
This DIY Succulent Planter Will Make Walls And Gardens Look Beautiful
The Only DIY Succulent Planter You’ll Ever Need. Just Rinse And Repeat!
Don’t allow your small plants to be overshadowed by the bigger and taller ones. You can maximize the space in your garden and arrange them strategically. This succulent planter is an awesome addition to your already beautiful garden. This DIY project will not take much of your time. Excited? Then let’s get it started.
Supplies:
- 4×4 wood
- Dowels (5×16″)
- Polyacrylic Finish
- 2″ Drill Bit
- 1/4″ Drill Bit (extra)
- Succulents
Tools:
- Circular Saw
- Orbital Sander
- Cordless Drill
Steps:
1. Cut the boards to the desired length.

Cut a 14 – inch long section of the 4×4. Since it is thick, make 2 passes to cut all the way through.
*A miter saw will make it easier, if you have one.
2. Drill holes.
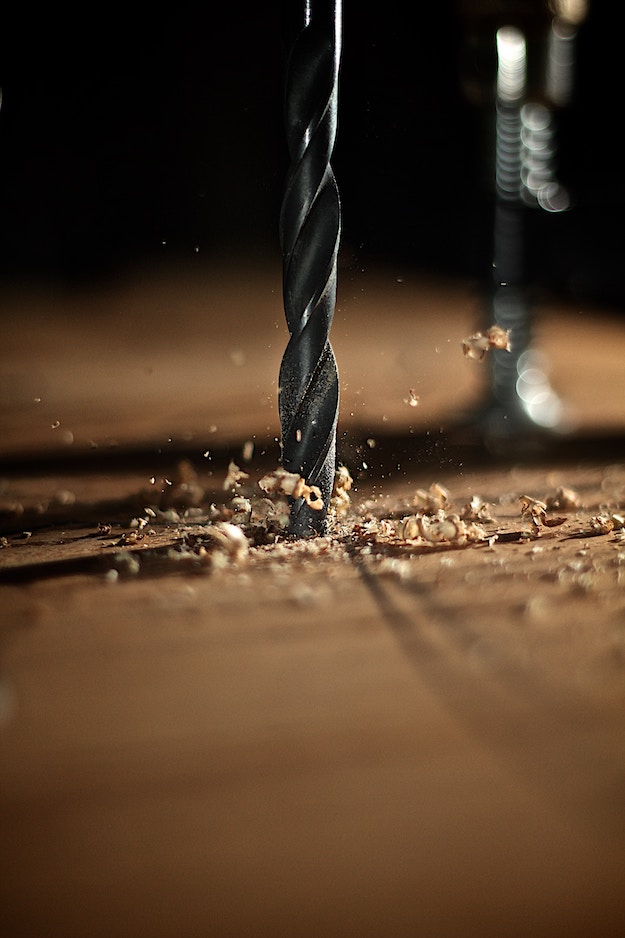
Using a large drill bit, drill holes in the 14 – inch cut wood. Make sure to clamp the wood as you drill the holes because it might move around.
Drill three evenly spaced holes that are 2 1/2 inches deep.
Flip the 4×4 on its end. Using the extra drill bit, drill a hole that will serve as a drainage hole all the way through the three other holes.
3. Sand it.
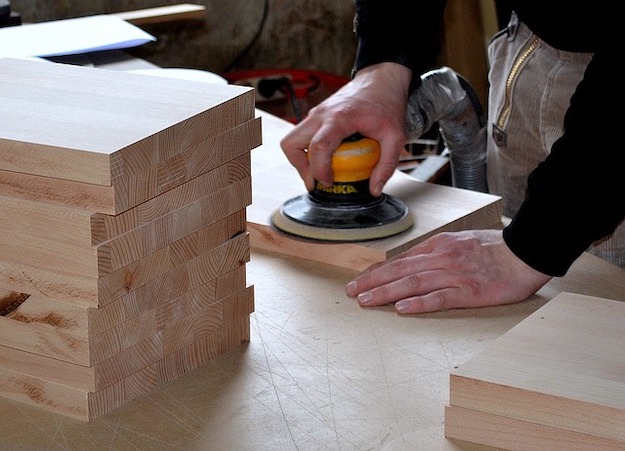
Sand the wood using the orbital sander until it’s all smooth.
4. Apply finish.

Seal the wood with a polyacrylic finish. This will make the wood waterproof, so it doesn’t absorb water fro the soil and plants.
5. Create a plug for the planter.
Carve the 5×16″ dowel to make a plug for the planter.
6. Mount it.
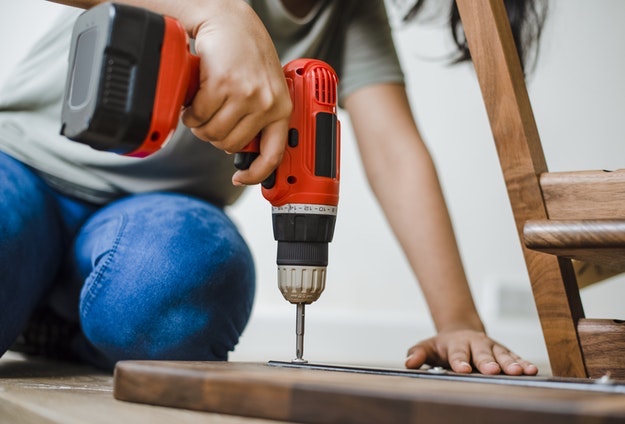
In this tutorial, the planter is placed temporarily on the wall for project purposes. Screw two L – brackets into the wall.
Place the planter. Screw it below to secure the planter.
There you go! You can place this anywhere, be it on the garden wall, or just let it sit outside together with the rest of your plants.
Watch this video from HomeMadeModern for the full tutorial of this cool project :
Now you have more room for more plants, given that your succulents are well – arranged and adding more life to your garden. Create a planter with more holes if you have a lot of succulents and enhance the aesthetics of your home. This is such an invigorating transformation that will leave a smile on whoever sees it. Tell us what you think about this project in the comments below!
Click here for more DIY garden crafts.
Like this? You’ll also like…
20+ Incredible DIY Garden Projects To Choose From

Fun DIY Projects For Everyone: Basic Guide on Building Your Own Hobbit House

Easy DIY Backyard Project Ideas

Featured Image Via homemade-modern


