


Want to know how to make an ottoman? If you need extra seating and a cool place to store you belongings in style then this is the woodworking project for you. Transform an old crate into your next upcycling project!
Vintage Wooden Crate DIY Ottoman | Woodworking Project
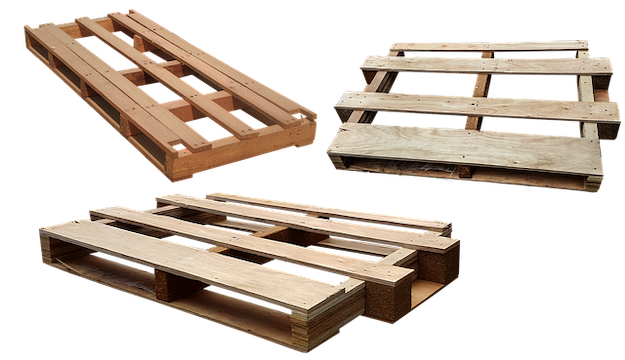
Many of us probably still have old wooden crates somewhere in basements and garages. If you have one and are thinking about throwing it away, think twice before doing it! This is a great upcycling project to turn an old wooden crate into a beautiful vintage-style ottoman.
Don’t worry if your crate has scratches, dark signs and printed text on it: all these details will make your ottoman a unique piece of furniture for your house!
What you’ll need for this DIY Ottoman Crate:
- wooden crate
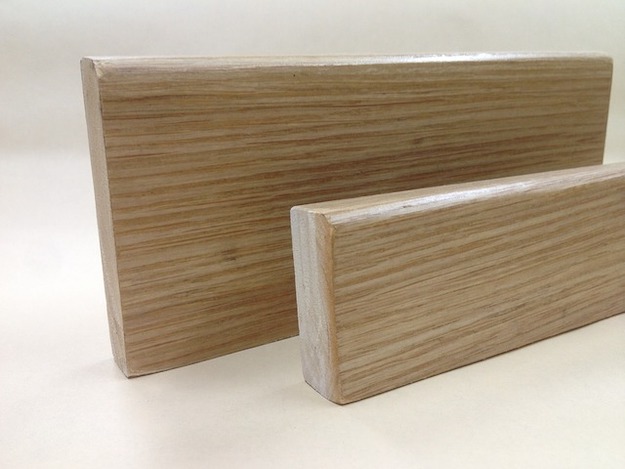
- wooden board as big as your crate base
- long piece of wood – approx. 35″ x 2″ x 1″ (or double the length of your crate)
- jig saw
- fabric
- 2″ upholstery foam
- upholstery foam cutter (optional)
- stapler
- sandpaper – both coarse and fine
- white glue
- Shellac wood polish
- beeswax wood polish
- trimmings
- scissors
- tape measure
- paintbrush
- piece of cloth
Step 1
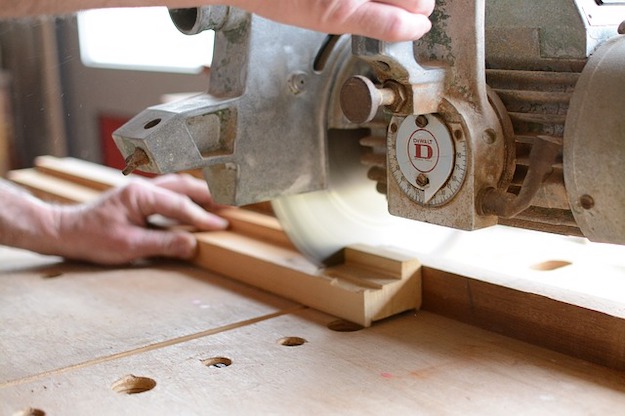
If you don’t already have one, cut a wooden board just as big as the base of your crate. This will be the seat that will also serve as cover for your ottoman. You will also need to cut two long pieces of wood as long as the inside length of your crate. If your crate has two horizontal strips on the sides, make sure to deduct their width from your measure. It’s very important to do this because the 2 long pieces will have to fit in the upper part of the crate and secure the seat.
Step 2
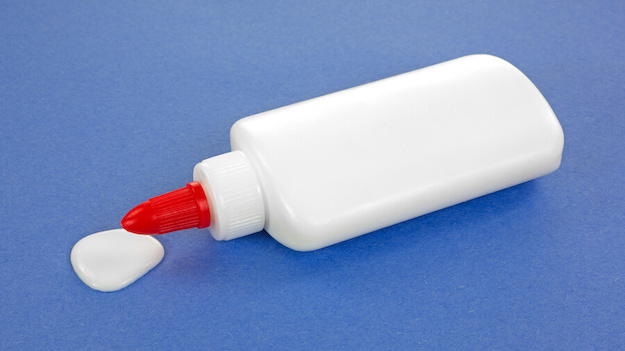
Glue each piece lengthwise on the board, one toward the top and the other one toward the bottom. Make sure to center them and keep them a little distant from the top and bottom edges. That distance must be as big as the thickness of your crate’s sides – 1/2″ may be enough.
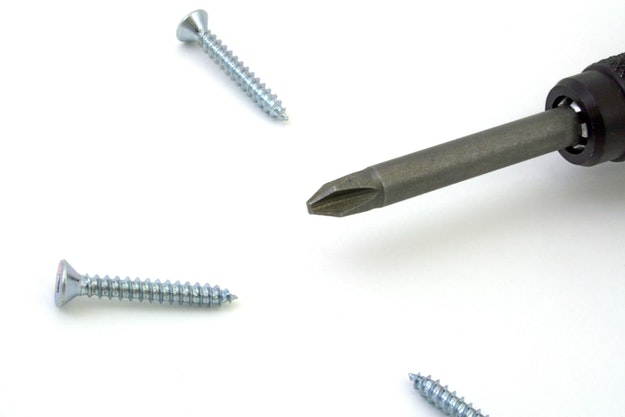
Finally turn the board and place a few long staples right where you glued the tow pieces. They will be steadier this way. You can also use screws if you prefer.
Step 3
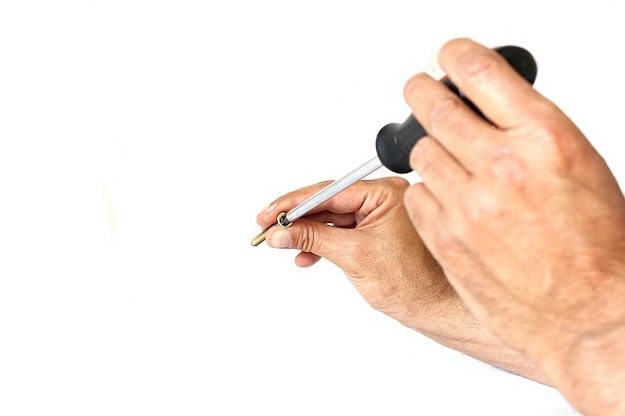
Place the seat on the upholstery foam. Trace its outline on the foam, leaving 1/2″ allowance on each side. I used a screwdriver to score the foam, but you can use a pen or anything similar.
Step 4

Cut the foam following the lines you traced, I recommend using a foam cutter in order to obtain an accurate cut, as scissors don’t perform well on thick foam.
Step 5
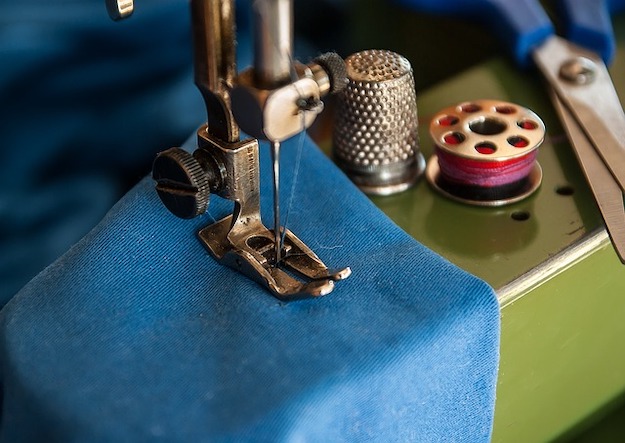
Cut a piece of fabric that is big enough to cover the whole seat with the foam on it, plus an extra to staple on the back. I considered the regular size of the seat plus approx. 6″ more on each side.
Step 6

Lay your piece of fabric with the right side facing the table. Center the foam on it and then add the wooden seat on top, with the flat side facing the foam.
Step 7

Start stapling the sides of the fabric to the back of the seat. I always start with 1 staple in the middle of each side then I add a couple more spaced evenly. Don’t staple the fabric on the 2 long pieces of wood; try to do that on that narrow space between them and the edge of the board.
Step 8

Keep stapling all sides leaving the corners free from staples for now. It’s important to pull the fabric a little, always keeping the same tension on every side. This way your seat will have perfectly round edges.
Step 9
It’s time to make the corners now. Pull the fabric from one side of the corner and secure it with staples.
Step 10

Fold the other side of the fabric in the corner, as showed in the picture, then pull it as you would normally do and staple it. You can even cut some of the excess fabric to obtain a neater corner.
Step 11
Repeat the previous step for all corners and you’ll get perfectly stapled corners like this one!
Step 12

Cut out all the excess fabric very close to the staples.
Step 13
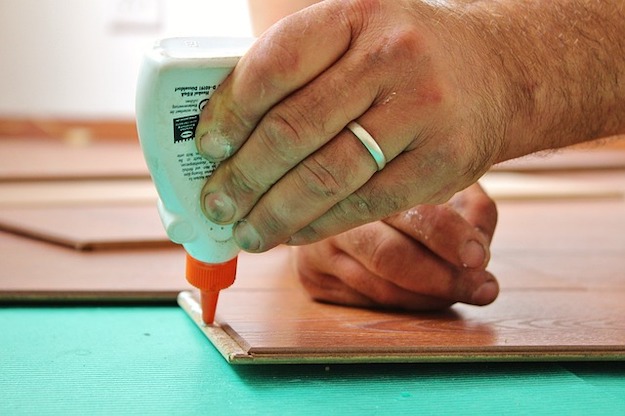
I decided to cover all of the staples using a strip of fabric on the shortest sides and I placed trimmings on the longest. I attached the fabric strip with white glue folding the edges on the inside, then you can either glue or staple the trimmings since the staples will hardly be visible on them.
Step 14
This is the finished seat! It’s beautiful, isn’t it? You can already try it on your wooden crate.
Step 15

It’s time to start working on the crate now. Clean and sand the whole surface using coarse sandpaper. You can do it both outside and inside the crate, just enough to smooth the rough and sharp spots.
Step 16
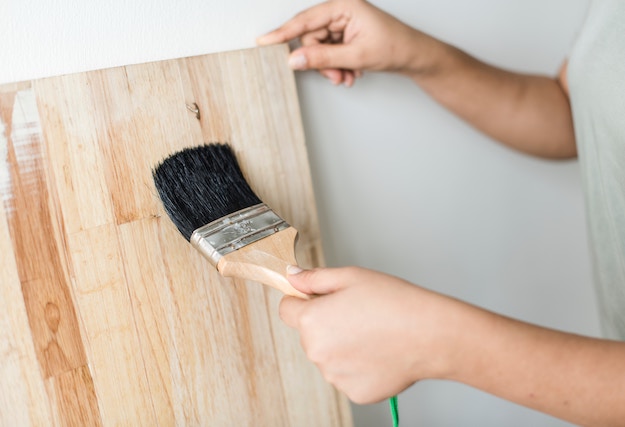
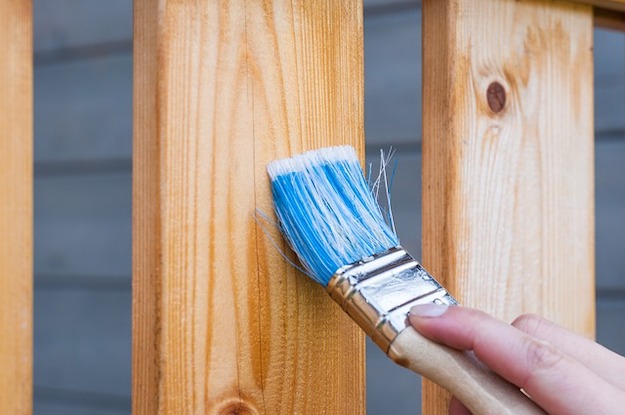
Clean it from the dust then apply a coat of shellac polish on the whole surface, using a paintbrush. You can use any shellac color that you like. Let it dry when you are done, then you can give it another coat.
Step 17
When your crate is completely dry, sand it a little bit more using fine sandpaper. This way you’ll remove the last bits of wood that were lifted up by the polish.
Step 18
Finally, apply beeswax using a piece of cloth (a soft one works better). Beeswax will protect the wood and make it shinier and smoother.
Step 19

Let the beeswax dry a little then remove the excess using a cloth. Keep polishing your crate with your cloth to obtain an even shinier look. When you are satisfied with the result, let it dry completely.
Now you can finally put the seat on you crate and admire your new vintage-style ottoman!
And the best thing about it is that you can even store things in it thanks to the container that you can open and close. A beautiful multipurpose upcycled ottoman!
Did you our tutorial on how to make an ottoman? Let us know in the comments section below what your thoughts are on this DIY ottoman. Do you have any other craft projects you’d like to share? Share it with us and we’ll give it a try. We love doing cool DIY projects by making craft projects, home decor projects, upcycling ideas, recipes, tutorials and anything you can do yourself. That’s why we created this site, we want people to be more in touch with their creative side and realize that there’s a lot of things that they can do themselves. We’d love to hear from you and create a community of DIY enthusiasts where any project is just a click away. Stay connected with us onFacebook, Twitter, Pinterest and Instagram!
Want more cool DIY projects to try? Check out more of our posts:
How To Make A Table From A Repurposed Army Ammo Crate
Easy Woodworking Projects
Upcycled Wine Crate Dog Bowl Station


