

Why spend on a customized print when you can make one at home? Try these DIY Screen printing techniques and print to your heart’s content.
Screen printing has become increasingly trendy. It’s great for personalizing items for special occasions, like birthdays, weddings and holidays. You can print designs on a wide variety of materials, including shirts, caps, bags and even curtains.
If you’re fond of customizing things, try these DIY Screen printing techniques. They’re relatively simple and can be used over and over again. You can also turn the passions into a business if you’re really determined. Here are two different methods of screen printing:
DIY Screen Printing
1. Screen printing using panty hose
What you’ll need:
- Shirt
- Modge Podge
- Fabric Paint
- Design
- Cardboard piece
- Embroidery hoop
- Nylon or Panty-hose fabric
- Paintbrush
- Permanent pen
Instructions:
Step 1
Create a design for your screen print. Make sure that your embroidery hoop is large enough for your design.
Step 2

Step 3
Step 4
https://www.instagram.com/p/Bs8s18vnr6B/
Step 5
Super easy, right? Definitely doable! Here’s another method for DIY screen printing:
2. Photo Emulsion Method
What you’ll need:
- A screen printing frame (you can also build your own custom size)
- Cord long enough to go around the entire frame (11/64 diameter)
- Screen printing fabric
- A putty knife or cord setter to lay the cord (make sure it’s not too thick or else it will stretch the trenches and your cord won’t stay put)
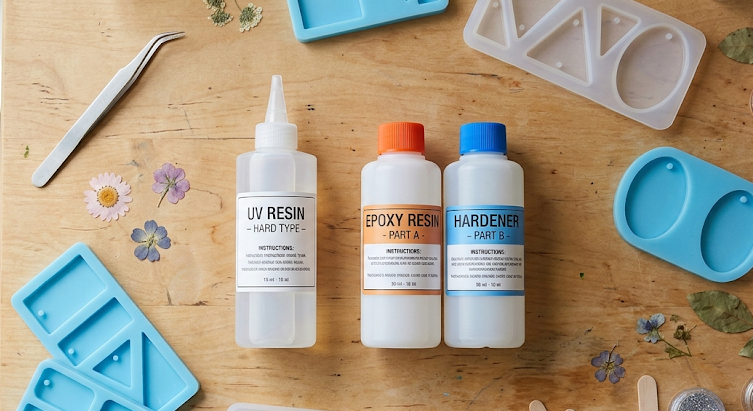
- Screen printing emulsion and sensitizer
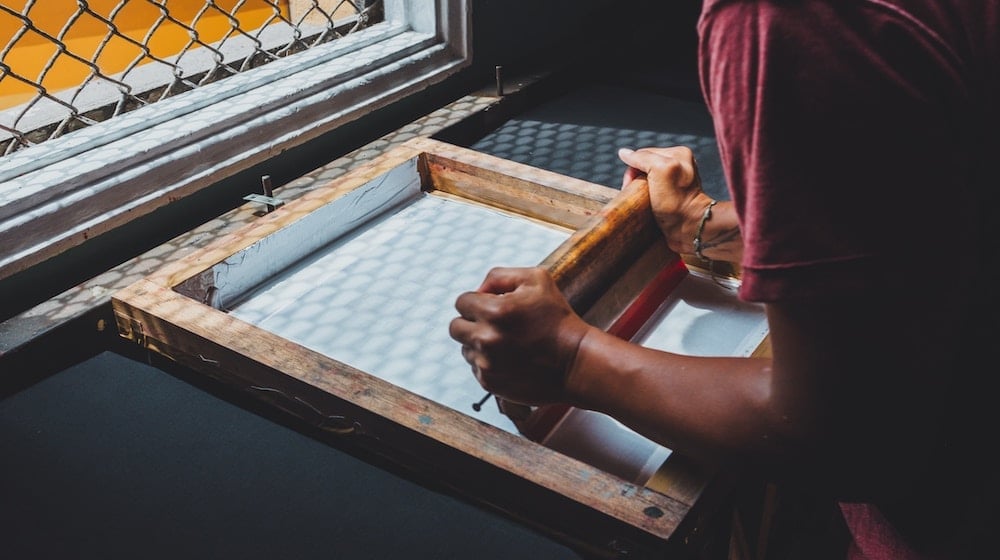
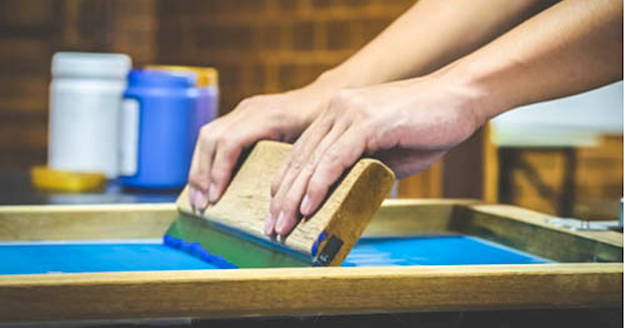
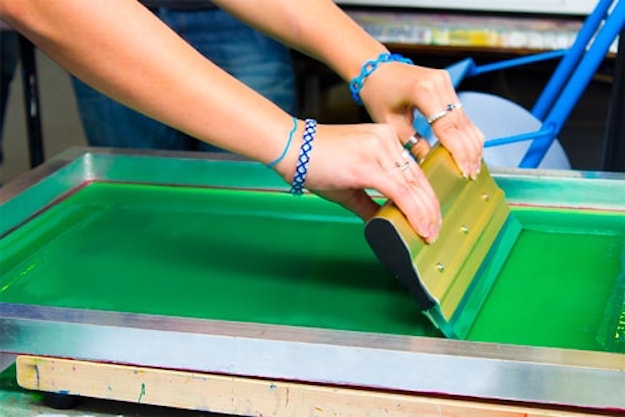
- Screen printing squeegee
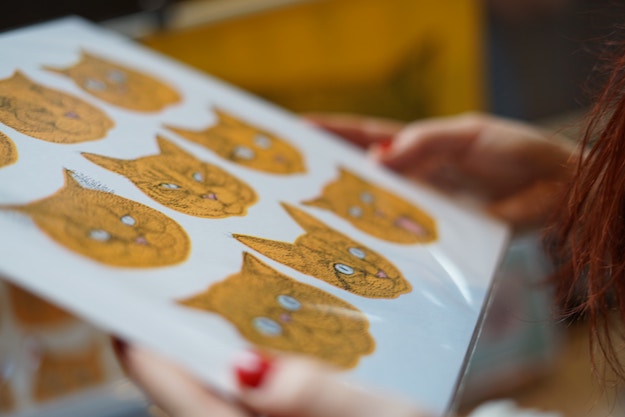
- A transparency with your image (you can have it printed outside if your printer cannot print on transparencies)
- Aluminum pie tin (from your local grocery store)
- 250W Photoflood Light Bulb (These are fairly easy to find at your local camera store/photo developing store. They burn out semi-quick so always have a backup handy)
- Light socket with electrical cord (I found mine at a hardware store in their lamp department. You can also find them anywhere that sells paper lanterns)
- Masking/Painters tape
- Screen printing ink
Instructions:
Step 1
Continue all the way around the frame.
Trim any excess fabric to make sure your frame will lay flat.
Step 2
Spreading the Emulsion.
Mix the sensitizer with the emulsion before coating your screen.
NOTE: Do this step in a dimly lit room. Emulsion is light sensitive and you don’t want to pre-expose your frame.
Add a little emulsion to your screen.
Spread a THIN layer of emulsion on each side of your screen with the squeegee. Just enough to coat both sides. If it is too thick your image might not develop correctly. Use the squeegee to scrape off any excess emulsion back into the jar.
Let your screen dry in a PITCH BLACK ROOM. While it’s drying, you can prep your transparency image and your light setup.
Step 3
Make your own Exposure Light.
To be safe, you can make two copies of the transparencies and tape them together to make sure no light shines through that portion of the transparency. Keep in mind that anything that’s BLACK is where your paint will go.
Step 4
Develop your Screen.
Once your emulsion is dry it’s time do develop! Exposure time is based on the size of your frame.
Frame Size – Bulb Height – Exposure Time
8″ x 10″. . . . . . 12 inches . . . . . 10 minutes
10″x14″. . . . . . 12 inches . . . . . 10 minutes
12 “x 18” . . . . .15 inches . . . . . 16 minutes
16″x2O” . . . . . 17 inches . . . . . 20 minutes
18″x2O” . . . . . 17 inches . . . . . 20 minutes
** VERY IMPORTANT ** Make sure you have your transparency facing the correct way so that your image is not reversed on your shirts/posters! In the example, the transparency is developing on the bottom the screen. You should REVERSE it so that the text is not backwards when it’s time to print.
Set your timer and let your screen develop in a completely undisturbed room. Even the slightest nudge of the screen can make your image weird.
Step 5
Washout your Screen.
Once your screen is developed you can take it back into the light.
Use the hand-held kitchen sink squirty thing (or your shower) and start spraying water in a spray-paint-can fashion all over both sides of your screen. Lukewarm water seems to work best. Keep spraying both sides until your image has completely broken through. This can take about 10 minutes or so. Be patient.
Hold it up to a bright light periodically to see when all parts of your image have been washed out completely.
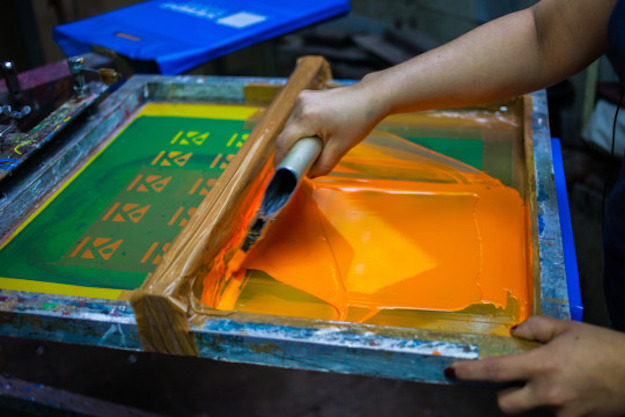
Step 6
Happy Printing!
Did you enjoy our post on DIY Screen printing? Let us know in the comments section below!
Don’t forget to stay connected with us on Facebook, Twitter, Pinteres
Like this post? Then you’ll love…
DIY Doctor Who Book Bag from Upcycled Clothing | Personalized Tote Bags