


The number of duct tape projects out there is pretty much endless. Here, we show you how to make an adorable duct tape wallet, but you can make clothes, tools, safety gear, handbags and more with duct tape. There’s even a story about a guy who repaired an entire plane with the stuff. As such, it’s not surprising that there are so many wonderful duct tape crafts for kids out there, and this dragon duct tape wallet is definitely one of them.
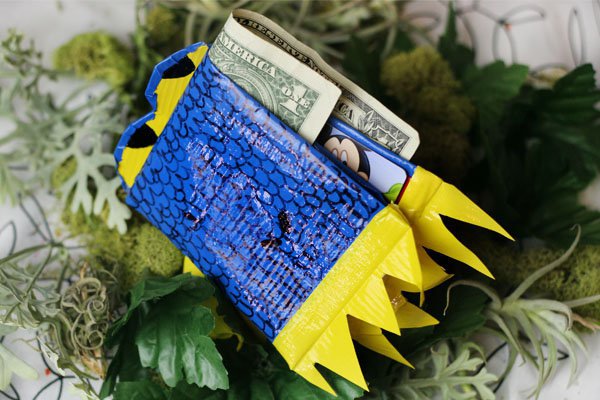
Legend has it that dragons guard huge caverns filled with gold. Seems like a pretty good way to keep valuables safe, if you ask me. Why not have some fearsome creature protect your lunch money too? Our dragon duct tape wallet will not only keep your money and cards safe, but it will look cute while doing it!
This craft for kids (or kids at heart) is perfect for a rainy day or birthday party activity. There is no wrong way to design a wallet dragon, whether you add glitter, googly eyes, or fabric to make your wallet even more magical looking. Make sure to have an adult on hand when using a razor and scissors…as well as if your dragon comes to life and decides to attack!
How To Make A Duct Tape Wallet
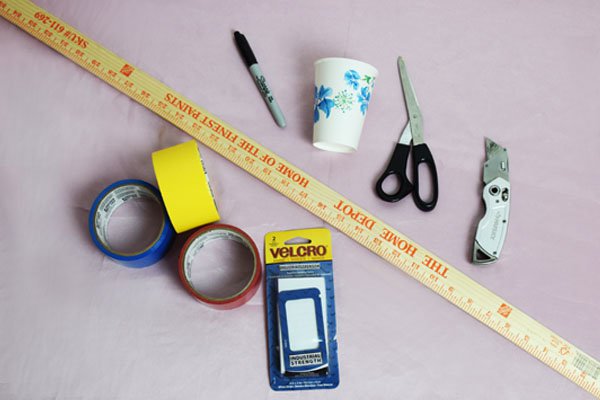
Supplies for this duct tape wallet project:
- 3 spools of duct tape (solid, pattern, metallic – it’s up to you!) We used blue, yellow, and red
- Scissors
- Straight edge cutting blade
- Permanent marker
- Velcro
- Paper cup
- Self healing cutting mat (or a surface that you don’t mind getting cut up)
- Straight edge ruler
Step 1: Make The Duct Tape “Fabric”
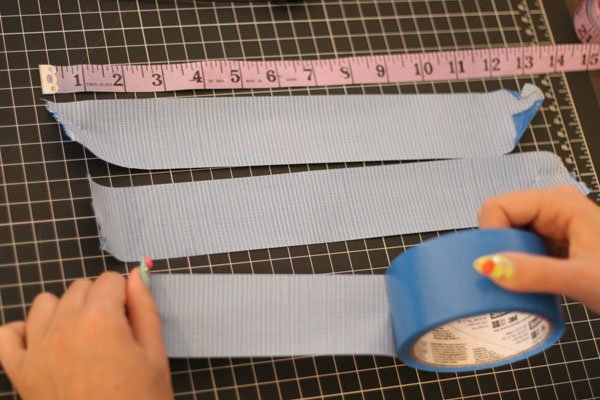
All good wallets need a strong foundation, and what’s stronger than duct tape? Not much. Lay out supplies on your cutting mat and lay the straight edge ruler horizontally over your work space. Rip a strip of your base color tape (we went with blue) and face the non-sticky side down on your mat.
We wont need the strips to be longer than 9 inches, but it’s better to go longer than shorter, so cut them all at an even foot to be safe.
Check out our post that shows you exactly how to make duct tape fabric and other cool duct tape stuff:
Duct Tape Projects 101: The Basics to Make Anything
Step 2: Lap It Up
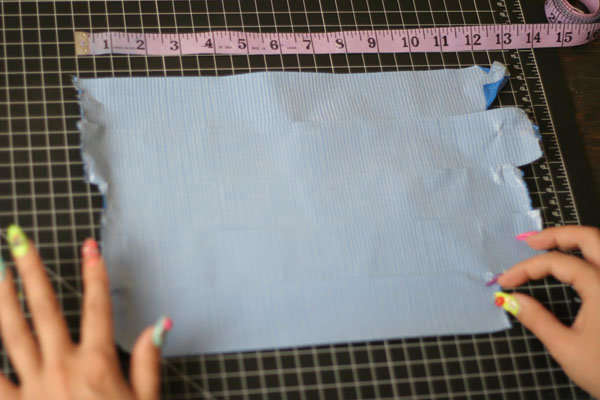
Take each strip and overlap it horizontally over the strip above it. Make the overlap about a ½ inch. Repeat till your fabric square is about 6 inches high.
Step 3: Repeat other side
Repeat this step again, this time sticky side of the duct tape facing down, thereby sandwiching your completed side. Just like you did the bottom layer, stagger the second layer of tape onto the first. This will help create a strong base for our duct tape wallet.
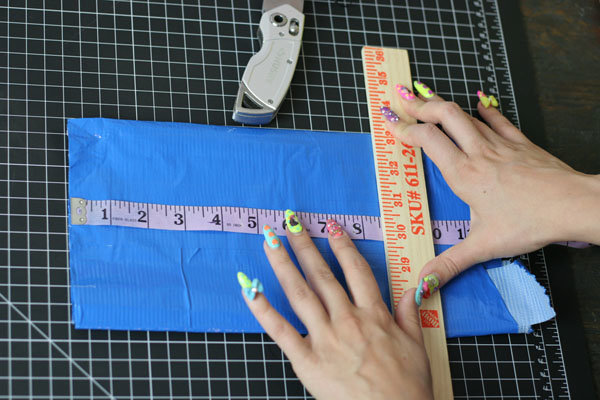
Step 4: Fold Fabric Sides
Time to clean up! Fold the edges over to create neat seams for your wallet on the top and bottom of your tape fabric. Next, clip off the messy sides by lining up your ruler and using your straight edge blade. Measure 8-1/2 inches across, trimming your blue (or whatever color base) to a nice 8-1/2 x 6 rectangle.
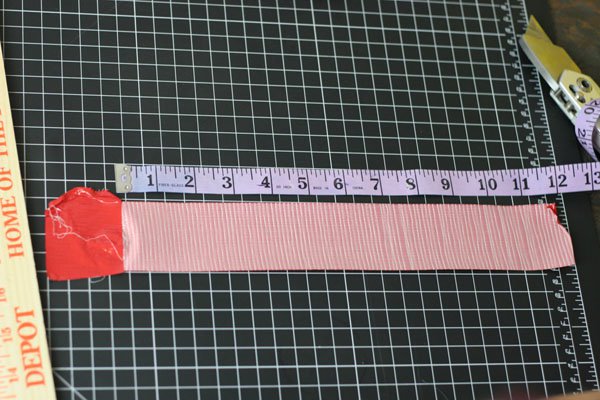
Step 5: Create Base For Card Holders
We will be creating 3 card holders for this wallet, but if you want to add more, go for it! Rip off a tape strip of 10 inches in length or more. Place sticky side up on your cutting mat. Use a scrap of tape to hold strip in place. Sandwich another strip of tape directly on top so you have one 10-inch strip with all that sticky stuff tucked away.
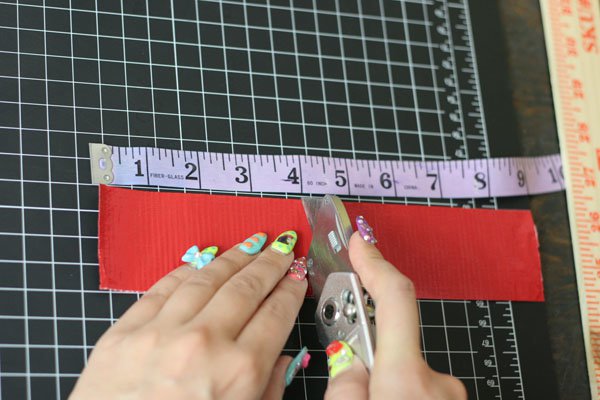
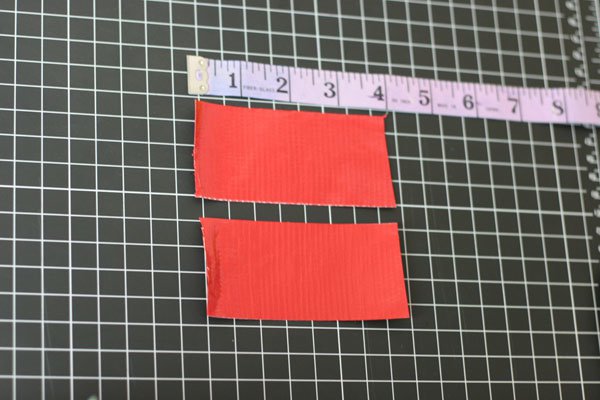
Step 6: Cut Your Base
Once you have your base layer for your small cards, cut it into 4 inch long rectangles. The more of these you make, the more small pockets you will have.
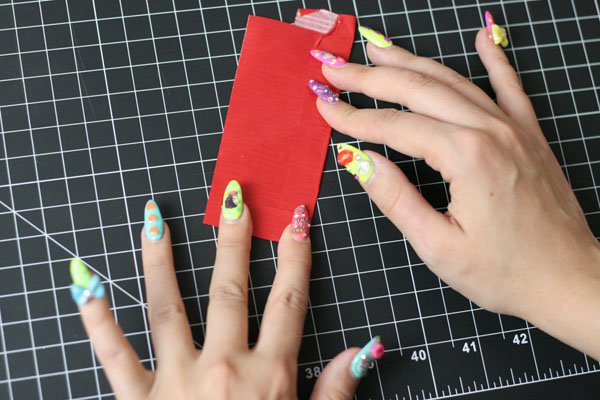
Step 7: Clean Up Your Pockets
Take another strip of tape slightly longer than your small pocket pieces and fold it over the top of the 4 inch long rectangles to create a neat edge. Do this for all the pockets you wish to make.

Step 8: Place and Set Small Card Pockets
Stagger pockets on top of each other. You can use your own I.D. Or card to make sure cards will fit once taped together. I’m using my Disneyland pass (I’m a premium pass owner, in case your where wondering).
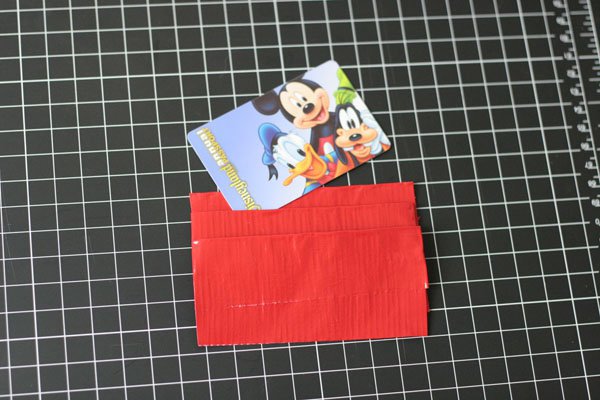
Cut a strip of tape in half and fold it onto the stacked card pockets, seaming down one side. I kept my card inside while doing this step, to make sure I left enough room for each card to fit into.

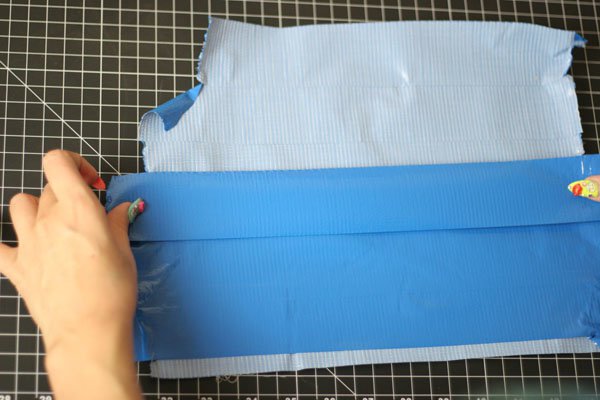
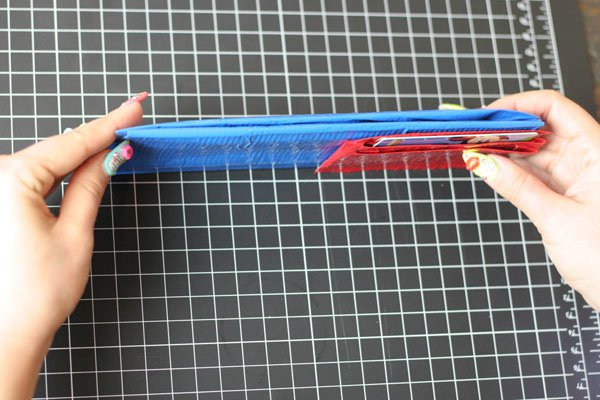
Step 9: Assemble Main Wallet Compartment
Grab your original big duct tape rectangle (the blue one for us) and fold it in half lengthwise, hotdog style! This will create the bill fold for your wallet.
Step 10: Add Small Pockets To Base
Now to seal it all down. Take your small pockets and seal them down on one corner. Use the tape you will be using for your teeth (I used yellow because I decided my dragon is a coffee drinker) and cut one strip in half. Fold over sides for a neat seam on the edge like you see below. If you want, you can also add another layer of blue tape on the left edge to keep the other side of the small pockets in place.

Step 11: Adding Dragon Teeth Base
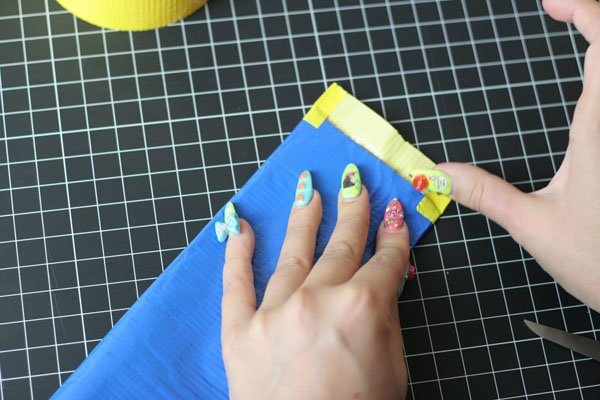
Let’s make this dragon fierce with some teeth. Place a strip of teeth colored tape (like my yellow ones below) with the stick side facing up. This tape only needs to be as wide as your wallet, so no need to measure as you can always cut off the excess. Put one edge of your wallet over this first piece of tape about a half-inch up from the edge as shown.
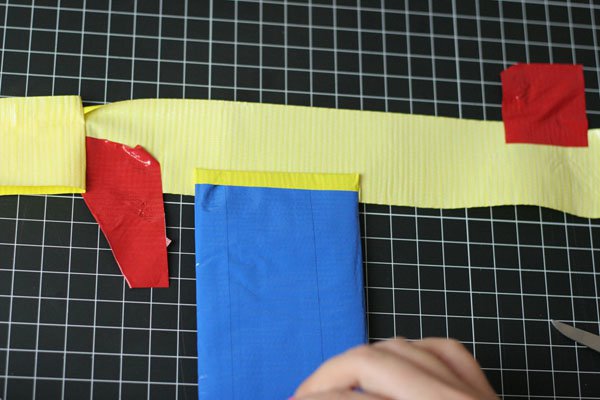
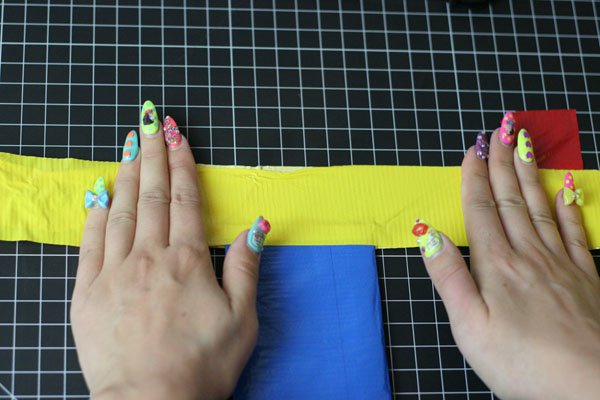
Then place another strip of your teeth tape right over the wallet as shown, sandwiching your two yellow (or whatever color) pieces together. You can also do this top the other side of the wallet if you want both ends to match.
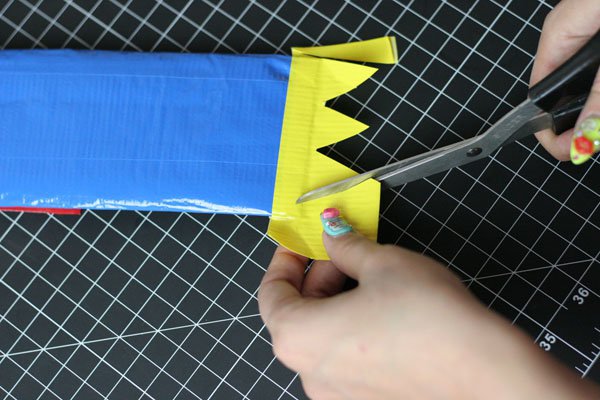
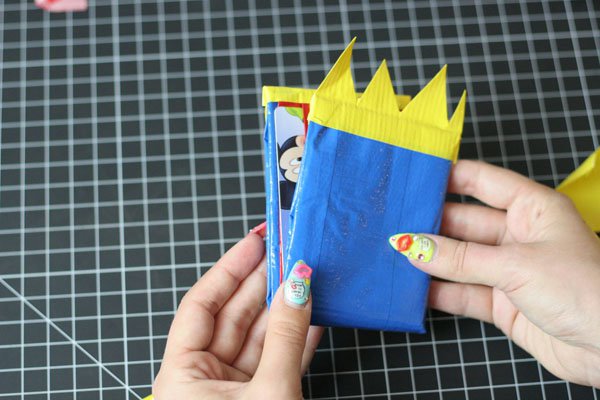
Step 12: Cut Your Teeth! RAR!
Create teeth shape by making diagonal cuts with scissors. I made mine free hand, since dragons don’t have perfectly straight teeth, you know. Do this to both sides of your wallet so that when it is closed, the teeth line up!
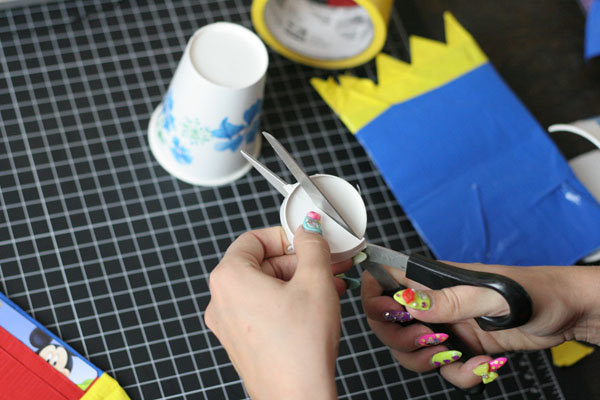
Step 13: Create Dragon Eyes
We need to add some poopin’ peepers to our dragon, so time to get out your paper cup. Cut out the small circle at the base of the paper cup, but don’t worry about being too perfect. I think uneven eyes give our wallet character. Cut the paper circle in half and cover with tape. I made our dragon eye with more yellow – so fierce!

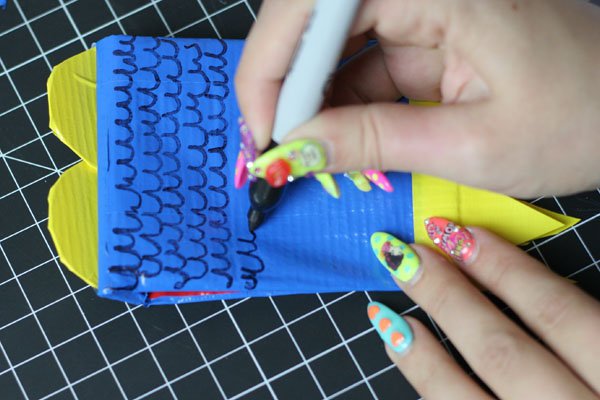
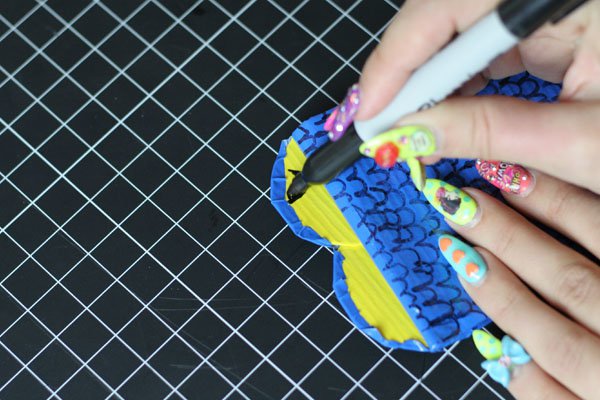
Step 14: Draw Dragon Scales
Take a permanent marker and make a simple scale shape across the face and back of your wallet. Hey look at that, scale shapes are just a bunch of w’s. Or are those m’s? Or are they little butts? Whichever, I free handed this because uneven scales add visual interest and personality. Don’t forget to add some nose holes on the front of your wallet too!
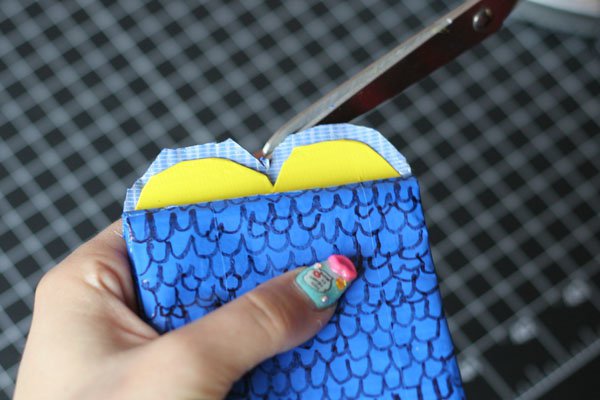
Step 15: Add Dragon Eye Details
Take a strip of your blue tape and attache eyes from the back of the wallet, so it looks like our dragon’s eyes are peeking over. Fold this blue tape over and secure. Add another strip of tape, again from the backside of the wallet, cut off excess tape, only leaving a small outline that mirrors your eyeballs. Fold this over to create eyelids. Next, take your permanent marker and draw in some eyes, scarier the better.
Step 16: Stick On Velcro To Wallet
Take out your Velcro and cut both sides (the hard plastic side and the soft side) together for symmetry. Remove tape and stick to inside the wallet on the edge of where the teeth begin.
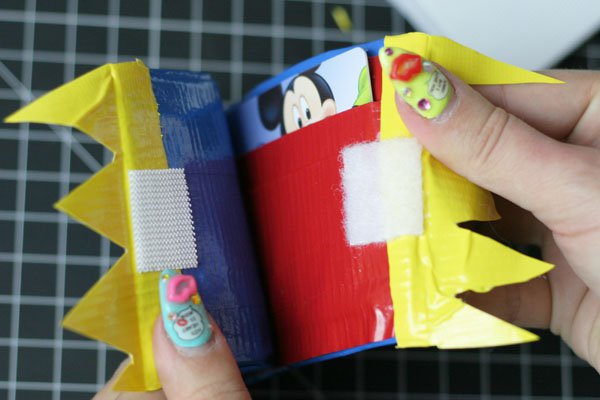
Your dragon is ready to store some cash! Make sure to feed him a greenbacks regularly or this dragon may get out of hand!
Like This Post?
Check out


