
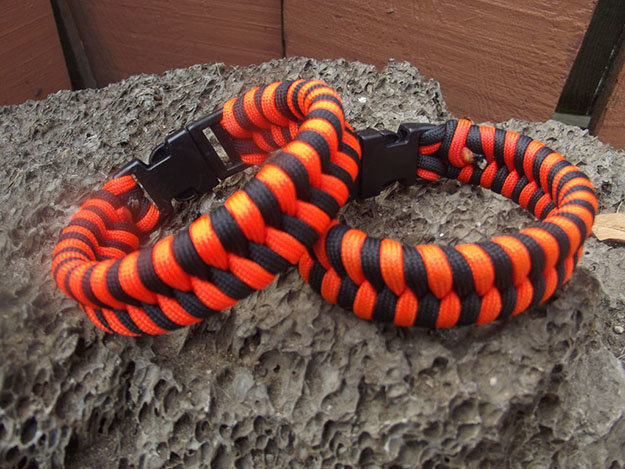

A paracord survival bracelet is a versatile tool that can come in handy for a number of emergency situations. Whether you are a survivalist, frequent hunter, outdoors person or just value the need to be prepared at all times, knowing how to tie a paracord bracelets is an important skill. A paracord bracelet is a good thing to have on hand at all times.
Check out our step by step tutorials on our Cobra Weave Survival Bracelet and the Oat Spike Survival Bracelet.
For the full list of survival bracelets – Check out our newest post here: How To Make Paracord Bracelets
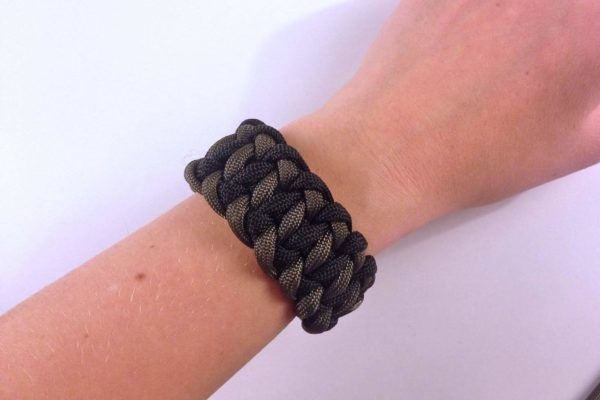
In this tutorial, you will learn how to make the Tire Tread Survival Bracelet.
How to Tie A Paracord Bracelet
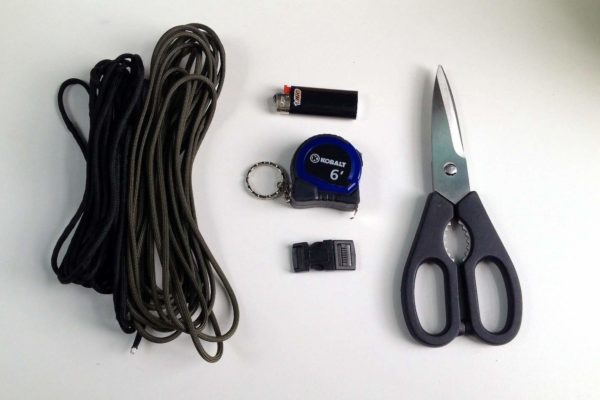
Supplies you need:
- Two 9ft pieces of paracord
- Side release buckle
- Tape Measure
- Scissors
- Lighter
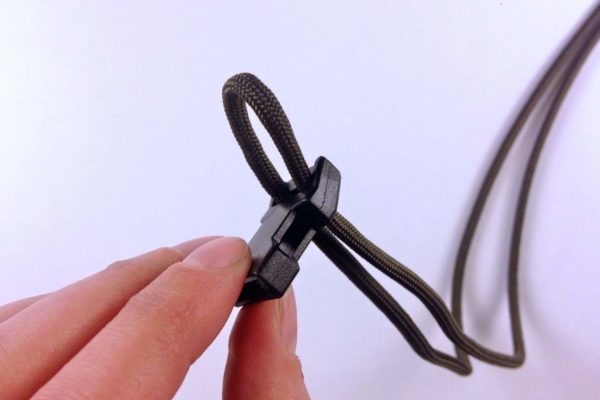
Step 1:
For this tutorial, we are going to start with the green paracord. First, fold the green paracord in half to find the center. Take that loop and feed it through the slot on the female side of the buckle.
Pull the ends through and firmly tighten around the buckle.
Step 2:
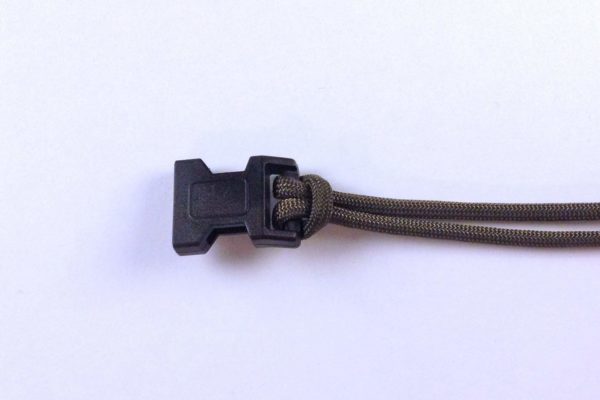
Let’s go ahead and do the same thing with the black paracord to attach it to the male side of the buckle.
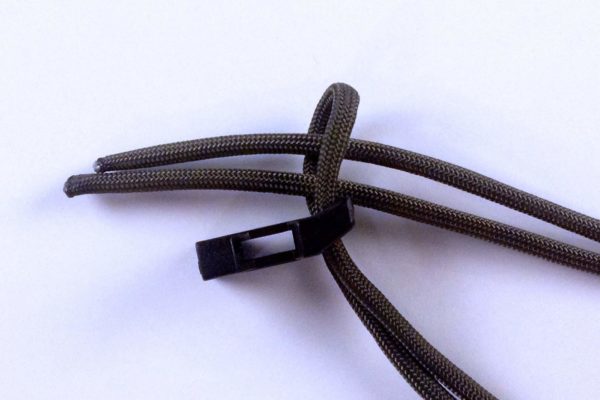
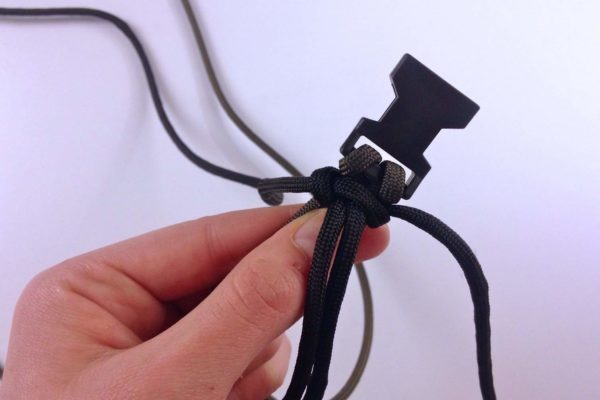
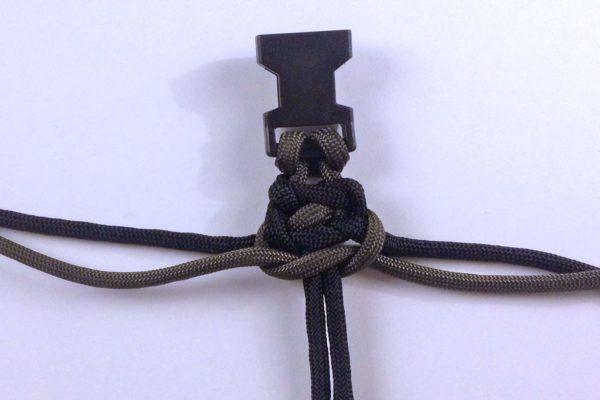
Step 3:
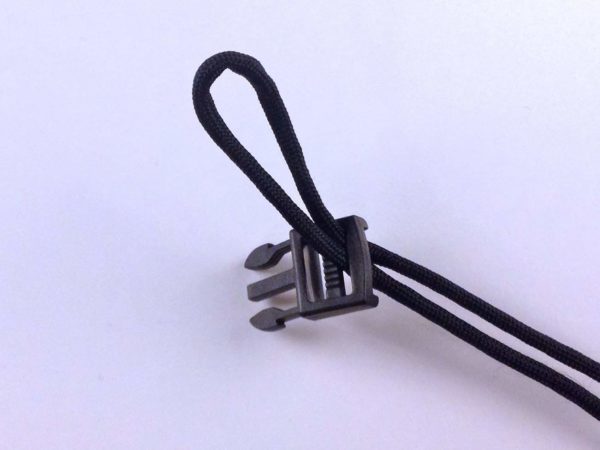
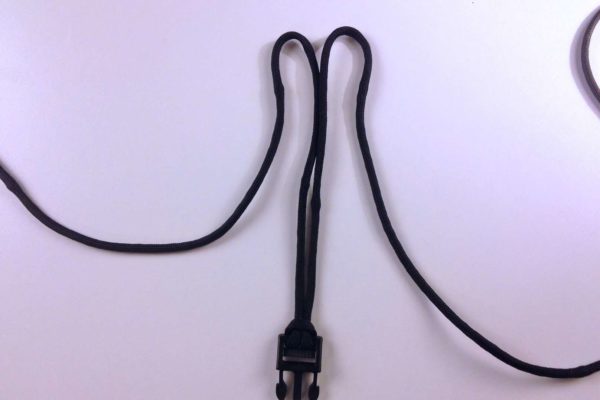
Now let’s prep our black paracord to attach it to the green paracord by making some bunny ear loops.
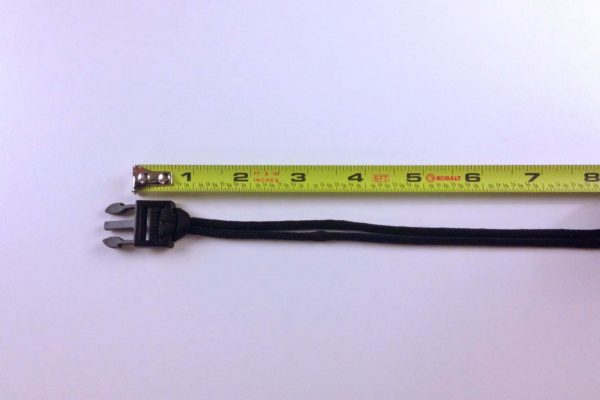
• First, you’ll want to measure the length of your bracelet using your measuring tape. Keep in mind that you want to include half of the buckle in this measurement. For this tutorial we are making a 7 inch bracelet.
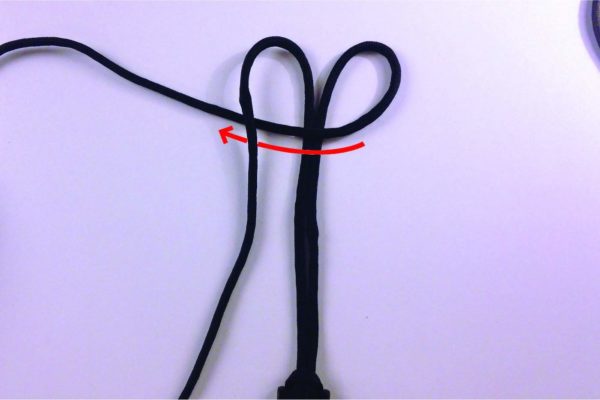
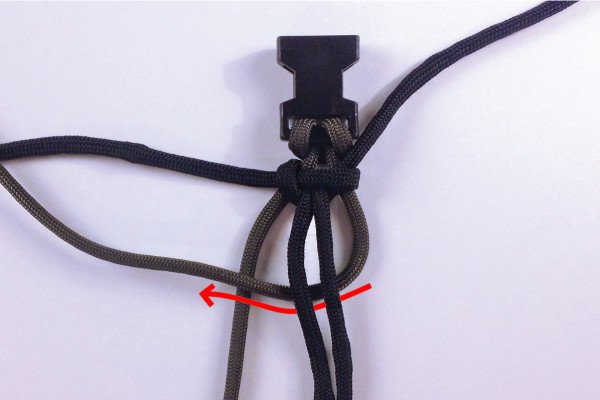
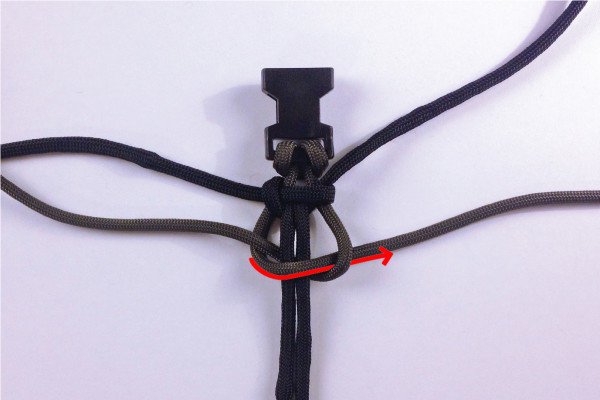
• Using your finger to keep the length of the bracelet in tact, fold the two ends down to create two loops.
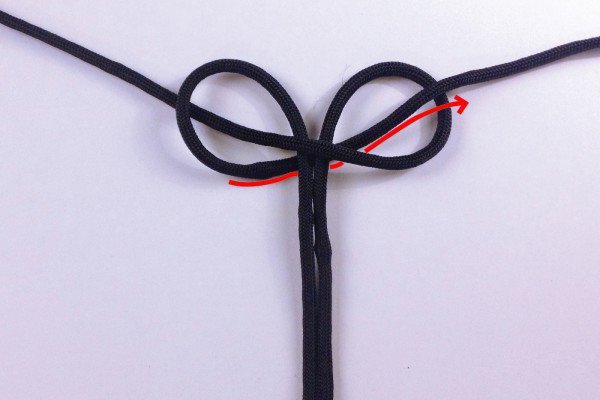
• Then take the right strand and pull it over the center and under the left strand.
• To finish it off, take the left strand under the center and up through the right loop. (See photos below)
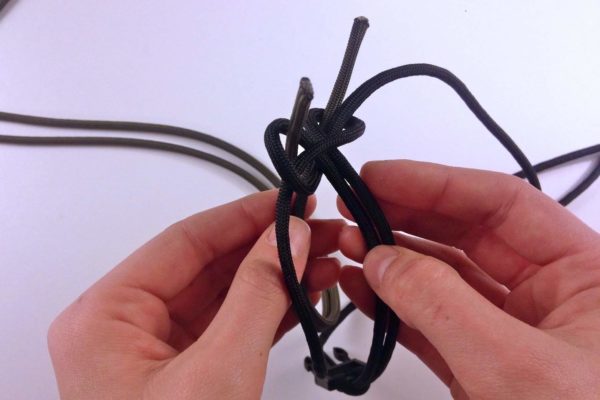
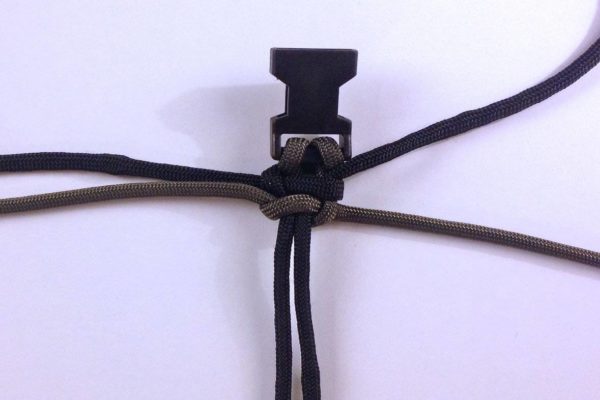
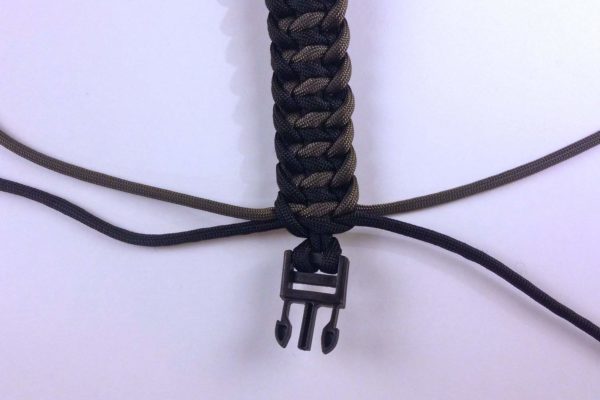
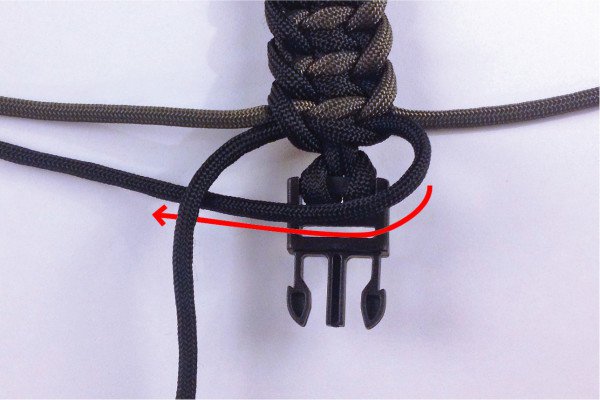
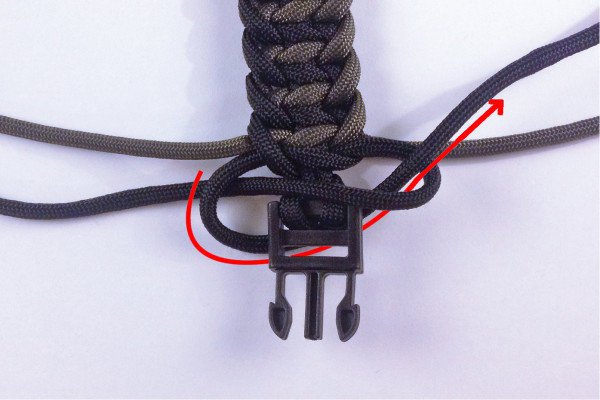
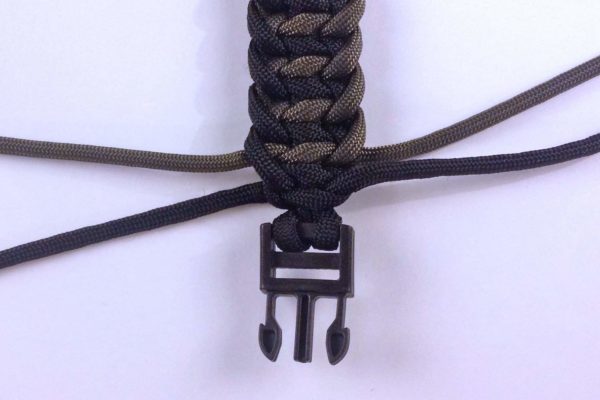
Step 4:
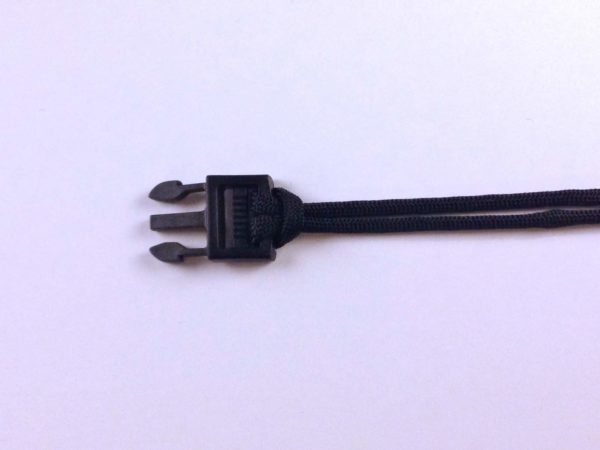
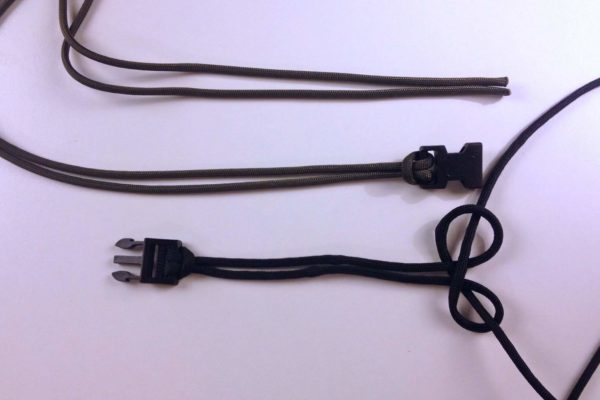
This step can get a little tricky! We are going to pull the green paracord ends through the bunny ears we made with the black paracord.
In order to ensure that your buckles will be facing the same direction once finished, you’ll want to lay out your green paracord so you can figure out which direction your ends are facing.
(If you do it wrong, you’ll figure it out immediately when you pull the green paracord all the way through the loops.)
Follow the photos below:

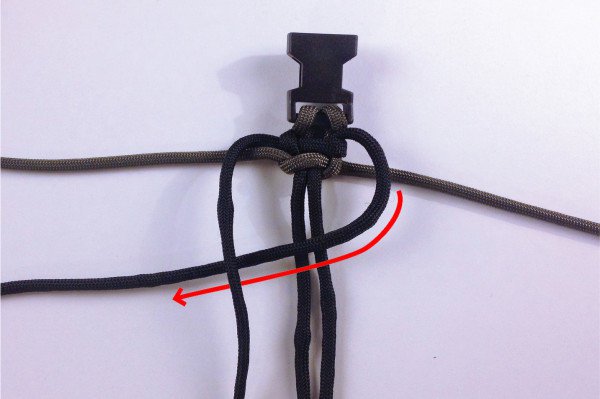
Step 5:
Now that we have the buckles attached and the two pieces of paracord locked in, let’s start weaving!
Follow the photos below starting with the green paracord:
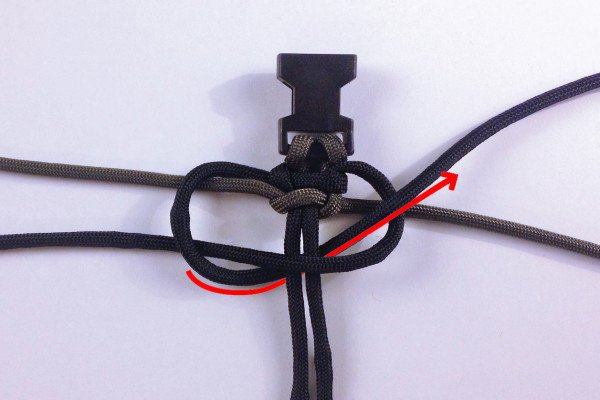
Step 6:
Do the same thing you did in Step 5, but use the black paracord:
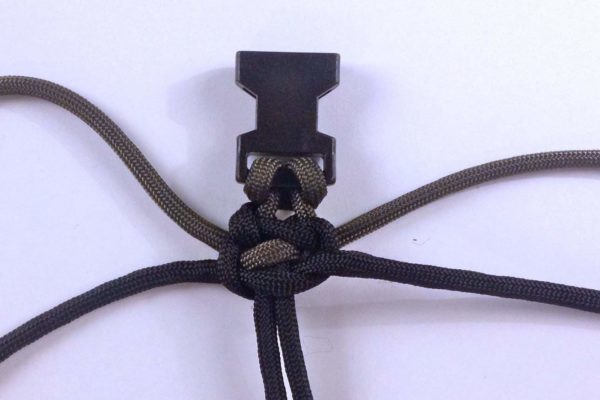
Step 7:
Repeat Step 5 and Step 6 until you get down to the end of your bracelet.
Step 8:
Once you get down to the end of the bracelet, you’ll need to finish it off.
You’re Done!
Using your scissors and lighter, cut and burn the ends about 1/4″ from the base to seal them off.
Like this post?
Be sure to like us on Facebook (button below) so you can be the first to know about latest project updates as well as great DIY articles.
Pin It so you can come back to it and follow us on Pinterest to get latest project pins.
Let us know in the comments below! Your feedback matters. The more interest we get in posts, the more likely we are to do more like that.
Check out all of our Paracord Posts Here:
Looking for a list of Cool Paracord Projects?
How To Make A Paracord Dog Collar
Ever wonder how to make a snare trap?
How To Make A Snare Trap With Paracord
What about a monkey fist?
How To Make A Giant Monkey Fist and How To Make A Monkey Fist
How To Make A Paracord Keychain
You can even make belts with paracord!
How To Make A Belt Using Paracord
Ready to get started? Here are our top picks for supplies:
Paracord
550 Paracord – Five Colors 100 Feet Total
Rothco Type III Commercial Paracord (Black, 550-Pound/100-Feet)


