

Are you itching for a new DIY project? We got an idea for you! A DIY laptop case that you can do in less than 30 minutes!
Protecting your laptop is very important especially when you are on the go. Store prices of laptop sleeves and cases can go very high.
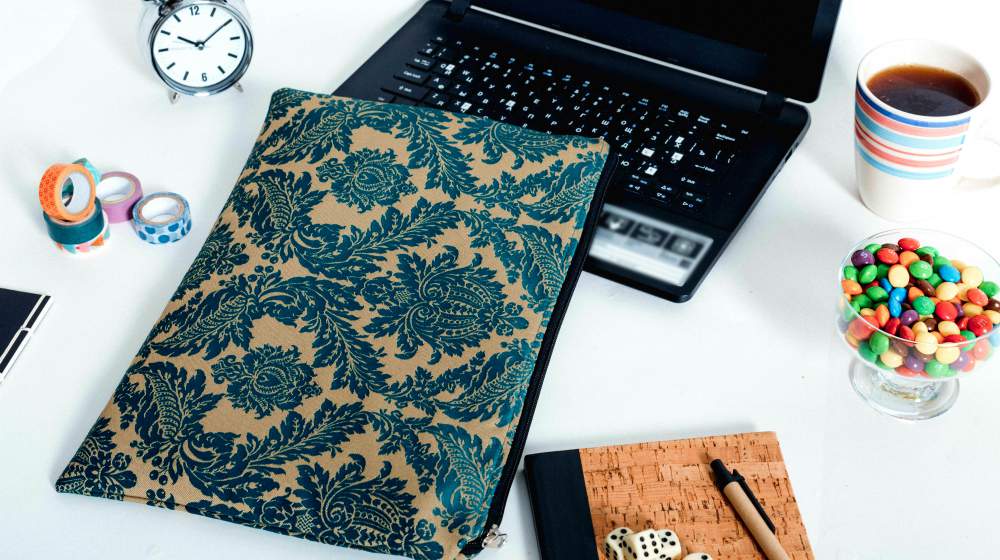
Good thing we have a great idea that you might consider trying — make a laptop case or laptop sleeve by yourself. This project can be made for any laptop sizes or even a tablet. Follow the steps below and try it out!
RELATED: Light Your Video Chats With This DIY LED Laptop Frame
Quick and Easy DIY Laptop Case You Can Do With Your Kids
Materials:
- Fabric cut into the following dimensions:
- For the lining:
- 2 – 12″ x 16.5″
- 1 – 10″ x 16.5″
- 1 – 9.5″ x 16.5″
- 2 – 16.5″ zippers
- For the outer fabric:
- 1 – 12″ x 16.5″
- 1 – 9.5″ x 16.5″
- 1 – 3.5″ x 16.5″
- For the lining:
- Sewing machine
- Scissors
- In-R-Form Sew-In 1 yard Foam Stabilizer Black
Step 1: Start With the Outer Fabric
Start by lining up the 9.5″ x 16.5″ outer fabric at the bottom, the zipper in the middle, and the 9.5″ x 16.5″ lining on top. Sew the three together just by the edge of the zipper where you can feel it.
Start from the edge and finish on the other edge. After, flip it over then press the fabric firmly. Use an iron if you can.
Turn it over and topstitch about 1/8 of an inch. Pull the fabric apart tightly while stitching. Use a same-colored thread to match the fabric or be creative and use a color that matches the fabric.
Step 2: Stitch the Top Part
After stitching the first half, get the 10″ fabric and lay it at the back of what you’re already doing. At the same time, get the 3.5″ fabric and lay it out at the right top side of the zipper then stitch the three layers together.
Remember to move the zipper pull around whenever you’re stitching around the zipper.
Step 3: Make a Double Layer
Stitch the inner lining and outer lining of the front side close. Don’t forget to back tack.
Lay the second zipper on top of the 3.5″ fabric facing down so that it will make a double layer inside. Also, lay the big 10″ lining on top of the zipper before stitching the big lining, zipper, and 3.5″ lining together. Turn it over and topstitch about 1/8 of an inch.
RELATED: Learn To Fix Your Broken Zipper Like A Pro | DIY Ideas
Step 4: Add the Last Layer of Fabric
Add the last layer of fabric (both should be facing each other) before stitching the top. Now you have all the linings stitched to the zippers, make sure that the teeth of the zipper are facing the inner lining laying down.
The lining, when laid out, should not be equal. Trim the extra with your scissors to make it even.
Step 5: Insert the Foam and Stitch
Stitch a 1/4 inch seam just like a border throughout the entire laptop case with the other and inner layer on the opposite sides. Leaving a gap in the middle-lower part of the outer layer so you can flip it over.
Once you flip it over, bump out the corners to make the shape of the laptop case. Use your scissors to punch out the corners.
As an option to make it sturdier, use a foam stabilizer to get the shape of the entire case.
You can insert the foam right side in and form the case. Put it in before you put the outer sleeve in. Once you’re ready, stitch the edges in to complete the computer case.
Don’t forget to try it out with your laptop to see if it will fit perfectly.
Watch this video from Zathu Nation for other DIY laptop case ideas:
There you have it, a quick and easy DIY project that you can do in less than an hour. Plus, it is something you can do alongside your kids. Also, don’t forget that you can do it on a tablet or even your phone. Heck, you can make a pouch by using this design as well. Just use your imagination.
Don’t forget to show us your own DIY laptop case and share your experience while making one in the comment section below.
UP NEXT:
- 20 Simple Sewing Projects That Any Beginner Can Make
- 25 Life Hacks You Won’t Believe Can Make Life Easier
- Sew a Blackout Curtain Liner | How to Make Curtains
Calling all crafting DIYhards, DIY Projects needs YOU! Click here if you want to contribute for us.
Don’t forget to stay connected with us on Facebook, Twitter, and Instagram!


