

Want to learn how to make a DIY whiteboard? Check out our super simple tutorial.
Are you always forgetting things — what you need to pick up from the store, whose birthday is coming up, etc.? I sure am. That’s why I decided to put together a DIY whiteboard and start writing everything down!
It’s a really easy project to DIY and saves you lots of money (and did I mention memory power??). You can make one, too. Just scroll down for our simple instructions.
How to Make a DIY Whiteboard
Materials you’ll need:
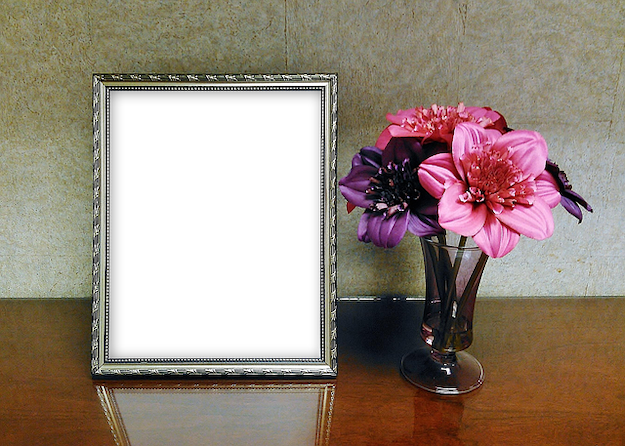
- Picture Frame
- Scrapbook Paper
- Photos
- Cutter/Scissor
- Ruler
- Cutting Board
- Pencil
Instructions:
Step 1. Mark and cut.
Use the backing paper on the picture frame to get its exact size.
Step 2. Tape.

Tape together the trimmed scrapbook paper to fit the picture frame.
Step 3. Assemble.
Place the scrapbook paper in the picture frame. Note: Make sure you put the right side of the paper facing the front 😉
Carefully return the back cover and voila! A super easy, on-a-budget homemade whiteboard!
See a step-by-step video tutorial for another DIY whiteboard from our friend CharliMarliTV. Enjoy!
Like this DIY whiteboard tutorial? You’ll also like…
How to Make a Magnetic Chalkboard
Making Chalkboard Paint at Home
18 DIY Chalkboard Ideas To Help You Get Organized
Don’t forget to stay connected with DIY Projects on Facebook, Twitter, Pinterest and Instagram!


