


Want to learn how to grout tile? It’s not as complicated as you think. If you’re doing some remodeling in your bathroom or redoing your tiles in the kitchen, I’d recommend checking this tutorial before hiring someone to do the work for you.
How to Grout Tile | DIY Home Improvement
We’ve recently been doing some work in the bathroom and one of the DIY projects that we did were the tiles. I wanted to have them replaced so that’s what we did. As you know, I normally would want to do everything myself but this time, I asked a little help from my hubby. So one weekend we went ahead and did the tiles. I was curious on how to grout tile so I decided that I was going to do it myself and to my surprise it was super easy. Anyone can do it. So for all you lovely ladies out there who would want to give it a try, here’s a quick and easy DIY tutorial to help you out!
What you’ll need in grouting tile:
- grout (follow the instructions the container on how to prepare it)
- two buckets (for the grout and water)
- sponge
- rubber float
- taping knife
Step 1
Wet your sponge and dampen the area you’re going to apply the grout. The water will lubricate the tile and help it from getting scratches.
Step 2

Using your taping knife, get some grout from your bucket and put it on the surface you’re going to cover.
TIP: Grout your tiles section by section. It would be best to work on a 3’x3′ to 3’x4′ surface and move on.
Step 3
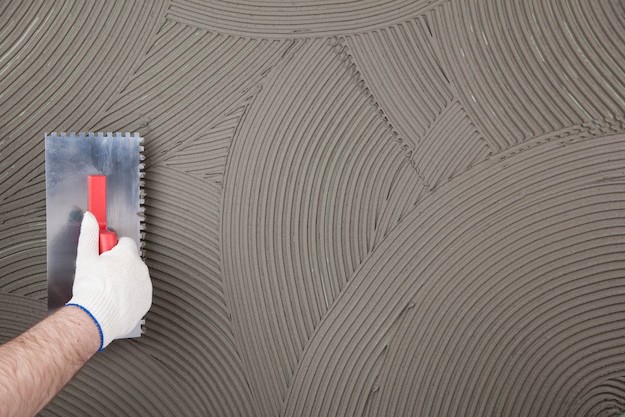
Dampen your rubber float and start spreading the grout filling the gaps of the tiles. Start one square at a time. Firmly push on to it and remove excess grout by swiping the rubber float in an angle. You can then apply the excess on the surrounding tiles.
Step 4

Time to clean the grout! Dunk your sponge in the bucket of water and squeeze all water out of it. Make sure that it’s not soaking wet.
Step 5
Wipe the excess grout with one side of your sponge then the other. Don’t use the same side of sponge so you won’t put any more grout to the surface you’ve already cleaned.
TIP: Press hard when you wipe with your sponge. This will help lower the grout line to the tile height.
Step 6
Repeat steps 1-5 until you’ve covered all area that needs to be grouted. And you’re done! Start admiring you’re handiwork. Just imagine how much you were able to save doing this yourself!
Want to see how to grout tile? Watch this easy video tutorial form enduringcharm:
Did you enjoy our tutorial on how to grout tile? Let us know in the comments section below what your thoughts are on grouting tile. Do you have any other cool DIY projects you’d like to share? Share it with us and we’ll give it a try. We love doing cool DIY projects by making craft projects, home decor projects, upcycling ideas, recipes, tutorials and anything you can do yourself. That’s why we created this site, we want people to be more in touch with their creative side and realize that there’s a lot of things that they can do themselves. We’d love to hear from you and create a community of DIY enthusiasts where any project is just a click away. Stay connected with us on Facebook, Twitter, Pinterest and Instagram!


