



Last Updated: July 2026
At a Glance: Upcycle Wood Pallets
- Skill Level: Beginner to Intermediate, ranging from simple vertical organizers to full furniture disassembly.
- Time Commitment: 15 minutes to a full weekend, depending on which project you tackle.
- This guide features practical upcycling inspiration, complete material lists, and straightforward, step-by-step instructions to turn discarded wood into functional home masterpieces.
7 Ways to Upcycle Old Pallets
DIY style is all the rage these days; the perfect way to accomplish true DIY style at home is by adding a little upcycling magic to your furniture. Turning a discarded piece of rubbish into a piece of furniture, accessory for the home or simply art, is a great way to spend the weekend.
Making a blogging site has become as easy as setting up a Facebook account, with services like this offering you the chance to get online for next to nothing. The internet is full of the creative masterpieces made by DIY craft lovers. We love seeing blogs full of DIY designs, and have got some great ideas for upcycling from our fellow crafty bloggers. It seems even a rubbish dump or building site can be a source of inspiration!
One item that is a fave amongst upcycling connoisseurs is the pallet. Pallets are often free or cost very little, and with a touch of DIY skill, an old pallet can become a beautiful object. Here are some DIY pallet projects to try at home:
1. Picture Frames
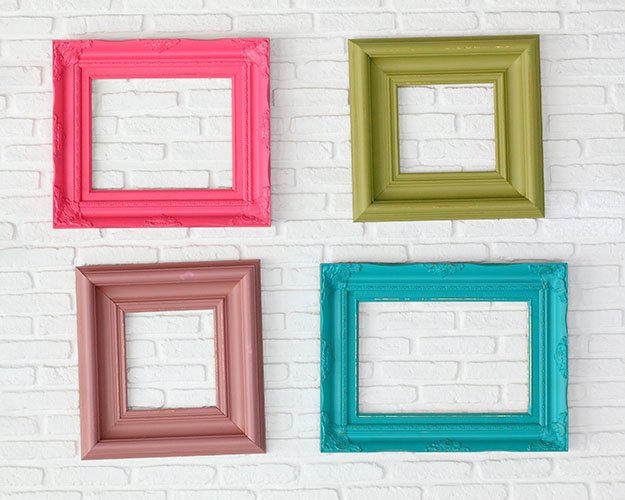
Pallets are amazingly versatile and can be easily taken apart, leaving you with a selection of rustic slats. Once taken apart, cut to size, and varnished you could make a simple but stylish frame, with just a few tools. Top tip: if your pallet wood is dirty make sure you give it a good scrub with water and a stiff brush, and let it dry before doing anything else.
Quick Guide: Picture Frames
- Old wooden pallet
- Water and a stiff brush
- Basic cutting tools
- Varnish
- Clean: Scrub dirty wood with water and a stiff brush; let dry completely.
- Disassemble: Take the pallet apart to gather rustic slats.
- Cut: Measure and cut the slats to your desired frame size.
- Finish: Assemble the pieces into a frame and apply varnish.
I used to split half my boards with a regular crowbar, but this tool pops rustic pallet slats off perfectly clean.
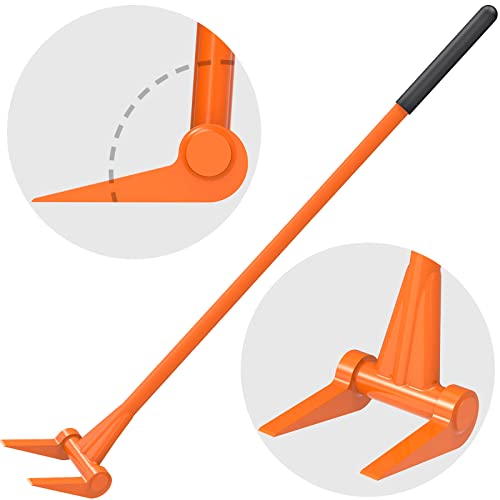
- VERSATILE PALLET BUSTER TOOL: The features of insaga pallet buster is angle between the fork and the…
- SAVING YOUR BACK: As a deck board removal tool or pallet buster tool, 48” long handle to gain…
2. Coffee Table
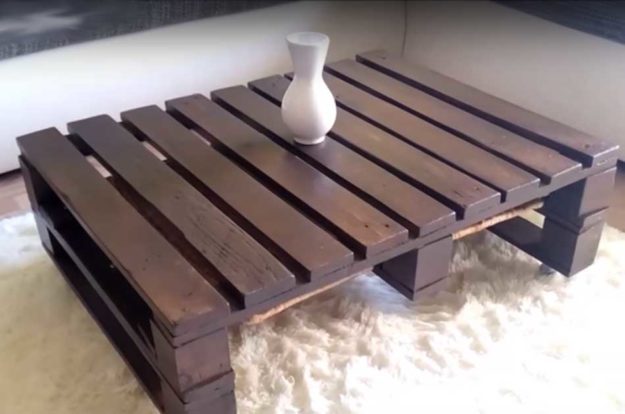
If you would rather keep it simple, turning a pallet into a low coffee table is the easiest and classiest option. All it takes is some sanding and varnishing. You can paint it if you are feeling extra creative, or just leave it natural looking. Adding wheels to the bottom will give it height and prevent the risk of scratching up your floor.
Quick Guide: Coffee Table
- Old wooden pallet
- Sandpaper or a sander
- Varnish or paint (optional)
- Wheels for the bottom
- Sand: Smooth down the entire pallet frame with sandpaper.
- Coat: Apply varnish or paint, or keep it completely natural.
- Attach Wheels: Mount wheels to the base for added height and floor protection.
Full tutorial: Repurposed Pallet Furniture | Make A Wood Pallet Coffee Table
3. Shelves
Gorgeously rustic shelves made from pallets will instantly give character to any room. Left a little chipped and worn, pallets can become shelves with strong character that makes a big statement.
Quick Guide: Rustic Shelves
- Worn pallet wood sections
- Wall mounting hardware
- Select: Choose wood sections that are slightly chipped and worn for an authentic look.
- Mount: Secure the rustic sections to the wall to create instant character.
Sanding by hand is an absolute nightmare, so I use this compact mouse sander to quickly clear rough spots:

- Comfort Grip: For enhanced control and reduced fatigue with the ergonomically designed comfort grip
- Compact Design: Navigate cramped corners and tight spaces with the compact design made for detailed…

4. Plate Rack
Simply by removing some of the slacks and attaching it to a wall, a pallet can become an efficient, and charming plate rack. Obviously will need some proper sanding first.
Quick Guide: Plate Rack
- Wooden pallet
- Sandpaper
- Wall fasteners
- Prep: Give the entire pallet frame a thorough, proper sanding.
- Modify: Remove a few of the wooden slats to create openings for plates.
- Mount: Attach the frame securely to the wall for a functional display rack.
5. Daybed
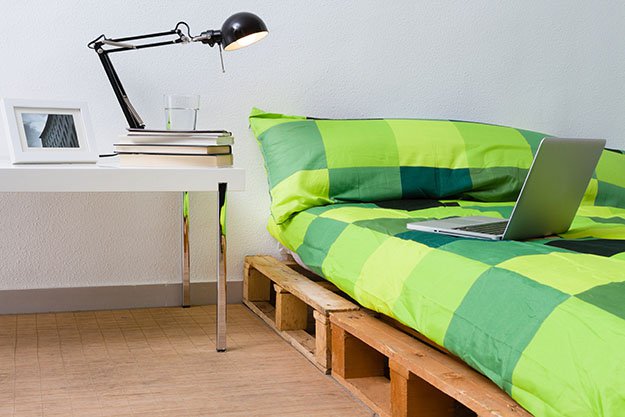
For all you day time nappers out there, turn an old pallet into a cool daybed. After making it with your own two hands you will deserve that afternoon nap!
Quick Guide: Daybed
- Old wooden pallets
- Connecting hardware
- Mattress or large lounge cushions
- Frame: Arrange the pallets to assemble a strong, low bed base.
- Secure: Fasten the frame together carefully using your own hands.
- Style: Throw a mattress or plush cushions on top to ready it for naps.
6. Pallet Planter
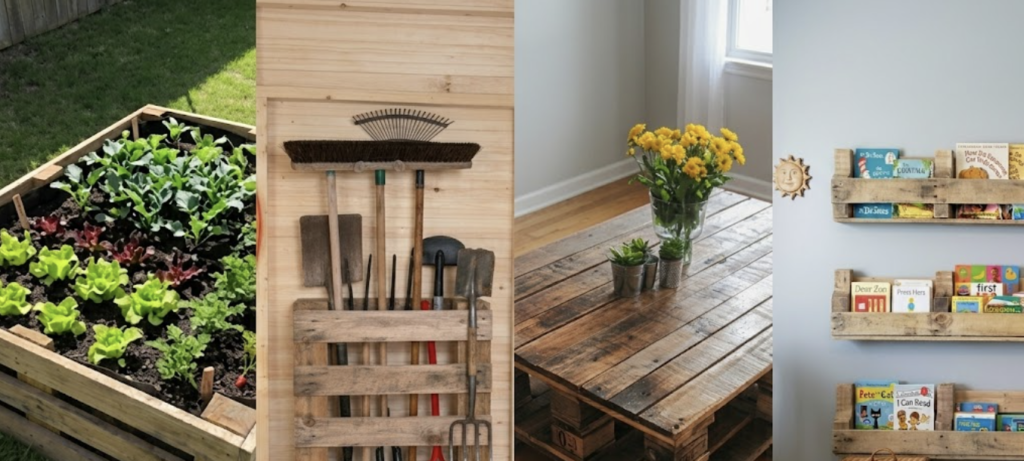
Green thumbs, rejoice! You don’t need to drop a small fortune on expensive raised garden beds to grow your favorite herbs, flowers, or fresh strawberries. By laying a pallet flat on your patio and lining the openings with durable landscaping fabric, you create instant, perfectly separated planting rows. It keeps your backyard looking beautifully organized while giving it a wonderful, rustic touch.
Quick Guide: Raised Planter
- Wooden pallet
- Durable landscaping fabric
- Staples and a staple gun
- Potting soil and plants
- Placement: Lay your pallet completely flat on the patio floor.
- Line Openings: Push landscaping fabric deep into the openings between slats.
- Staple Securely: Staple fabric tightly to the inside slats to stop messy soil washouts.
- Plant: Fill rows with fresh soil and add your favorite herbs or strawberries.
I use this to staple the landscaping fabric tightly into the slats and keep the soil secure so it never washes out:
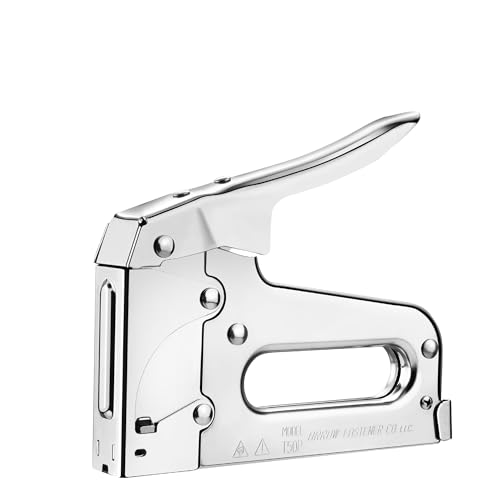
- SAVE TIME AND ENERGY: This stapler is great for professional or household projects like installing…
- COMFORT AND CONSISTENCY: The high leverage handle on this stapler provides a comfortable experience…
RELATED: How to Build a 4x8x2 Raised Garden Bed (FREE Build Plan)
7. Pallet Tool Rack
If your garage or garden shed currently looks like a tornado just swept through it, this quick upcycle is about to be your saving grace. By standing a single pallet upright against the wall, you get an instant, heavy-duty organizer for all your long-handled gear. Shovels, rakes, brooms, and mops slide right into the natural vertical slots, keeping them completely off the floor and right at your fingertips.
Quick Guide: Tool Organizer
- Single wooden pallet
- Heavy-duty wall anchors or screws
- Long-handled tools (rakes, shovels, brooms)
- Positioning: Stand the single pallet completely upright against a shed or garage wall.
- Anchor Down: Fasten the pallet firmly to the wall structure so it cannot tip forward.
- Organize: Drop tool handles directly into the built-in vertical slots.
I use these heavy-duty wall fasteners to anchor the vertical frame so it never tips forward under a heavy load:
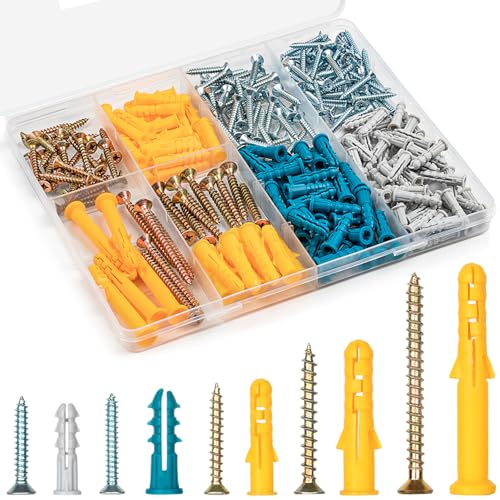
- FIVE ESSENTIAL SIZES FOR MULTIPLE PROJECTS: This dry wall anchors and screws kit comes with five of…
- PREMIUM MATERIALS FOR SUPERIOR DURABILITY: Our plastic wall anchors are crafted from a…
FAQs
1. How should I clean old pallet wood before working with it?
If your pallet wood is dirty or covered in dust from a building site, give it a good scrub using water and a stiff brush. Make sure you let the wood dry completely before you start cutting, sanding, or applying any varnish.
2. Is there an easy way to take pallets apart without splitting the boards?
Using a standard crowbar often splits or damages up to half of your rustic boards. To pop the slats off perfectly clean and save your back, a specialized tool like a 110-degree pallet buster or heavy-duty dismantling bar is highly recommended.
3. How do I prevent a pallet coffee table from ruining my indoor floors?
Pallet wood can be incredibly rough on indoor surfaces. After giving the wood a thorough sanding and varnishing, you should add wheels to the bottom of the pallet frame. This not only adds perfect coffee-table height but completely removes the risk of scratching up your floors.
4. What stops the soil from washing out of a pallet planter bed?
To build a functional garden bed, lay the pallet flat and push durable landscaping fabric deep into the openings between the wooden slats. Secure the fabric tightly to the inside of the slats using a heavy-duty staple gun, which will cleanly lock the potting soil in place and prevent messy washouts.
5. How can I ensure a vertical pallet tool organizer won’t tip over?
When standing a single pallet upright in a garage or garden shed to hold heavy, long-handled gear, it must be stabilized. You should firmly anchor the vertical frame to the wall structure using heavy-duty wall fasteners or plastic expansion anchors so it never tips forward under a heavy load.
Quick Poll
What should we build together next?
Not in the choices? Comment down below!









