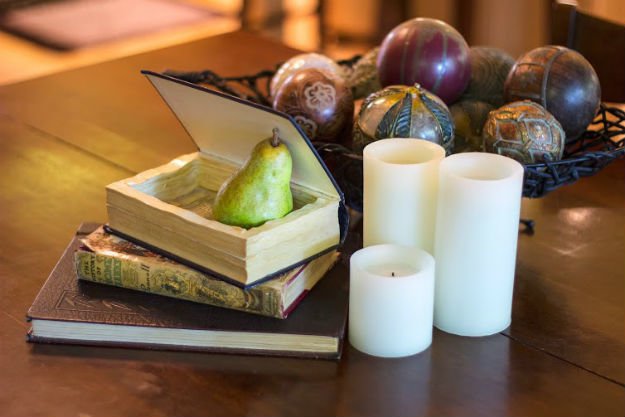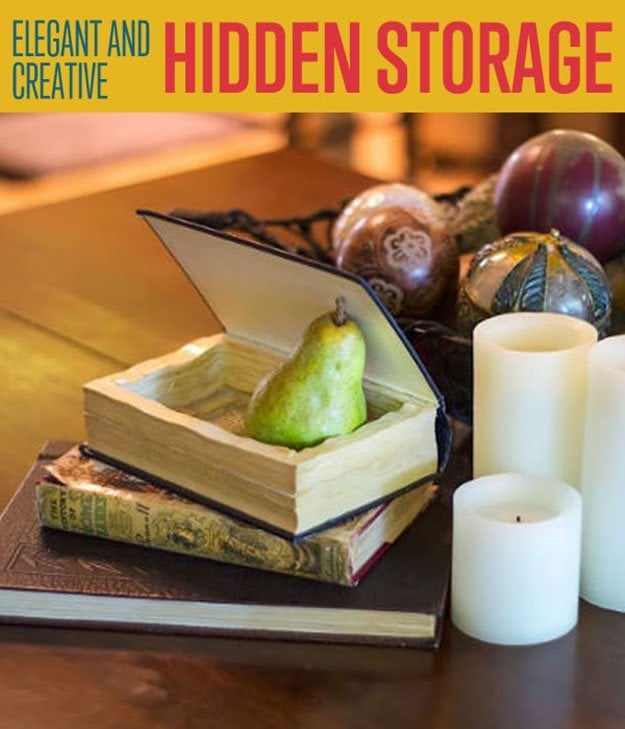


Create elegant, hidden DIY storage for all of your knick-knacks, and miscellaneous items that usually float around your coffee table. These cute cubby-storage books are easy to make, and stylish to display!
Supplies:

Diamond Glaze (available from Amazon.com)
Three old books (small, medium, large)
Exacto Knife (or box cutter)
Paint Brush
Step 1
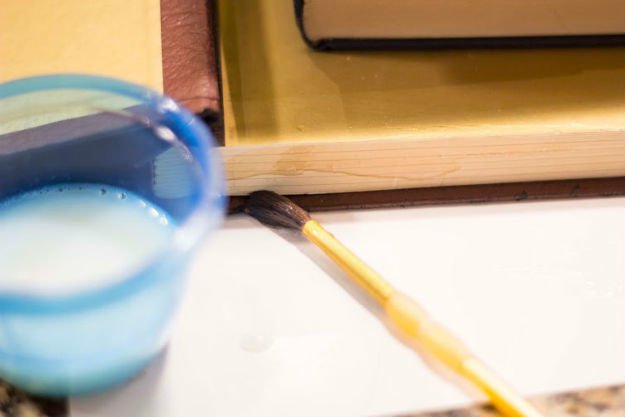
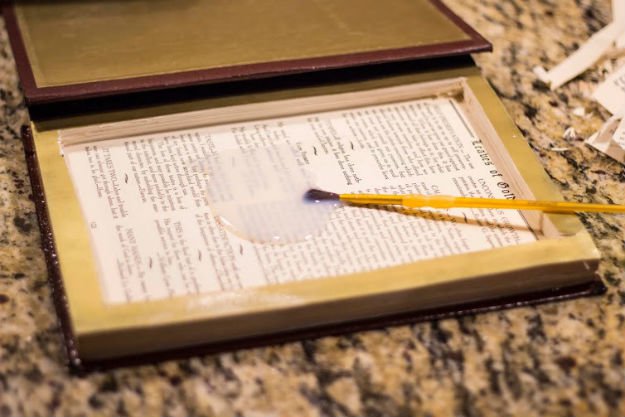
In order to effectively slice a storage cavern in the book pages without the paper sliding around too much, we need to hold all of the book pages together. To do that, we’ll use some of our wonderful Diamond Glaze! Apply a generous coat of Diamond Glaze around the edges of the book pages and let it dry. It will really anchor those pages together so that we can get a firm cut into the book with our exacto knife!
Step 2
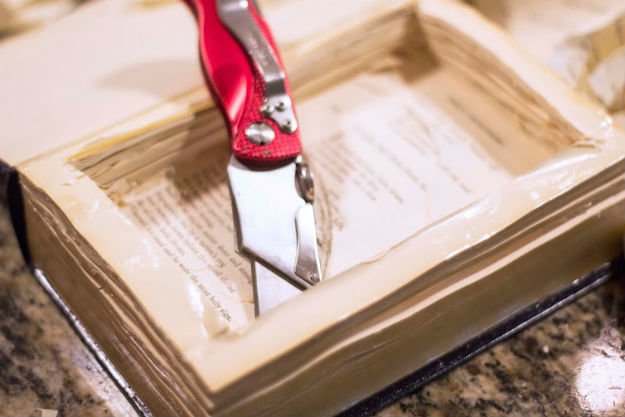
When the Diamond Glaze around the perimeter of the pages dries, it’s time to cut out the secret storage cavity in the book. Use a super-sharp exacto knife or box cutter to slice a rectangle about an inch away from all the sides of the page. If you press hard, you should be able to get through about 10 pages at a time. Yep, it’s laborious to get through all of it, but it will be worth it! Keep slicing through those pages in that big rectangle shape until you get close to the bottom of the book. Make sure to leave at least a page or two at the bottom so that you get that great text lining the bottom.
Step 3
Once your rectangular cavity is sliced from the book, poor a puddle of Diamond Glaze on the bottom. Use your paintbrush to slather that glaze all over the interior sides of the rectangular space, giving it a thick, protective coat.
Step 4
Do it to all three of your books, stack them up from largest to smallest, and you’re done!