
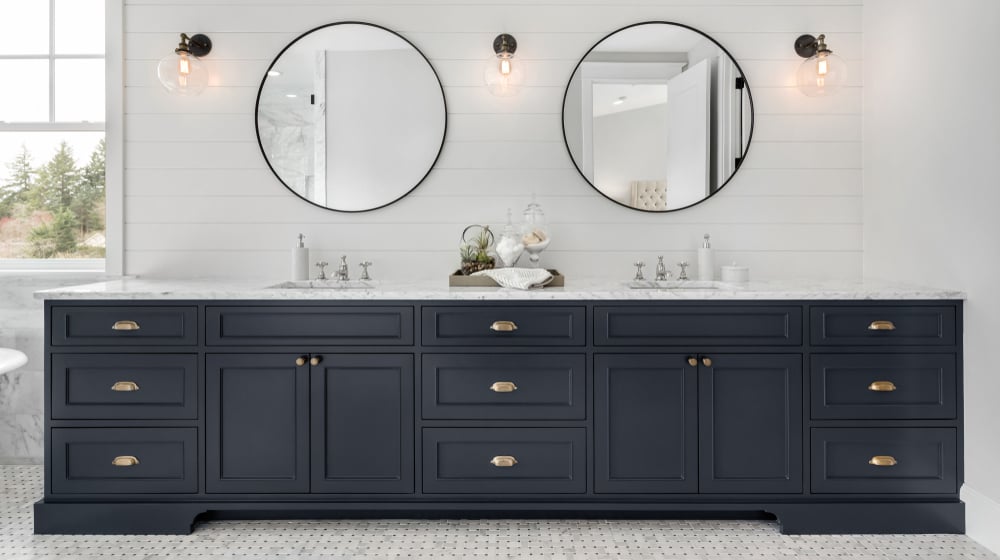

I’ve got a DIY bathroom vanity solution for 7 different bathroom problems. If you need a quick fix or a budget hack, then this is perfect for you.
DIY Bathroom Vanity Solutions For Every Problem
A DIY bathroom vanity lets you gain control of your bathroom. It’s wonderful because you get to custom build it according to your preferences and limitations. Got a small bathroom space? DIY a small but stylish vanity. Working on a budget? Build something for only $100. My saying is, there’s always a DIY answer to every problem. Here are my 7 DIY bathroom vanity solutions:
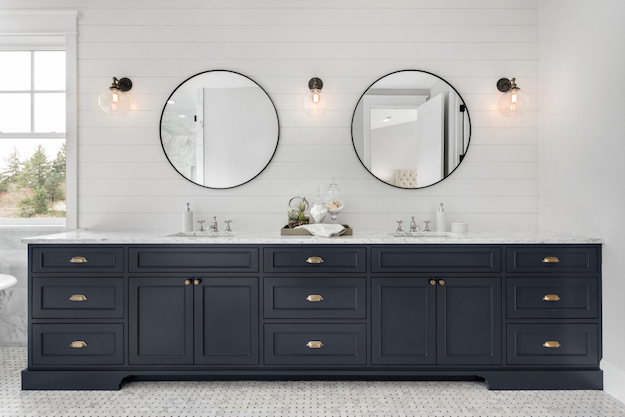
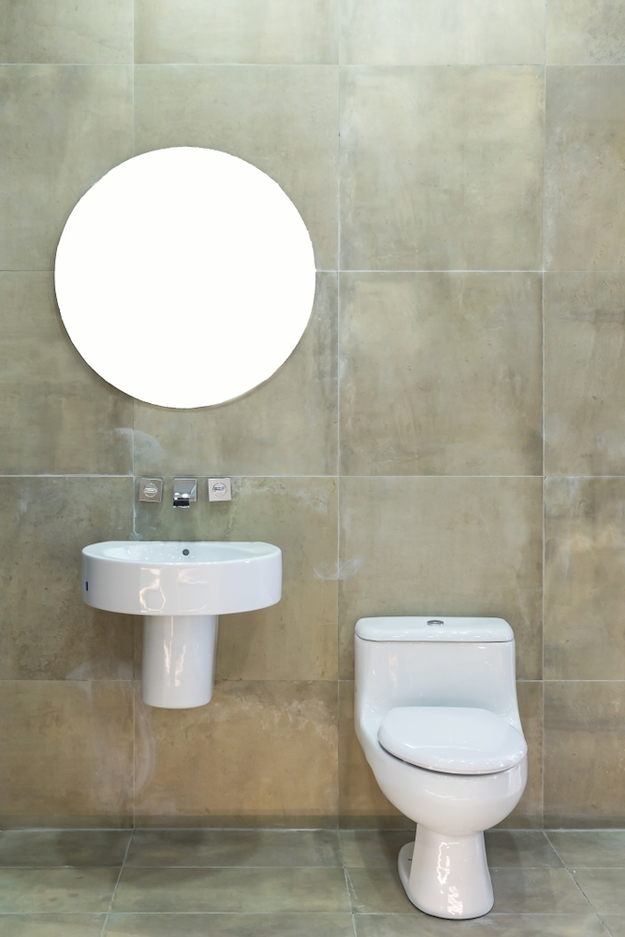
1. Small But Stylish
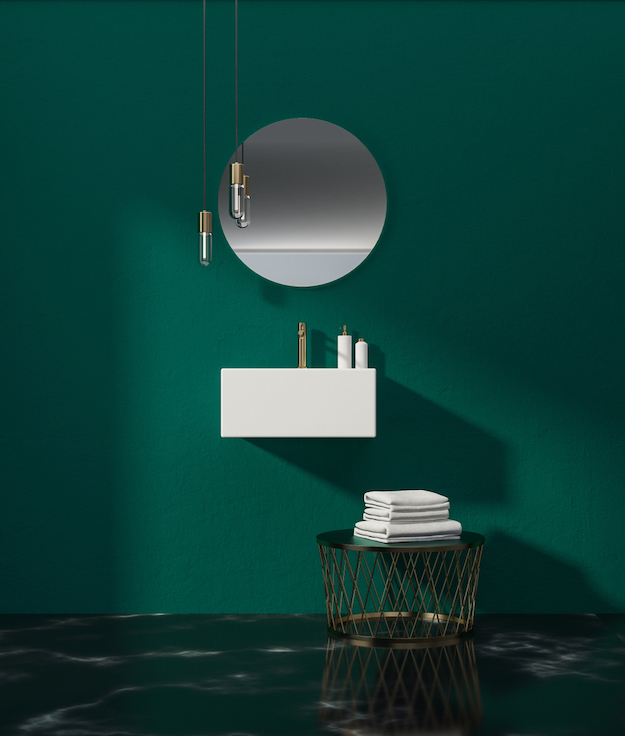
Have a small bathroom space? This small but stylish DIY bathroom vanity measures less than 25” wide, but it’s still a beauty! Also, if you don’t currently have a mirror attached to your bathroom vanity, take a tip from the photo above. You can simply go to the store and choose an affordable mirror of your liking.
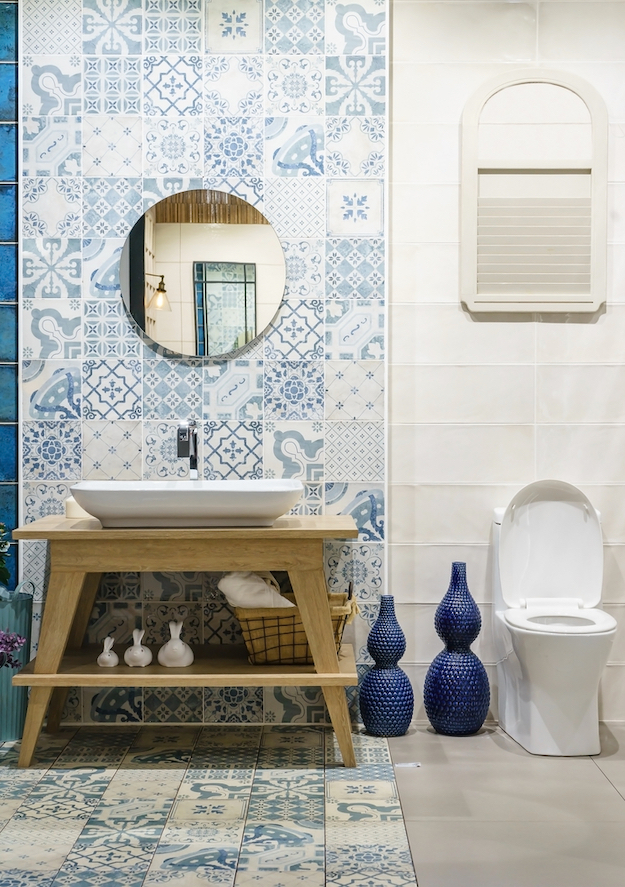
2. Dresser Turned Vanity
Been aching to overhaul a dresser into a DIY bathroom vanity? It’s possible! Just a heads up, before you start your project, begin by getting your dresser top’s measurements. That way, when you buy the sink, you’d pick one in the right size.
3. $100 DIY Vanity

Stuck on a budget? This $100 budget DIY bathroom vanity uses scrap wood and features an open shelf. If you choose to get straight boards from Home Depot, make sure the ones you purchase aren’t warped or bowed, otherwise you’ll be wasting money.
4. Ikea Hack
Got a used Ikea dresser you want to DIY? Turn into a bathroom vanity. What I love about this design is how it hides the plumbing fixtures from plain sight. Definitely saves you the eyesore of seeing them peek through from under the sink.
5. Maple Stained
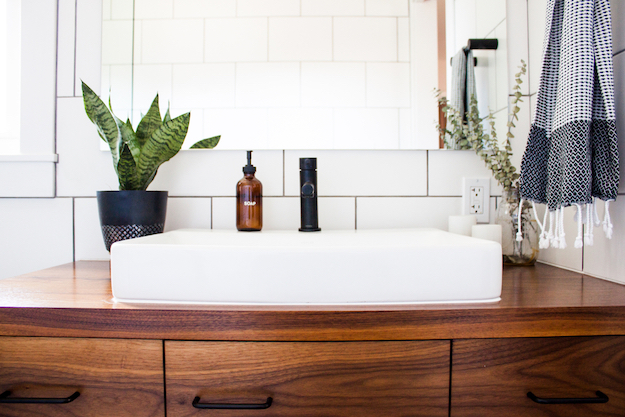
Want to give your maple wood countertop a nice dark chestnut color? The trick to getting maple wood to stain well is using a pre-stain before putting on your coats of wood finish. It makes such a huge difference in the outcome, I swear.
6. A Quick Fix
Need a quick fix to take your bathroom vanity from drab to fab? Sometimes a quick paint job is all it takes. Before you begin painting, remove the faucet and thoroughly clean the sink and countertop. I highly suggest using painter’s tape on the areas you don’t want to get painted as well.
7. Rustic Top
Been meaning to give your countertop a more rustic feel? Makeover your bathroom your bathroom vanity’s top with some wood and Waterlox. Waterlox is a sealer that penetrates through the wood, which gives it more protection. Each coat needs to dry for a full 24 hours, so you may need to wait for at least 5 days before you use your new bathroom vanity.
Here’s Jaé Marie’s Pottery Barn-inspired video tutorial of a DIY bathroom vanity:
I sure hope I was able to answer your DIY bathroom vanity problems! Now, there’s no need to feel confined and helpless because of your bathroom’s limitations. As long as you’re up for a DIY challenge, you’ll be able to work with any space and budget!
What’s your favorite DIY bathroom vanity idea? Let me know in the comments below!
Add a little pizzazz to your bathroom! Here are some decorating ideas on a budget.
![]() Stay connected with us on Facebook, Twitter, Pinterest and Instagram!
Stay connected with us on Facebook, Twitter, Pinterest and Instagram!
Feature image via Picrevise


