


Quick Summary: Build a Garage Pegboard Wall
- Time: 55 minutes total (5 min finding studs, 30 min mounting, 20 min hooks)
- Cost: $50-$75 for complete setup with panels, strips, screws, and hooks
- Result: Triple your storage and find every tool in seconds instead of minutes
It’s 2026, and yet you’re still digging through toolboxes mid-project? Start the year right with a pegboard wall that puts every tool at eye level and costs under $75.
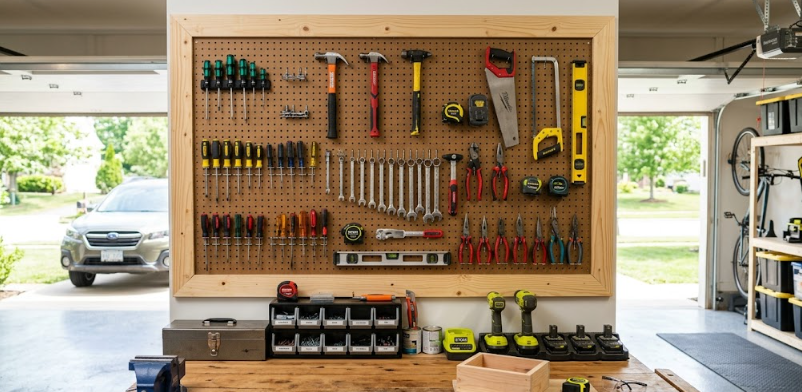
Want to finish more DIY projects this year? Start with your garage setup. The solution serious builders use is simple: pegboard walls. In under an hour, you’ll transform wasted wall space into organized storage that actually works.
Here’s how to build one in 55 minutes.
What You’ll Need
Materials:
- Pegboard panels (4′ x 8′ sheet, cut to size)
- 1×2 furring strips
- Wood screws (2½” and 1¼”)
- Pegboard hooks (assorted sizes)
Tools:
- Stud finder
- Level
- Drill/driver
- Pencil
Total cost: $50-$75 at your local hardware store.

- Expandable Peg Board System: This peg board wall kit is great for wall organizing, craft room...
- Durable Plastic Peg Board: Our pegboard holds up to 20 lbs. Use the included stickers for nail-free...
(As an Amazon Associate, we earn from qualifying purchases.)
Step 1: Find Your Wall Studs (5 Minutes)
Run your stud finder across the wall where you want your pegboard. Mark each stud location with a pencil. You’ll mount your furring strips directly to these spots.
Why this matters: Pegboard walls need solid backing. Skip this step and your tools will pull the whole thing off the wall.
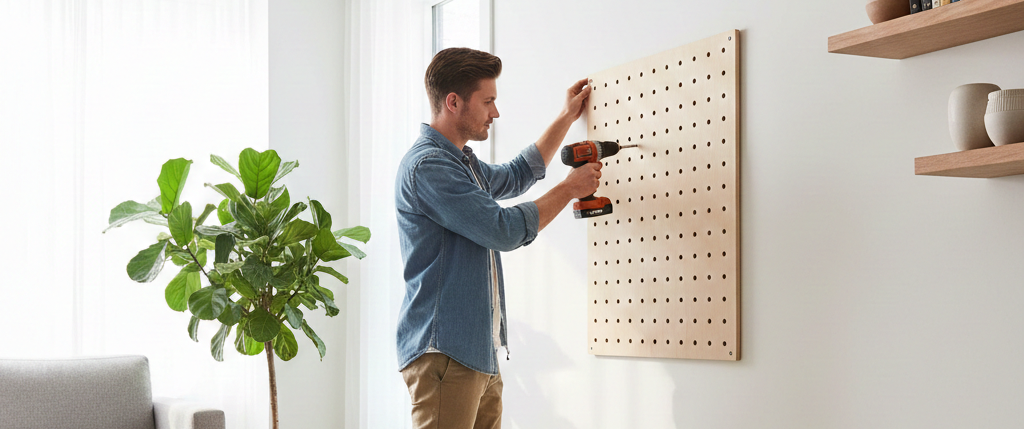
Step 2: Mount the Pegboard Panels (30 Minutes)
Install furring strips first:
- Attach horizontal 1×2 strips to the wall studs using 2½” screws
- Space strips 16″ apart (top, middle, bottom works for most setups)
- Check with your level. Crooked strips mean crooked pegboard.
Attach your pegboard:
- Position the pegboard over the furring strips
- Drill 1¼” screws through the pegboard into the strips every 12″
- The furring strips create space behind the board so hooks can slide through
Beginner tip: Have someone hold the panel while you drive the first few screws. It’s awkward solo.
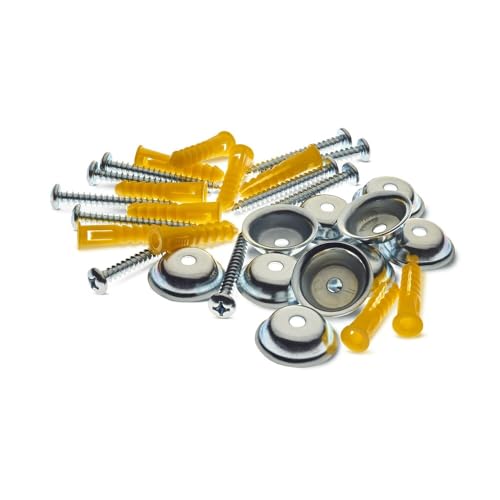
- Easy to use and everything required to mount a pegboard to the wall is included in one package
- Eliminates the need to purchase expensive wood framing and hardware to mount pegboard to flat wall...
Step 3: Install Your Pegboard Hooks (20 Minutes)
Start with your most-used tools. Place your drill, hammer, and tape measure first. Put heavier tools lower and frequently-grabbed items at chest height.
Hook types that work:
- J-hooks for hammers and mallets
- Double hooks for power tools
- Shelf brackets for paint cans
- Basket hooks for small parts
Test each hook’s grip before loading it. Some cheap hooks slip. Wrap a bit of tape around the back peg if needed.
What You’ll Gain
Your new setup delivers:
- Triple your storage without losing floor space
- Every tool visible in one glance
- Find what you need in seconds, not minutes
- Faster project turnaround time
That drill you just bought? Hanging right at eye level. Your measuring tape? No more digging. Every screwdriver? One glance away.
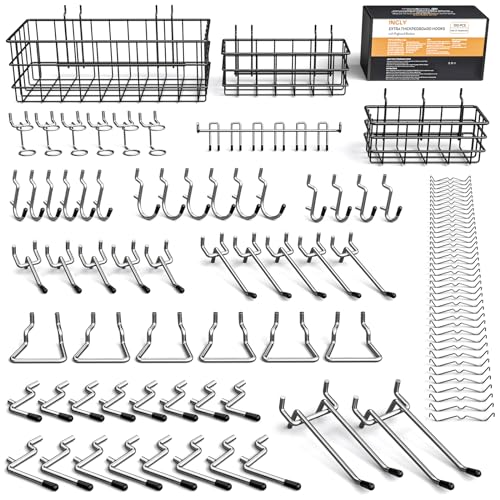
- Value Package : The peg board organizer accessories comes with 11 different types pegboard...
- Extra Thick Pegboard Hooks: The peg board hooks are made of hardened steel construction...
Final Thoughts
Your 2026 garage transformation starts here. Spend one Saturday afternoon building this pegboard wall, and you’ll save hours on every project after. Time to stop hunting for tools and start building.
FAQs
How much does a pegboard wall cost?
Between $50-$75 for an 8-foot section, including panels, furring strips, screws, and basic hooks.
What tools do I need for installation?
Just a drill, stud finder, level, and pencil. Most DIYers already have these.
How long does installation actually take?
55 minutes for most people. 5 minutes finding studs, 30 minutes mounting panels, 20 minutes arranging hooks. First-timers might add 15 minutes.


