


I think a bookshelf is one of the most commonly-made woodworking projects, especially for those who’re just getting started with woodworking. Knowing how to make a bookshelf automatically delves you into the basics of woodworking, from knowing the structure of common items like shelves, drawers, and cabinets, to knowing the different techniques of working with wood. In this project, I am about to share with you a very straightforward tutorial on making your own bookshelf.
How To Make A Bookshelf | DIY Personal Projects
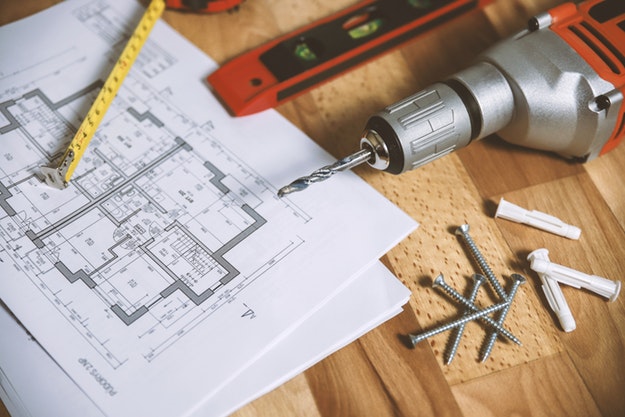
Now, when we’re talking about woodworking, we automatically assume that it’s going to be a lot of work, and it is. Bookshelves are no exception, as you need power tools like a power saw, driller, and sander to complete the project. This tutorial on how to make a bookshelf will focus on the basics and what you need to do to create the shelves. Take note that you can also follow the principles mentioned in this tutorial and apply them to your preferred size and shape of the shelves. It’s really up to you.
Tools and materials :
- Saw
- Drill
- Sander
- Wood screws
- Glue
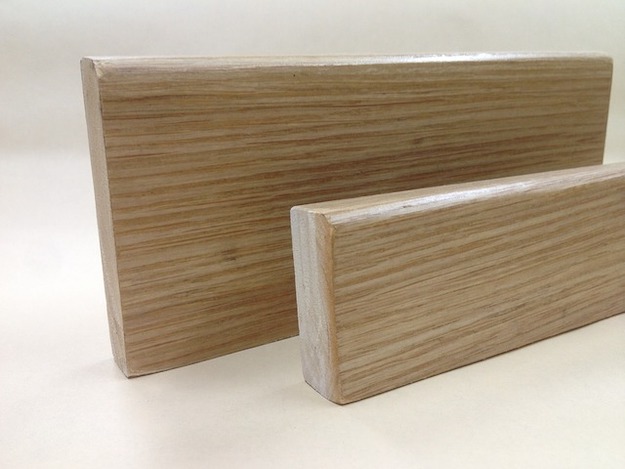
- Wood
- Wood stain
- Rag or piece of cloth
- Paint brush
- Wood putty
Step 1 – Plan and sketch the design
Start with planning and sketching the design for the bookshelf. Decide on the height and width that will fit the room where you are going to put it.
Step 2 – Gather the tools and materials
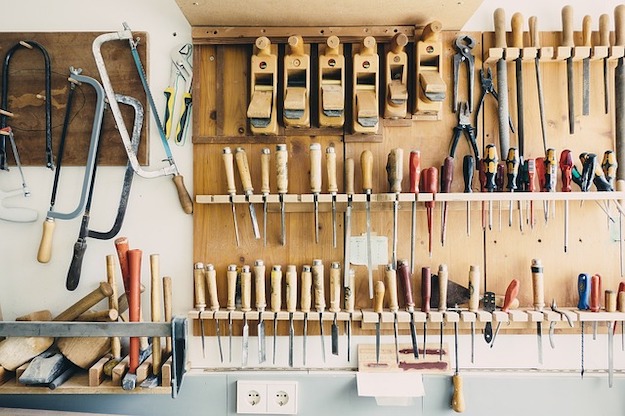
Gather all the tools and supplies you need for this project.
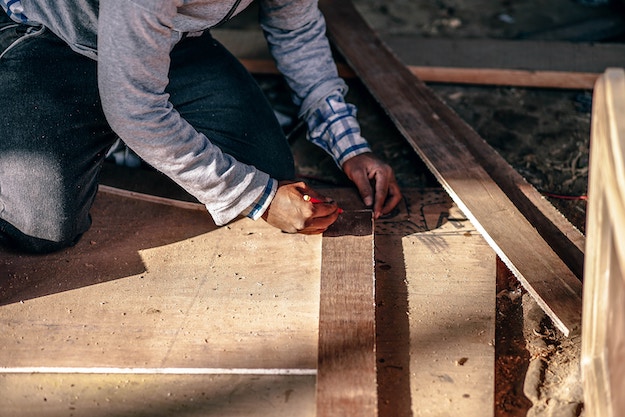
Step 3 – Choose and cut boards

Take your time in choosing a straight board.
Cut them down to size using a saw. You can use whatever kind of saw that is available. Cut the two long boards for the sides of the bookshelf. Then, cut six boards that are all in the same length for the shelves.
Step 4 – Sand the boards
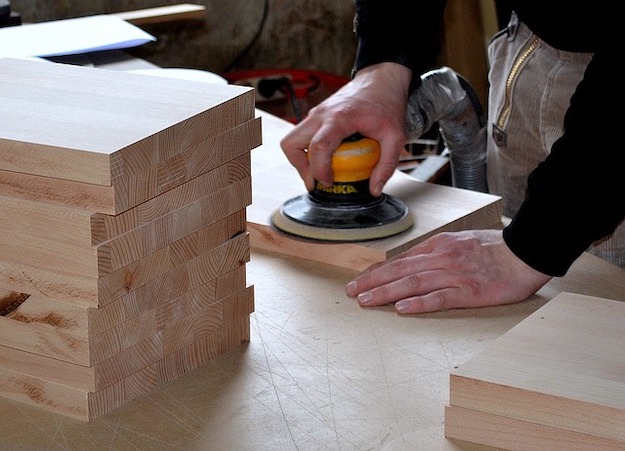
Sand the boards to smooth them out and remove rough edges using an orbital sander or a hand sander.
Step 5 – Assemble the frame
Assemble the outside frame. Attached the top board within the ends of the two side boards.
Apply a little amount of glue to ends to attach the boards. Pre-drill with a small bit then use 3-inch wood screws to connect the boards. Use three screws for each connection.
Step 6 – Install lower shelf
Measure 3-inches from the bottom and mark it for the installation of the lower shelf.
Once it’s in place, you can glue it, pre-drill and screw in the boards from each side.
Step 7 – Install the shelves

Continue measuring up from the bottom of the vertical boards on each side to find out the placement for each shelf. You can double-check as shelves are added to make sure that the spacing is correct. For this particular project, the shelves are about 13 inches between each other and spaced evenly. Follow the same process when attaching the boards then glue the screw in place.
Step 8 – Sand the boards again

Once everything is in place, sand it again to smoothen rough surfaces to prepare for the finishing touches.
Step 9 – Stain the bookshelf
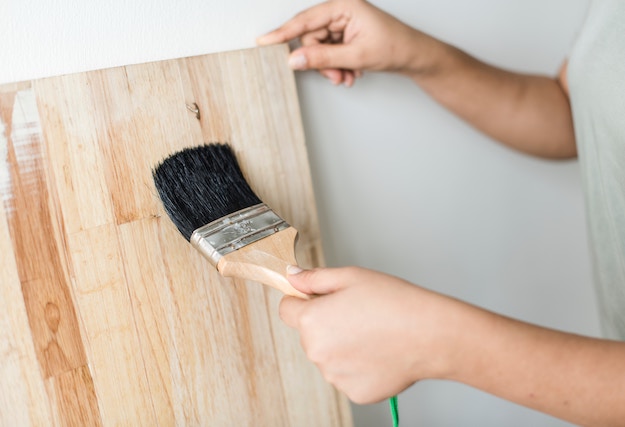
This is also a good time to use wood putty to fill in the screw holes. Then apply the wood stain using a rag and a brush for hard to reach areas. Apply one to two coats until you reach your desired look. Your DIY bookshelf is done!
Watch this video from DIY PETE for full details on how to make a bookshelf!
There you have it, Your own bookshelf! It didn’t even take a week to complete the entire thing, did it? At most, it would probably take up one Saturday morning and afternoon. I suggest you get a pair of helping hands to speed things up and to help you manage the assembly.
Click Here For More DIY Tips In Woodworking!
Like This? You’ll Also Like…
DIY Hacks: 8 Money-Saving Hacks For Woodworking Projects

The Complete Guide To Wood Working Tools For Beginners

18 Simple Yet Creative Wood Pallet Projects To Give Your Home That Rustic Look

Featured Image Via Stewart Butterfield


