

Coming across this paracord solid gear wrap DIY project will make your day for sure, especially if you love to personalize your gears!
RELATED: How To Make A Paracord Belt: Step-By-Step Instructions
How to Make a DIY Paracord Solid Gear Wrap
No More Slips with DIY Paracord Solid Gear Wrap
Are your tools and weapons always slipping out of your sweaty palms? Tired of drawing your war hammer, only to watch it go flying and land at your enemy’s feet?
Are these follies are not the result of you not keeping up with your hand grip routine like you said you would? No silly, it’s because you didn’t go to DIY Projects and learn how to make a badass paracord solid gear wrap.
Well, now that you’re here, let’s get this cool paracord solid gear wrap project started!
What You Need to Make a Paracord Solid Gear Wrap:
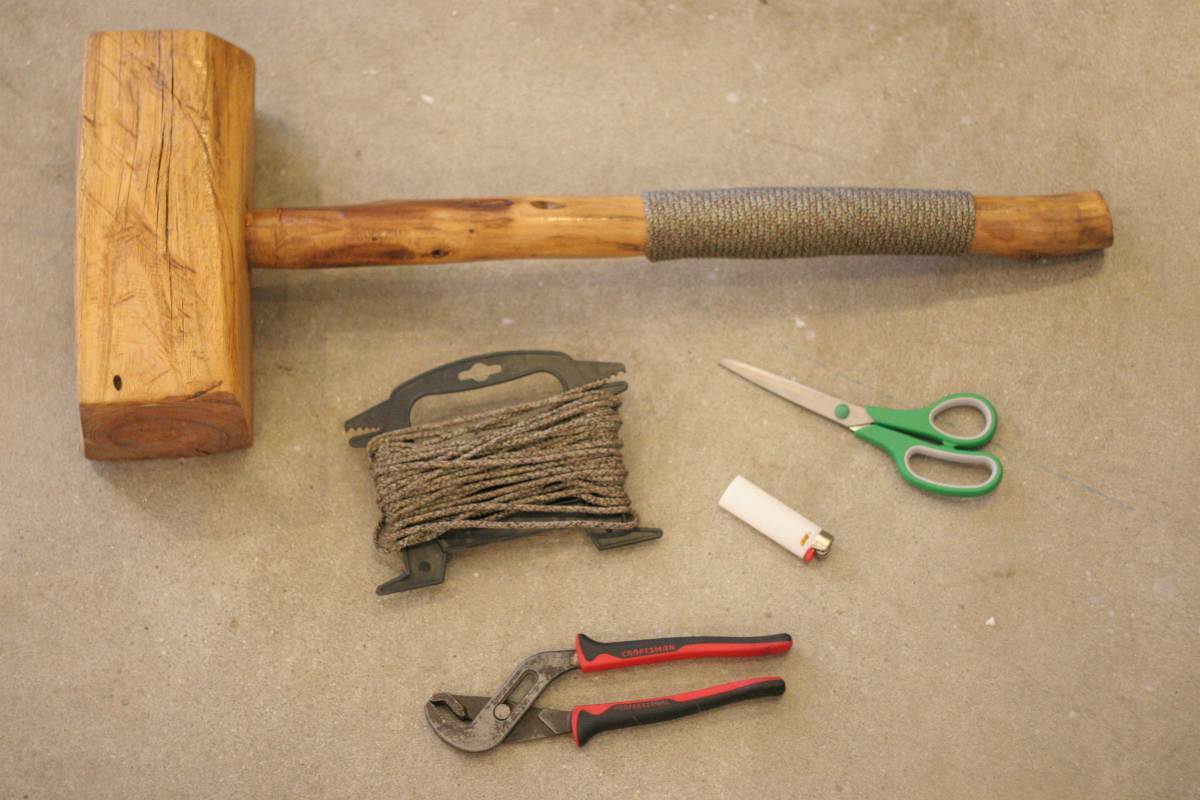
- A tool with a solid handle
- Spool of Paracord
- Scissors
- Pliers
- Lighter
Let’s Begin!
Instructions to Make a Paracord Solid Gear Wrap :
Step 1. Grab Your Weapon, er…I Mean Tool
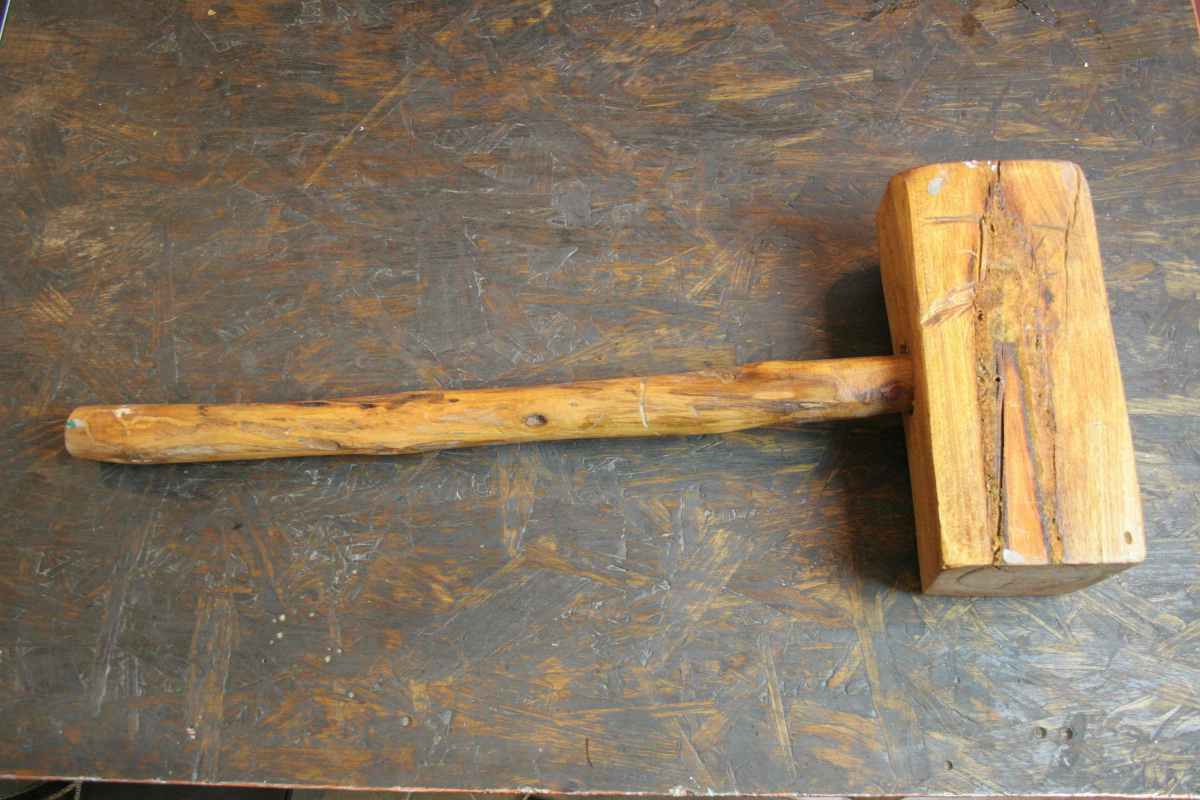
Prepare your gears, tools, paracord, and other materials. To give you an idea, 14 feet of paracord makes a 4.5-inch wrap.

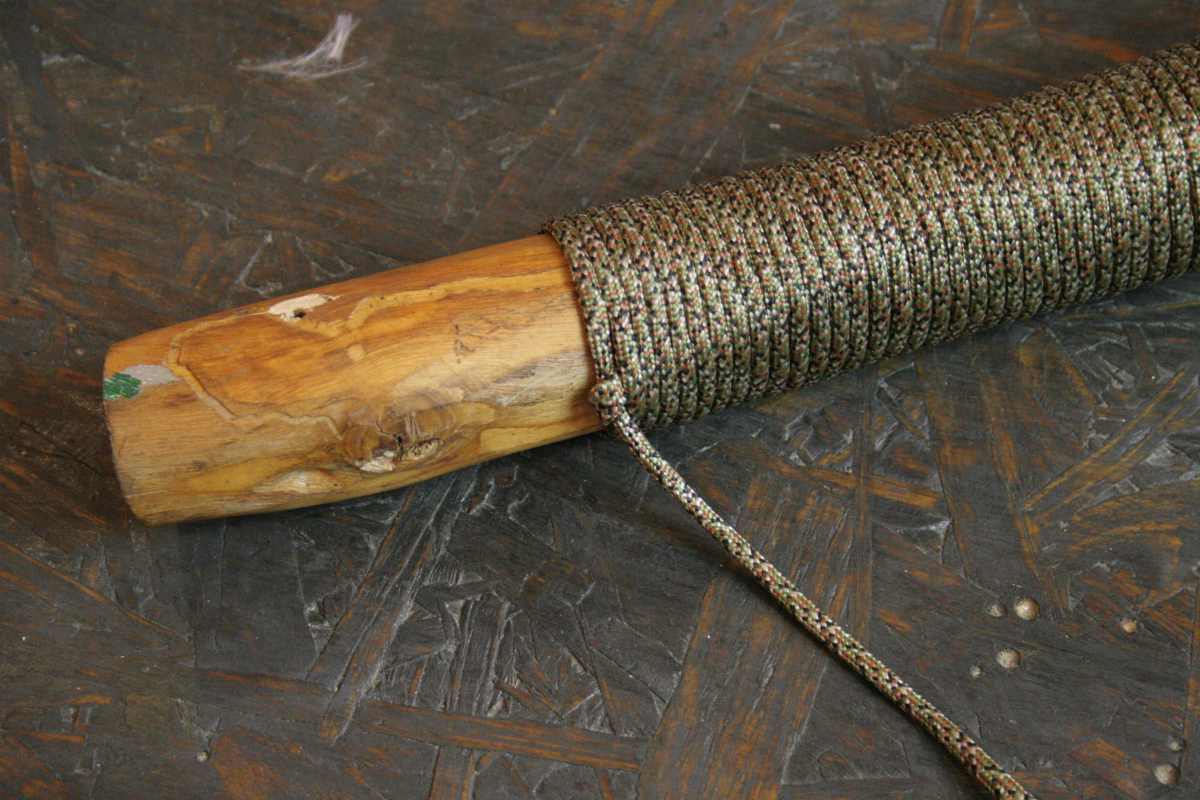
Step 2. Begin Your Loop
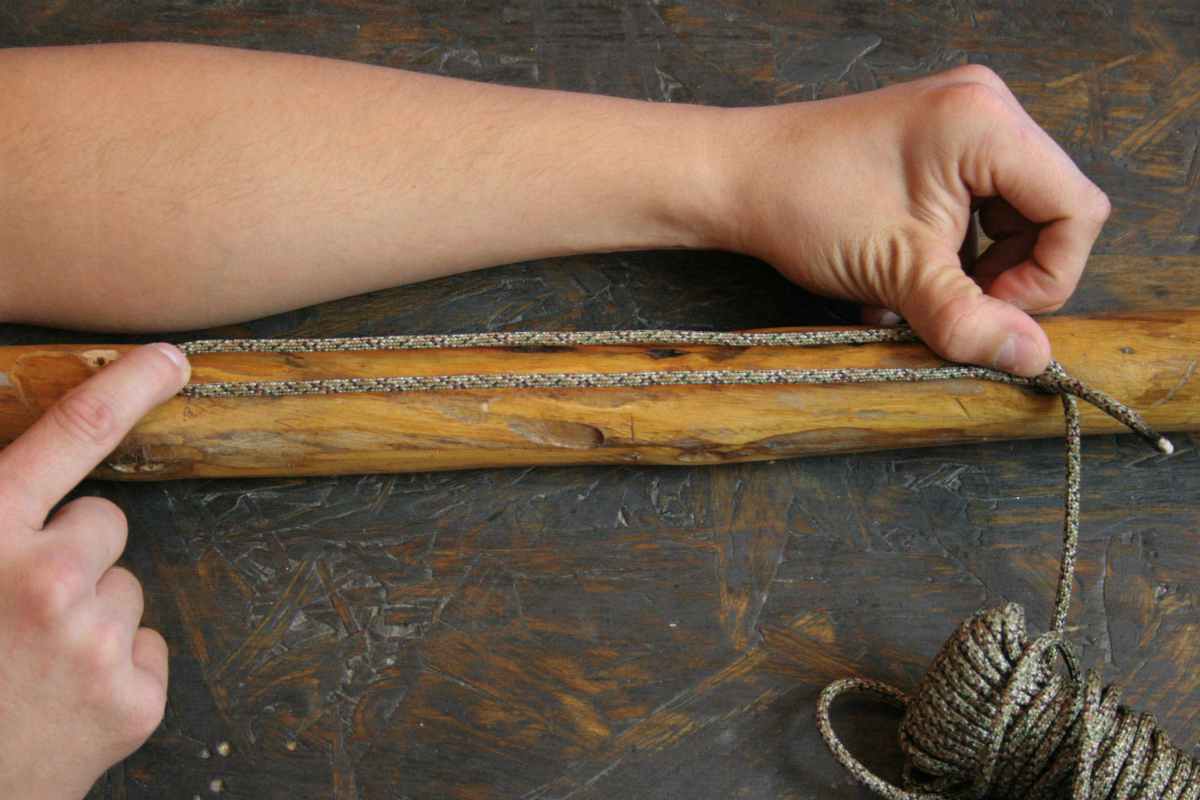
Start an inch from the base of your tool or gear handle. Make a long loop that is the length you want your wrap to be, then pinch the string into place with your thumb.
Step 3. Wrap
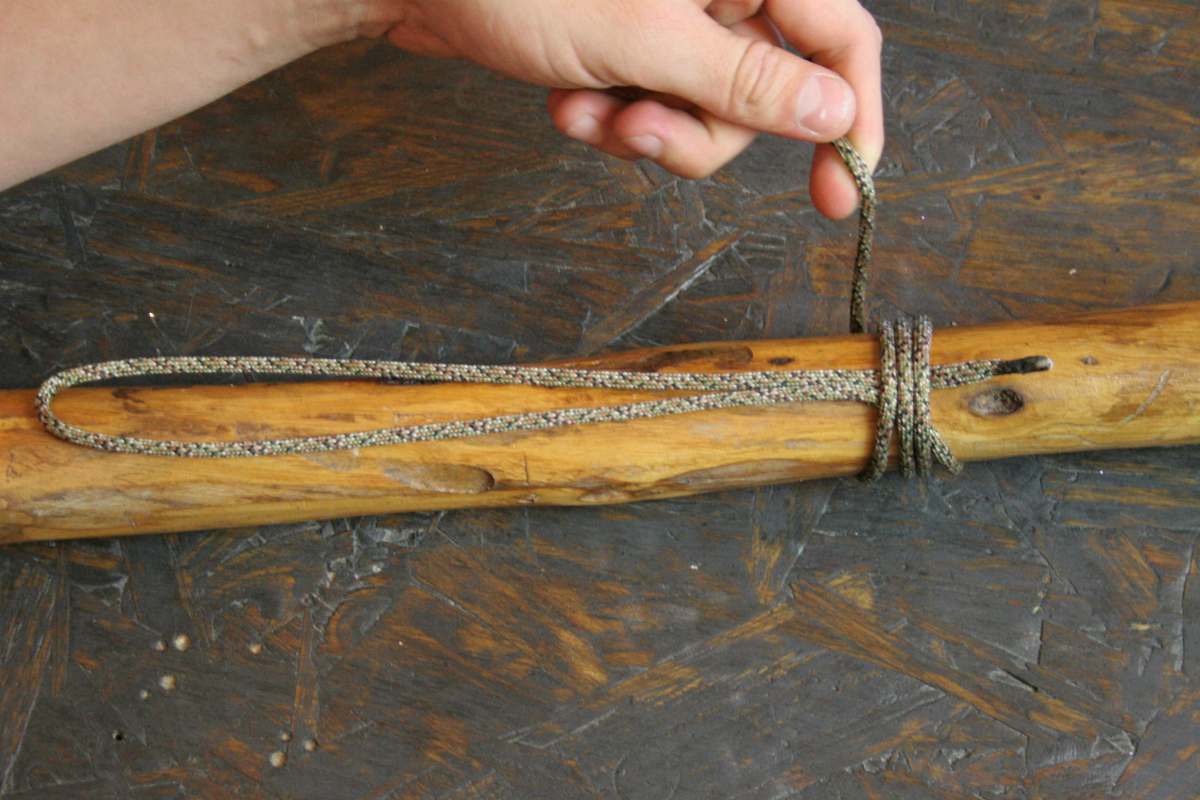
Wrap the paracord around the beginning of the loop so it remains in place.
RELATED: Paracord DIY Headphones | Paracord DIY Projects
Step 4. Continue

Continue wrapping the Paracord tightly down the handle of your tool until the loop is almost covered.
Step 5. Cut the Ends
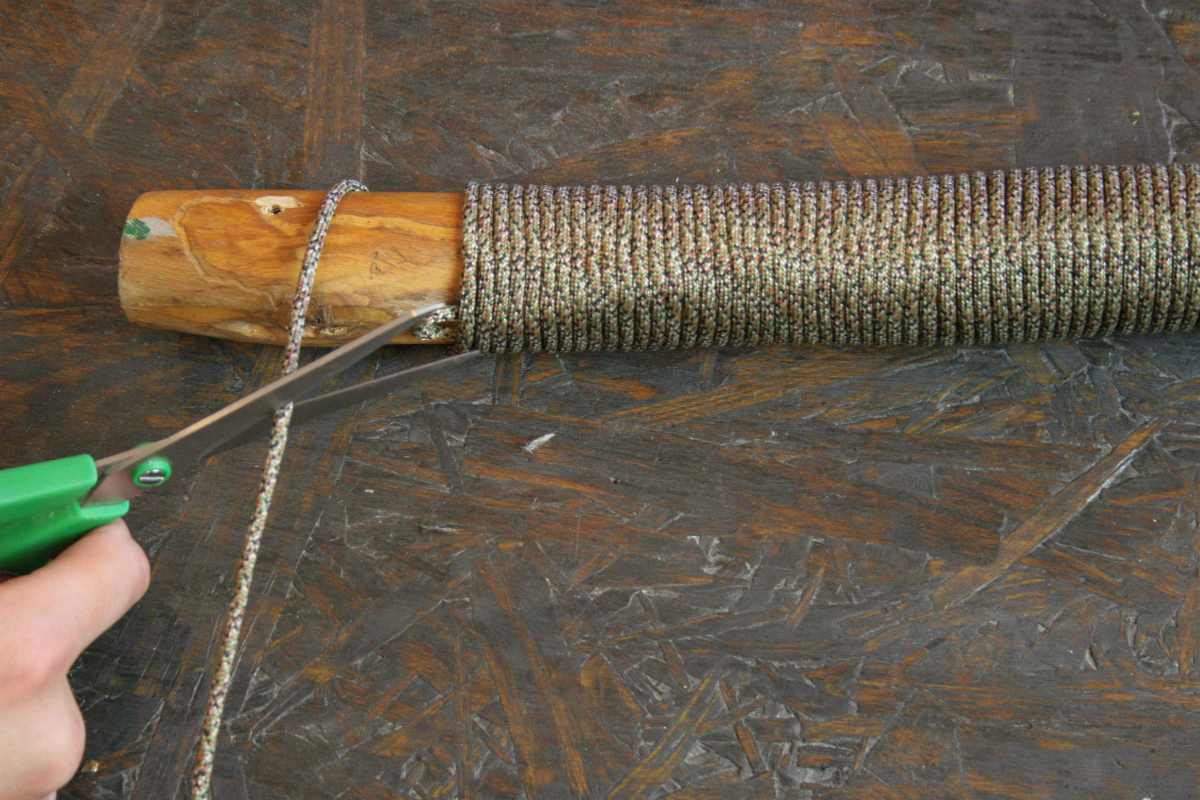
Cut the end of the string with a pair of scissors
Step 6. Threading
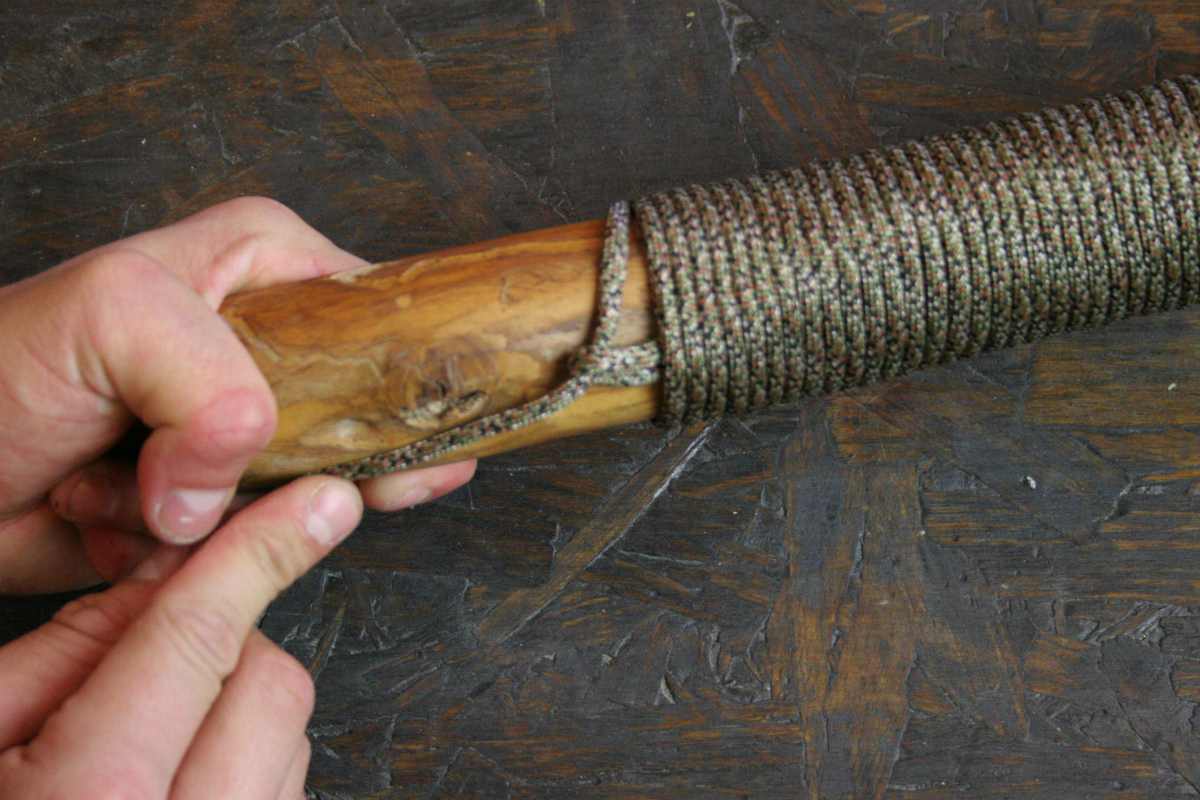
Thread the string through the remaining end of the loop
Step 7. Tighten the Loop
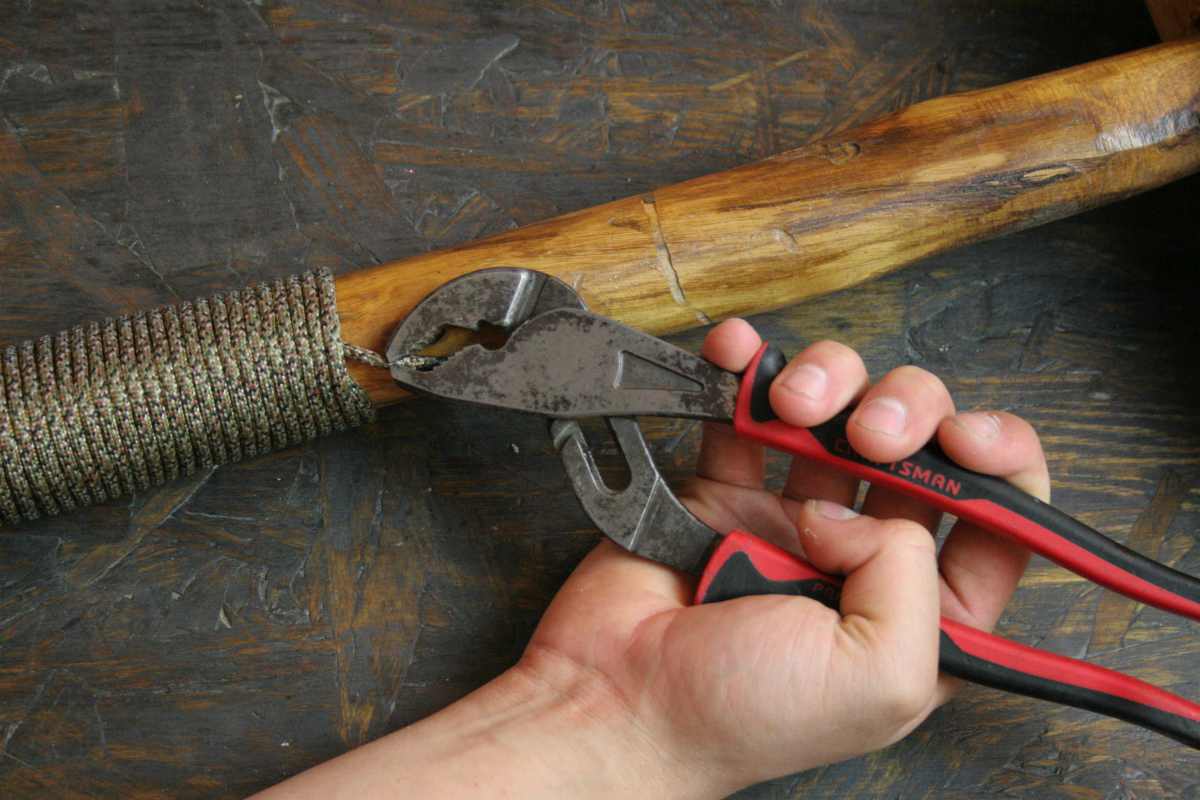
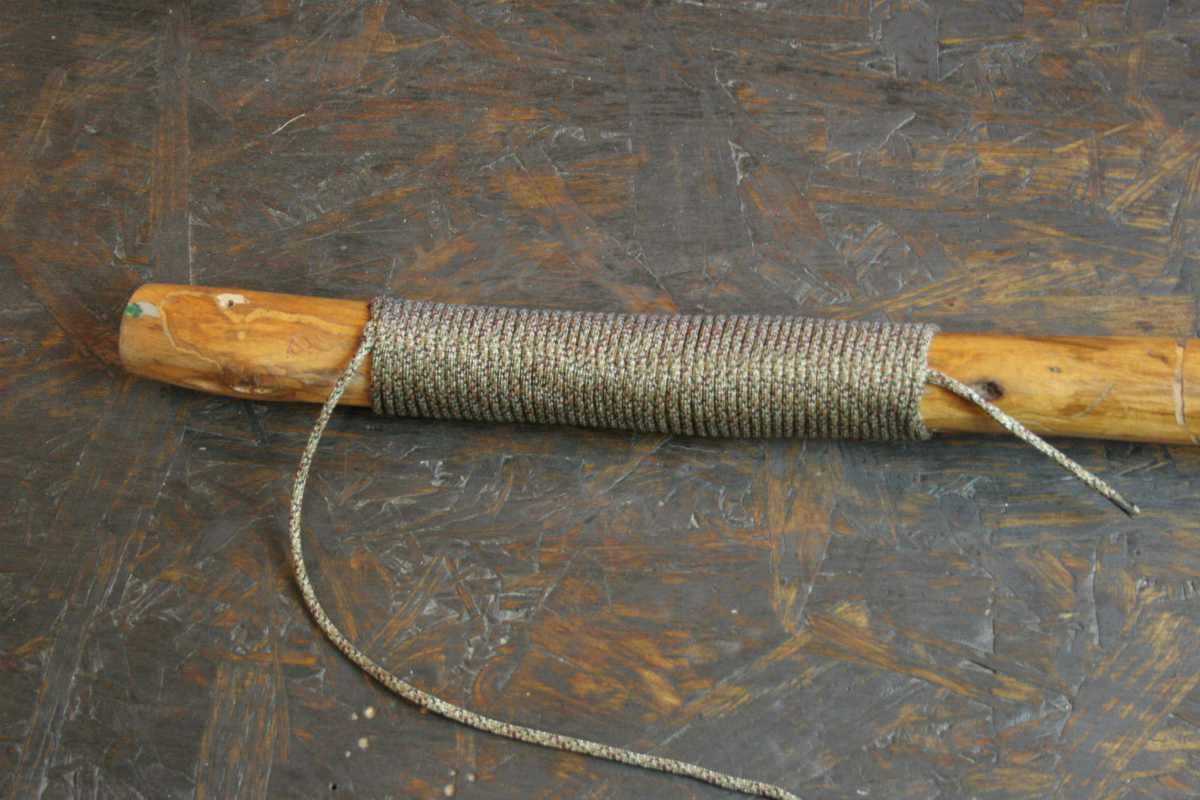
Use pliers to pull the string at the beginning of the wrap. This will tighten the loop at the other end.
Step 8. Cut Again
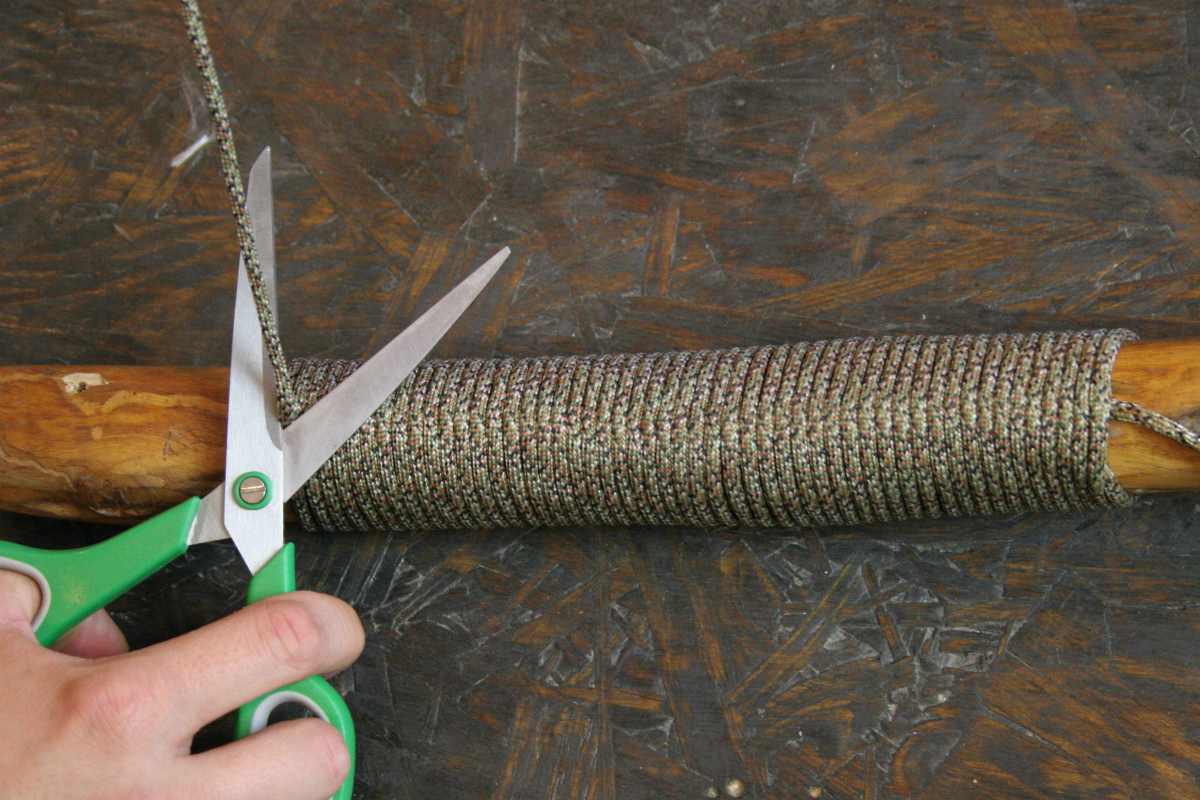
Cut the excess string at both ends.
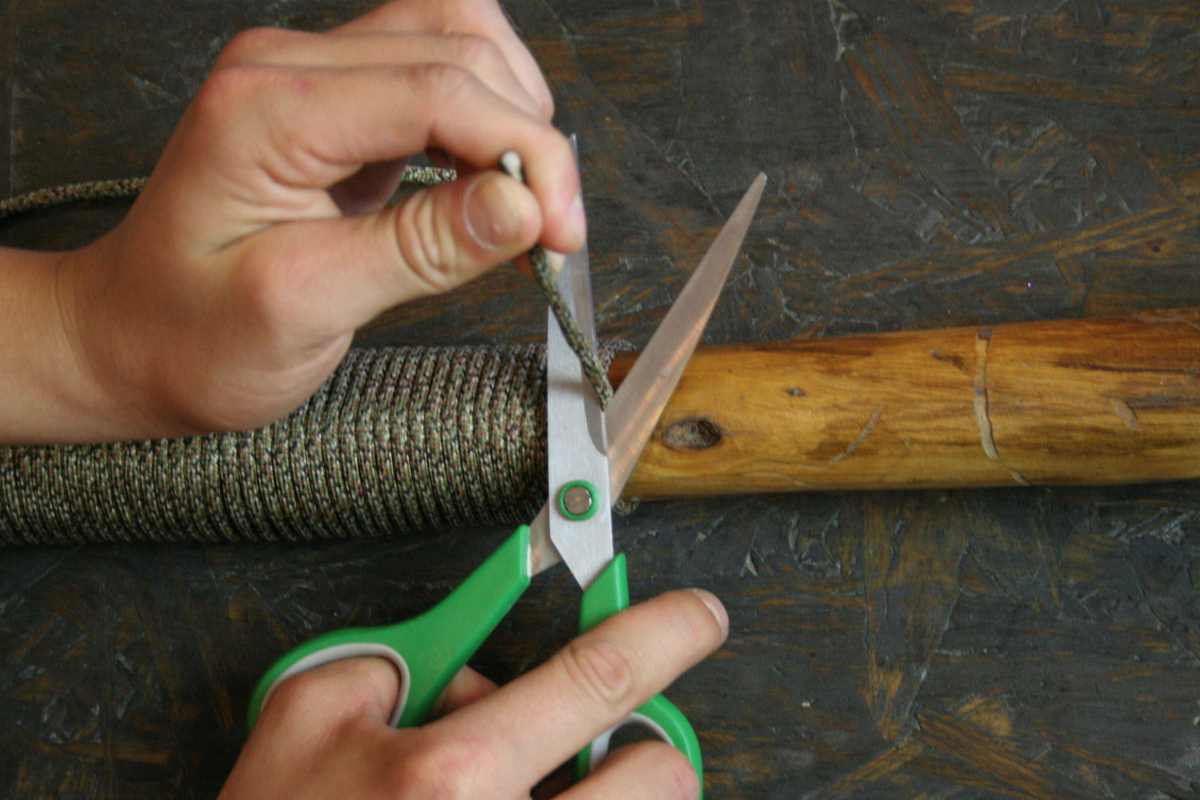
Step 9. Melt End of String
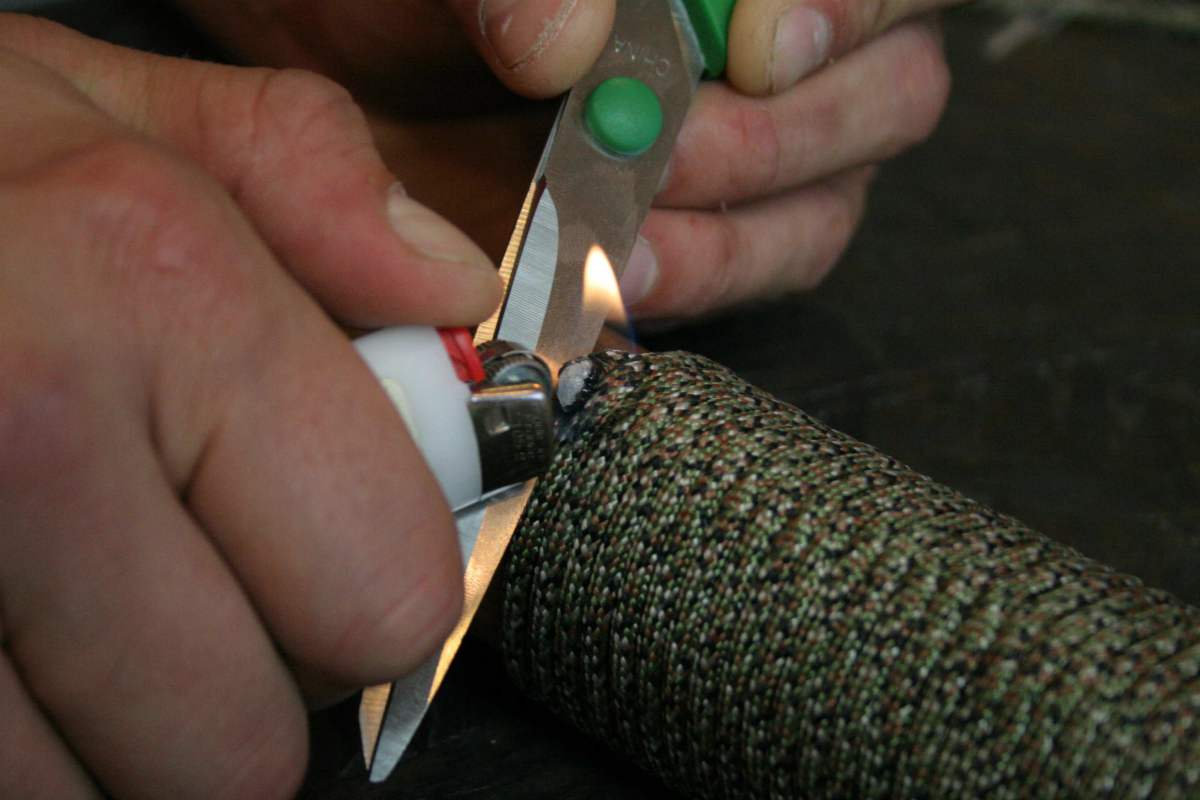
Use a lighter to melt the ends of the string.
Step 10. Mesh Ends with the Wrap
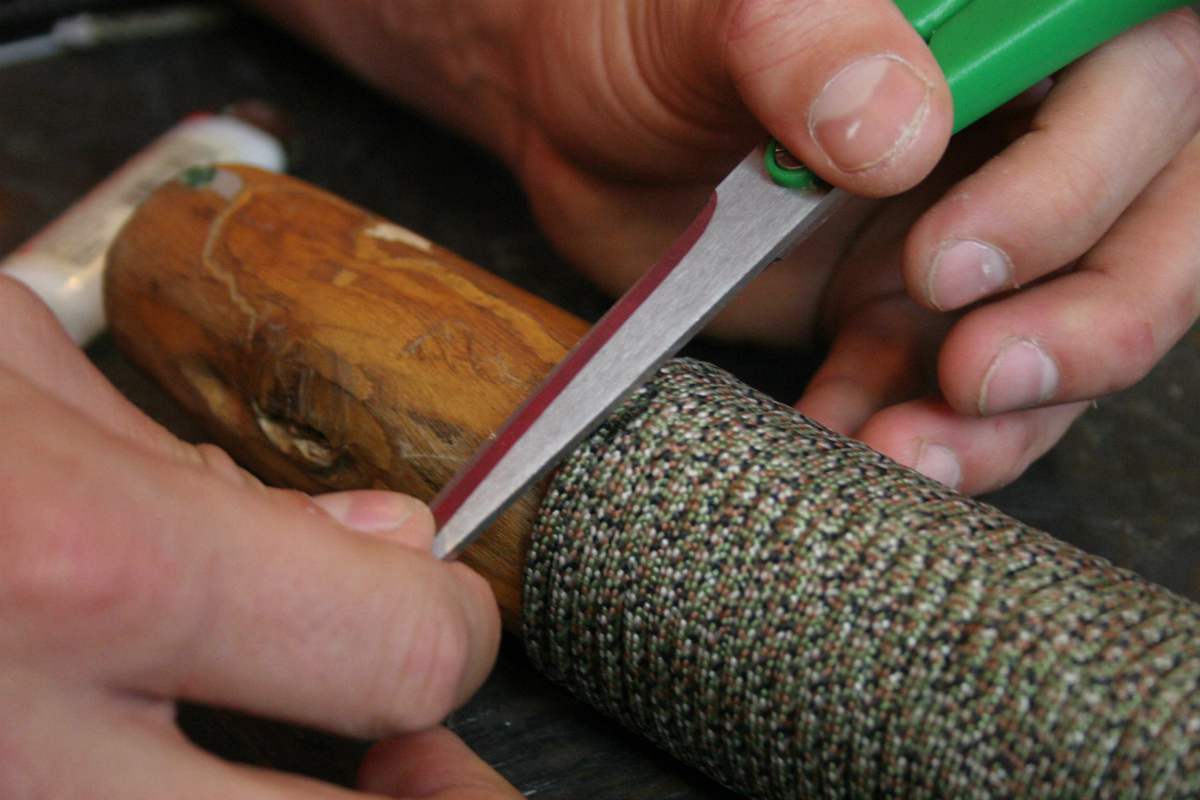
With your scissors, flatten the melted ends of the string so they mesh with the rest of the Paracord.
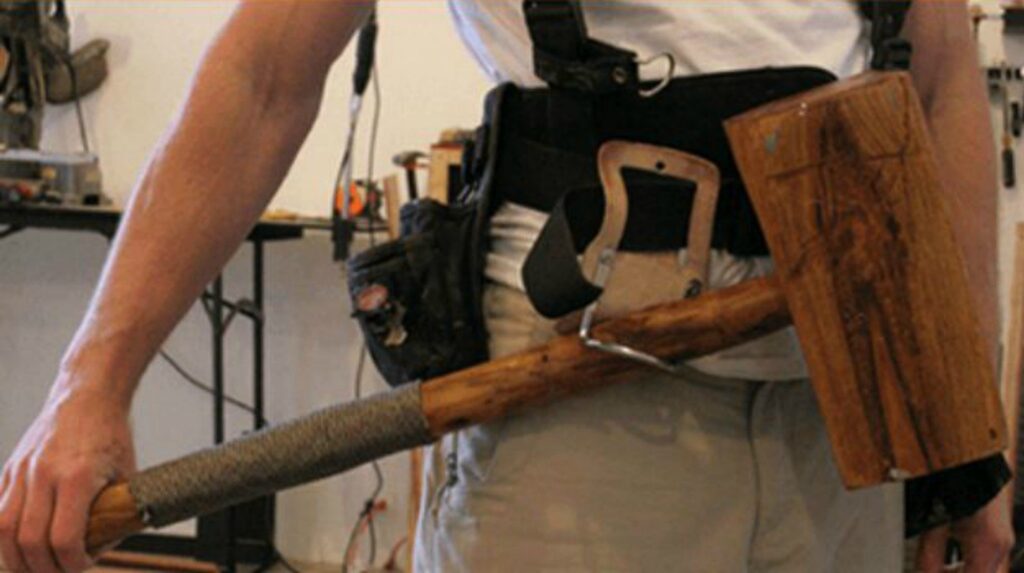
Step 11. Test Your Finished DIY Paracord Handle Project!
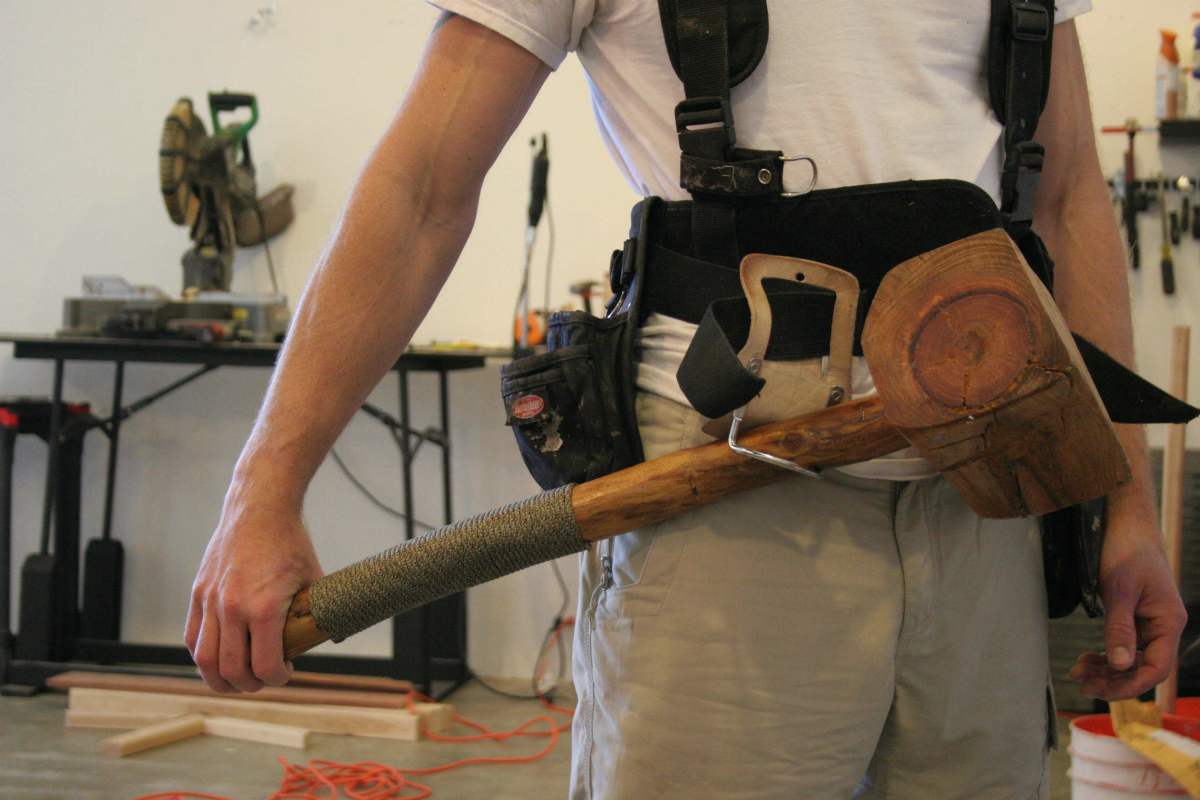
Wield your war hammer furiously without embarrassing yourself.
Whether you’re going to the mall on a sleepy Sunday or turning Dragon brains into a broth, walk tall with the bravado of a (wo)man who has cat tongues for palms.
Or sandpaper, whatever imagery works for you. Point is, you won’t be dropping stuff.
This video from BennyCriss12 will show you how to make a cobra weave knife handle:
Any self-sufficient DIY buff who loves to put a personal touch on all their stuff will love this DIY paracord solid gear wrap. From this simple paracord wrap, you can go ahead and make a wrap for the handles of your other tools.
You can even try other paracord knots and weaves, apply the idea to other than tools and gears like maybe your bag. With a DIY junkie, there’s no limit to the possibilities.
Will you take on this paracord solid gear wrap DIY project? Let us in on the details by posting them in the comments section below!
Up Next:
- Learn to Make a Paracord Dog Collar | Instructions
- How to Make a Macrame Lawn Chair | DIY Projects
- 4th Of July Mason Jar Lanterns | DIY Lighting And Decor
![]() Stay connected with us on Facebook, Twitter, Pinterest, and Instagram!Editor’s Note: This post was originally published on May 15, 2014, and has been updated for quality and relevancy.
Stay connected with us on Facebook, Twitter, Pinterest, and Instagram!Editor’s Note: This post was originally published on May 15, 2014, and has been updated for quality and relevancy.


