
At a Glance: Chalk Paint Furniture Ideas
- 24 makeovers to copy. Dressers, tables, chairs, cabinets and a hope chest, each with a link to the maker’s own how-to.
- A finish that lasts. Clean the piece, paint two thin coats, then seal with wax or a water-based topcoat.
- Know when to stop. Some solid wood pieces look better with a refinish than with paint.
These chalk paint furniture ideas turn a tired thrift find into a piece you’ll want in the front room. Most take one weekend and one can of paint. Not sure your piece should be painted? Start with paint or keep. Ready to go? Jump to how to paint it, the gear that helps, or straight to the ideas.
Chalk paint grips most clean surfaces, dries fast and gives that soft, matte look. That’s why it’s still everywhere. The trick is picking the right piece, keeping your coats thin and sealing it for how you’ll use it. Get those three right and your makeover will hold up for years.
Should you chalk paint that piece, or keep the wood?
Some pieces beg for paint. Others are worth a second look first.
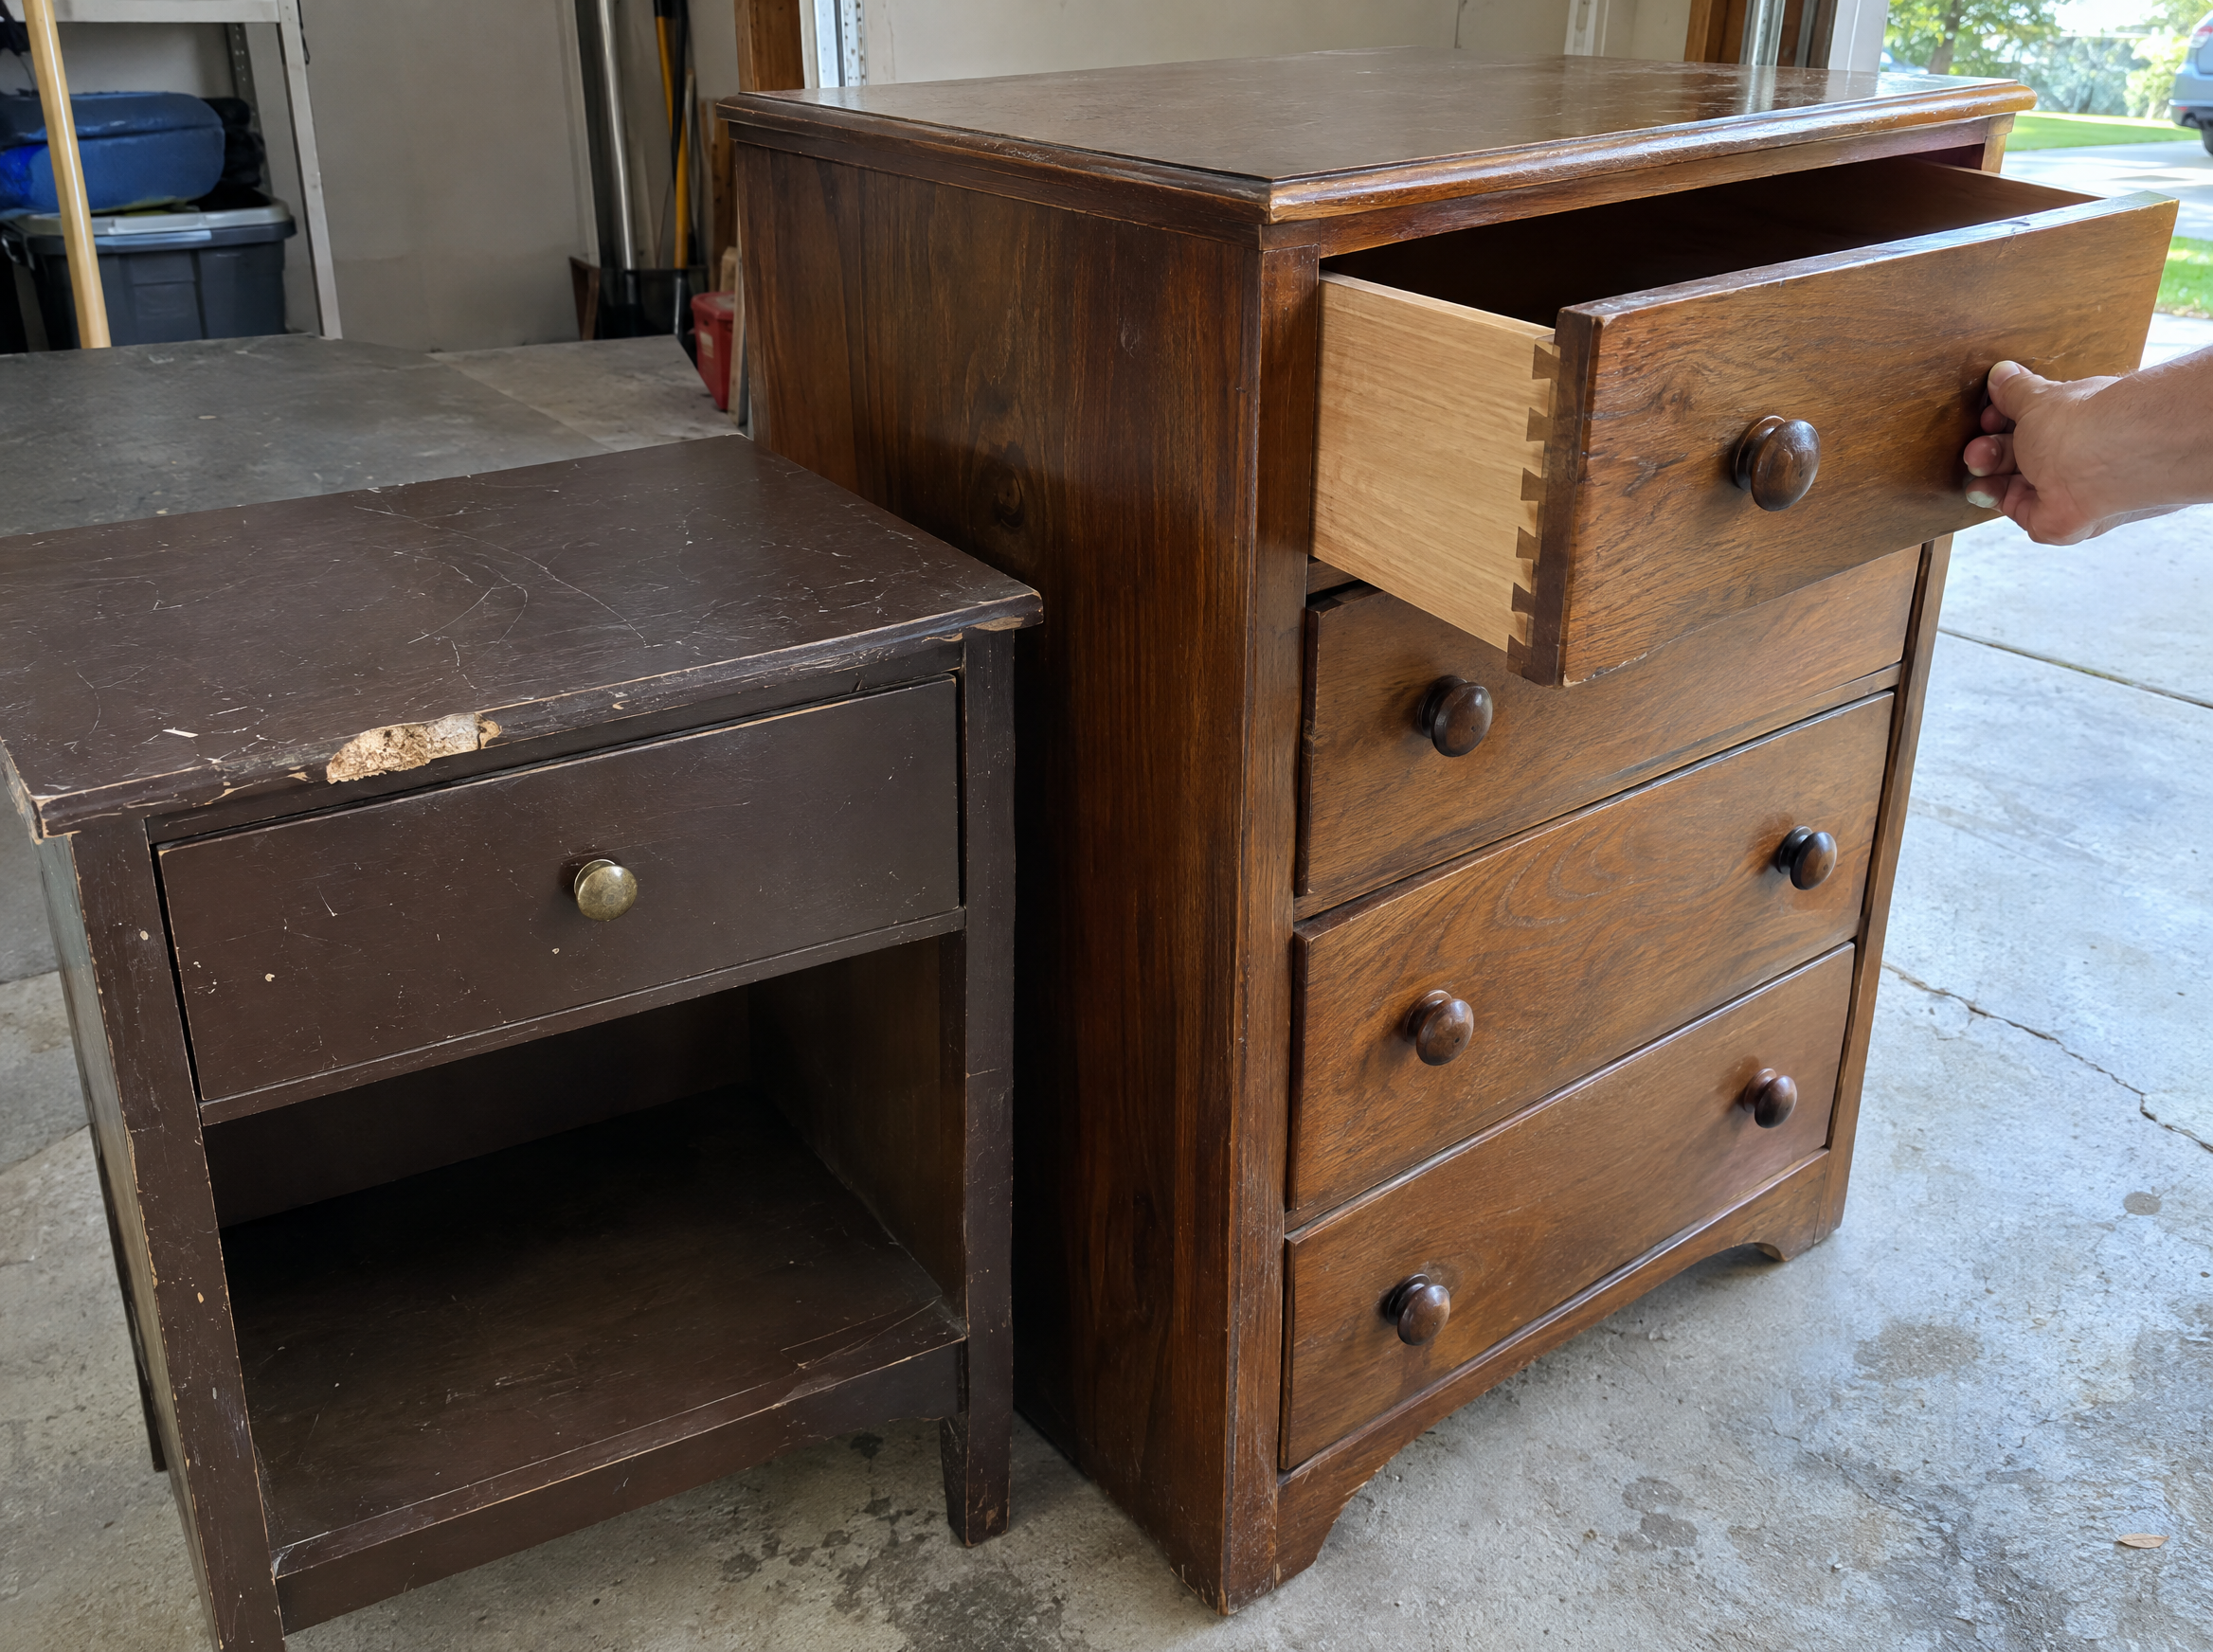
Paint it if the piece is laminate, the veneer is chipped, or the old stain is blotchy. Paint is the easy win here. Nobody misses a scratched-up 1990s finish.
Think twice if it’s solid wood in good shape, has a maker’s mark in a drawer, or came from family. A refinish might suit it better. Family pieces are where people dig in hardest. If you still want paint, test a small spot on the back first and live with it for a day.
Plan your finish if it’s a tabletop or a piece you’ll touch every day. Paint is fine, but seal it with a water-based topcoat instead of wax. Wax can spot under hot mugs and wear thin where hands rest.
Still torn? That’s normal. Plenty of DIYers go back and forth on this one, and there’s a vote on it at the end.
What do you need to chalk paint furniture?
Enough for one nightstand or small dresser
Some links in this list go to Amazon. As an Amazon Associate, we earn from qualifying purchases at no extra cost to you.
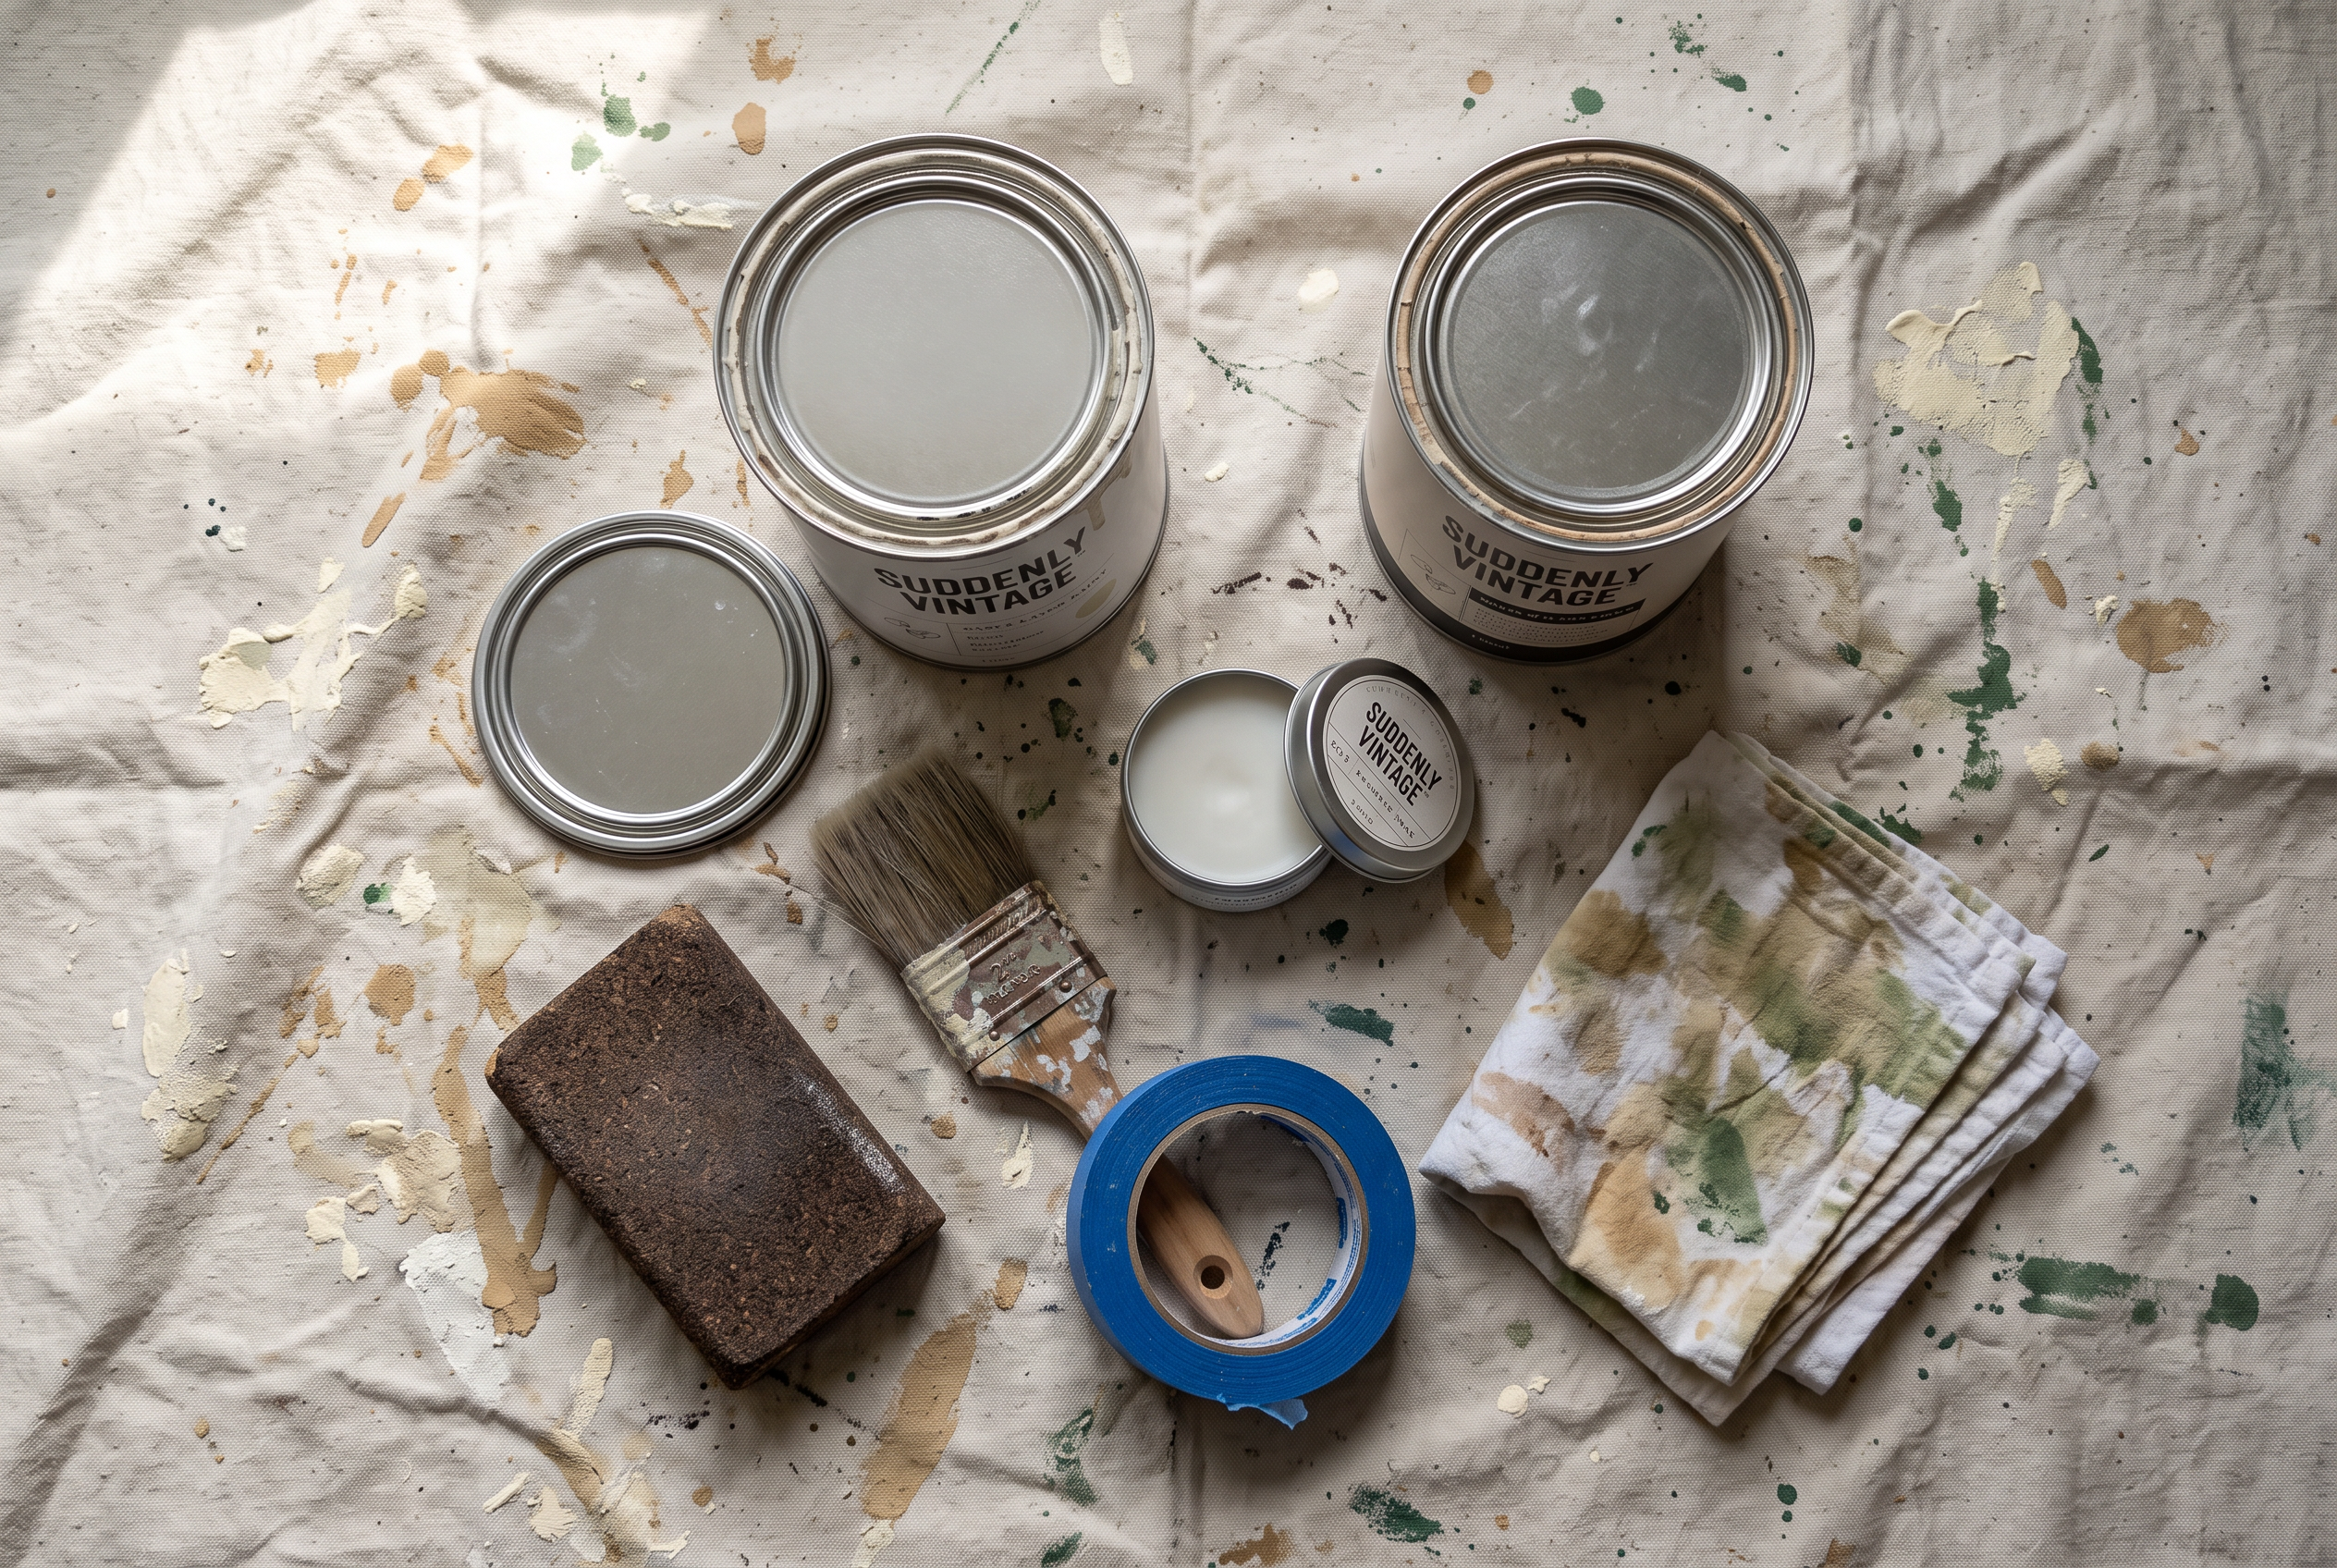
- Chalk paint. Start with one 30 oz can for a nightstand or small dresser.
- A good brush. A 2 inch angled brush handles legs and drawer edges. A soft synthetic five-piece brush set covers tops and legs.
- Furniture cleaner. A TSP substitute cuts grease and old polish.
- Fine sandpaper or a sanding block. For smoothing, not stripping. An extra-fine 320 grit sanding sponge bends around curves and rinses clean.
- Shellac primer. Only if old stain bleeds through your paint.
- Wax or water-based topcoat. Wax for low-touch pieces, topcoat for tabletops. A clear satin water-based topcoat is the safer pick for anything you touch daily.
- A soft lint-free cloth. For cleaning and buffing. A pack of lint-free microfiber cloths covers both jobs, and you can skip it if you have old cotton T-shirts.
Quick tip: Pull every drawer and set it on its back before you start. You’ll paint the fronts faster and catch fewer drips.
How do you chalk paint furniture so it lasts?
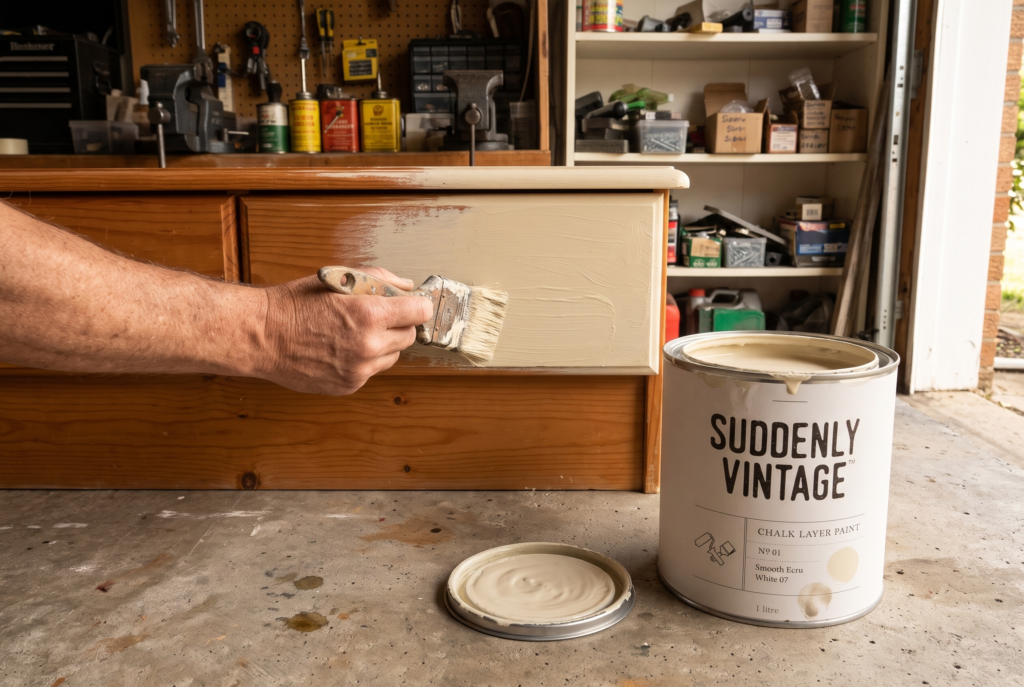
This is the simple method that works on most dressers, nightstands and side tables. Rather watch it first? This short beginner guide from the brand that started chalk paint shows the same clean, paint and seal flow.
1. Take off the hardware and drawers
Unscrew the knobs and pulls. Drop the screws in a cup so nothing walks off. Pull the drawers out and paint them separately.
2. Clean every surface
Wipe the whole piece with a TSP substitute and a soft cloth. Grease and old polish keep paint from sticking. Let it dry fully.
3. Paint the first thin coat
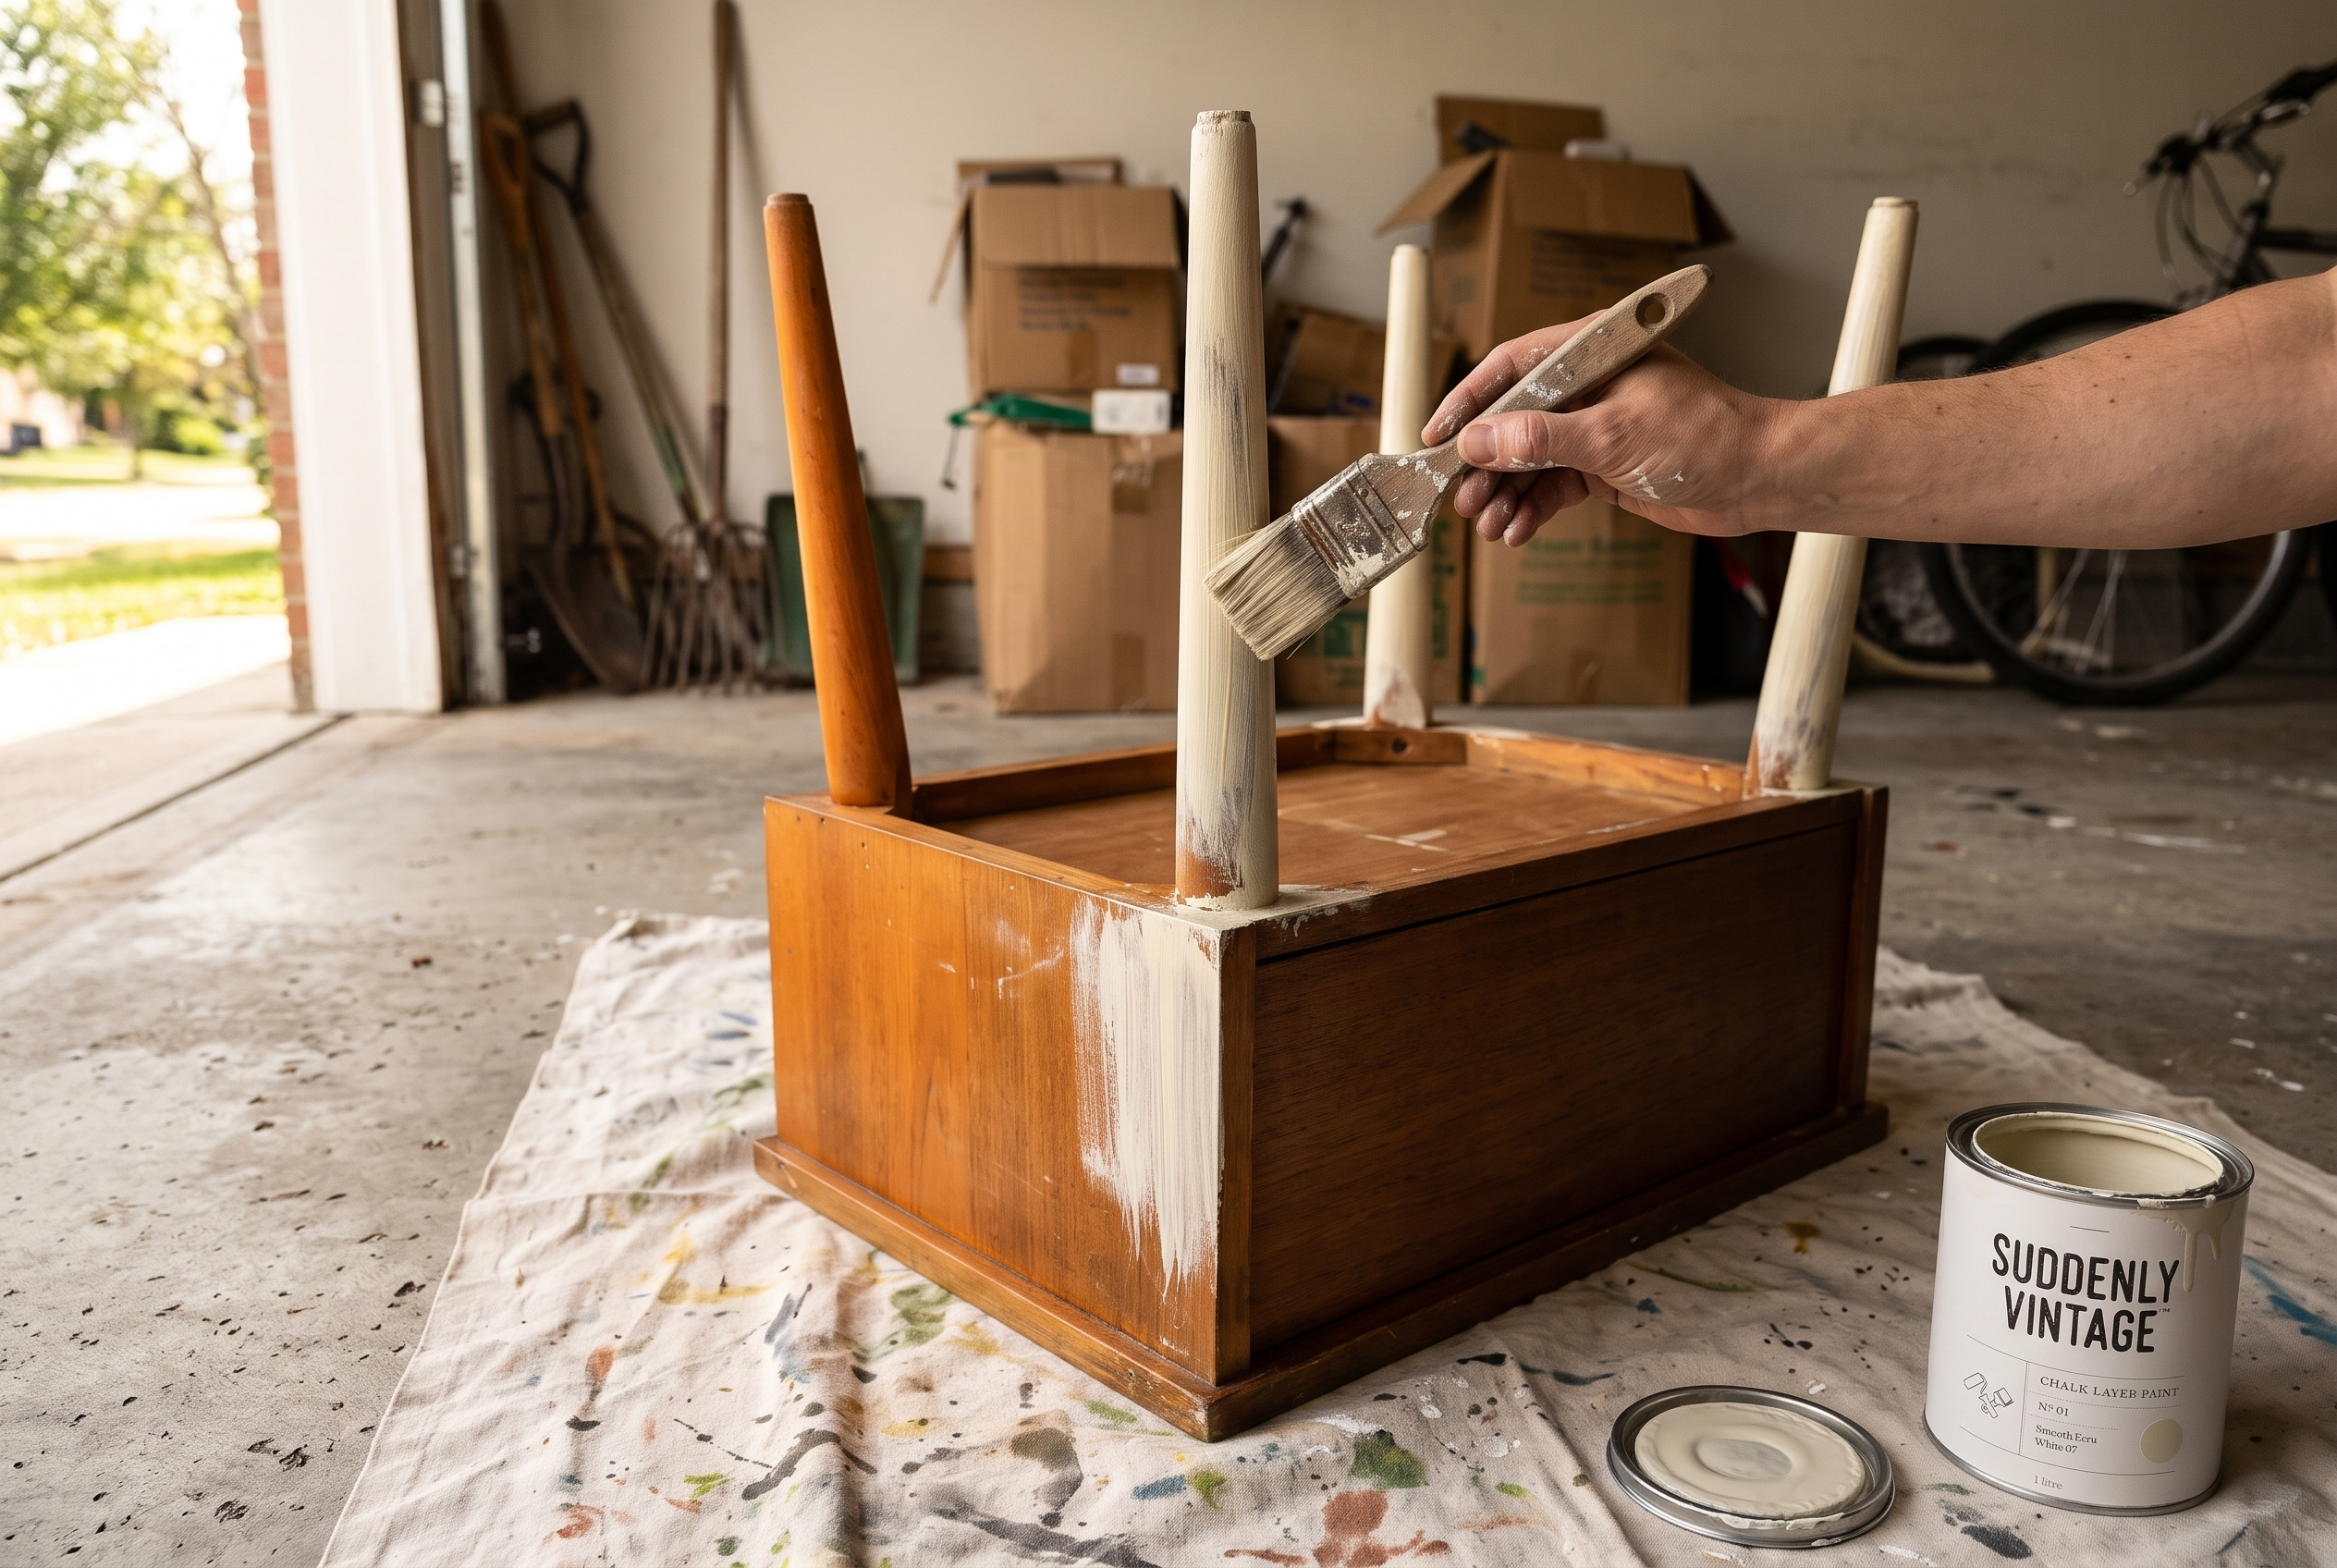
Flip the piece upside down and paint the legs and base first. Then turn it over and paint the rest with long, even strokes. Keep this coat thin. It will look streaky, and that’s fine.
4. Paint the drawer fronts
Paint the outside of each drawer. Painting the insides is up to you.
5. Smooth it and add coat two
Once dry, run fine sandpaper lightly over any bumps or drips. Add a second thin coat. A light color over dark wood may need a third. Want a worn, vintage look? Sand the edges a little more after the last coat. Painting over a very old finish? Check the lead note before you sand.
6. Seal it for the job
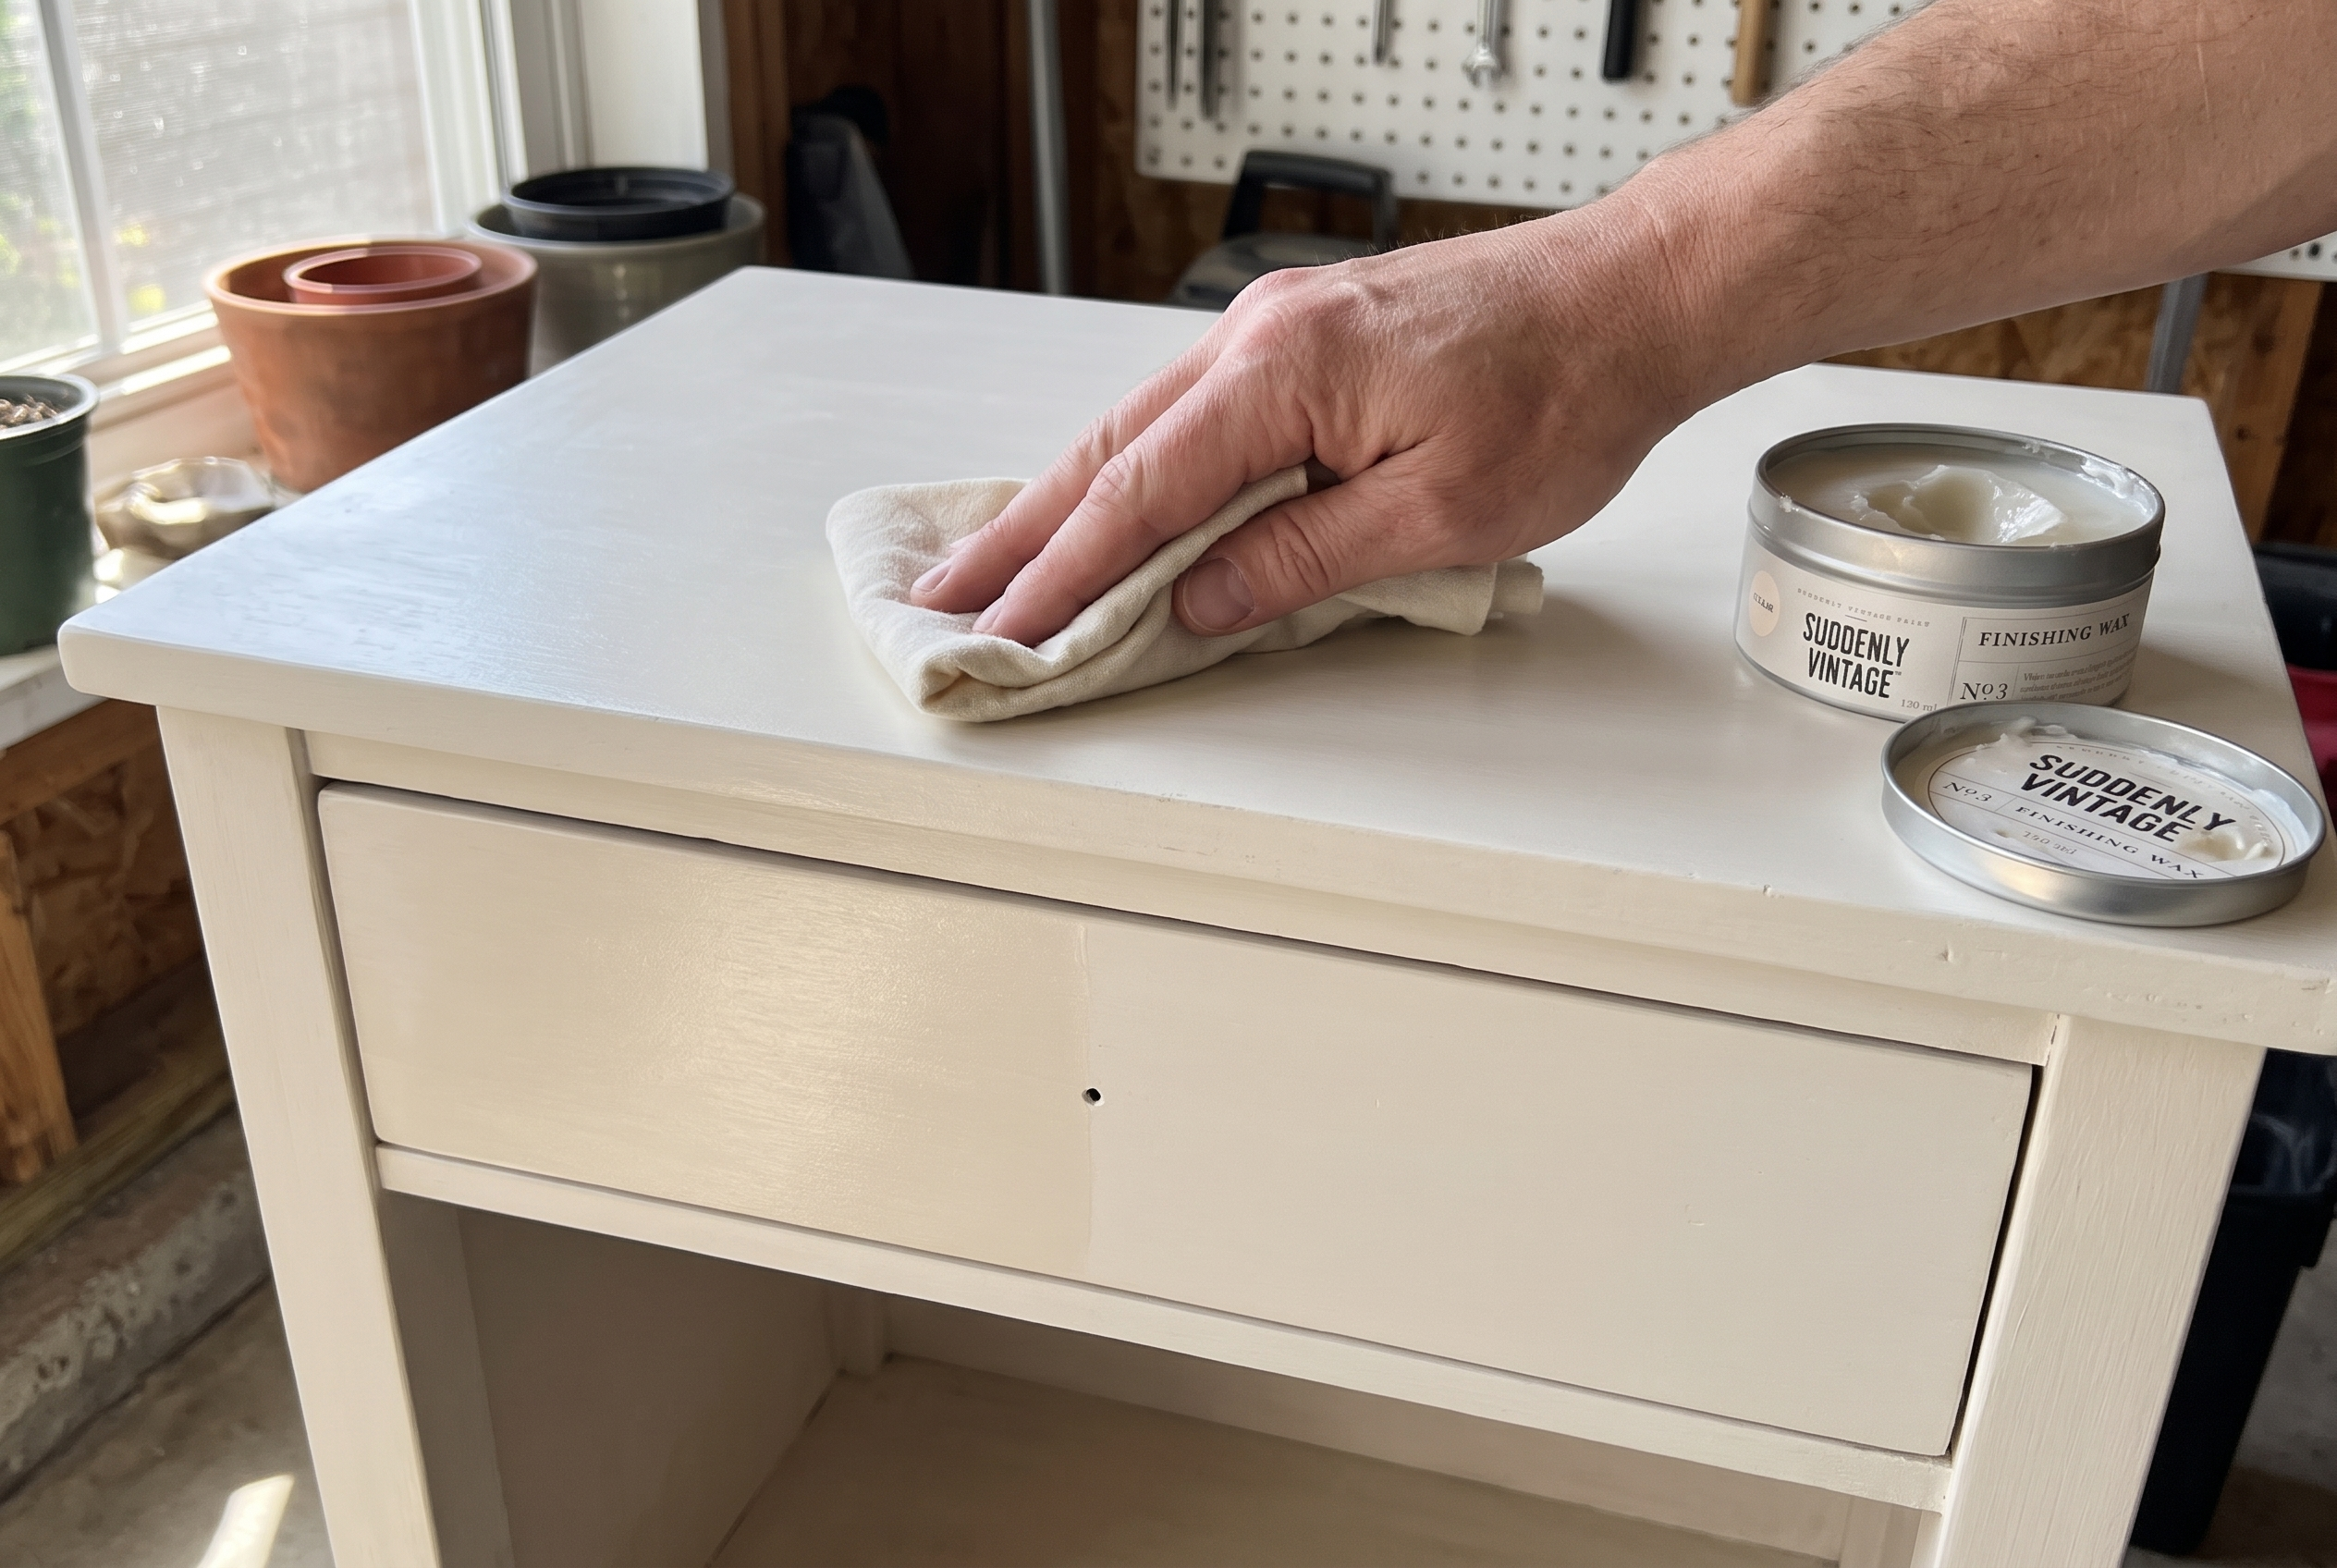
Let the paint dry a few hours. For a lamp, frame or nightstand, rub on a thin layer of soft wax, then buff off the extra. For a tabletop or kitchen piece, brush on two thin coats of water-based topcoat instead.
Wax feels dry in a day but keeps hardening for a few weeks, so go easy on heavy items at first.
Want to mix your own paint? Here’s how to make chalk paint at home.
What are two easy things to get right?
Keep the wax thin. A heavy coat of wax stays tacky and shows streaks. Rub on a little at a time, wipe off the extra, and buff. If it’s already sticky, wipe it down with a clean cloth and a touch of fresh wax to lift the excess.
Seeing how little wax goes on the brush makes this click. Watch the amount in this clip, not just the motion.
Stop bleed-through early. Some old finishes seep pink or yellow through light paint. If you see it after coat one, brush on a coat of shellac primer, let it dry, then keep painting. It saves you from adding coat after coat.
What gear makes a chalk paint makeover easier?
Here’s what makes the biggest difference. The brush and the topcoat matter more than the paint brand. A cheap brush leaves stripes you can’t sand out, and the wrong seal is why tabletops wear through.
A soft synthetic brush lays chalk paint on smooth. This five-piece set gives you a wide brush for tops and a small one for legs. It’s more than one nightstand needs, so save the extras for the next piece.
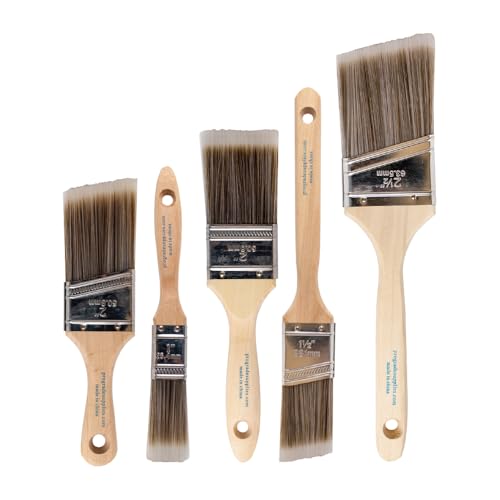
- COMPLETE 5-PIECE BRUSH SET FOR EVERY PAINTING TASK — Includes 1 Inch Flat, 1.5 Inch Angle, 2 Inch...
- ZERO BRISTLE LOSS — GUARANTEED BY PRECISION ADHESIVE BONDING — Every bristle is locked in place...
This post contains affiliate links. If you buy through them, we may earn a small commission at no extra cost to you.
For tabletops and anything you touch every day, a clear water-based topcoat holds up better than wax. This one is a clear satin finish, and the small can is handy for trying it on one piece first.
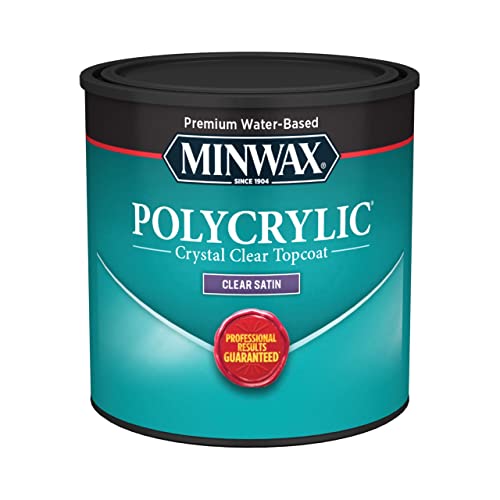
- PROTECT WOOD SURFACES – Minwax Polycrylic Protective Finish protects and adds beauty to your...
- CRYSTAL CLEAR FINISH THAT LASTS – The crystal clear finished offered in this protective coating is...

This post contains affiliate links. If you buy through them, we may earn a small commission at no extra cost to you.
Which chalk paint furniture ideas should you try first?
Every project below links to the maker’s own tutorial. Start with one that matches a piece you already own.
Want to see one full makeover before you pick? This thrifted dresser goes from tired to finished, with tips along the way.
1. Two-Tone Dresser With a Stained Top
A white painted body with a dark walnut stained top is a classic look that hides wear on top. The maker used homemade chalk paint, sealed it, and swapped in bronze hardware.
Skill: intermediate, plan on a weekend. Tutorial from A Ray of Sunlight.
2. Old Violet Kitchen Table
This little landing table went from plain wood to a soft violet, with clear wax and then dark wax in the details.
Skill: beginner, one afternoon. Tutorial from How to Nest for Less.
3. $50 Dresser Turned TV Stand
A secondhand dresser became a crisp white TV stand with a creme wax finish. It’s proof a bargain piece can anchor a whole room.
Skill: beginner, one weekend. Tutorial from LiveLoveDIY.
4. Painted Headboard With Blended Color
An ornate secondhand headboard got two blended grays, with a chalk paste to make the carved details pop.
Skill: intermediate, one weekend. Tutorial from Salvaged Inspirations.
5. Layered Fireplace Mantel and Built-Ins
Gray base, two lighter colors layered on top, then clear and brown wax for an aged look.
Skill: intermediate, plan on a full weekend. Tutorial from Vintage Charm Restored.
6. Thrift Side Tables Turned Coffee Tables
Two thrifted side tables got shorter legs, planked tops and a blended green-blue paint. Now they’re a matching pair of coffee tables.
Skill: intermediate, one weekend. Tutorial from Mountain Modern Life.
7. Green Cedar Hope Chest
A cedar chest went a muted green, sealed with shellac and a satin polyurethane topcoat. It’s a good example of a piece that’s mostly veneer and MDF, so paint is the smart call.
Skill: beginner, one weekend. Tutorial from A Ray of Sunlight.
8. $2.50 Thrift Nightstand
A tiny thrift-store nightstand got new ball feet, homemade chalk paint, light distressing and paste wax.
Skill: beginner, one afternoon. Tutorial from One Thrifty Chick.
9. Sunny Yellow Chair
A plain secondhand chair turned bright yellow, with sanded edges and dark wax over clear. One chair like this can wake up a whole corner.
Skill: beginner, one afternoon. Tutorial from hesperoo.
10. White Kitchen Cabinets With a Tough Topcoat
These cabinets and the island got a blend of two whites. The maker skipped wax and sealed everything with a water-based floor finish so it could handle daily kitchen use.
Skill: advanced, plan on several days. Tutorial from Artsy Chicks Rule.
11. Dipped-Leg Vintage Highchair
A free highchair got a soft green body with the legs painted white to look “dipped.”
Skill: beginner, one afternoon. Tutorial from The Golden Sycamore.
12. Aqua Media Center From an Old Buffet
A thrifted buffet became a distressed aqua TV stand with homemade chalk paint and paste wax.
Skill: beginner, one weekend. Tutorial from Not Your Mainstream Mama.
13. Secondhand China Cabinet
A used china cabinet got a fresh coat of chalk paint and paste wax, giving the glass doors a new frame.
Skill: intermediate, one weekend. Tutorial via thispinterestlife.blogspot.com.
14. Duck Egg Blue Rocking Chairs
A pair of red rocking chairs went duck egg blue, with sanded edges that let a little red peek through.
Skill: beginner, one weekend for the pair. Tutorial from Lia Griffith.
15. $6 Cabinet for Shoe Storage
A small thrift cabinet became shoe storage with a bright coat of paint, clear wax and a tiled bottom shelf.
Skill: beginner, one afternoon. Tutorial via howtogal.com.
16. Mom’s Desk in a Soft Homemade Color
A family desk got homemade chalk paint, clear wax, dark wax and sanded edges. It’s a nice middle path for a piece with history.
Skill: beginner, one weekend. Tutorial from In My Own Style.
17. Distressed Blue Kitchen Island
This island went duck egg blue, got a brown glaze for depth and a shellac topcoat for kitchen wear.
Skill: intermediate, one weekend. Tutorial via craftysouthernmama.com.
18. White Farmhouse Table and Chairs
A kitchen table and spindle chairs got two coats of white, light distressing, then clear and dark wax.
Skill: intermediate, plan on a full weekend. Tutorial via meganbrookehandmadeblog.com.
19. Olive and White Table Lamps
Two lamp bases went olive green and white, lightly sanded and finished with spray wax. It’s the fastest win on this list.
Skill: beginner, one afternoon. Tutorial from Confessions of a Serial Do-it-Yourselfer.
20. Bone White Bar Stools
Wooden bar stools got a creamy white chalk-style paint and a satin topcoat, which stands up to daily sitting.
Skill: beginner, one weekend. Tutorial from Making Manzanita.
21. 1970s China Hutch Gone White
A dark 1970s hutch went light, then white, then distressed and waxed.
Skill: intermediate, one weekend. Tutorial from Marty’s Musings.
22. Decoupage Desk Drawers
A desk got dark charcoal paint over an ochre base, then scrapbook paper glued onto the drawer fronts.
Skill: intermediate, one weekend. Tutorial from Girl in the Garage.
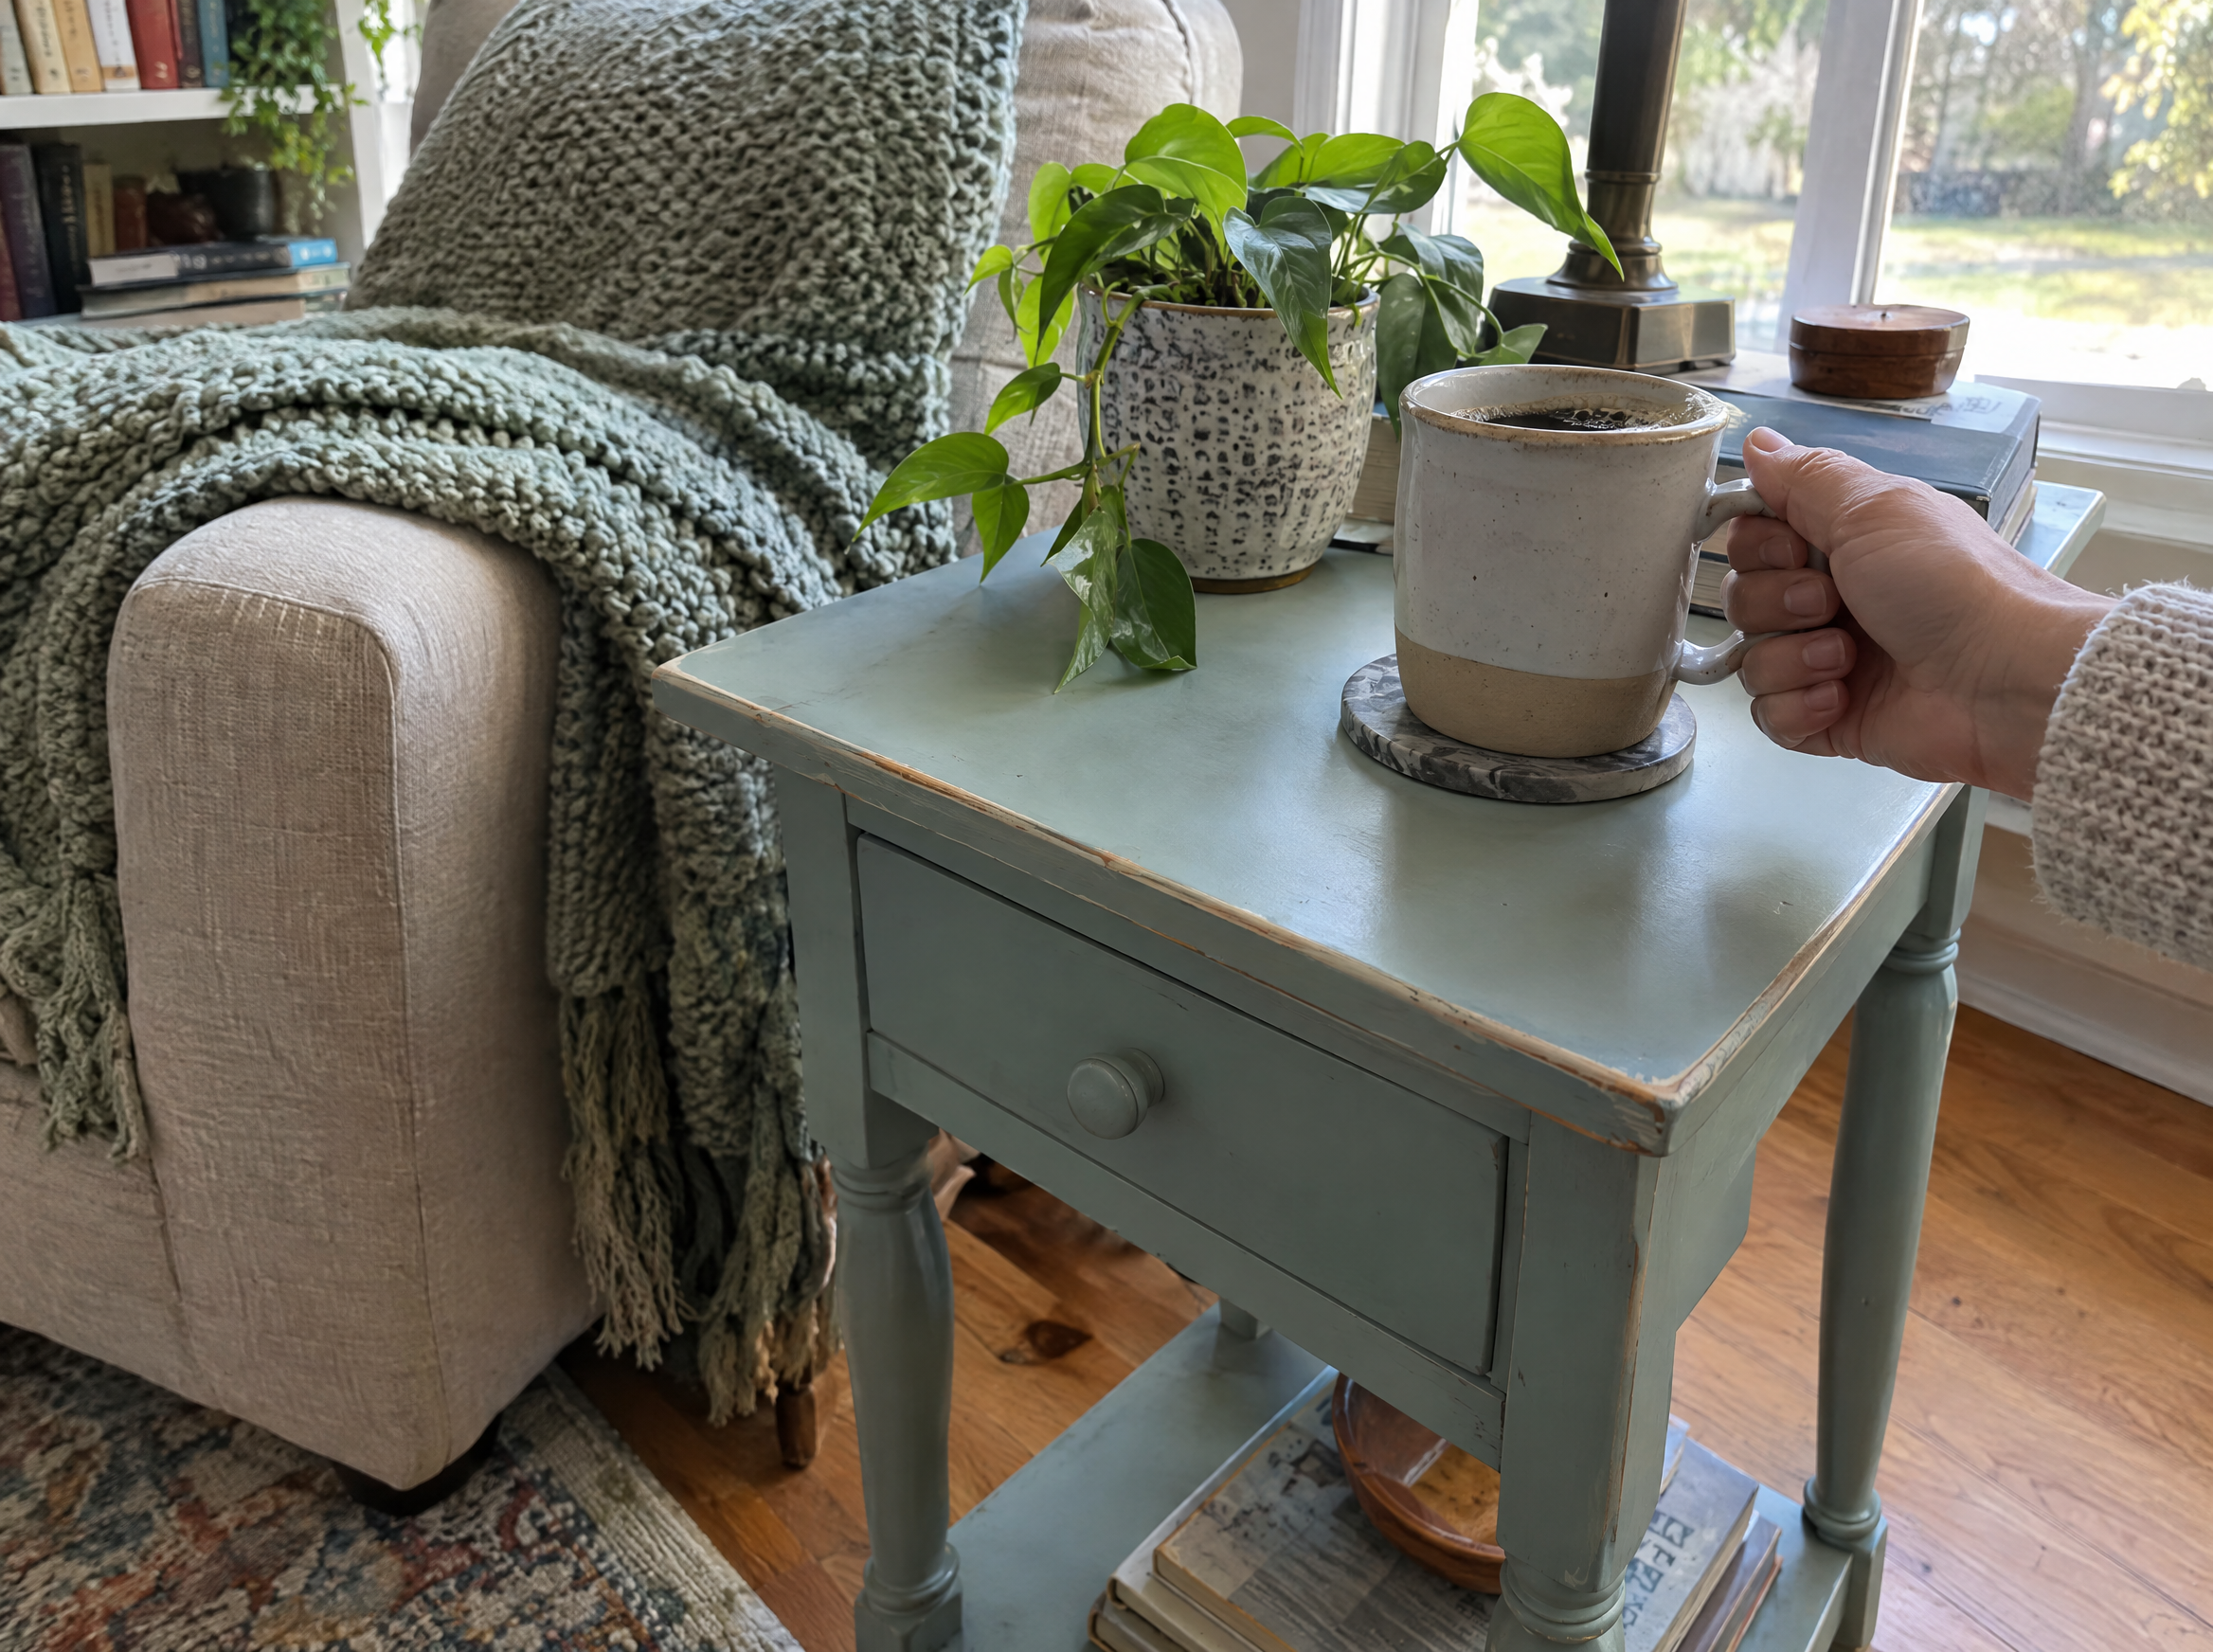
23. Duck Egg Blue End Table
An end table got soft blue paint, clear wax and a touch of dark wax on the curves to show off the shape.
Skill: beginner, one afternoon. Tutorial from Sabrina’s Organizing.
24. Stenciled Mint Step Stool
A plain step stool went mint green with a floral stencil and a satin clear coat. It’s a great first stencil project.
Skill: beginner, one afternoon. Tutorial from Confessions of a Serial Do-it-Yourselfer.
How much does a chalk paint makeover cost?
Most chalk paint furniture ideas on this list cost less than a new piece. These are planning estimates for one small dresser. Prices change, so check before you shop.
- Budget build, about $40. One 30 oz can of chalk paint and a basic brush. Use paste wax you already have, or skip sealing on a low-touch piece.
- Mid range, about $80. Paint, a better brush, fine sandpaper and a can of water-based topcoat.
- Quality build, about $150. Premium chalk paint, a brush set, a detail sander and topcoat for a piece you’ll use every day.
When should you call a pro or skip the sanding?
Old painted furniture can carry lead paint, and the EPA lists refinishing old furniture as one way people get exposed. If the paint might be from before 1978, have it tested before you sand and hire a lead-safe certified pro if it tests positive.
Where should you go next?
- Not sure which sander to buy? Compare a palm sander and an orbital sander for refinishing furniture.
- Want a smaller first project? Try these vintage suitcase upcycles.
- Prefer latex or stain? See how to paint wood furniture.
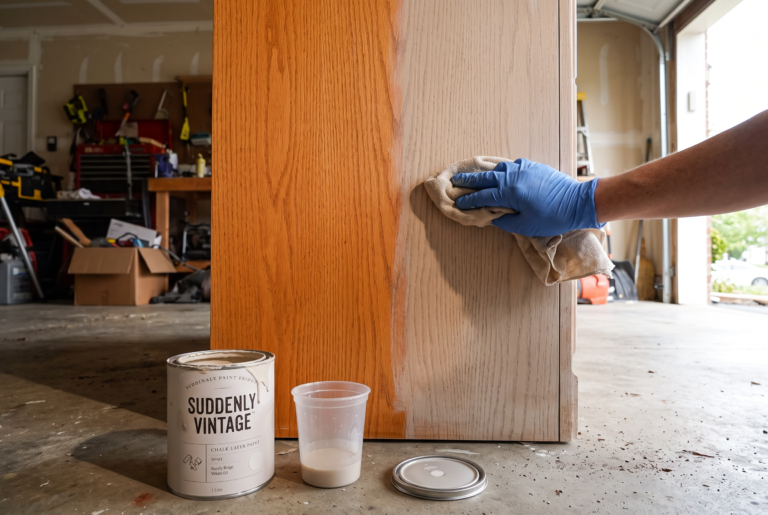
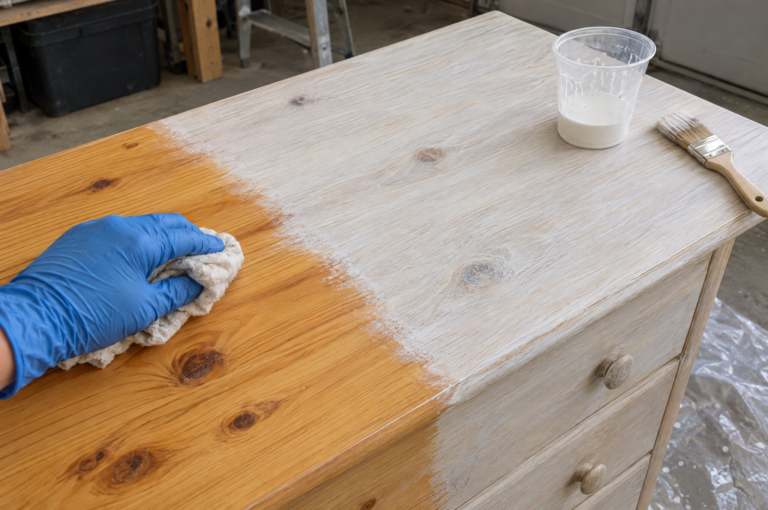
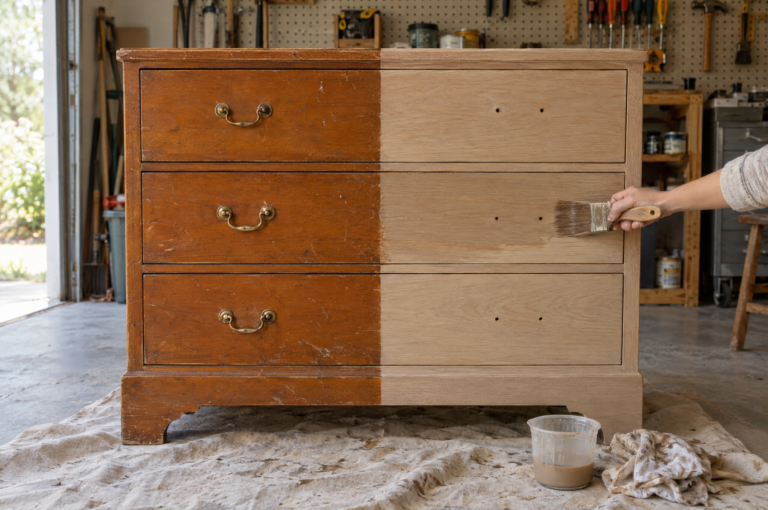
- Like the wood grain but want it lighter? Learn how to whitewash furniture.
- Keep the grain but lose the orange? Here’s how to tone down orange wood.
- Thinking of selling your makeovers? Here’s how to flip furniture for Facebook Marketplace.
Ready to pick your piece?
Start small with these chalk paint furniture ideas. A lamp or a nightstand teaches you thin coats and a light hand with wax. Then move up to the dresser that’s been bugging you. One piece at a time, your rooms start to feel like yours.
Your shareable result: set the finished piece by your best window, then take one straight-on photo in the same spot as your before shot. Side by side, that’s the picture people save.
Show us your before and after! Tag us on Facebook, pin your favorite idea to Pinterest, and share the reveal on Instagram.
A few helpful answers
Chalk paint furniture ideas FAQs
Prep, sealing, and when to leave the wood alone.
Usually not, but always clean first. Chalk paint sticks to most clean surfaces, so a wipe with a TSP substitute does most of the work. Sand lightly only to smooth bumps or a very glossy finish. If the old paint might be from before 1978, have it tested for lead before sanding.
Wax for low-touch pieces, topcoat for anything you use daily. Wax gives a soft feel and works on lamps, frames and nightstands. Tabletops, kitchen pieces and stools hold up better under a water-based topcoat.
It can. Painting a solid wood antique in good shape often lowers what it’s worth. Check for maker’s marks and real wood before you paint, and consider a refinish for anything valuable or from family.
Plan on two thin coats. A light color over dark wood may need a third. If pink or yellow stain shows through after the first coat, add shellac primer before painting again.
Yes, if you seal it right. Paint the table as usual, then brush on two thin coats of water-based topcoat. Skip wax on the top, since it can spot under hot dishes and wear where hands rest.
You inherit your grandmother’s solid wood dresser, and the finish is fine. Would you chalk paint it?
This one splits families. Some say a piece should fit the way you live now. Others say family wood stays the way it was. Plenty only paint once the old finish is already shot.
What tipped your vote, and what happened with the last piece you painted or kept? Vote, then tell us in the comments.