Get New DIY Projects Delivered Weekly - Sign up for Our Newsletter Today!

Compost Bin DIY: Quick Pallet Project

Compost Bin DIY: Quick Pallet Project

Win a
$1,000 Milwaukee Tool Package

Get a chance to win a full kit of Milwaukee branded tools. For slow Saturdays, half-built shelves, and everything in between. No purchase necessary.

how-to-make-a-compost-bin-diy-
Compost Bin DIY: How To Make A Compost Bin Out of Pallets and Zipties

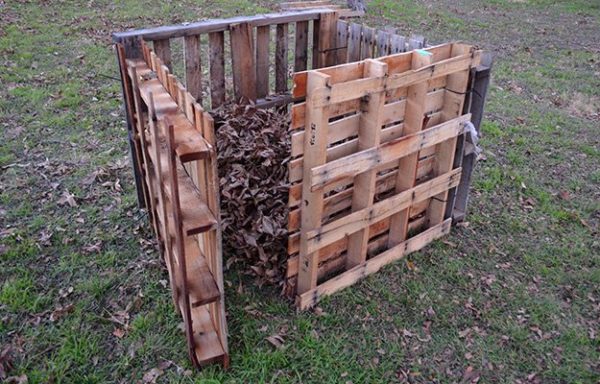
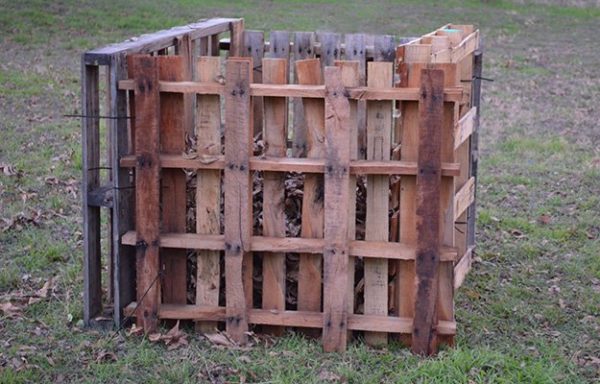
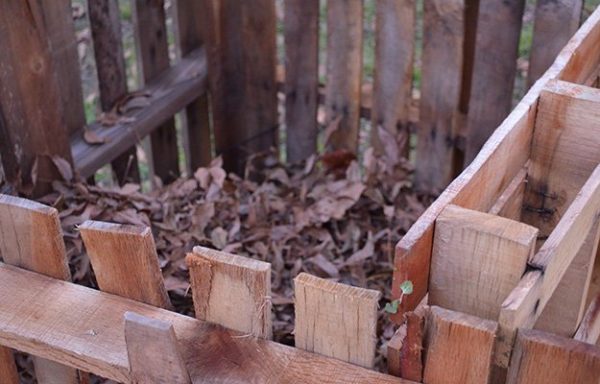
Looking for a great weekend project that will not take your whole weekend? Have some yard cleanup to do anyway? Try this pallet compost bin we built out of repurposed pallets and zip ties. It takes less than an hour, and is actually a great compost bin, due to the way the pallets create structure to the pile, but also allow ventilation. Practically free, super fast to build, and it allows you to compost a large amount of material.
compost-bin-diy-pallet-composter
Throw all your yard clippings, leaves and compostable table scraps in this easy to make compost bin.

How To Build A Pallet Compost Bin:

Supplies Needed:

Pack of zip ties (18 or more)

4 repurposed pallets

A helper (optional)

Step One:

Find and select 4 pallets.

Although most any pallet will do, if you were wanting make the bin visually pleasing and/or decorative, try to find pallets of the same size with intact slats. If you wish to, you can paint the outside pallet slats with a brush or spray paint.

Pallet Finding Tip: Where do you find pallets? I have had success finding them at the back of tile shops, on the side of the road, and when I really need them, or I need large quantities, for sale pretty inexpensively off Craigslist. Be on the lookout- once you start looking for them diligently, you will be surprised how many you find, sometimes in unexpected places.

pallet-compost-bin
Pallets come in many shapes and sizes. Each one is little bit different, but you can find similar ones if you look hard enough.

Step Two:

Before you begin putting your pallets together, you need to make your zip ties long enough to join the pallets together. String one through the end loop of another one, then when you want to “tie” them, you put the end of the first through the loop of the second. You will only be joining the bin on three sides, so nine (9) joined zip ties should be enough.

easy-compost-bin
To make the zip ties long enough, string them together like this. To join them, put the end of the first zip tie through the loop in the second.

Step Three:

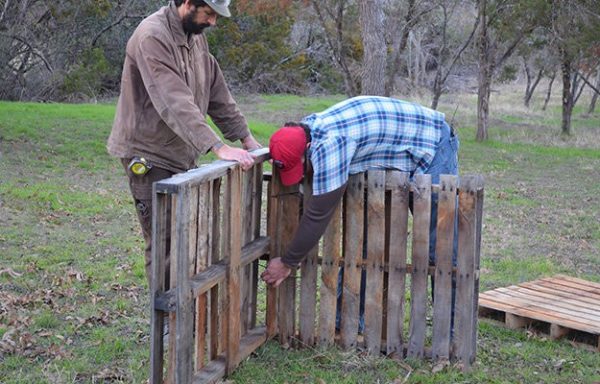
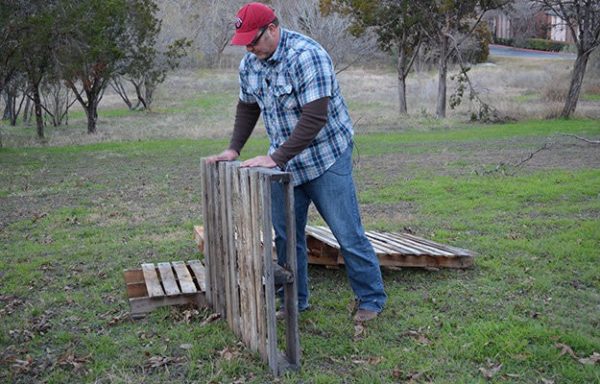
Stand your pallets up and place them at a 90 degree angle to one another. Try to find an arrangement where the pallet heights and widths can be put together to make a square or rectangular structure. No two pallets are alike, so you may need to move them around a bit until you find the best combination.
easy-pallet-projects
It does not really matter which side of the pallet faces outward.

Step Four:

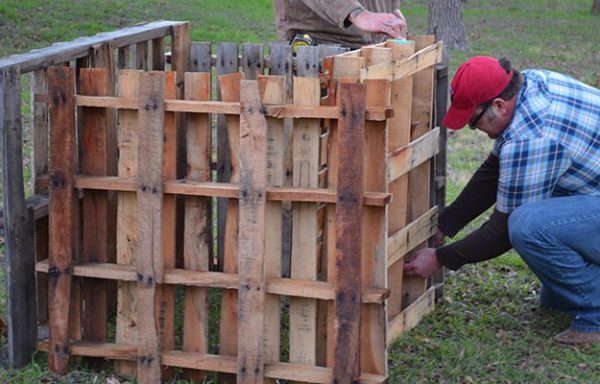
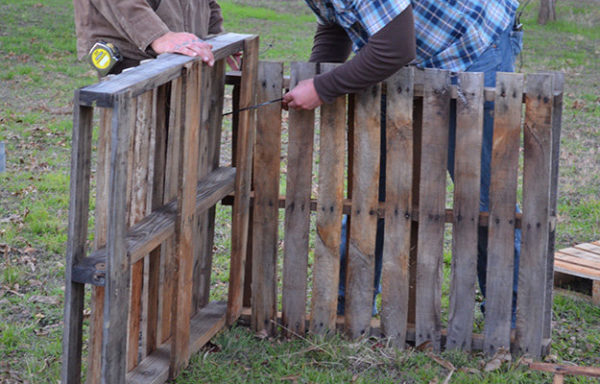
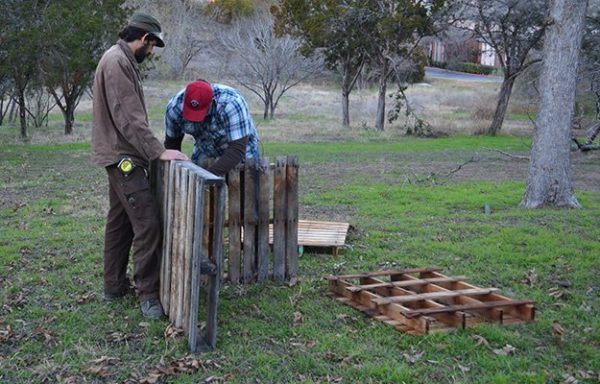
Join two pallets together. Using your joined zip tie pairs, begin joining two of your pallets together to start forming your structure. Use three long zip ties for each corner of the compost bin. (One corner is left unsecured so you will have a door. The zip ties are somewhat flexible and act as a hinge)
compost-bin-diy-instructions
Once you know which pallets work best together, start joining them with your zip ties.
step-by-step-compost-bin
Put the end of one zip tie through the loop of the second attached zip tie and pull them to secure.
how_to_make_a_compost_bin_pallet
Use three zip ties on each corner so they will be attached securely to one another.
how_to_make_a_compost_bin_plans
Once you have placed three zip ties, your first corner is complete.

Step Five:

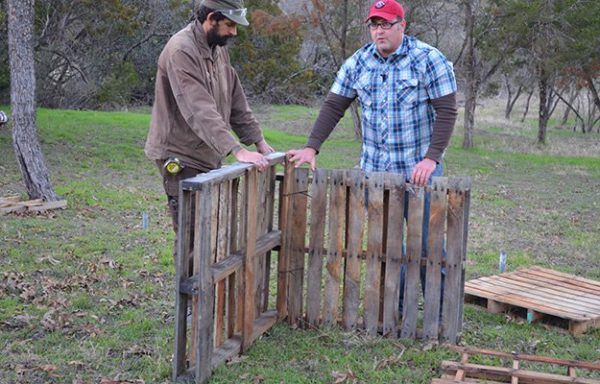
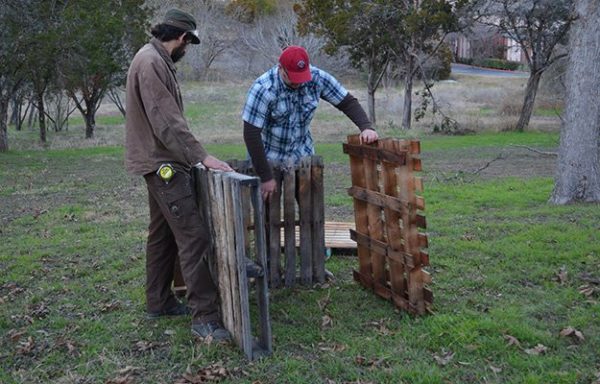
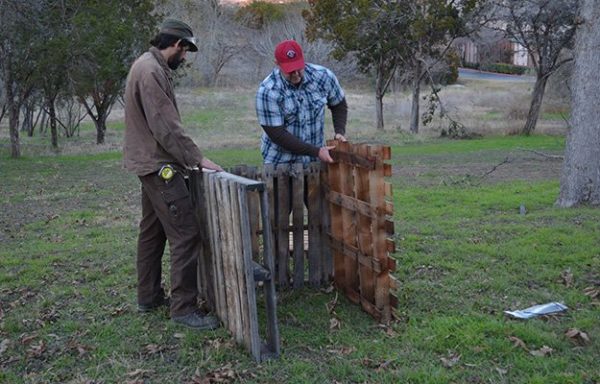
Place a third pallet at a 90 degree angle to the first two joined pallets and zip tie one corner to the first pair of secured pallets.
diy-compost-bin
Take a third pallet and line it up with the first two.
homemade-compost-bin
It is fine if one or more of your pallets is taller than the others. It is only important that the widths are somewhat close, not the heights.
how-to-make-a-compost-bin
Using the same method as before, secure this pallet to the first two.
pallet-compost-bin
Once again, use three (3) zip ties to join and secure this corner.

Step Six:

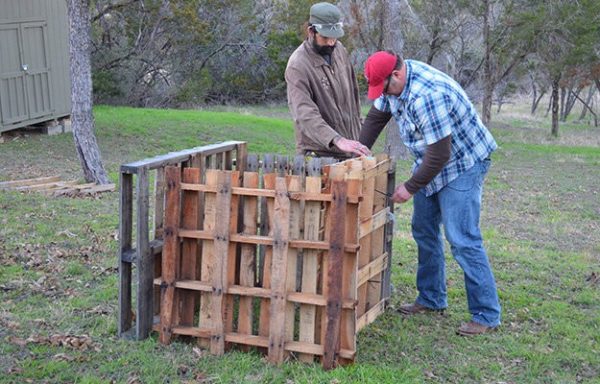
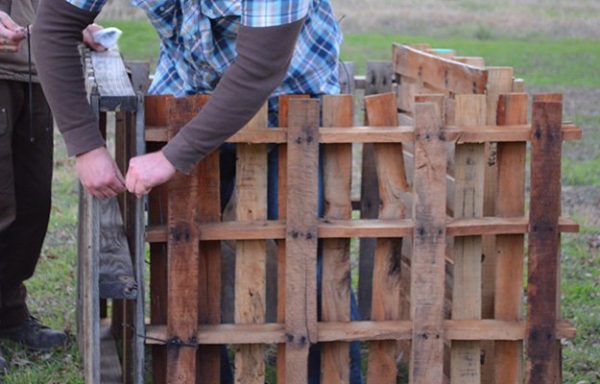
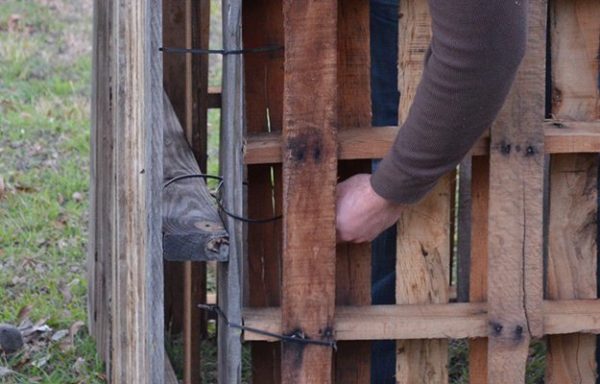
Place your fourth pallet with the first three so that you have a square or rectangular shape. You will only attach one corner her so that you will have a door, allowing you to open the bin to add or access your compost. It does not matter which corner you attach. If you are right handed, attach the final side so that you have a door that you can open with your right hand. If you are left handed, attach it so that the door can be opened with your left hand. Do not pull the zip ties on this side too tightly. You want them to be secure, but yet retain enough flexibility to allow you and close the bin from the opposite side.
compost-bins
If you are right handed, attach the zip ties on the left side, so that the hinge is on your left.
how-to-make-a-cheap-compost-bin
As you did before, use three zip tie pairs to secure the pallets. Do not pull the zip ties on this side too tight. You can always tighten them later.
compost-bin-how-to
You will leave one side open, so that you have a door to add and remove contents from the compost bin.

Step 7:

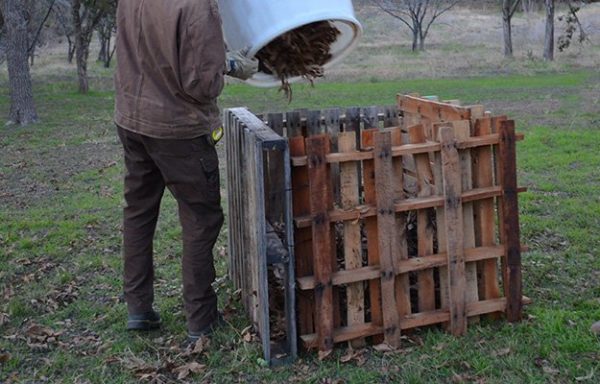
Add leaves, lawn clippings and/or table scraps to the bin and allow to compost naturally.
how-to-make-compost
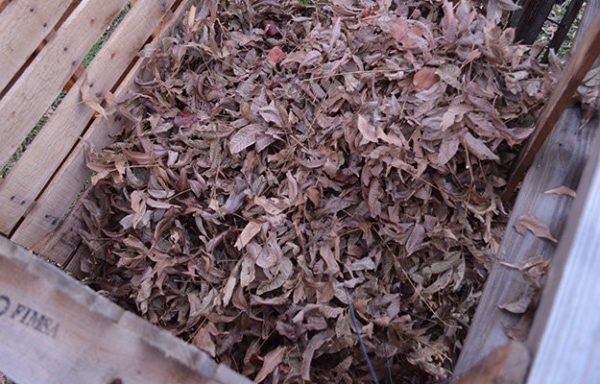
This is a great way to actually make great use of your time when raking leaves, add them to your compost bin as you go.
how-to-compost-table-scraps
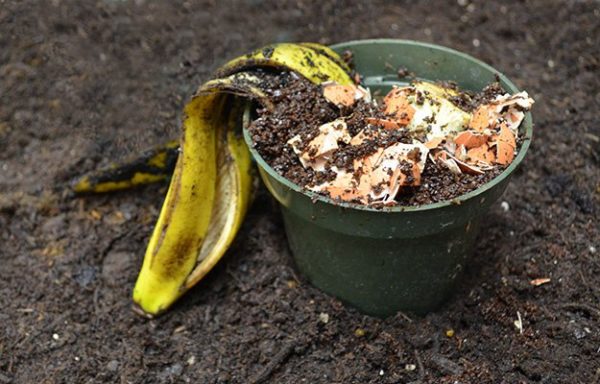
Table scraps can be added straight to your compost bin. Make use of your table scraps, not waste-compost them.
compost-bin-instructions
A dense compost pile will yield nutrient rich results in as soon as a few weeks.

Like this post?

Be sure to like us on Facebook (button below) so you can be the first to know about latest project updates as well as great DIY articles.

Ready to build cool stuff with pallets? Check out our other DIY pallet posts!

https://diyprojects.com/projects-pallet-wine-rack/

DIY Backyard Project Ideas: Fence with Mason Jar Lighting

Let us know in the comments below! Your feedback matters. The more interest we get in posts, the more likely we are to do more like that.

Leave a Comment

Your email address will not be published. Required fields are marked *

Everything you need to complete your next weekend build, straight to your inbox.

SIGN UP FOR WEEKLY INSPIRATION

Get fresh project ideas and expert tips sent to your inbox weekly!

Win a
$1,000 Milwaukee Tool Package

One winner walks away with approximately $1,000 in Milwaukee branded products, shipped Via Amazon. Closes May 10.

Related Articles

Win a
$1,000 Milwaukee Tool Package

Get a chance to win Milwaukee tool branded products for your next home project. 
Free to enter, ends May 10.
Scroll to Top