


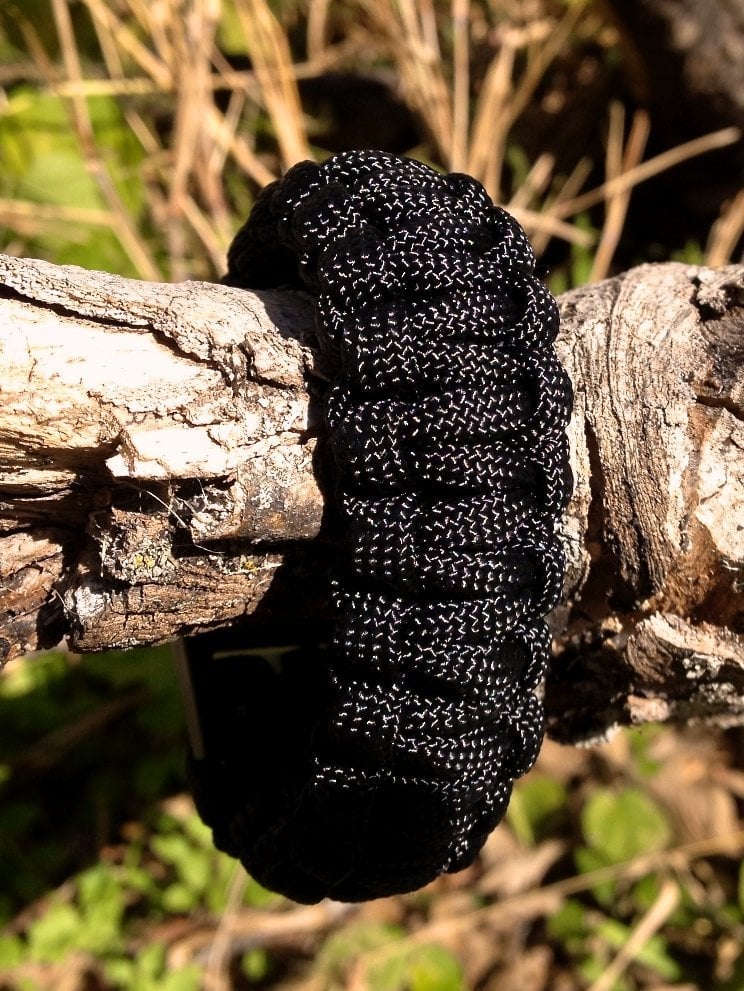

A paracord survival bracelet is a versatile tool that can come in handy for a number of emergency situations. Whether you are a survivalist, frequent hunter, outdoors person or just value the need to be prepared at all times, paracord bracelets are a great tool to have on at all times. In this tutorial, you will learn how to make the Cobra Survival Bracelet. When made correctly, this Cobra weave will quickly deploy to about 10 feet of paracord!
Also try our tutorials that show you how to make a Tire Tread Survival Bracelet and how to make an Oat Spike Bracelet
For the full list of survival bracelets – Check out our newest post here: How To Make Paracord Bracelets
How to make a Cobra Weave Paracord Survival Bracelet
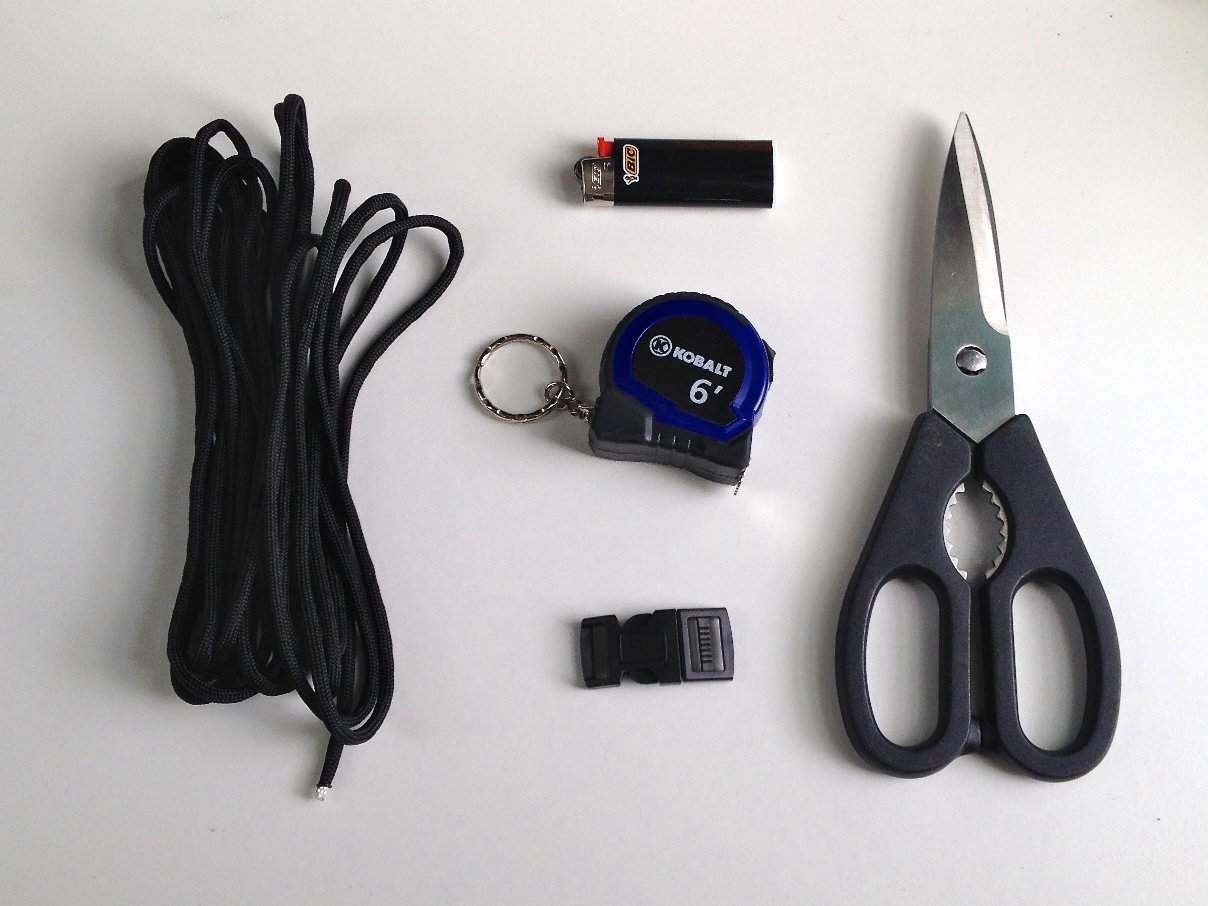
Supplies you need:
- 10 feet of Paracord
- Side release buckle
- Tape Measure
- Scissors
- Lighter
Step 1:
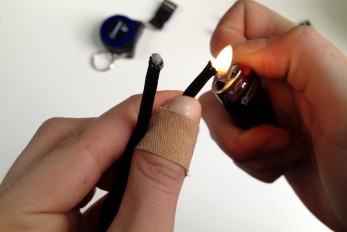
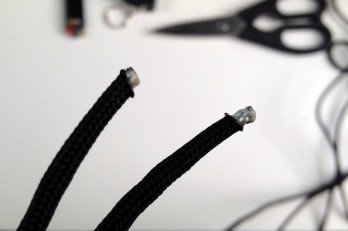
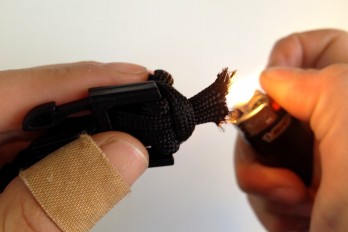
Once you cut your paracord to the desired length (about 10 feet), seal the end using your lighter. You don’t want to be working with a frayed end. Now, measure your wrist size by taking one end of the paracord and wrap it around your wrist. Lay that section next to your measuring tape to see how many inches long your bracelet will be.
Step 2:
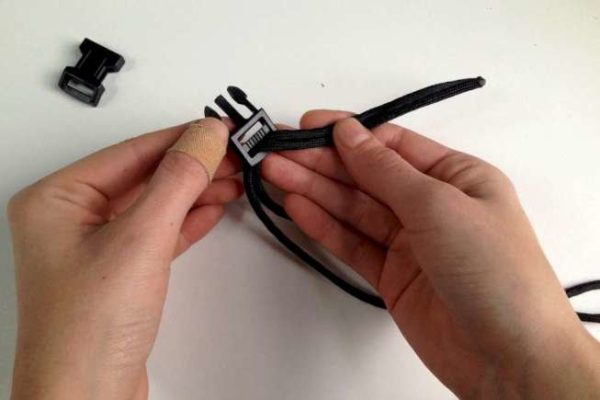
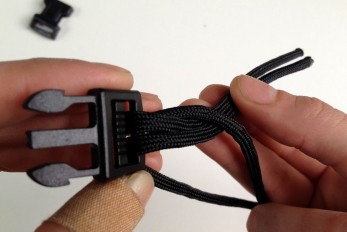
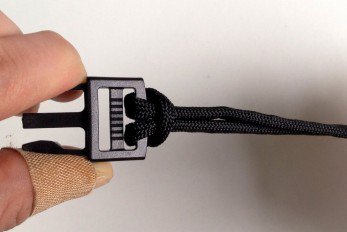
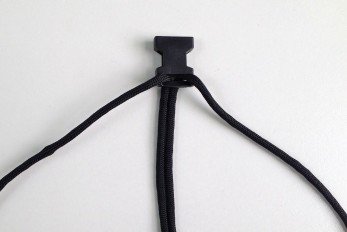
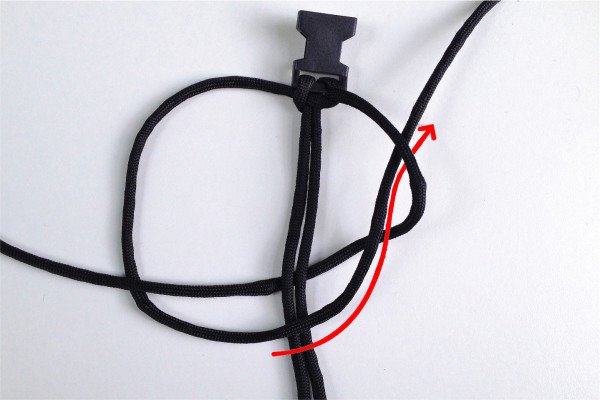
Let’s first attach the male buckle to the paracord. To do this, fold your piece of paracord in half and pull the ends through the bottom slot of the buckle.
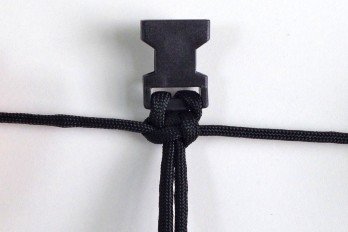
Then pull the ends through the loop created by your paracord. Pull them all the way through until the paracord is secured around the buckle.
Step 3:
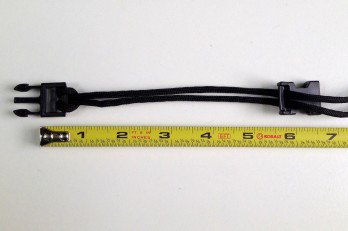
Now let’s attach the other end of the buckle. Pull the paracord through the slot on the buckle. Using your measuring tape, slide the buckle along the paracord until you reach you desired bracelet length.
For this example, the bracelet is 6.5 inches. Be sure to include the center of the male end of the buckle up to the end of the female buckle in your measurements. (See picture below)
Step 4:
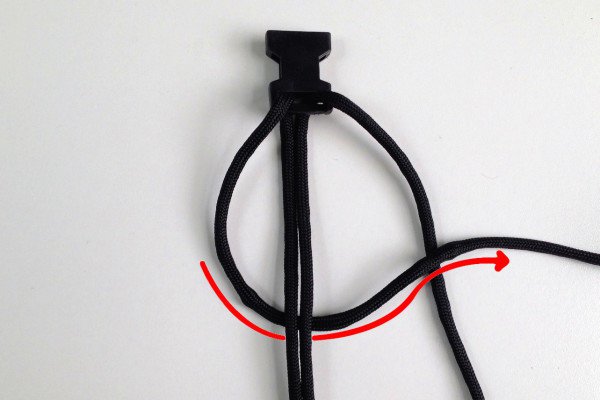
Now we are ready to make our bracelet!
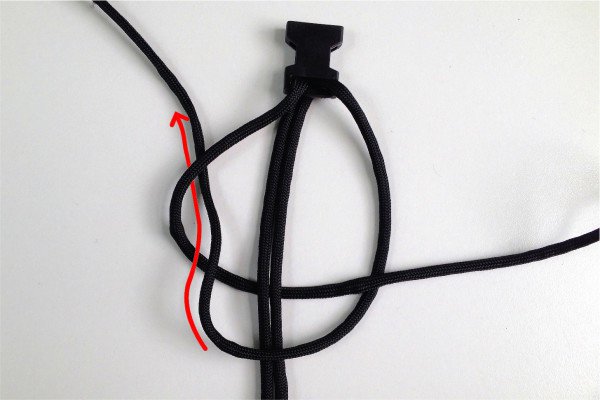
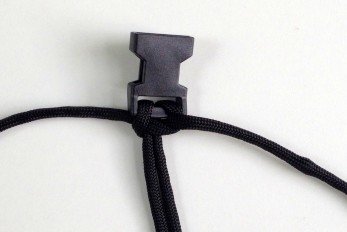
Step 5:
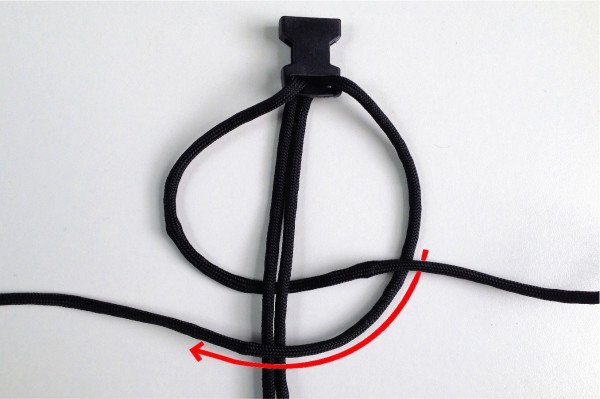
You made your first knot! Now let’s do the same thing, but start with the right strand.
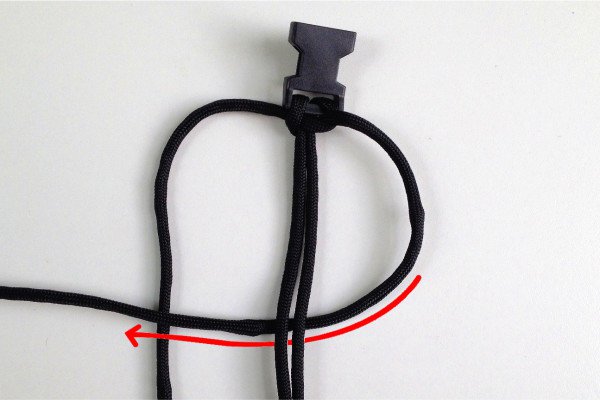
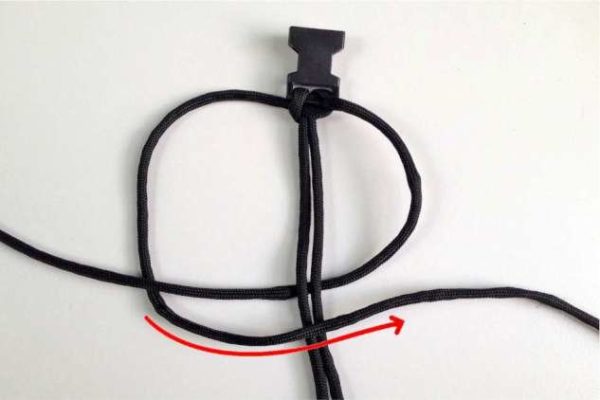
Step 6:
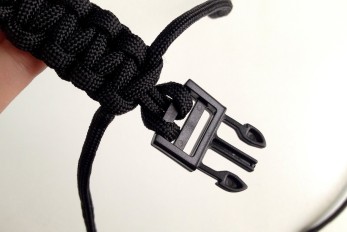
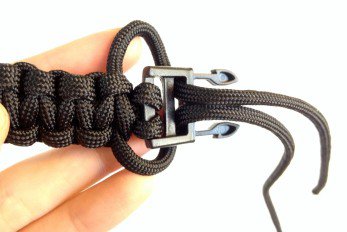
Repeat steps 4 and 5 until you get to the bottom buckle. Then follow the instructions below to complete your bracelet.
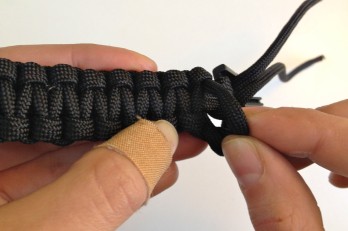
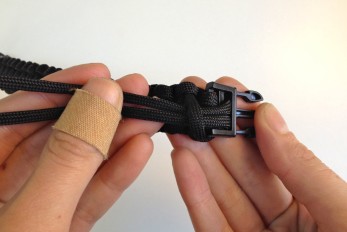
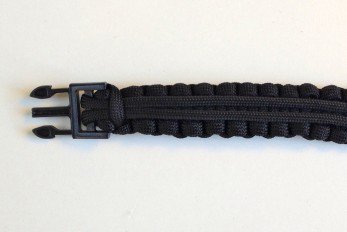
Step 7:
Using your scissors and lighter, cut and burn the ends.
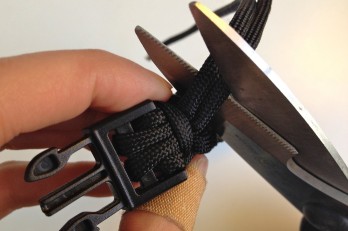
Quick Deploy!
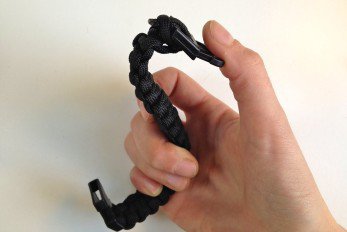
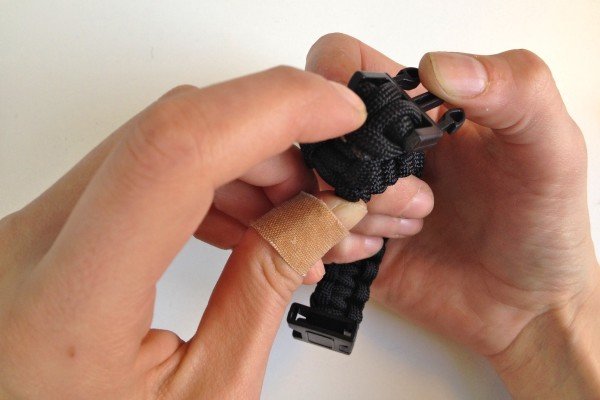
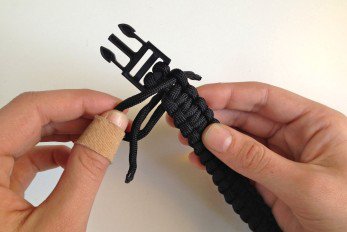
When in a survival situation, you may need every second to survive. So if you are in an emergency situation where your paracord bracelet will come in handy, you’ll want to be able to quickly deploy your bracelet.
Follow the steps below to find out how to quickly unravel your bracelet:
Love this post? Pin it and follow DIY Projects Projects on Pinterest
Pin:
Be sure to like us on Facebook (button below) so you can be the first to know about latest project updates as well as great DIY articles.
Pin It so you can come back to it and follow us on Pinterest to get latest project pins.
Let us know in the comments below! Your feedback matters. The more interest we get in posts, the more likely we are to do more like that.
Check out all of our Paracord Posts Here:
Looking for a list of Cool Paracord Projects?
Want to make a gift for your furry friend?
How To Make A Paracord Dog Collar
Ever wonder how to make a snare trap?
How To Make A Snare Trap With Paracord
What about a monkey fist?
How To Make A Giant Monkey Fist and How To Make A Monkey Fist
How To Make A Paracord Keychain
You can even make belts with paracord!
How To Make A Belt Using Paracord
Ready to get started? Here are our top picks for supplies:
Paracord
550 Paracord – Five Colors 100 Feet Total
Rothco Type III Commercial Paracord (Black, 550-Pound/100-Feet)











