Knowing how to curl ribbon is one of those tricks us crafters have up our sleeves, ready to whip out whenever something needs a creative twist. The good news is, everyone can learn to curl. It is a simple technique that you can perform in a matter of seconds.
I remember the first time I saw ribbon being curled: I was only 7 years old and it seemed like magic! I watched my mother take a flat piece of ribbon, pull it between her two fingers, and it magically began to curl! Now you too can be a curling magician, read on to learn the secret.
How to Curl Ribbon:
Supplies for this Ribbon Curling Tutorial:
- Curling Ribbon (yes – that is what it is called) it's thin, made of plastic, and has a flat or ridged edge.
- Scissors
- Your Hands

Step 1: Cut Ribbon
Cut out how ever much ribbon you need. If you're making a bow, just a few inches will do (like 12″). You can always cut more if you need it. Experiment with a few sizes for variety. If you're making a bow, you will need several pieces of curled ribbon, so cut them as you go.

Step 2: Open scissors
To curl the ribbon, you will need a sharp edge (your scissors). Hold them open and away from you. Please be careful, scissors are sharp.

Step 3: Place ribbon over scissors
Notice how your ribbon already has a slight natural curl to it, you'll want to curl it in the same direction. Place the base of your ribbon over the sharp edge of your scissors, then hold your thumb against the ribbon and the flat edge of the blade.

Step 4: Pull ribbon
Use your other hand to pull the ribbon over the blade. Your thumb should stay firmly in place, but allow the ribbon to slide beneath it.

Step 5: Repeat
Your ribbon should now be nice and curly! If the curl didn't come in strong, try it again. Remember to work with the natural curl of the ribbon and not against it.

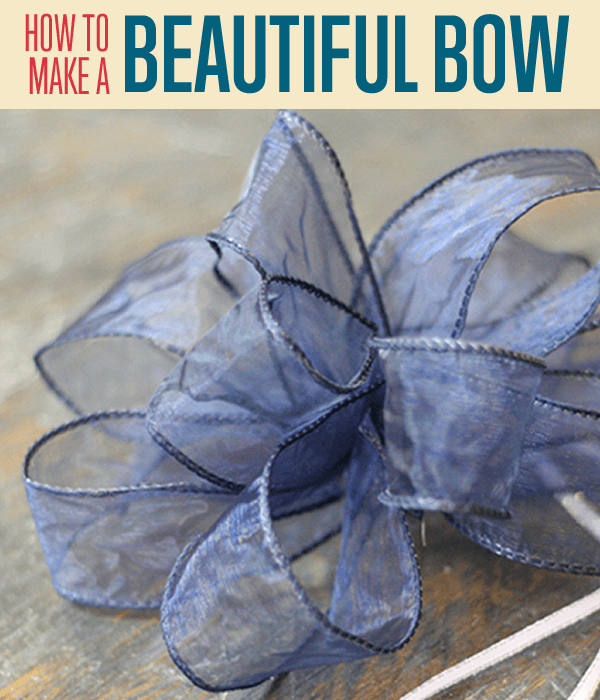
Step 6: Make a Bow
Tie up all your curls to make a bow. You will need at least 4 different strand of curls, but you can use as many as you'd like. Lay out 3 of the curls, and take your 4th curl and wrap it underneath the middle of these 3. Tie an overhand knot and pull it tight.


You did it! Now no ribbon shall be left uncurled ever again!