
What Should You Know Before Your Christmas Craft Night?
- One craft, five supplies. Everyone fills a clear plastic ornament, so nobody needs a skill or a glue gun.
- Plan on about 20 minutes for each ornament. That’s a planning estimate, not a timed test.
- Set up before guests arrive. Put one kit at each seat so the night starts right away.
A Christmas craft night goes best when everyone makes the same easy thing. Fill a clear ornament and put a name on it. Jump to the steps when you’re ready to set the table.
Hosting a Christmas craft night can feel like a lot. You want every guest to finish something that looks good. That’s why this plan uses one craft with no cutting and no glue, and there’s no wrong way to do it.
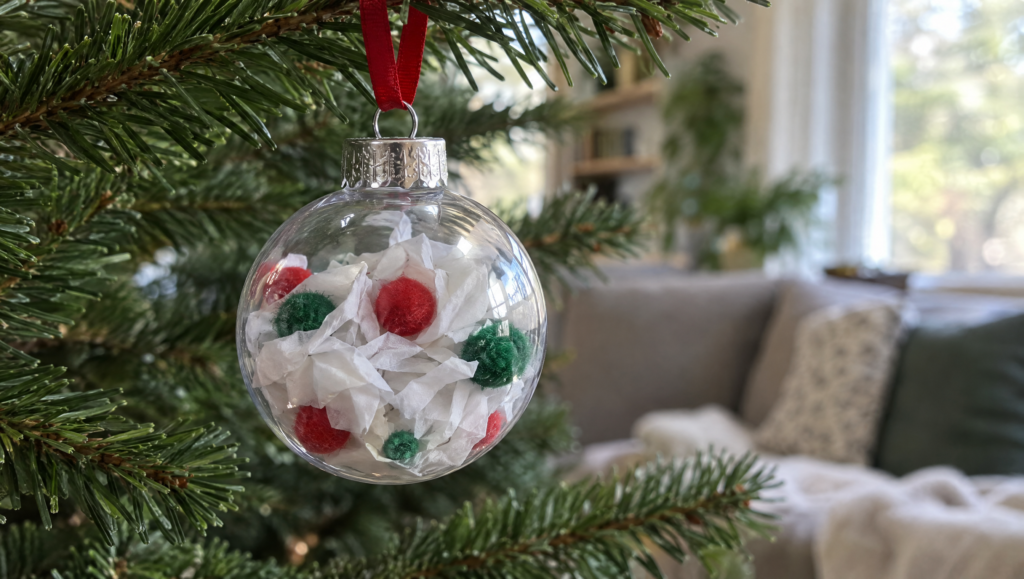
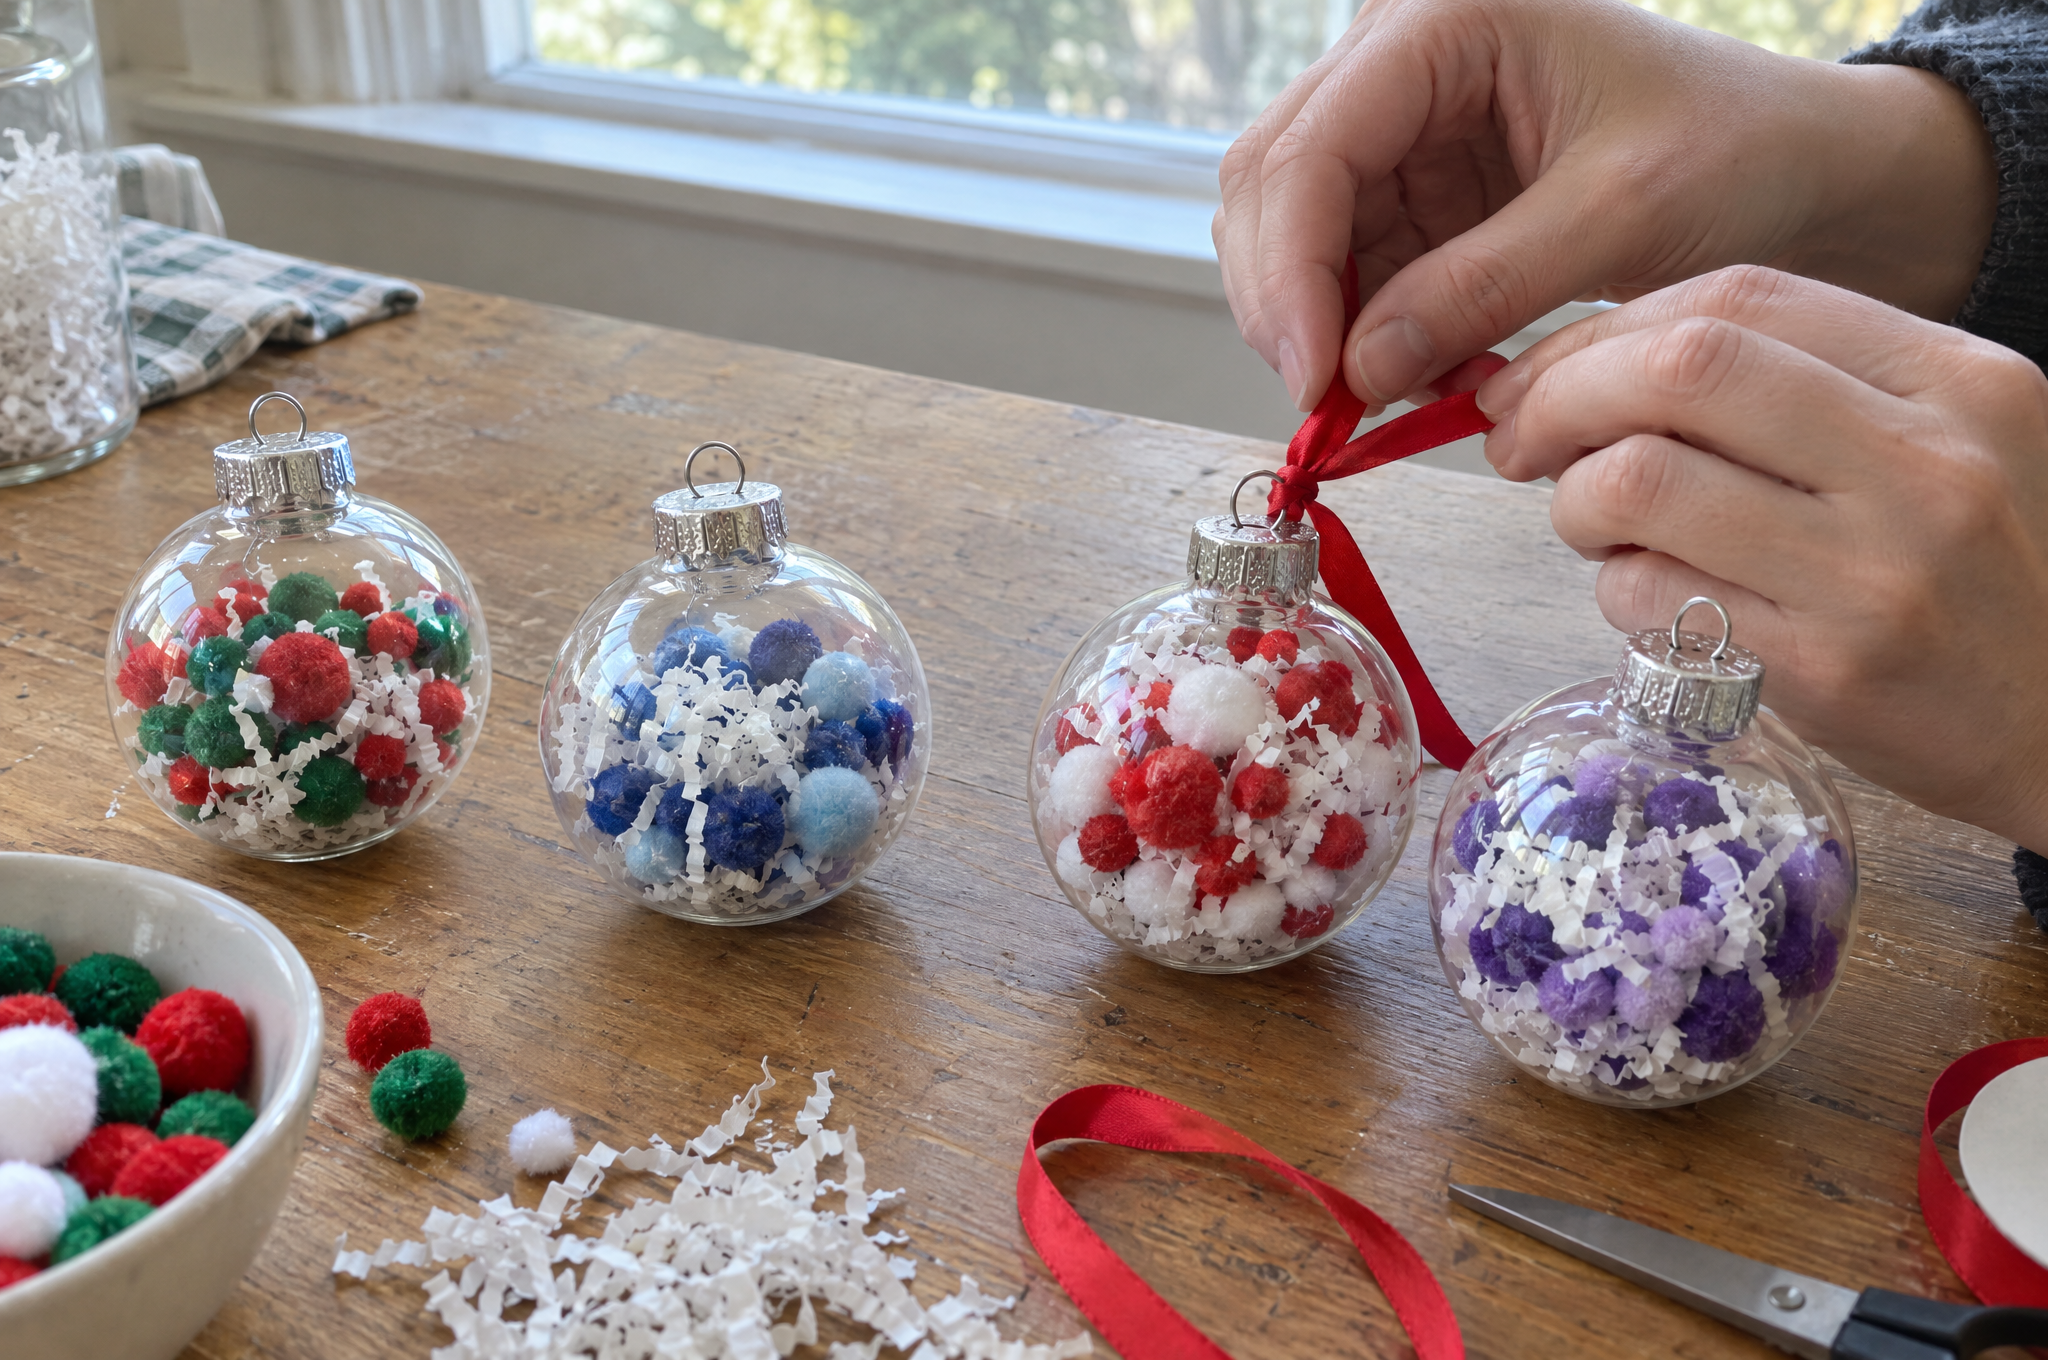
Here’s the idea. Each guest gets a clear plastic ornament, a little filler and a few small trims. They fill it, close it and write a name on it. It’s a gift and a keepsake in one.
What 5 Supplies Do You Need for a Christmas Craft Night?
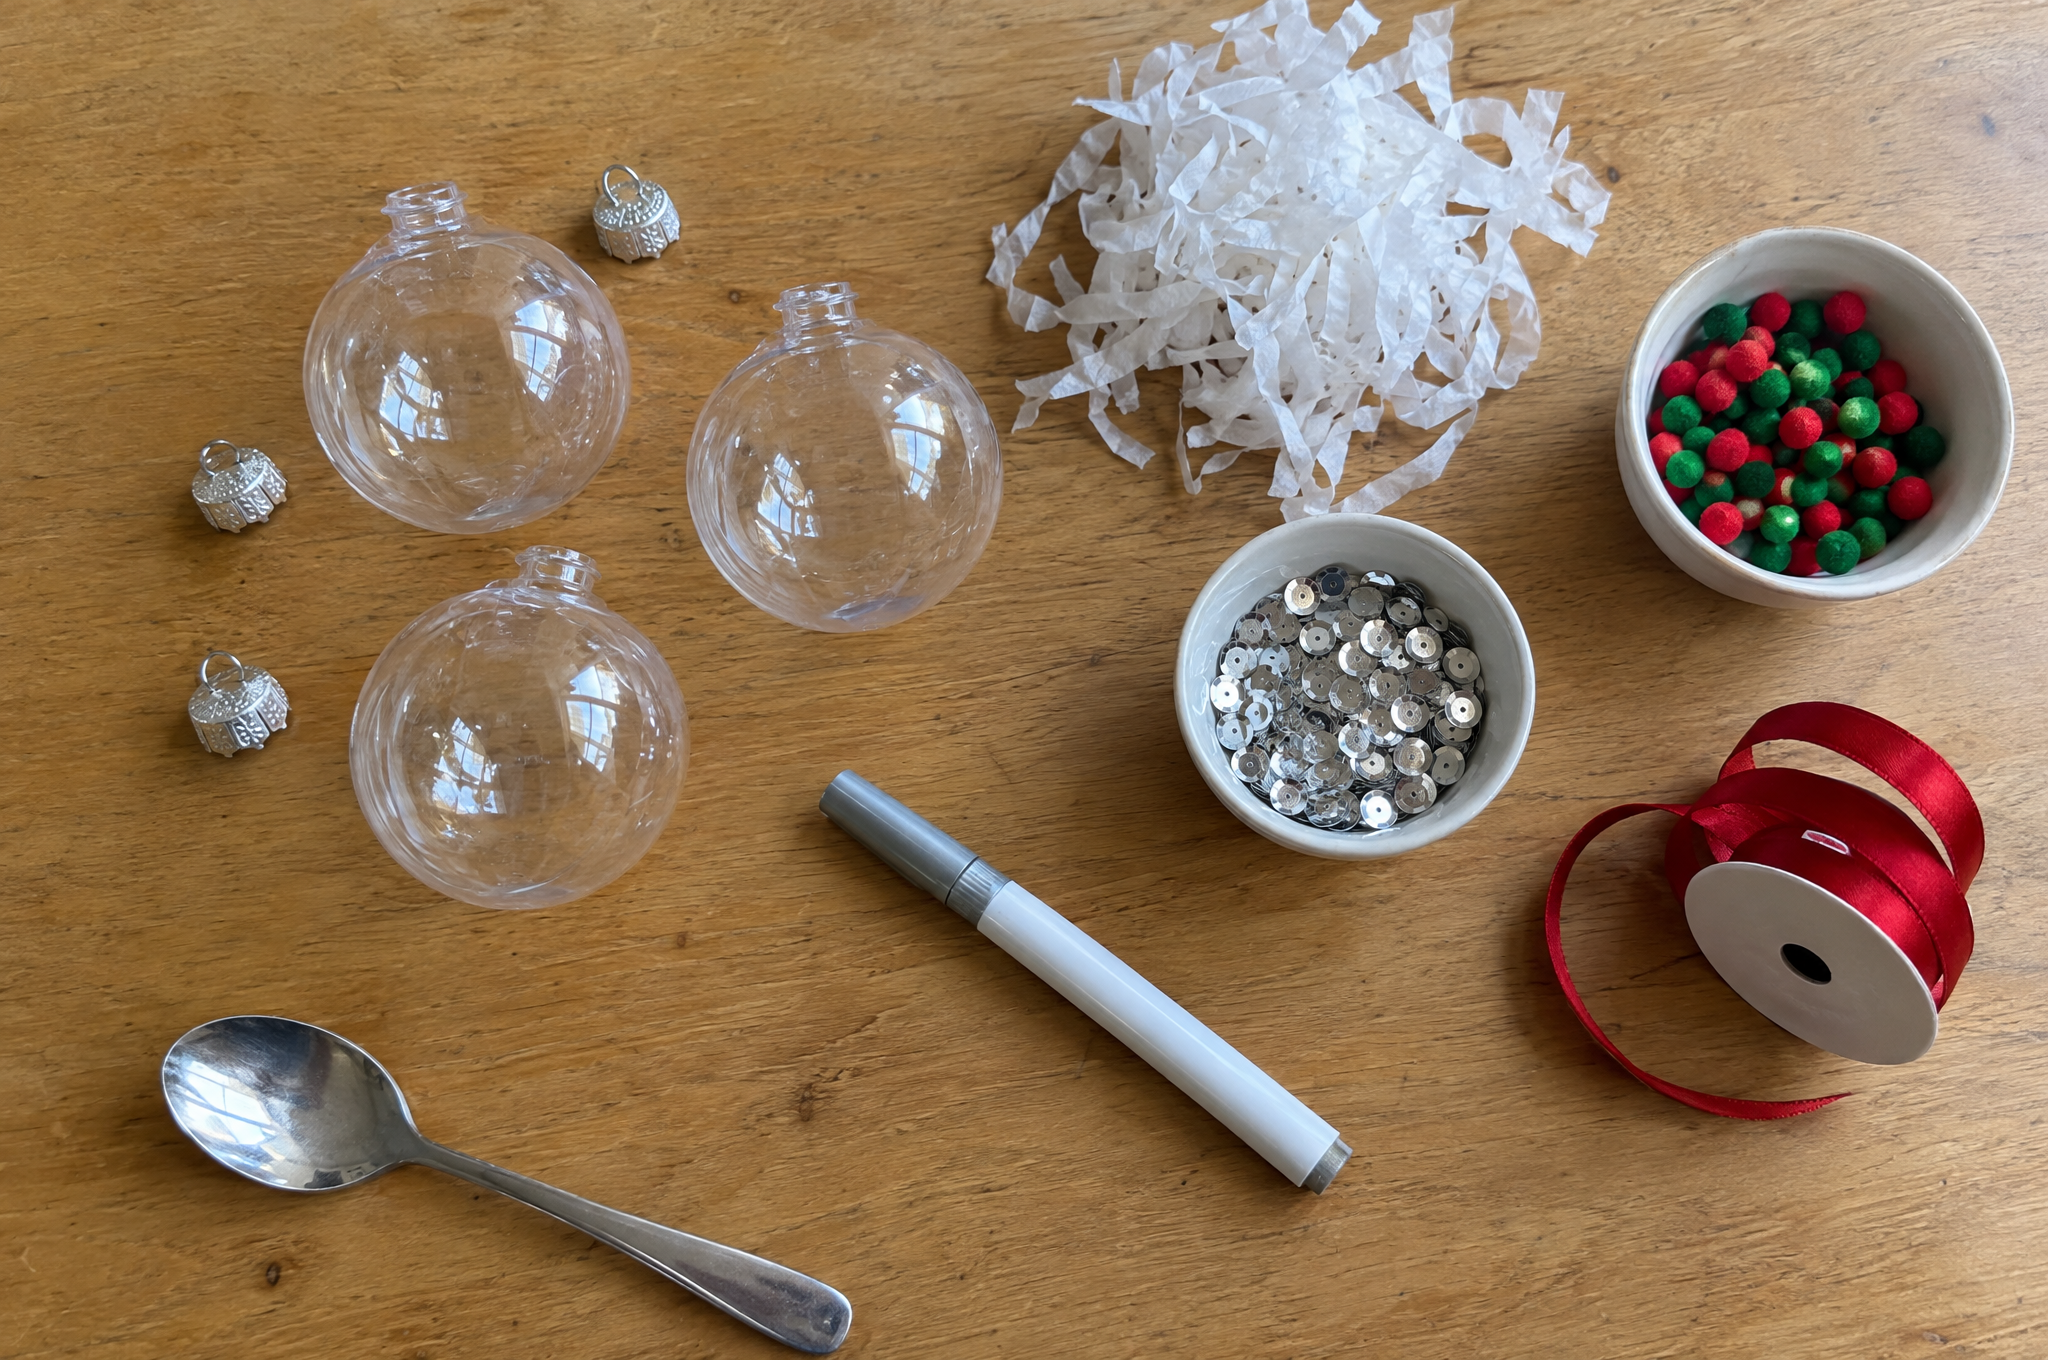
One kit per guest, five supplies
Here’s the full kit for one guest. Buy a few extra of everything, because someone will drop an ornament cap on the floor.
- Clear fillable ornaments, plastic. One per guest, plus two spares. Pick shatterproof plastic over glass. Check the pack for the size and for a cap that pulls off and snaps back on. That’s our advice.
- A soft filler. Shredded paper or tissue works well. Use scrap paper if you have it. That’s our suggestion.
- Small trims. Mini pom-poms and sequins work well. Put each kind in its own small bowl.
- Ribbon. About 8 inches per ornament makes a loop for the tree. Any ribbon you already own is fine.
- A paint pen or permanent marker. Guests write a name and the year on the outside. Test it on the back of a spare first.
This post contains affiliate links. As an Amazon Associate I earn from qualifying purchases.
The hanging loop is the last thing each guest does, so plan for it. Ribbon is the easy choice. If you’d like the ornaments to hang with almost no loop showing, clear line is another way to hang them. A full spool is much more than a craft night needs, so skip it if you already own some. (paid link)

- CLEAR FISHING LINE & INVISIBLE STRING: Made of transparent nylon monofilament, this clear fishing...
- 1800FT, 0.45MM & 20LB STRENGTH: Includes one spool of 1800 ft/600Yards clear monofilament line with...
As an Amazon Associate I earn from qualifying purchases.
Quick tip (ours): Fill your own ornament before guests arrive. It shows you how much filler fits, and it gives everyone a sample to copy.
How Do You Run a Christmas Craft Night Step by Step?
Here’s the full plan for one evening. The craft and every number are our own suggestions, so adjust them to your crowd.
Step 1: Set a kit at each seat
Put one ornament, a small pile of filler, a spoon and a short length of ribbon at each place. Set the bowls of trims in the middle so people can share.
Step 2: Pop the cap off
Most caps pull straight off. Set the cap beside the ornament so it doesn’t roll away.
Step 3: Add the filler first
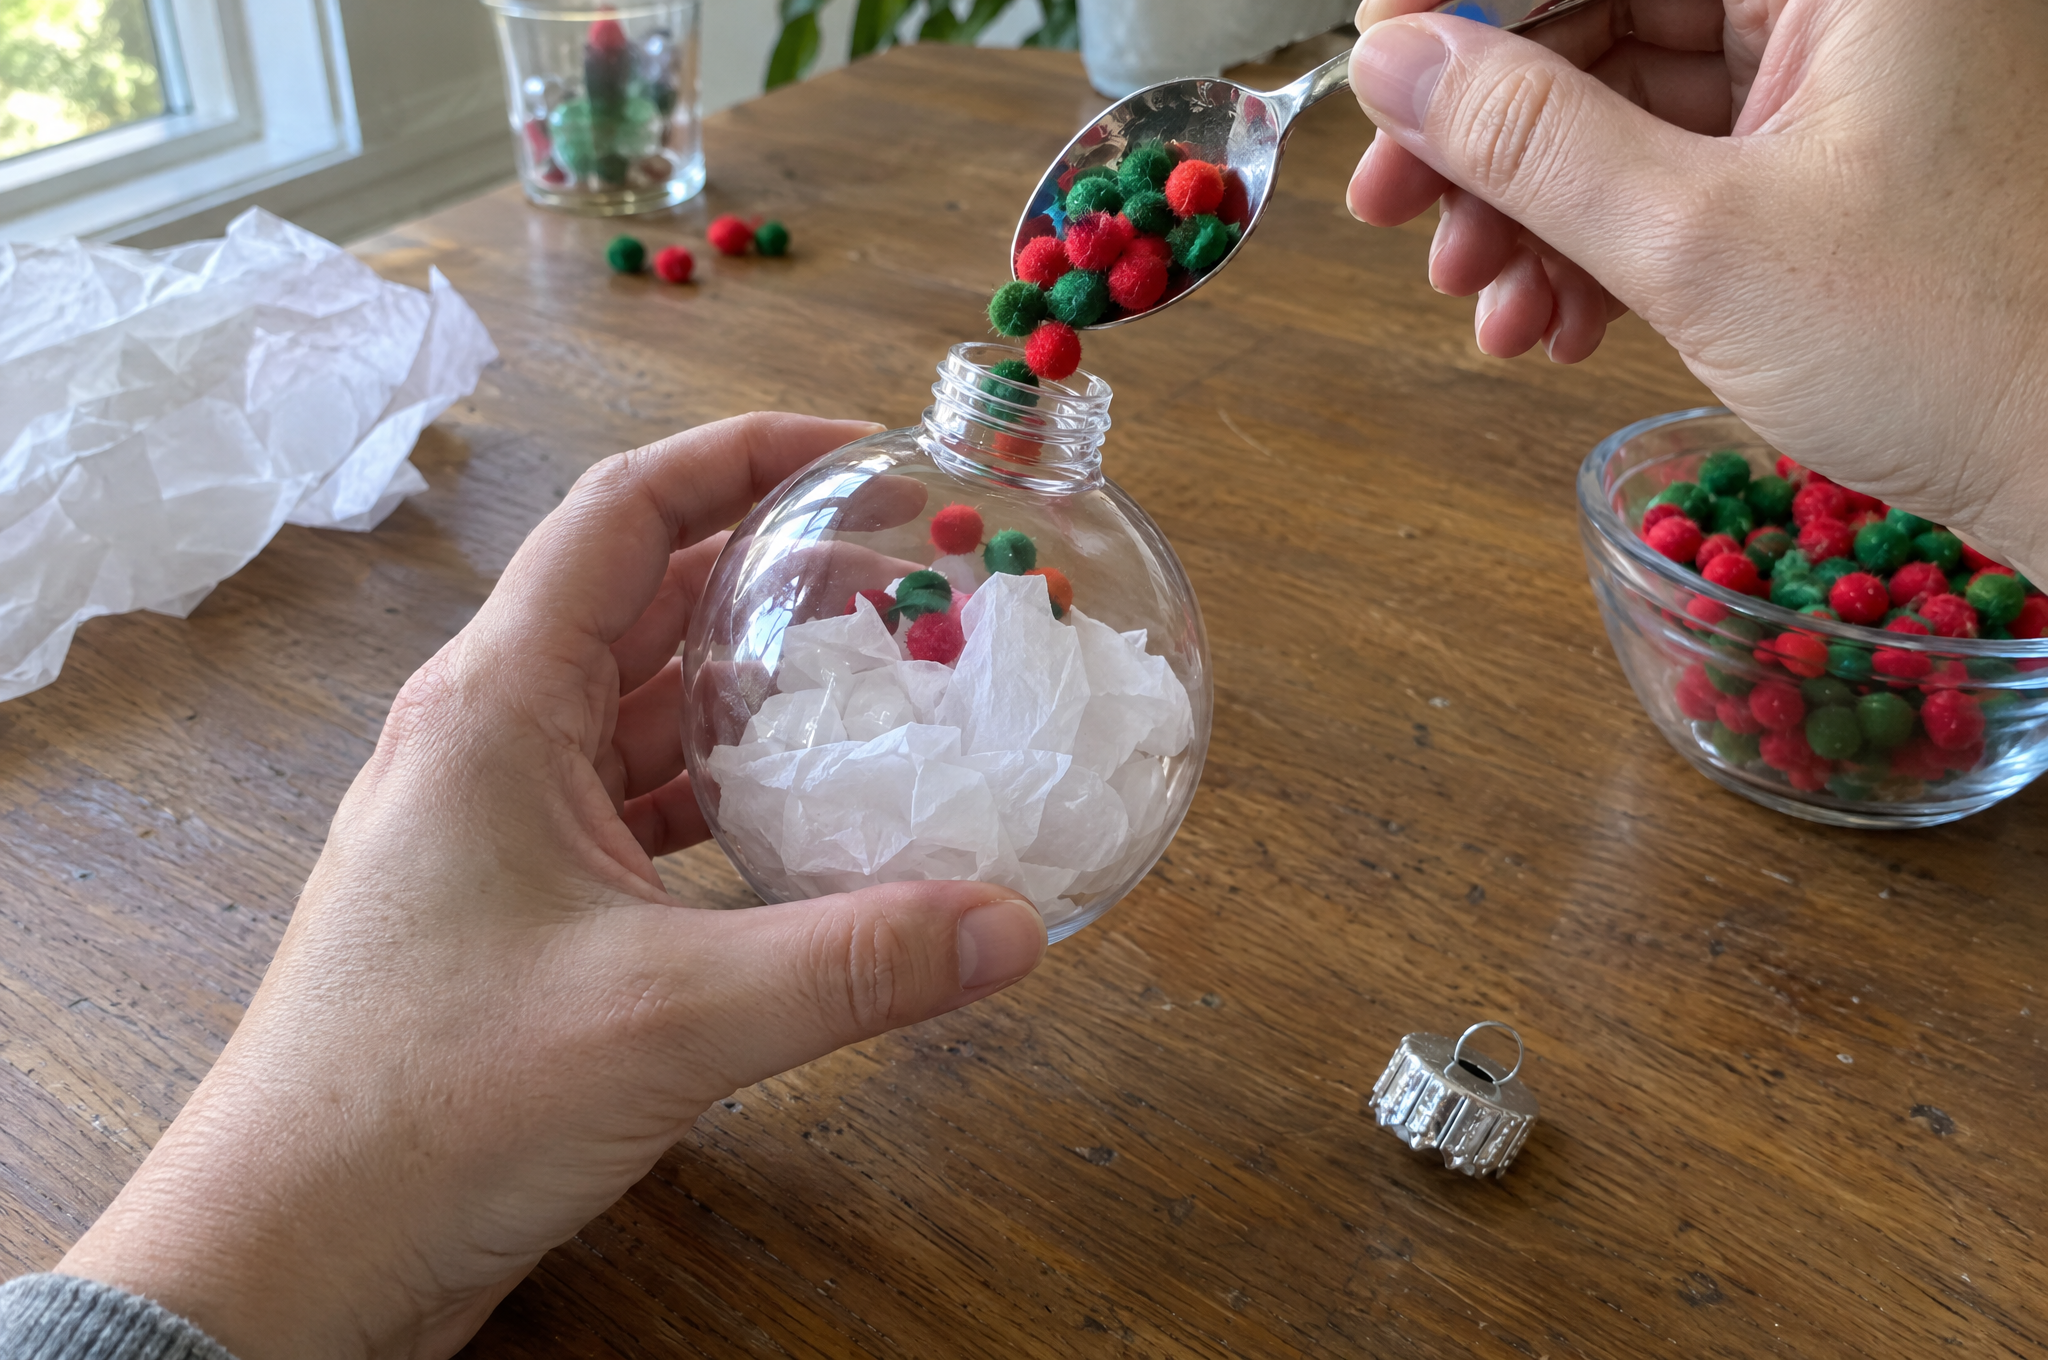
Drop in a small handful of filler. Tilt the ornament and turn it so the filler spreads out. A soft base keeps the trims from sliding to the bottom in one pile.
Step 4: Add the trims a few at a time
Use a spoon to slide pom-poms and sequins through the opening. Our idea: roll a small piece of paper into a cone and use it as a funnel. Stop when you can see color all the way around.
Step 5: Snap the cap back on
Press until it clicks. Give it a gentle tug to make sure it holds.
Step 6: Write the name and year
Wipe off any fingerprints, then write on the outside with the paint pen. Let it sit a few minutes before anyone picks it up. Check the pen’s label for dry time, because we don’t have a number.
Step 7: Tie on the ribbon
Thread the ribbon through the cap loop and tie a knot. Hang the ornament on the tree or tuck it into a gift bag.
What Goes Wrong at a Christmas Craft Night, and How Do You Fix It?
The trims cling to the sides and the ornament looks half empty. Add filler first, then tilt and turn the ornament slowly. Add trims a few at a time instead of all at once.
The paint pen smears. The plastic was probably greasy from fingers or the ink was still wet. Wipe the surface clean and write on a dry ornament. Practice on a spare first.
The cap pops off. The ornament was overfilled or the cap didn’t click. Take out a little filler and press the cap on until it clicks.
How Much Does a Christmas Craft Night Cost?
These are planning estimates, not quotes. Prices shift by store and by season.
- Small table, about $15: Four guests, scrap paper for filler, one pack of trims to share, and ribbon you already own.
- Party of six, about $30: Ornaments, a pack of filler, two kinds of trims, a paint pen and ribbon for everyone.
- Big group, about $50: A second table, extra ornaments so guests can make a spare to give away, and a trim for each seat.
Plan on about 20 minutes for each ornament. With snacks and chatting, that’s a good fit for a 90 minute evening. That’s a planning estimate, not a timed test.
Is a Christmas Craft Night Safe for Kids and Pets?
Yes, with a few common-sense rules. The small trims are the main concern. Pom-poms and sequins can choke a toddler or a pet, so keep the bowls out of reach of little ones and sweep up when you’re done.
Kids under three should skip the trims. Older kids can fill their own ornament with a grown-up close by. A grown-up should handle the paint pens, and you should open a window if the label says to use the pen in a ventilated room.
Skip glass ornaments for this craft. Plastic won’t shatter if someone drops it. Keep finished ornaments away from candles, and hang them on a tree with LED lights.
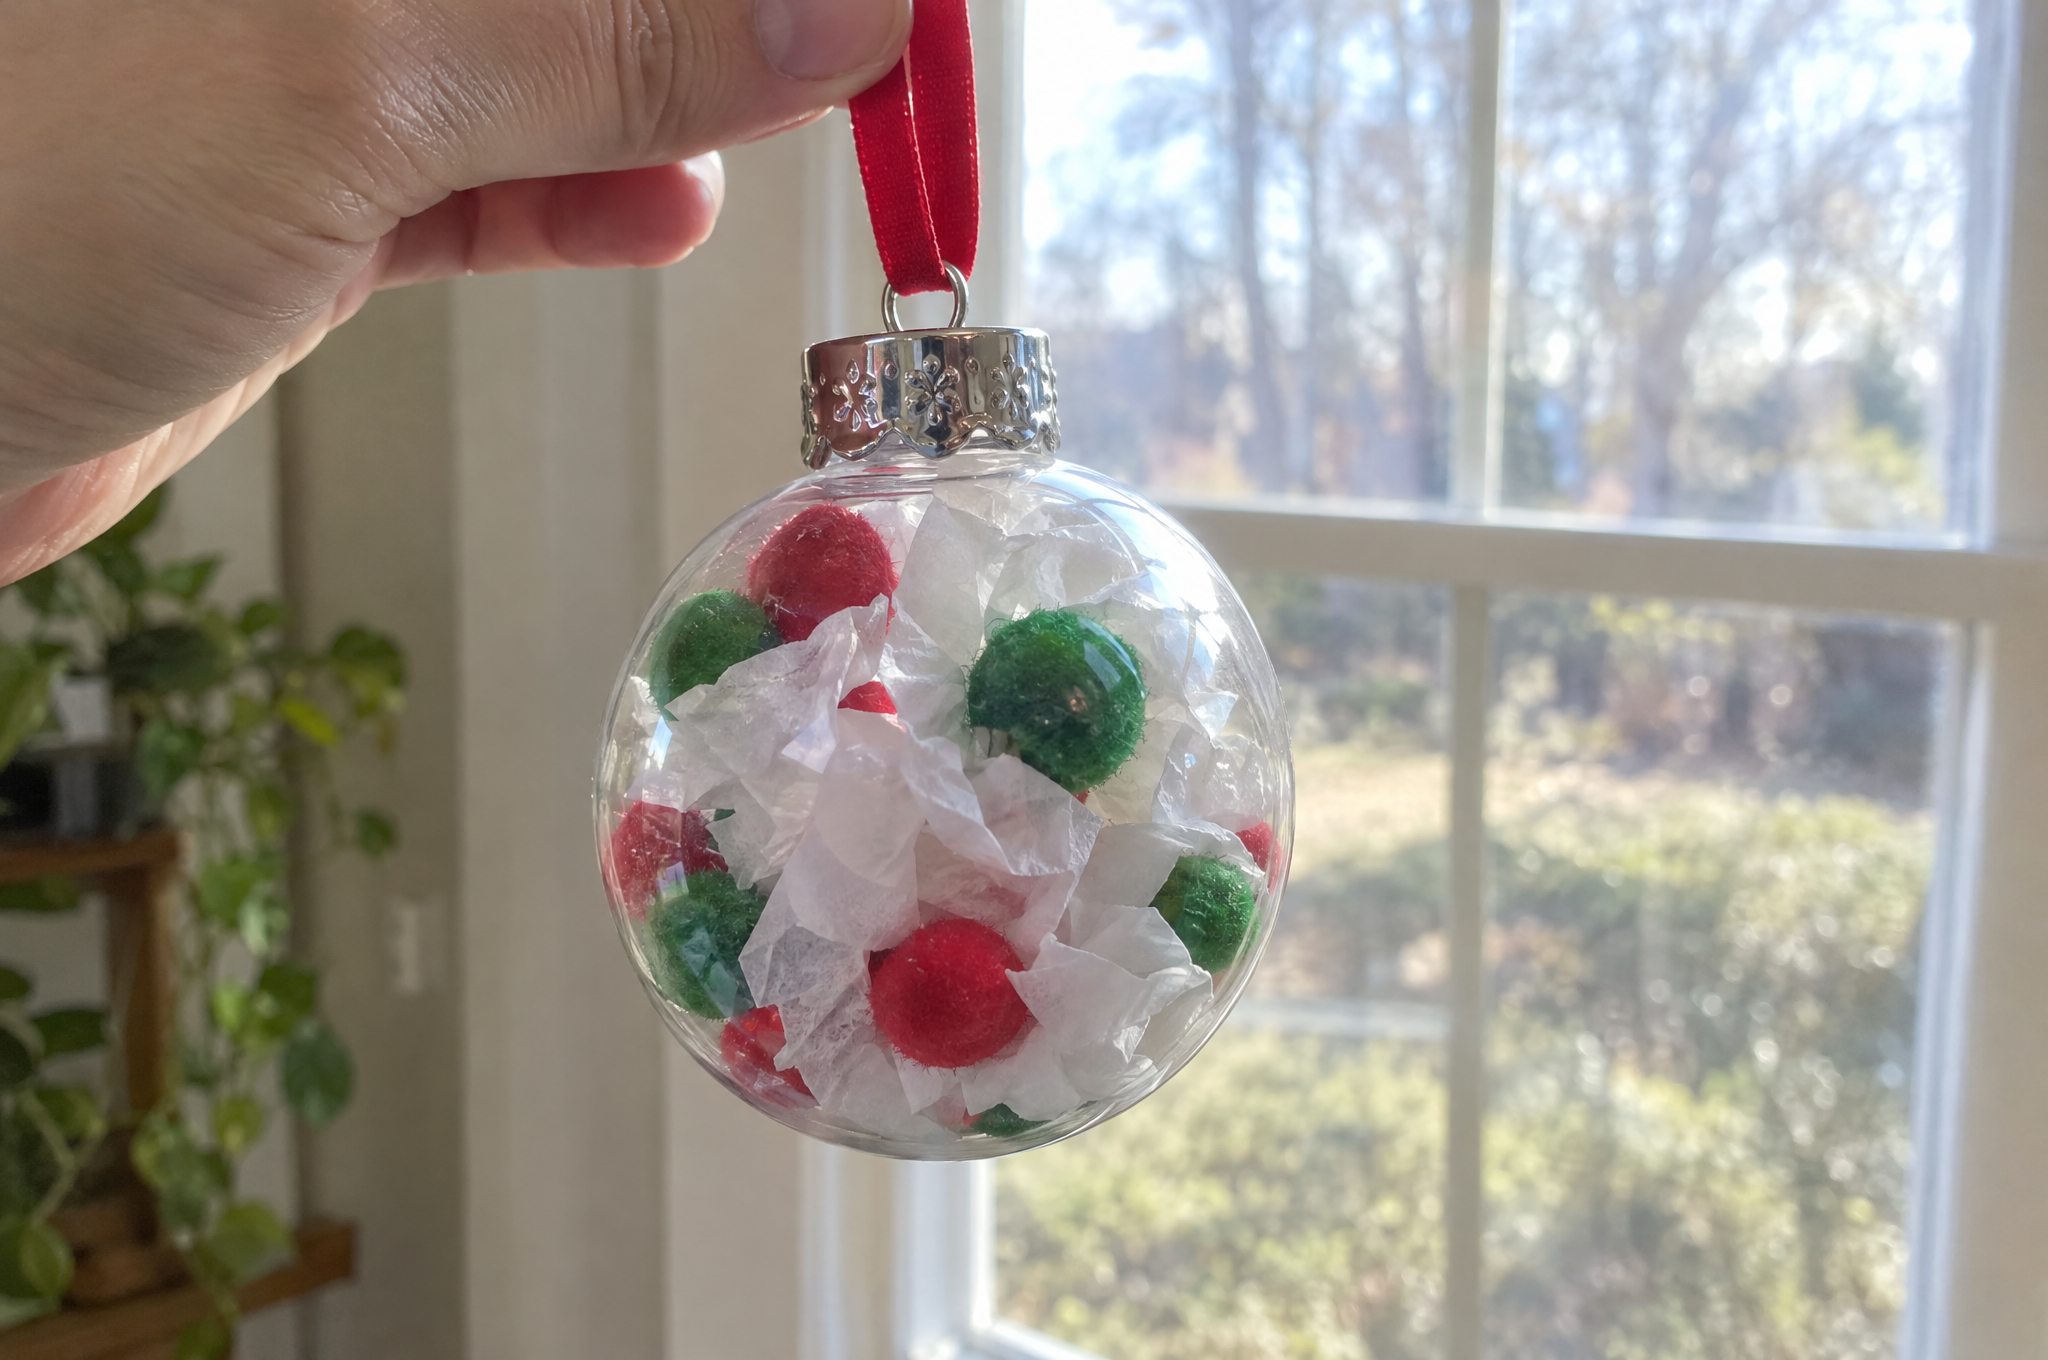
How do you know you did it right? Hold the ornament up by its ribbon. If you can see filler and trims all the way around and the cap stays put when you tug it gently, you’re done.
Where Can You Find More Ornament Ideas?
If you like making ornaments, try these next. Our guide to a woven felt heart ornament is a quiet one-evening project. For more tree ideas, see these easy DIY Christmas ornaments and this list of homemade Christmas ornaments on a budget.
Ready to Host Your Christmas Craft Night?
A Christmas craft night doesn’t need a lot of supplies or a lot of skill. One easy craft and a few small bowls are enough. Set up the kits, pour a hot drink, and let everyone fill their own ornament.
Want to show us your Christmas craft night ornaments?
We’d love to see yours. Share a photo on Facebook, save the idea on Pinterest, or tag us on Instagram.
A few helpful answers
Christmas craft night FAQs
Time, guests, kids, and cost.
Plan on about 90 minutes to two hours. That’s a planning estimate, not a timed test. It leaves time for one ornament each, snacks and talking.
Six guests fit well at one table. That’s our estimate. For a bigger Christmas craft night, add a second table and a second set of trim bowls so nobody has to reach across.
Filling a clear plastic ornament is a good pick. There’s no cutting and no glue. Guests drop in filler and trims, snap the cap on and write a name.
Yes, with a grown-up close by. Small trims can choke toddlers and pets, so keep them out of reach and let kids under three skip them.
Use what you already own. Scrap paper makes a free filler and leftover ribbon works for the loops. Buy one pack of trims to share.
How long should your Christmas craft night run?
Some hosts like a quick hour. Others want the whole evening. Pick the plan that sounds like your crowd.
Tell us how many guests you’re hosting.