


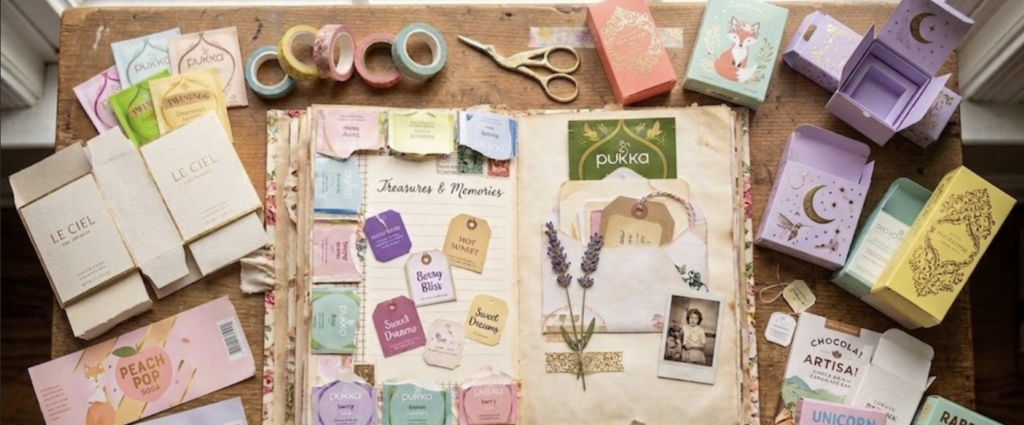

At a Glance: 9 Easy Ways to Turn Empty Packaging into Paper Crafts
- Turn boxes, tags, and labels into paper crafts in under 3 minutes each.
- No fancy tools needed. Just scissors and a glue stick.
- Nine ideas plus one bonus trick for a vintage, aged-paper look.
9 Easy Ways to Turn Empty Packaging into Paper Crafts
Have you ever opened a new box of tea, a skincare box, or a shirt with a tag on it, and thought, “This is way too pretty to throw away”?
More and more companies are using soft matte paper, shiny gold foil, and pretty colors to make their boxes look nice. However, most of that pretty paper ends up in the trash. But it doesn’t have to, if you know how to repurpose them.
If you like paper crafts or journaling, this packaging is a gift. All you need is scissors and a glue stick. Here are 9 easy ways to turn “too pretty to toss” packaging into paper art in under 3 minutes each. Save #8 for last. It’s a trick for making new paper look like it’s 100 years old.
1. Cereal & Gourmet Snack Boxes → Sturdy Notebook Covers
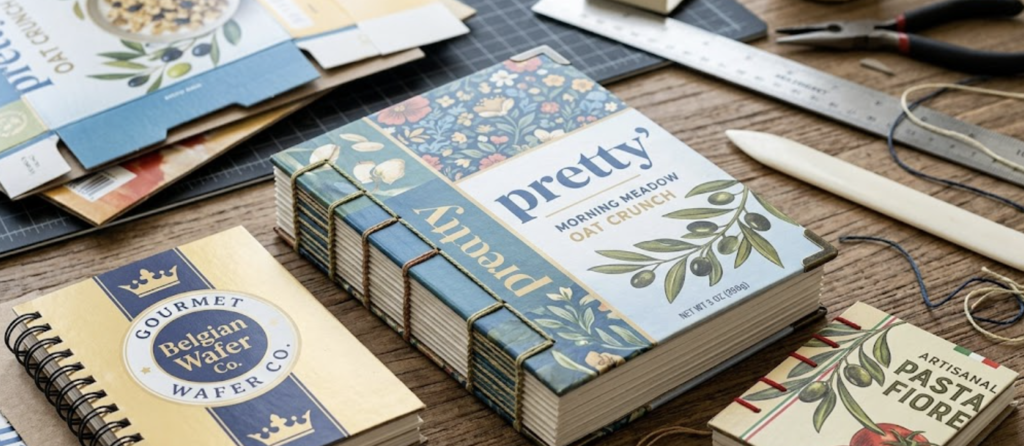
Got a pretty cereal, cookie, or pasta box? Don’t toss it. That thick cardboard makes a tough little cover that keeps your notebook safe in your bag.
The Paper Scrap: Thick, colorful cardboard from cereal, cookie, or pasta boxes.
⚡ 2-Minute How-To:
- Snip: Cut a clean 4×6 inch rectangle from a flat side of the box.
- Score: Drag your scissor’s edge lightly down the middle to make a crease.
- Fold: Press it flat along that crease.
✨ The Instant Upgrade: You get a strong mini-notebook cover that stops your pages from bending in your bag. And you don’t have to buy any cardstock.
2. Soft-Touch Skincare Boxes → Minimalist Bookmarks
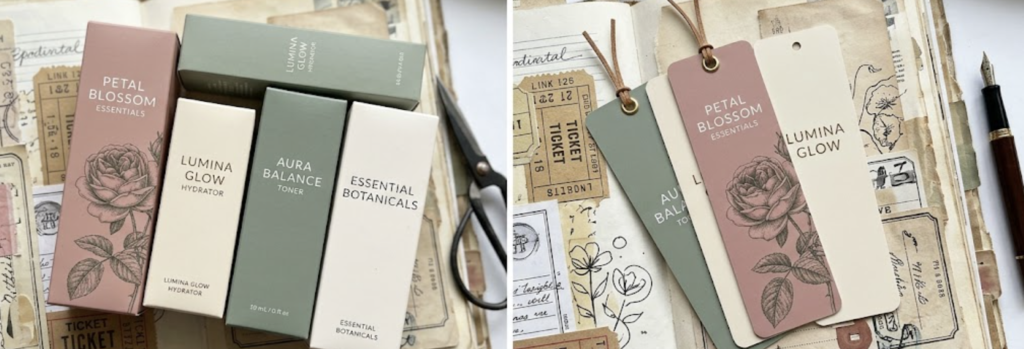
Skincare boxes feel silky for a reason. That same soft paper makes one of the nicest bookmarks you’ll ever use.
The Paper Scrap: Silky matte cardstock from serum, lotion, or lip balm boxes.
⚡ 2-Minute How-To:
- Snip: Cut a clean 2×6 inch strip from the flat side of the box.
- Punch: Cut the top two corners at an angle, or punch a small hole at the top.
- Thread: Slide a piece of twine or ribbon through the hole.
✨ The Instant Upgrade: Skincare boxes use smooth, high-end paper. Turn one into a bookmark and it looks like something you bought at a fancy store.
3. Glass Bottle & Jar Labels → Eye-Catching Page Stickers
That pretty label on your soda bottle or jam jar doesn’t have to go in the trash with the glass. Peel it off and use it as instant art on your page.
The Paper Scrap: Paper labels from glass bottles, jam jars, or coffee syrups.
⚡ 2-Minute How-To:
- Soak: Put the empty jar in warm water for 5 minutes.
- Peel: Slide the label off and pat it dry with a towel.
- Stick: Glue the back and press it onto your page.
✨ The Instant Upgrade: You don’t have to draw or design a thing. The label is instant art for your journal.
4. Skincare & Boutique Tissue Paper → Soft “Painted” Backgrounds
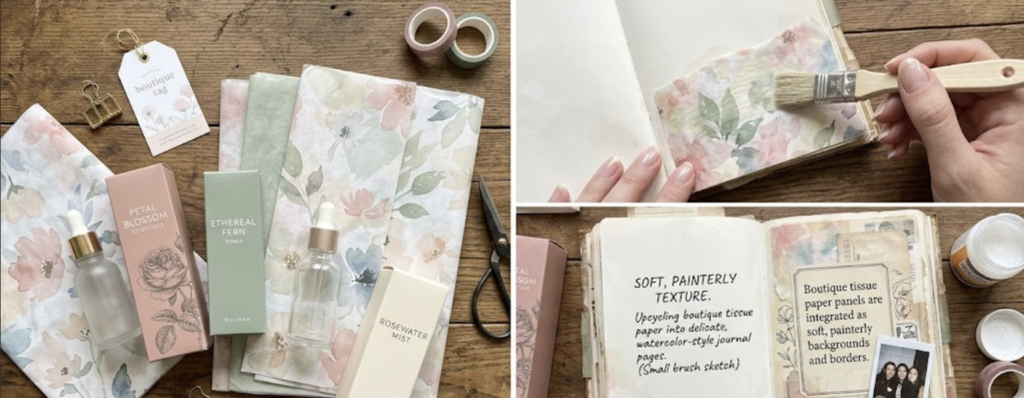
Got pastel tissue paper from an order or gift box? It’s the easiest way to add color to a page without ever picking up a paintbrush.
The Paper Scrap: Pastel or printed tissue paper from beauty and online orders.
⚡ 2-Minute How-To:
- Tear: Rip off a piece a little bigger than your notebook page.
- Position: Lay the thin sheet flat over your page.
- Smooth: Add a thin layer of glue under it and smooth it down with your fingers.
✨ The Instant Upgrade: The tissue paper blends right into the page. You get a soft, painted look with zero painting skill needed.
5. Tea & Matcha Box Flaps → Secret Peek-a-Boo Doors
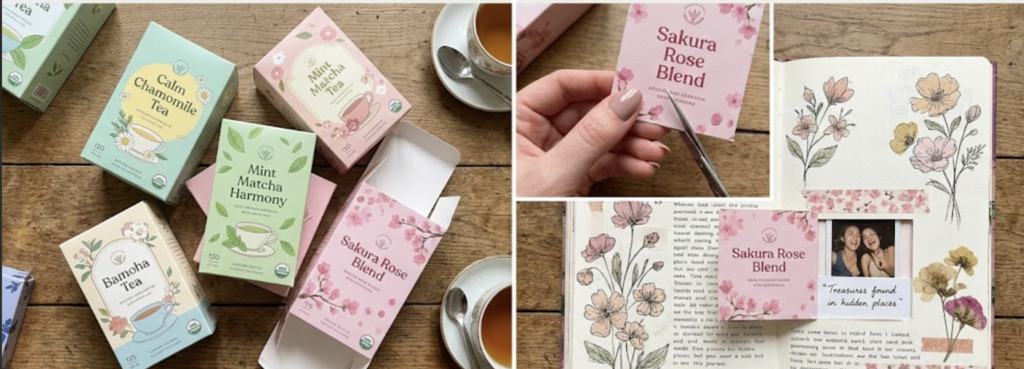
Fancy tea and cocoa boxes usually have a shiny flip-top lid. That lid can become a tiny secret door on your page.
The Paper Scrap: Foil or graphic flip-top lids from tea, cocoa, or food boxes.
⚡ 2-Minute How-To:
- Snip: Cut off just the top lid flap along its fold line.
- Position: Place the flap anywhere on your page.
- Glue: Glue only the folded hinge edge, then press down.
✨ The Instant Upgrade: You get a lift-up door on your page. Hide notes, dates, or small photos underneath.
6. Thick Clothing Price Tags → Ready-Made Note Cards
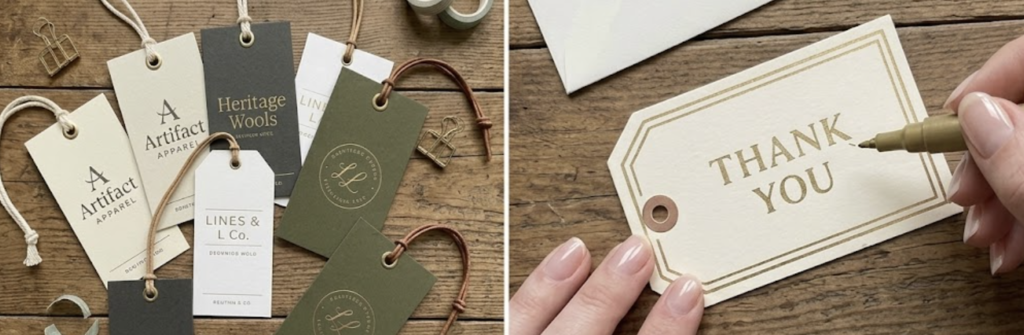
Boutique clothing tags are thick and sturdy for a reason. That’s exactly what makes them a perfect blank note card.
The Paper Scrap: Heavy, textured cardboard tags from clothing or lifestyle brands.
⚡ 2-Minute How-To:
- Clean: Peel off the price sticker, or cover it with a small piece of brown paper.
- Write: Use the blank back to write a memory, quote, or date.
- Tuck: Slide the tag into a paper pocket or clip it to a page.
✨ The Instant Upgrade: Clothing brands spend real money on those thick tags. Reuse them and get a sturdy journal card for free.
7. Cardboard Coffee Sleeves → Quick Paper Note Holders
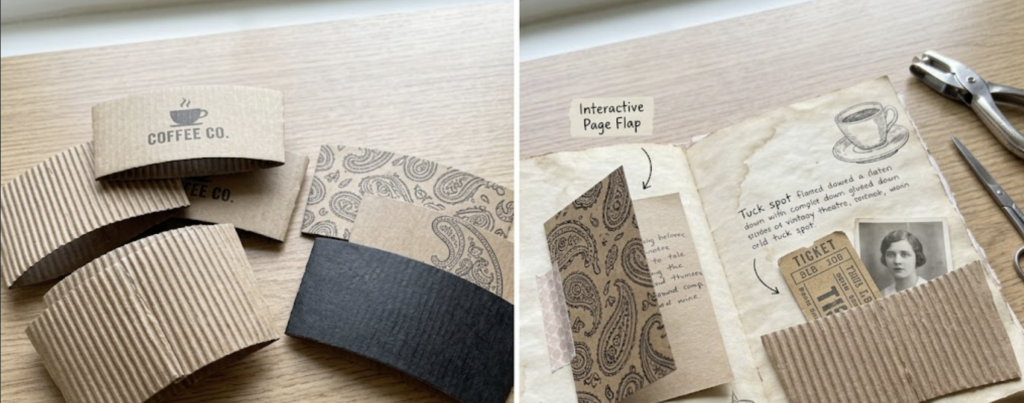
That cardboard sleeve on your coffee cup already has a built-in shape that works perfectly as a page pocket.
The Paper Scrap: Textured or branded cardboard sleeves from coffee or boba cups.
⚡ 2-Minute How-To:
- Open: Cut down the glued back seam to lay the sleeve flat.
- Glue: Run glue along the bottom and two side edges only.
- Mount: Press it flat onto the bottom of your notebook page.
✨ The Instant Upgrade: The sleeve’s curved top makes an automatic little pocket. Slip in receipts, notes, or travel stubs whenever you want.
8. Waxy Bakery Paper → Crinkly Sheer Page Dividers
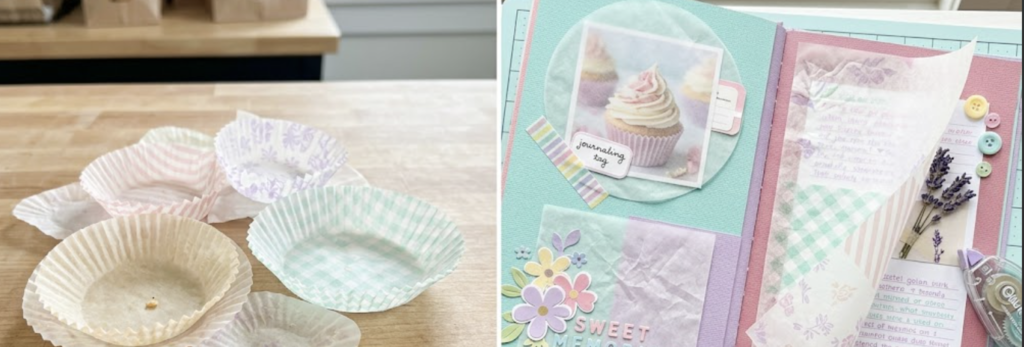
This is my favorite trick on the list. Waxy bakery paper turns into a soft, see-through divider that makes your journal feel old and special.
The Paper Scrap: Clean waxed paper from bakery bags, pastry liners, or butter wrappers.
⚡ 2-Minute How-To:
- Clean: Wipe the paper clean with a dry napkin or towel.
- Trim: Cut a rectangle the size of your notebook page.
- Insert: Slip the sheet between two finished pages or near the spine.
✨ The Instant Upgrade: You get a soft, see-through page divider that rustles when you turn it. It lets the words and art underneath peek through.
9. Perfume & Cosmetic Cartons → Torn Paper Borders
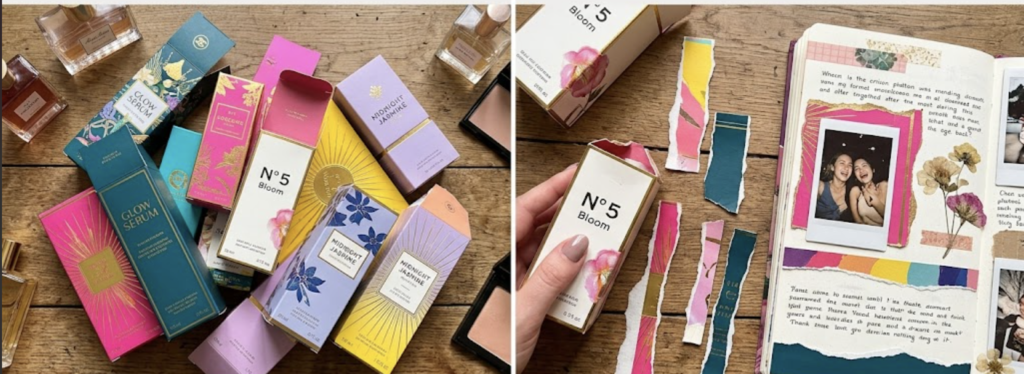
Perfume and cosmetic boxes are made from thick, textured paper. Torn by hand, that same paper becomes a soft, homemade frame for your page.
The Paper Scrap: Heavy, ribbed, or linen-like paper from perfume or cosmetic boxes.
⚡ 2-Minute How-To:
- Tear: Rip the thick paper into long strips with your fingers. No scissors.
- Layer: Lay the strips along the top, bottom, or side of your page.
- Glue: Press them flat with a glue stick.
✨ The Instant Upgrade: The soft, torn edges break up a plain page border. You get a homemade frame with real texture.
What’s next for all these upcycled pages?
Once you finish making these tags and pockets, you’re sitting on the core ingredients for a full junk journal.
Buyers love journals filled with authentic, upcycled details because you simply can’t buy that kind of custom notebook in a store.
You’ve already done the creative heavy lifting. The next step is just binding those pages together and pricing your work.
If you’ve ever wondered how to turn your paper stash into extra income, I put together a straightforward guide to help you get started.
It covers everything from binding your journals to your first sale.
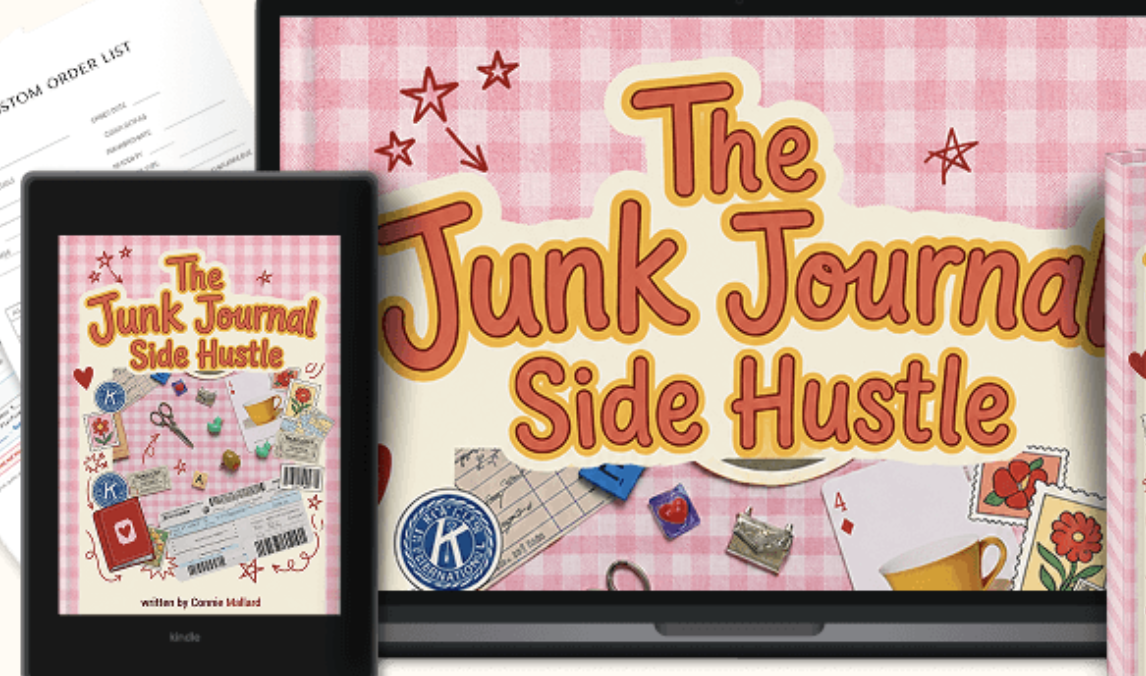
Take a look at the simple pricing formulas and batch tricks to turn desk clutter into your first real sale.
FAQs
What packaging is best for paper crafts?
Thick, matte, or textured packaging works best. Think skincare boxes, clothing tags, and cereal boxes. Shiny or waxy paper, like bakery liners, is great for see-through dividers.
How do you remove a label from a glass jar without tearing it?
Soak the jar in warm water for about 5 minutes. This loosens the glue so the label slides off in one clean piece.
Do you need special tools to upcycle packaging into paper crafts?
No. All you need is a pair of scissors and a glue stick. Most of these projects take less than 3 minutes.
Can tissue paper be used in journaling?
Yes. Tissue paper from gift or beauty boxes makes a soft, see-through background. Glue it flat onto a page for a painted look with no paint needed.
What’s the easiest packaging craft for beginners?
Bottle and jar labels are the easiest. Peel one off, glue it to a page, and you have instant art. No cutting or design skills needed.









