
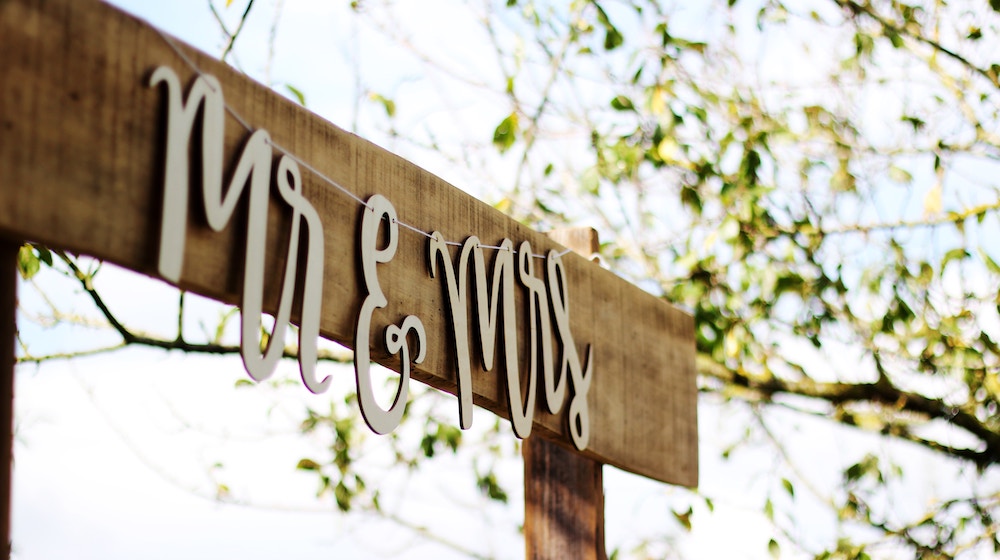

Weddings are super expensive, and definitely can create a hole in the pocketbook. Although your wedding day should reflect you and your fiancé’s taste, you also need to maintain your tight budget. Many brides have turned to DIY techniques to combat extra costs. Here are some of our favorite DIY wedding decorations that can be made with supplies from the dollar store:
1. DIY Tassel Garland
Materials:
Tissue Paper (3+ colors)
Scissors
Hot Glue
Instructions:
1. Fold tissue paper once lengthwise, and once widthwise. Fold one more time widthwise.
2. Cut the tissue paper into 1 cm strips, leaving 2 inches at the top.
3. Unfold the tissue paper once and cut in half.
4. Unfold the tissue paper 2 more times and cut. Your individual pieces should now be roughly 4 inches wide.
4. Roll the paper until both ends meet.
5. Twist the center section that you left uncut into a loop and glue.
(See full instructions at Hostess with the Mostess)
2. DIY Paper Rosettes
Materials:
Scrapbook Paper
Staples
Instructions:
1. Take 2-3 pieces of paper for a large rosette, and 1 piece for a small rosette.
2. Fold the paper accordion-style, like how you would to make a paper fan.
3. Cut the paper in half.
4. Fold the paper in half
5. Using a stapler, staple the edges of each piece to another to make a full circle.
(See full article on Babble)
3. DIY Wedding Backdrop

Materials:
Ribbon (10+ yards)
Crochet string (size 10)
Scissors
1 1/2 boxes of interfolded waxed deli sheets
Match stick
Instructions:
1. Fold waxed paper sheet in half to form a square and cut out a circle shape.
2. Cut circle in half and set aside. Cut crochet string to desired length and tie a slip knot on one end.
3. Fold half-circle into cone shape by turning the corners in towards each other so that they overlap. Secure cone shape by stitching in and out of where the paper overlaps.
4. Fill length of string with cones, leaving about a finger’s width of space between each cone.
5. Prepare the ribbon by trimming a clean angled end. To keep end from fraying and unraveling, lightly singe the ribbon’s edge. Thread the ribbon through the slip knot loops.
6. Synch down slip knots to hold cone strands in place. Leave about a finger’s width between each strand.
7. Trim away the tails of the slip knots.
8. Continue to repeat this process until length of ribbon is full.
(See full instructions on StyleMePretty)
4. DIY Heart Streamers

Materials:
Construction paper
Ribbon
Hot Glue
Cans
Scissors
Instructions:
1. Cut out hearts in construction paper – you need enough to double up!
2. Decide what length you want the streamers and cut pieces of yard according to that length. Lay them out where you can see them in full.
3. Hot glue the yarn to the center of a paper heart, and sandwich between another paper heart. Repeat every 2 inches until your streamer looks full!
4. Punch a hole in the bottom of the cans with scissors, and pull the end of the streamers through. Tie a knot to hold it in place.
5. Attach the streamers to your getaway car using some leftover ribbon.
(See more images at 100LayerCake)


