

We all want our toddlers to experience the joy of playing outdoors and making a teepee tent is definitely a great place to start. I know, all that sewing sounds like a lot of work. But what if I tell you it is very easy to make one even without a sewing machine?
Especially now that we are asked to stay inside the walls of our home, this can be the perfect time to make a DIY project for your kids. At the same time, let them help you do this fun and easy activity.
You’ll be surprised how easy and affordable it is to do rather than buying one in the market. Just follow this tutorial and your little one should be playing inside in no time!
RELATED: 12 Fun DIY Teepee Ideas for Kids
DIY Teepee Tent Tutorial and Make It Your Kid’s Playhouse
Materials Needed to Make a No-Sew Teepee Tent
- Four bamboo or wooden sticks
- 2-3 feet of rope or jute twine
- 2-3 yards of fabric
- Playmat
Step 1: Gather All the Materials
First, let’s gather the materials we’ll need for this project. You’ll need four pieces of bamboo or wooden sticks, rope or jute twine, and 2 1/2-3 yards of fabric.
Look for bamboo or wooden sticks (preferably birch) at your local crafts store and should be at least 5 ft. long. If you have unused sheets at home then you can use it instead. This should only cost you around $5-7 provided you will just use stock decors at your home.
On to the next step!
Step 2: Connect the Sticks for Foundation
This activity might require an extra set of hands, so have your spouse or kid to take part in this, too!
Drill a hole toward the end of all four sticks. This is where the strings or the jute twine will be passing through. Once everything is interconnected, roll the strings around the poles until it is sturdy enough. Spread the pole and form a tent-like foundation.
Step 3: Position the Tent
Whether it will be used as an indoor or outdoor teepee tent, position the tent over blankets or playmats to use it as its base. Don’t sweat it if the footing of the tent is uneven, you can use some hot glue to stabilize it.
Since kids have the tendency to move around a lot, it’s better if the tent is steady from the ground up. We don’t want any possibilities of the tent collapsing, too.
RELATED: 15 Fun Summer DIY Projects For The Whole Family
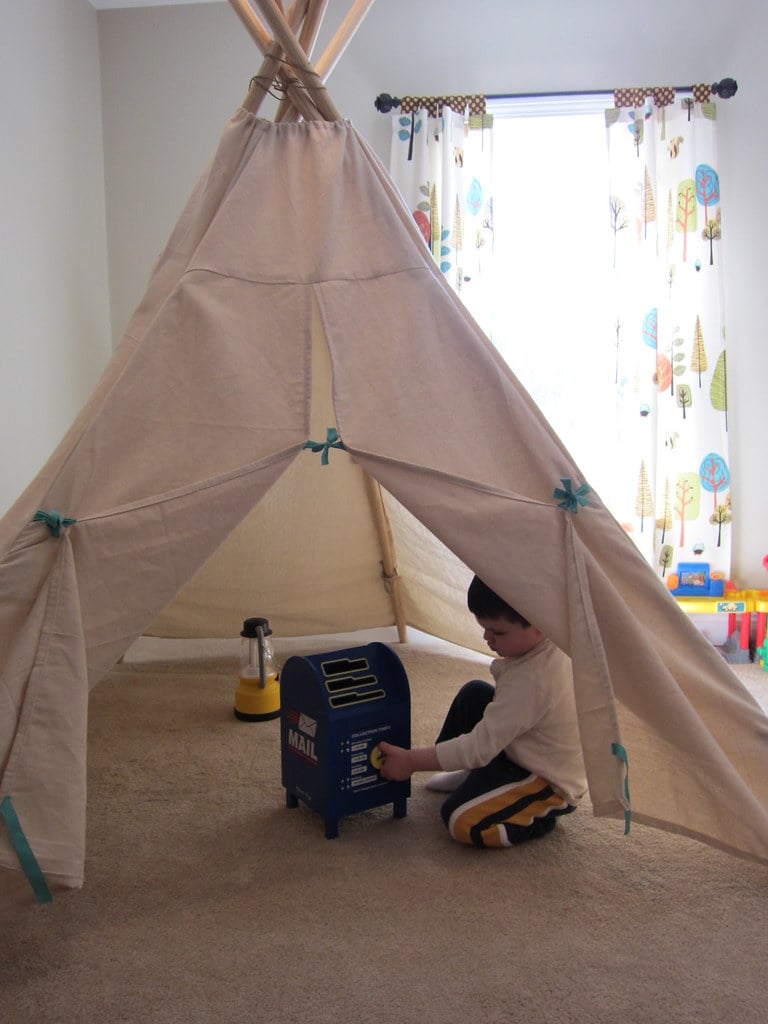
Step 4: Cover it With the Sheet
Now that the teepee tent has a base, time to cover it up. As mentioned earlier, you can just use a sheet you’re no longer using to save money. Make it a point the fabric you’re using is bigger since the gap will get a lot bigger at the bottom.
Make a hole at those spots where it makes contact with the sticks. Use your extra strings or twine then tie it down on the sticks. You can also wrap the fabric on the sticks where the entrance is for a cleaner look.
I also suggest keeping the front section fabric-free to avoid your kid from pulling it down. We know how clumsy and excited they get when they are onto something new.
This is also a good way of putting your unused sheets to good use if you have a lot of fabric in stock. Opt for something with cute patterns to give the tent a fancier look.
Step 5: Finishing Touches
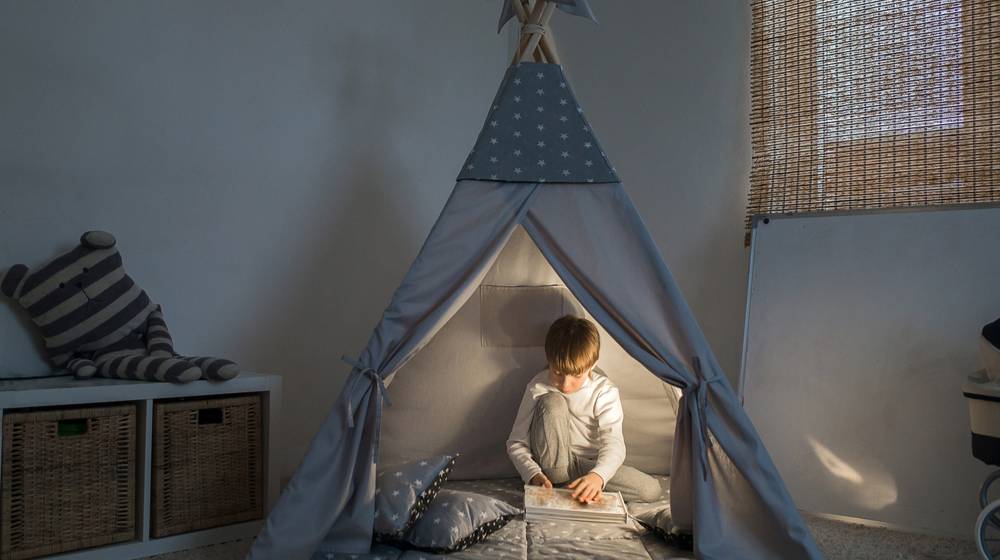
Now the teepee tent is up and about, it’s time to bring out the decorations. Add a cushion and small blanket to make it more comfortable. You can put your child’s favorite pillows, stuffed toys, and children’s books inside and get ready to see your kid have the time of his/her life.
You can also add some ribbons, flower decor, or any kid-friendly design to make it more of a treat to the eyes. If you want, you can even put some feathers on top of the tent to make it look more authentic. You can also place toys like a cooking set or a pretend camping bonfire for that full outdoor experience.
Remember, you can always make a bigger tent. Just use longer sticks and a bigger fabric. You can have an afternoon nap with your kid inside the tent.
Here’s a quick guide on how to assemble a teepee tent courtesy of Alwayzfashionablylate:
It is essential to let your kid play outdoors during their formative years. In this day and age where it’s all smartphones and digital games, give them something they will genuinely treasure and enjoy.
The joy of having their personal space is priceless and something they will surely remember as they grow up. Good luck parents!
Want more cool projects like this? Let us know. Pin your favorite projects to Pinterest, like us on Facebook to get updates on fun new projects we are working on!
UP NEXT:
- DIY Toy Storage Box You Can Make With Your Kids
- Ingeniously Easy DIY Projects To Entertain Kids
- DIY Fabric Dog Collar | How To Make A Dog Collar
Calling all crafting DIYhards, DIY Projects needs YOU! Click here if you want to contribute for us.
Don’t forget to stay connected with us on Facebook, Twitter, and Instagram!


