

Last Updated: April 2026
Looking for new ideas for your woodworking projects? Good news! We're here to help you come up with astonishing yet easy to do wood crafts. Everybody who's into woodworking knows its benefits. The satisfaction that we feel every time we build something out of wood and turn it into a beautiful piece of art is truly priceless. To some, working on a woodcraft is both relaxing and gratifying. To other craftsmen, it can be a good source of profit. So scroll down and find out some woodworking ideas that can help you create a new useful masterpiece.
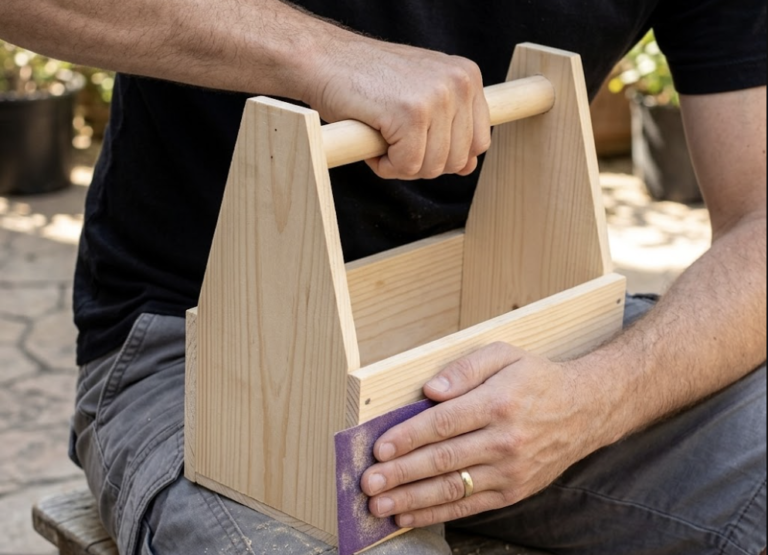
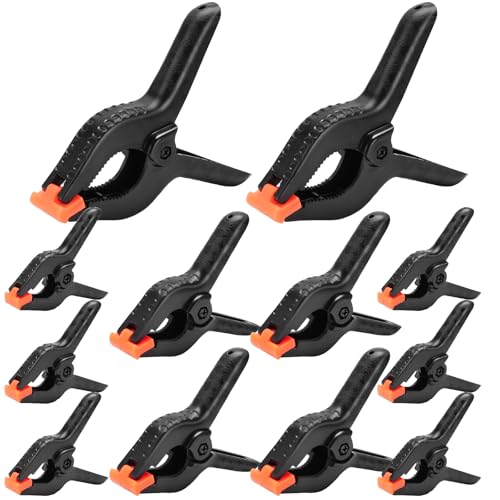
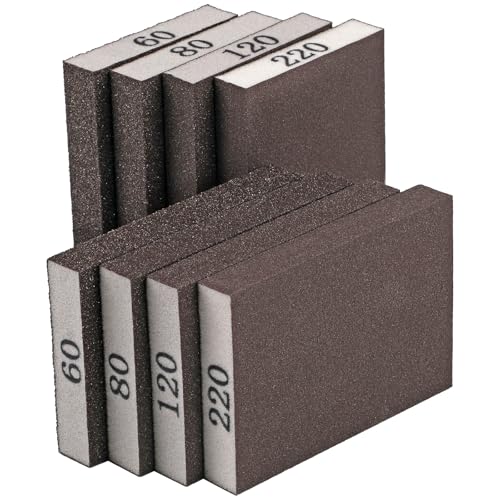
Before you pick a project, it helps to have the boring basics handled. A couple clamps, sandpaper, glue, and eye protection will save more
headaches than any fancy tool. Here are my basic woodworking staples, and where I got them from:


New to woodworking projects? Our free Cut List Optimizer lays out every piece on your plywood sheet . Paste in your dimensions and it tells you exactly how to cut the sheet so nothing goes to waste.
7 Woodworking Ideas For Beginners
There are woodworking projects that can be done in no time and there are the ones that need an ample amount of time because of its intricate design. But being a novice to this field or endeavor, it best to start with something less difficult to do. Check out some woodworking ideas below that can be your next potential project.
1 Tree Branch Table
If you're an enthusiast of natural materials but at the same time opting modern aesthetics then this tree branch table project is for you.
Materials: Dried hardwood branch (3–4″ thick, forked or straight), wood slab or pre-cut round/square top (1/2″–3/4″ plywood works), wood screws, wood glue, sandpaper (120 + 220 grit), clear polyurethane or Danish oil, felt pads for the base.
Where to get the wood: Fallen branches from your yard, a neighbor's tree trimming pile, or ask local arborists. For the top, check Habitat ReStore or Facebook Marketplace for reclaimed wood. Home center plywood rounds as a last resort.
Steps:
- Pick a dried branch that's sturdy enough to support weight. Green wood will crack as it dries. Let it cure for at least a few weeks if freshly cut.
- Cut the bottom of the branch flat with a handsaw so it sits level on the floor. Check with a level.
- Sand the branch and your tabletop piece with 120-grit, then 220-grit. Remove all splinters and rough bark edges.
- Position the branch on the underside of the tabletop where you want the leg(s). Pre-drill pilot holes through the tabletop into the branch.
- Attach with wood screws from the top down into the branch. Add wood glue at the joint for extra hold.
- Flip it upright and check for wobble. Trim the base if needed.
- Apply 2–3 coats of polyurethane or Danish oil. Let each coat dry completely before the next.
- Stick felt pads on the bottom to protect your floors.
2 Wooden Bungee Organizer
For those people who has a lot of accessories like sunglasses, neckties and different cables and cords, check out this wooden bungee organizer. Organize your stuff to make it more convenient for you.
Materials: 1 piece of 1×4 or 1×6 board (about 24″ long), bungee cord (1/4″ diameter, about 6 feet), drill with 1/4″ bit, sandpaper (120 grit), wood stain or paint (optional), picture-hanging hardware or sawtooth hanger, scissors.
Where to get the wood: Scrap wood from a previous project or a friend's garage cleanout. Habitat ReStore usually has short board pieces for a couple bucks. Any 1×4 or 1×6 from a home center if nothing else.
Steps:
- Cut your board to the length you want (18″–24″ is a good range). Sand all faces smooth with 120-grit.
- Mark evenly spaced holes along both long edges. Space them about 2″–3″ apart, about 1/2″ in from the edge.
- Drill holes at each mark all the way through the board.
- Stain or paint the board now, before stringing. Let it dry.
- Thread bungee cord through the holes in a zigzag pattern. Start at one corner, go across to the opposite hole, then down to the next hole on that side, back across, and so on.
- Tie a knot at each end on the back side so the cord stays taut. You want just enough tension to grip items without bowing the board.
- Attach a sawtooth hanger on the back. Mount it on the wall.
- Slide in sunglasses, cables, hats, or whatever you need to organize.
In my case, I had a hard time tracking down the little screw clamps in the right size. I ended up getting mine here to avoid making extra trips back to the hardware store. For the bungee cords, I had a particular color in mind so I ordered them online too:


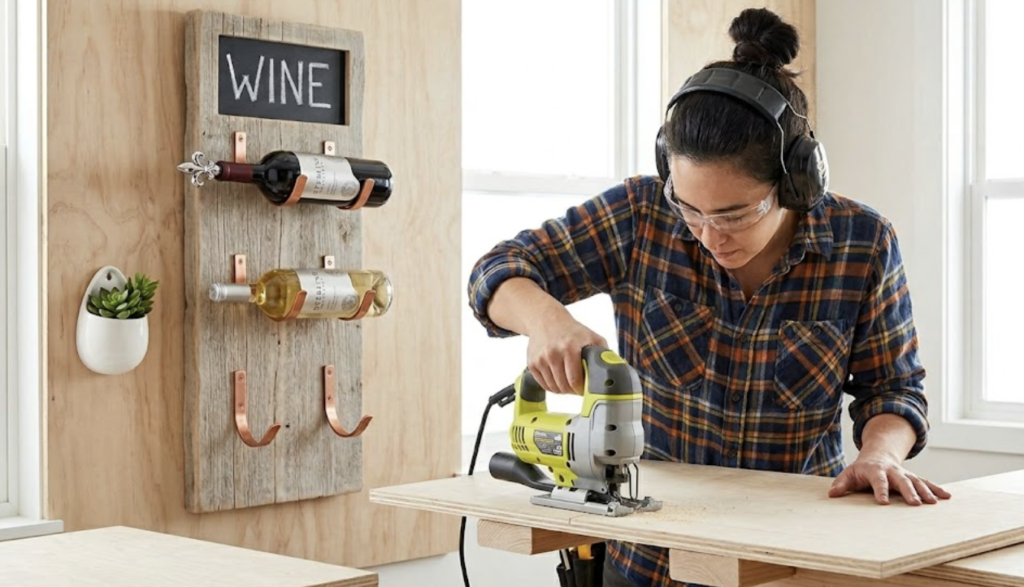
3 DIY Wine Rack
This DIY wine rack adds a rustic appeal to your wall and it is easy to do.
Materials: 1 reclaimed or new board (1×8 or 1×10, about 24″–30″ long), Hook (5/8″ x 10 ft, copper clad steel), tin snips or heavy-duty scissors, drill with screwdriver bit, short wood screws (1/2″ or 3/4″ short enough not to poke through the back of the board), sandpaper (120 + 220 grit), wood stain, wall-mount keyhole hangers or L-brackets, pliers, a wine bottle for sizing.
Where to get the wood: Reclaimed barn wood or old fence boards from Facebook Marketplace, Craigslist free section, or Habitat ReStore. A standard 1×8 from a home center if you can't find salvaged.
Steps:
- Cut your board to the length you want. Each bottle needs about 4″–5″ of horizontal space. Sand with 120-grit, then 220-grit.
- Stain or paint your board now, before mounting hardware. Let it dry completely.
- Cut the copper strap into sections. Each bottle cradle needs roughly 14″–16″ of strap. Use your tin snips. Cut enough strips for the number of bottles you want to hold.
- Bend each strap piece into a U-shaped cradle. Wrap it around a wine bottle to get the curve right. Use pliers to shape the ends into small flat tabs that will screw into the board.
- Mark your cradle positions on the board. Space them about 4″–5″ apart. Make sure they're level with each other.
- Pre-drill small pilot holes where each strap tab will attach. This prevents the board from splitting.
- Screw each strap cradle onto the board using short wood screws. Two screws per tab, so four screws per cradle. Make sure each cradle is snug and doesn't wiggle.
- Test fit a bottle in each cradle before you mount the rack to the wall. Adjust the bend with pliers if any bottle sits too loose or too tight.
- Attach keyhole hangers on the back of the board. Mount to wall studs. Five full bottles weigh about 15 lbs plus the rack, so studs matter here.
The trick with this wine rack is that the “hooks” aren’t really wine hooks at all. They're copper pipe straps, the kind plumbers use to hold tubing in place. This is the kind I use:
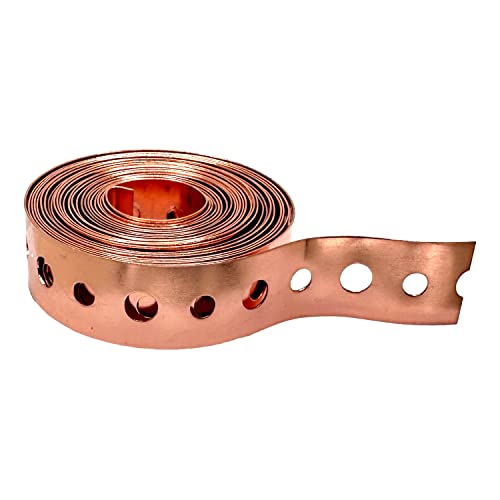
- Copper Clad Steel - Strong as Steel and Corrosion Resistance of Copper
- 5/8 in. x 10 ft.
4 Adirondack Chair
Spend a wonderful time in your garden or patio reading your favorite novel while lounging on this exquisite chair.
Materials: 6–8 pieces of 1×4 and 1×6 lumber (cedar or pressure-treated pine, about 8 feet each), 1-5/8″ exterior deck screws, 2″ exterior deck screws, drill/driver, jigsaw or circular saw, sandpaper (80 + 120 grit), exterior wood stain or paint, wood glue (waterproof).
Where to get the wood: Old deck boards or fence pickets work if they're still solid. Check Craigslist free section for “deck teardown” posts. Otherwise cedar or pressure-treated 1x4s and 1x6s from Home Depot or Lowe's.
Steps:
- Find a free plan online with a cut list. Print it. This project has a lot of angled cuts, so working off a plan keeps you from wasting wood.
- Transfer all measurements to your lumber and mark your cuts. You'll need back slats, seat slats, two side panels (with the curved arm profile), and front/rear legs.
- Cut all pieces first before you start assembling. Use a jigsaw for the curved arm profiles and a circular saw for the straight cuts.
- Sand every piece with 80-grit, then 120-grit. Do this now. It's way harder after assembly.
- Assemble the seat frame first. Attach the two side rails to the front and rear legs with screws and glue.
- Attach the seat slats across the frame, leaving about 1/4″ gap between each for water drainage.
- Build the back frame and screw the back slats onto it. Then attach the back assembly to the seat assembly at the correct recline angle (your plan will specify this).
- Attach the arms last. Pre-drill every screw hole to prevent splitting.
- Apply 2 coats of exterior stain or paint. Let dry between coats.
Plain lumber can look pretty basic until you give it a little color. That's why I used this stain for this project. You can also apply it on items #5 & #7:
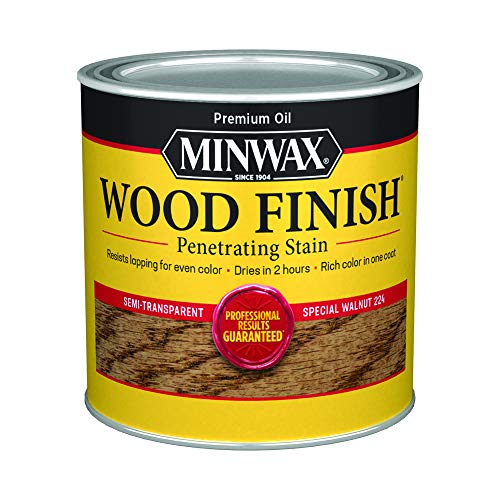
- RICH EVEN COLOR – Minwax Wood Finish is a deep penetrating, oil-based wood stain that provides...
- QUICK DRYING – Staining interior wood has never been quicker. The special formula allows it to...
Heads up: This is the hardest project on the list. The angled cuts on the legs and back take patience. If you're brand new, try projects 2, 5, or 6 first to build confidence.
5 Candle Holder
This woodworking project will surely illuminate the dark.
Materials: A natural-edge wood slab or thick branch section (at least 2″ thick), drill with 1-1/2″ Forstner bit (matches tea light diameter), sandpaper (120 + 220 grit), food-safe mineral oil or Danish oil, tea light candles.
Where to get the wood: Fallen tree limbs or stumps from your yard, a neighbor, or a local tree service. Firewood piles are another goldmine. Craft store birch rounds if you can't find natural pieces.
Steps:
- Find or buy a wood slab or thick branch cross-section. Birch, cedar, and walnut all look great. Make sure it's dry, not green.
- Sand the top and bottom flat enough to sit stable. Leave the bark edges natural if you want the rustic look.
- Mark where you want each candle. Space them at least 3″ apart so the flames aren't too close together.
- Drill each hole about 3/4″ deep with a 1-1/2″ Forstner bit. Go slow. Forstner bits make flat-bottom holes that tea lights sit in perfectly. A spade bit works too, but the bottom won't be as clean.
- Sand inside each hole lightly to remove any rough fibers.
- Apply mineral oil or Danish oil to the entire piece. This brings out the wood grain and protects the surface.
- Drop in your tea lights.
Safety note: Never leave candles burning unattended on a wood surface. Battery-operated LED tea lights are a safer option and look just as good.
6 Wooden Arrow Decor
If you're looking for something that can add appeal to your wall, I suggest you try this awesome yet so easy to do wooden arrow decor. Wanna know how?
Materials: Scrap wood pieces or wood shims, a thin dowel or straight stick (about 18″–24″ long), wood glue, sandpaper (120 grit), paint or wood stain, picture-hanging strips or a small nail.
Where to get the wood: Leftover scraps from literally any project. Wood shims from a junk drawer. Old paint stir sticks work for the shaft.
Steps:
- Cut a straight piece of wood for the arrow shaft. A 1/4″ dowel or thin strip of wood about 18″–24″ long works great.
- For the arrowhead, cut a triangle from a piece of scrap wood. About 4″ wide and 5″ tall. A miter saw makes this quick, but you can do it with a handsaw and a pencil line.
- For the tail feathers, cut two small parallelogram shapes from scrap wood or shims. Angle the cuts at about 45 degrees.
- Sand all pieces smooth.
- Glue the arrowhead onto one end of the shaft and the tail pieces onto the other end. Clamp or hold in place for at least 30 minutes while the glue sets.
- Paint or stain each section a different color for contrast, or keep it natural. Taping off sections gives you clean lines.
- Let dry completely. Hang on the wall with a small nail or adhesive strip.
7 Rustic Pallet Headboard
Beautify your bedroom with this rustic pallet headboard.
Materials: 2–3 wood pallets (heat-treated, stamped “HT” — avoid chemical-treated pallets stamped “MB”), pry bar, hammer, sandpaper (80 + 120 grit), wood stain (2–3 different shades for a varied look), 2 French cleats or heavy-duty wall brackets, screws, polyurethane (optional).
Where to get the wood: Free pallets from behind warehouses, factories, or local shops. Post “ISO free pallets” on Facebook Marketplace. Only grab pallets stamped “HT.” Skip “MB” stamped pallets completely.
Steps:
- Source your pallets. Look for “HT” stamps only. Chemically treated pallets can off-gas. Check for mold, heavy staining, or insect damage and skip those.
- Dismantle the pallets with a pry bar and hammer. Pull nails carefully. This is the most time-consuming step. A reciprocating saw makes it faster if you have one.
- Sand every board with 80-grit to remove rough spots and splinters, then finish with 120-grit.
- Lay out your boards on the floor in the pattern you want. Mix widths and grain patterns. Trim boards so the total width matches your bed frame width.
- Cut 2–3 horizontal backer boards to the width of your headboard. Screw the pallet boards onto these backers to hold everything together.
- Stain each board individually if you want a multi-toned look. Apply different stain colors to different boards before assembly, or after. Let dry.
- Seal with a coat of polyurethane if you want extra durability.
- Mount to the wall using French cleats or heavy-duty brackets attached to wall studs. A pallet headboard can weigh 30–50 lbs, so studs are non-negotiable.
QUICK POLL
Rustic farmhouse finish on woodwork. A real design choice or just a bad stain job you got away with?
Tell me your pick in the comments and what made you land there.