

If you can’t avoid clear coat scratches, you should at least remove these on your own. This is especially true if you’re a dog lover, or if you take camping trips that go through rough roads. So save money on repairs with this effective and easy DIY way to fix clear coat scratches on your car.
12 Easy Steps To Fix Clear Coat Scratches On Your Car
How To Never Fuss Over Clear Coat Scratches Again
leave eyesores on a buffed finish. And it's even more frustrating if the scratch turns out to be an actual clear coat scratch.
Those scratches that disappear when you spray soapy water on the surface, and then reappear after the liquid dries? Those are your clear coat scratches.
But don't worry. We've got you and your car covered with this easy 12-step fix.
What you'll need to fix clear coat scratches:
- Soap water in a spray bottle
- Microfiber towel
- Masking tape
- 3000 grit and 5000 grit sandpaper
- Kitchen sponge
- Car Polish and Car Wax
Here’s your step-by-step guide:
1. Clean the surface.
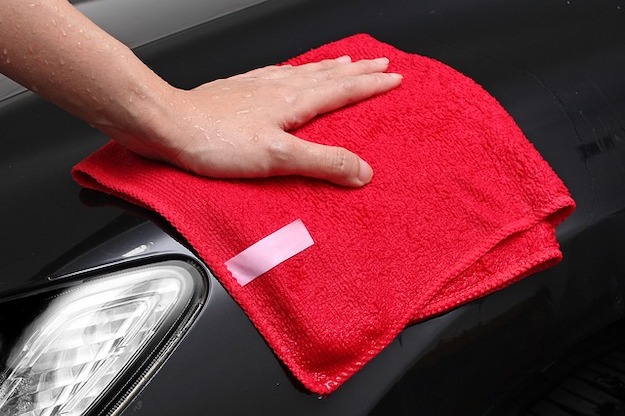
Spray soap water on the scratch to remove dirt and dust. Repeat this step a few more times, wiping the suds off with microfiber towel every time.
2. Line both sides of the scratch with masking tape.
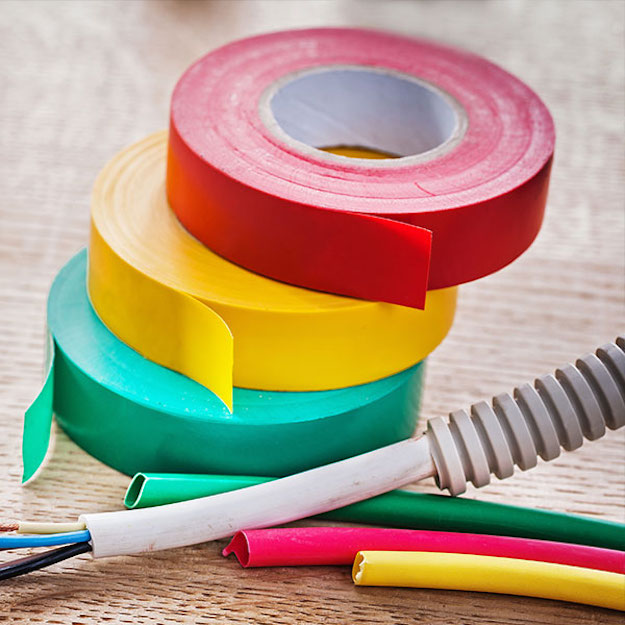
Mark the area you’re going to restore; this will keep your workspace contained as you remove the scratch with sandpaper. Place the tape strips as shown above, and make sure the lengths of the strips match the length of the clear coat scratch.
3. Choose the right sandpaper grit.
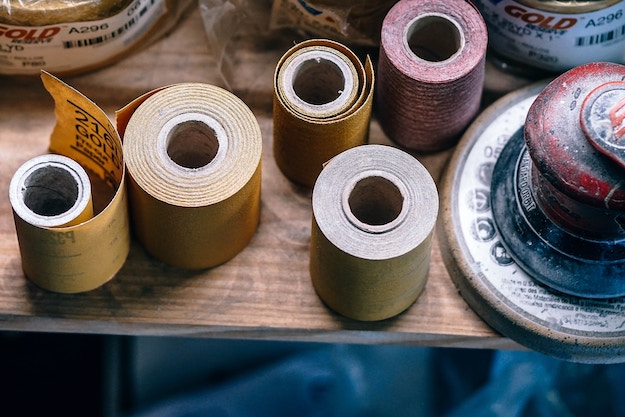
Use 3000 grit sandpaper if the scratch is deep enough that it catches your fingernail. On the other hand, if you can barely feel the scratch under your thumb, use the 5000 grit .
4. Wrap the sandpaper over the sponge.
Wrap the non-abrasive side of the sandpaper over the kitchen sponge before you start.
5. Sand the scratch.
Spray soap water on the scratch and on the sandpaper. Apply moderate pressure as you sand the scratch with a brisk up-and-down motion, moving sideways as you go.
6. Keep sanding until the scratch line disappears.
Mind the scratch as you sand it by wiping the soap water every now and then to check which segments need more work. The scratch line should be completely erased when you’re done.
7. Blend the smudge into the surrounding paint.
The sanding will leave a smudge. If you started with the 3000 grit sandpaper, it’s time to switch to the 5000 grit. Move the tape strips farther apart, and sand the area (with circular sweeps) so the smudge blends with the surrounding paint.
8. Make sure you sand the area just enough to even out the smudge.
Don’t sand the surface too much or you’ll burn through the clear coat. The sanded surface should be even, similar to the picture above.
9. Polish the surface.
Peel the tapes off, and clean the surface with soapy water. Wipe the area dry, and apply the polish in a circular motion with a clean microfiber towel.
10. Rub the polish into the coat and work outwards.
Applying medium pressure on the towel, rub the polish into the coat. Work outwards, from the area of the scratch to the edges of the smudge. Buff the area with a dry microfiber towel when you’re done.
11. Apply wax on the restored finish.
Work the paste wax into the coat with a circular motion, and with moderate pressure. Let the wax sit for a minute, and then wipe it off with a clean microfiber towel.
12. Assess the finished work, and repeat the process on other clear coat scratches.

The scratch should be gone and your car’s finish restored.
Fixing clear coat scratches is really easy, check out the full video from ChrisFix:
From now on, you don't have to pay for repairs every time your car is scuffed with clear coat scratches. If you’re dealing with scratches that nick deep into the car’s paint or primer coat, check out this DIY fix.
Looking for your next quick car fix? Check this out!
If you’re revved up with this insanely easy car fix, try these next:
How To Fix Your Own Car Part 1 – Remove Dents With A Suction Cup