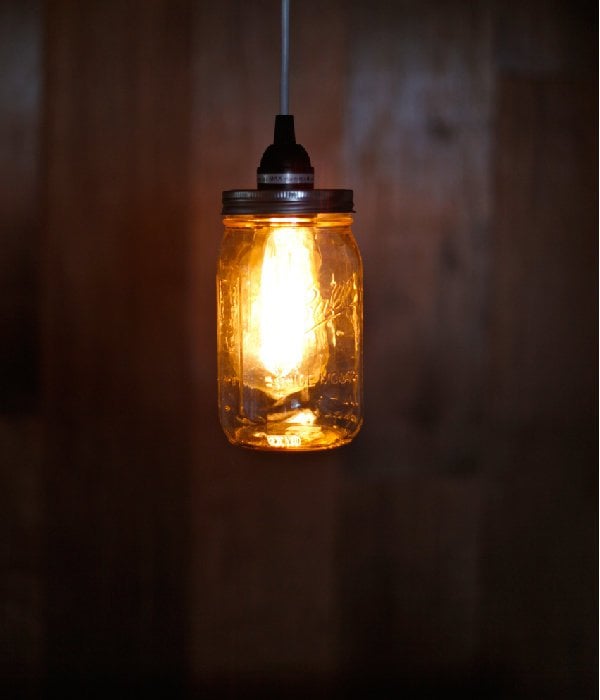


We are in love with how simple and beautiful this mason jar pendant light project turned out! You can use any style of light bulb you like– we love the Edison Bulbs for their vintage charm!
This mason jar pendant light fixture makes for great bedroom lighting, or you can even make a bundle of them for a mason jar chandelier over your kitchen table!
How to Make Mason Jar Pendant Lights:
Supplies:
A mason jar (We used a wide-mouth quart sized jar)
Pendant light
1 Nail
Pen (or marker)
Hammer
Tin snips
Pliers

Instructions:
Step 1:
Using your light socket as a guide, trace a circle on the top of the lid.


Step 2:
Grab your nail and hammer, start punching holes along the inside edge of the circle. These holes will make it easier to cut the center of the lid out, so don’t be shy!


Step 3:
Without any air flow, the jar will start to get super hot when you turn on your light. To solve this problem, simply add holes to allow for ventilation. Do this by barely tapping your nail into the top of the jar. We liked how a bunch of small holes looked compared to a couple large ones. (How big you make your holes is up to you.)

Step 4:
Now it’s time to remove the center of the lid. To do this, grab your tin snips (scissors may work too) and start cutting along the holes.
We ended up with some sharp edges poking upward from where we cut. To remedy this, we grabbed our pliers and bent the edges down and in. This also made some more room for the socket to fit through.


STEP 5:
Push the light socket through the hole you made in the lid. (make sure to include the rim as well). Then screw on the ring that comes with your pendant light.

Step 6:
Now you are ready to screw in your lightbulb and secure it to the jar.