
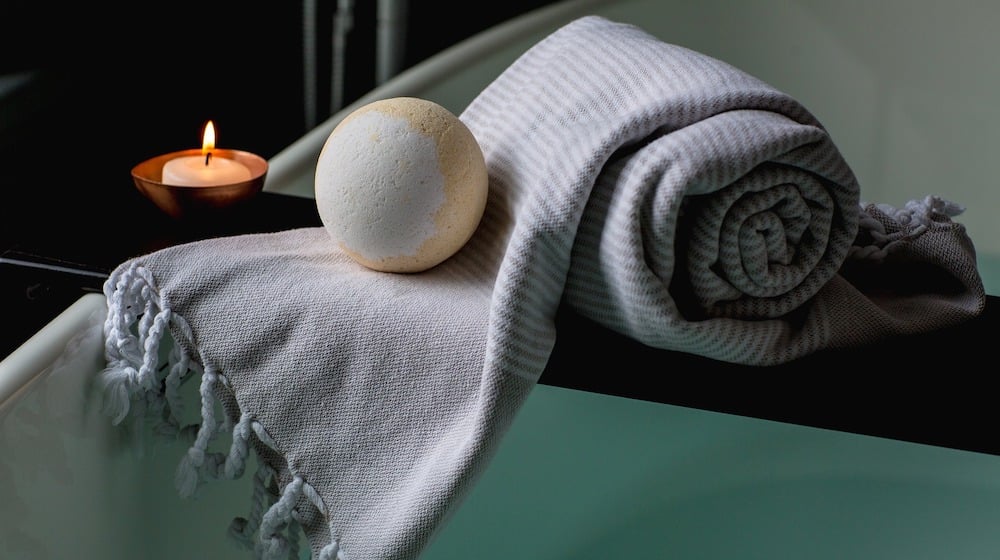

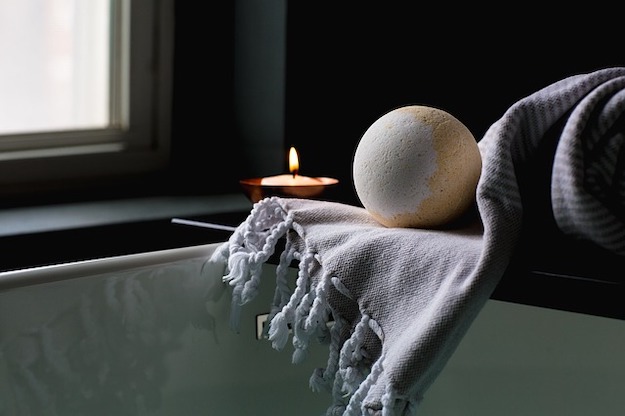
Want to learn how to make DIY bath bombs? If you want to have an inexpensive way to enjoy an amazing fall bath experience, then these super fun DIY pumpkin spice latte bath bombs are for you!
Bath bombs can help you create the bath of your dreams! They’re beautiful, they smell amazingly tempting and divine, but these little delights are averaging $6 each. If you want to enjoy a wonderful bath more than twice a year, I’d say that price is a little too steep – at least for me! – so DIY it and keep your money safe inside your wallet.
Spice Up Your Life With DIY Pumpkin Bath Bombs
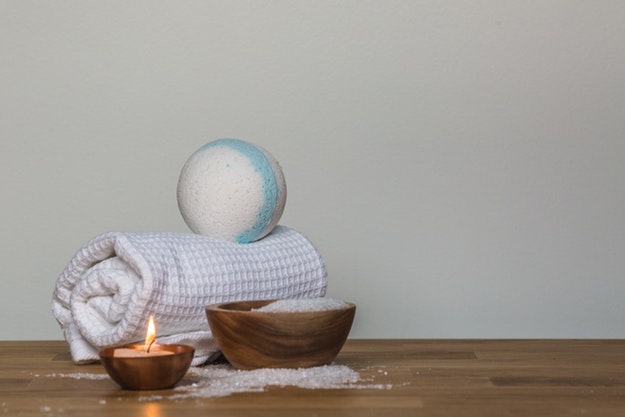
Ever since I’ve learned how to make my own bath bomb, I’ve been totally addicted to it. It just so much fun every time I step in my bathtub with a bath bomb. Plus it’s totally inexpensive and super easy to make – a definite winner in my DIY book.
With the fall season already in full swing, I thought it would be perfect to have a way to further enjoy a warm and soothing bath on the cold nights ahead. So I’ve put my hand in making my own DIY pumpkin spice latte bath bombs and I was fully surprised and satisfied with the result! You should try it too!
They are perfect for yourself or for gifts through the holiday season! Let’s get started with our DIY Pumpkin Spice Latte Bath Bombs!
What you’ll need for your DIY Pumpkin Spice Latte bath bombs:
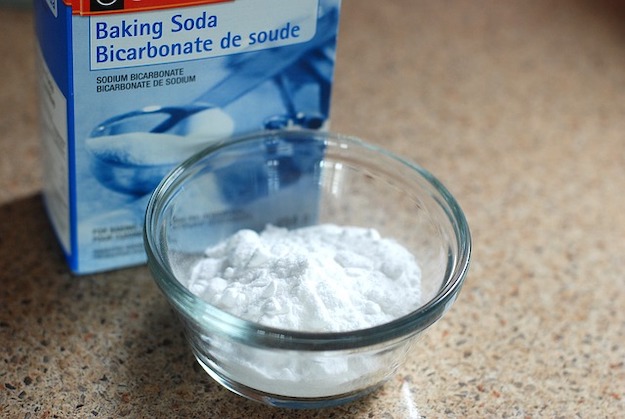
- 1 Cup Baking Soda
- 1/2 cup Corn Starch
- 1/2 cup Citric Acid
- 1/2 cup Epsom Salt
- 1 tsp. Water
- 1 tsp. Pumpkin Pie Spice
- 1 tsp. Instant Coffee
- 2 1/2 to 3 tsp. Coconut Oil
- 1 tsp. Essential Oil
- Orange Food Coloring
- Sprinkles (to decorate)
- Bath Bomb Mold
- Mixing Bowl
- Mug or jar
- Whisk
Save your money while still looking stylish with these DIY fall fashion trends! https://t.co/1Q1fQhsAX6 pic.twitter.com/UIjlqLXuJv
— DIY Projects (@DIY Projects) September 25, 2016
How To Make DIY Pumpkin Spice Latte Bath Bombs
Step 1 :
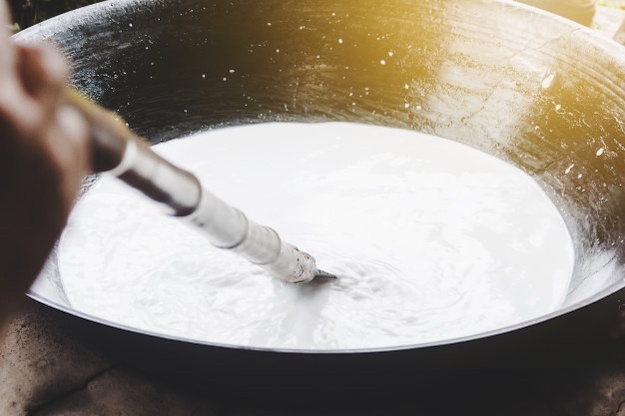
In a large mixing bowl, put all your dry ingredients and mix them evenly with your whisk. These ingredients will become the texture of your bath bomb so be sure to mix them thoroughly as you want a final product that is evenly dispersed. The mixture should be a consistent tan color before adding in the next ingredients.
Step 2 :
In a separate mug or jar, add all your liquid ingredients and mix them together. Then add enough food coloring to make the mixture vibrant. This will be spread though your entire mixture so don’t worry about making it “too orange” because it will dilute the vibrancy when mixed with the other dry ingredients.
Step 3:
Add your wet ingredients mixture into your dry ingredients mixture and whisk it up immediately to mix it evenly and avoid a chemical reaction. It may seem dry at first – like there isn’t enough liquid to spread through the entire mixture. However, continue to whisk and allow the dry ingredients to become moist – not soggy. Remember, this isn’t a cake so the rules of consistency are not the same!
Once you’ve evenly combined the wet and dry ingredients, you should be able to squeeze the mixture and it should be like a wet sand. Be sure to knead the mixture to ensure the moist nature is the same throughout the entire concoction. It should not fall apart, but it also shouldn’t run though your fingers in a liquid.
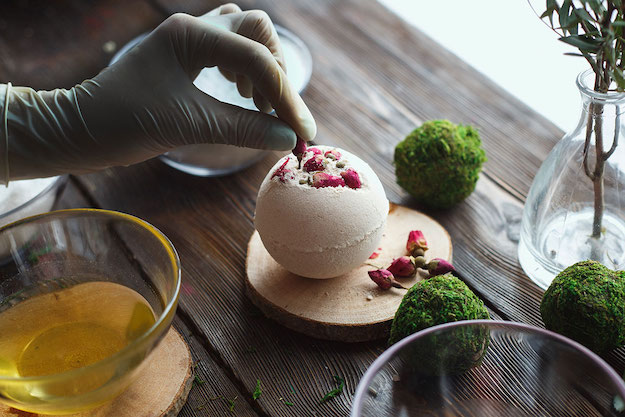
Step 4 :
Now for the decorative and cute portion! What would a DIY project be without personalized additions to make your project thoroughly and uniquely your own? Now that you’ve combined all your ingredients, grab your mold and put a few sprinkles in the bottom of your mold if you want to make it extra cute. This step is also where you can take liberties to make the bath bombs personalized gifts for friends or family!
Step 5 :
Begin filling up your molds with the mixture and press the mixture super hard down inside the mold. Make sure it’s nicely compacted inside the mold. This way you will ensure that the mixture will stick together and bind to hold its shape even after the mold is removed.
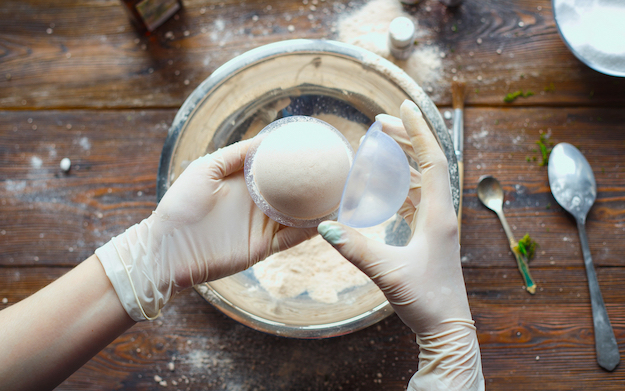
Step 6 :
Since we want to make our bath bombs circular, we need to put two sides of the mold together. Make sure you have really compacted and pressed your mixture into the mold to eliminate air pockets that would allow the bomb to break apart prematurely. Put a little more than what the one side of the mold can hold and then squeeze your molds together until they stick together.
Step 7 :
Once your bath bombs are inside the molds, let it sit for 24 hours or overnight. The goal is to make sure that the mixture has completely dried out before trying to remove the bath bomb from the mold. This will ensure that it stays together, but it will also be much easier to remove without cracking or crumbling apart.
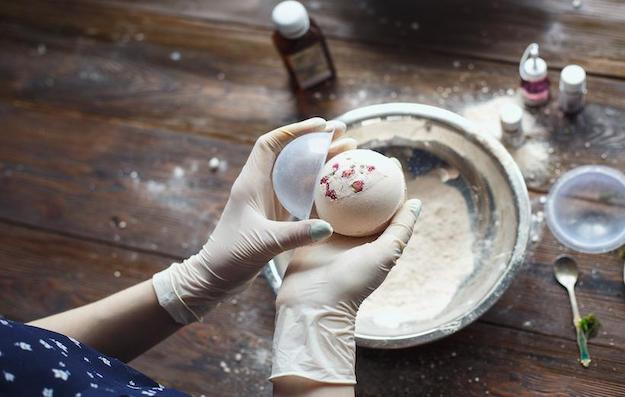
Step 8 :
Remove your bath bombs from the mold. If they are proving to be tricky and unwilling to come out of their mold, simply twist the mold pieces in opposite directions to release the bath bomb. It should come free easily if it has been properly dried out.
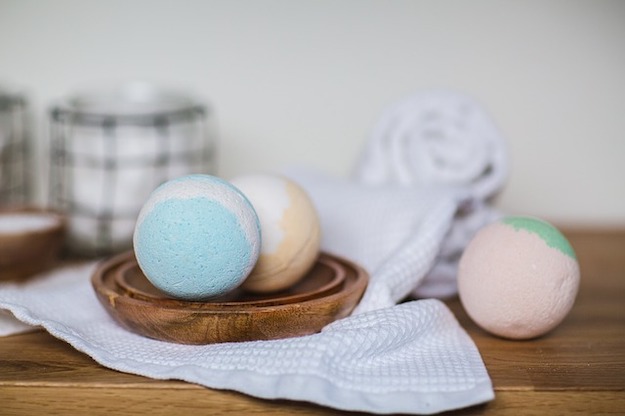
Congrats! You now have adorably awesome smelling pumpkin spice latte bath bombs!
While in this post we used spheres as the mold for the bath bombs, a variety of molds would work! Further customize your bath bombs as gifts for the upcoming holiday season by using multiple molds. Good luck!
Want to see how to make DIY pumpkin spice latte bath bombs? Watch this easy video tutorial from ClayCupcakes4
Will you give these DIY pumpkin spice latte bath bombs a try? Let us know below in the comments!Stay connected with us onFacebook,Twitter,Pinterest andInstagram!![]()
Do this next: 27 Breathtaking Pumpkins To Paint This Halloween


