

Last Updated: June 2026
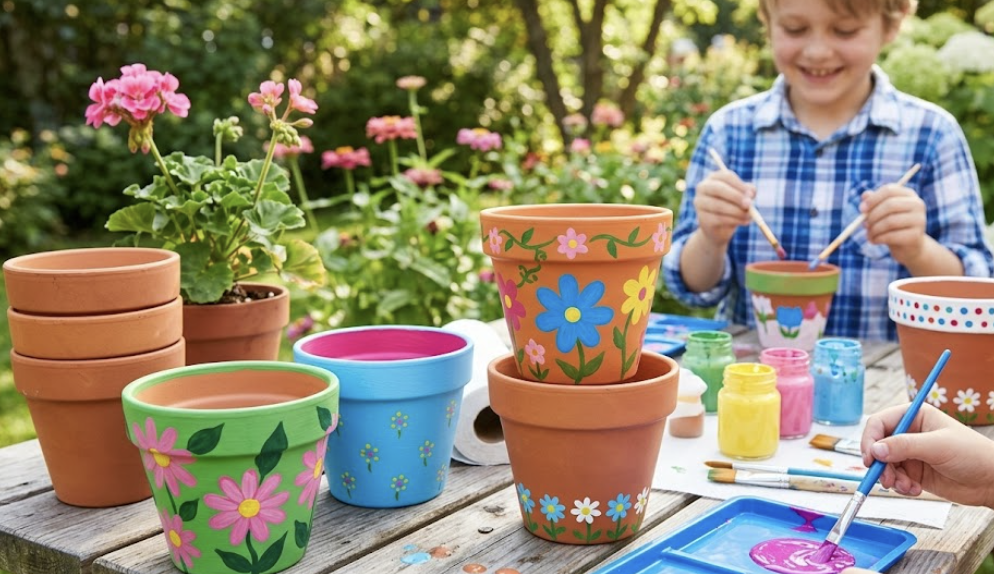
Have you ever wanted to make a plain pot look unique? This guide will show you how to turn a plain, orange terracotta clay pot into something just as bright. You don’t need to be an expert artist; you just need some paint and use your imagination. You can choose to paint the flowers using your fingers (for a neat texture!) or with a paintbrush. Let’s get started!
Materials
- Terracotta Pot: Make sure it is clean and dry. Any size will work!
- Acrylic Paints: This type of paint sticks best to clay pots. For the design shown in the photo, you will need:
- Pink (for the whole pot)
- Peach or Orange (for the peach flowers)
- Yellow (for the yellow flowers)
- White (for the flower centers)
- Paintbrushes: A wider brush for the big areas and a smaller brush if you are not using your fingers for the flowers.
- A Cup with Water (for rinsing brushes).
- Paper Towels or an Old Rag (for drying brushes).
- A Paper Plate or Paint Palette (for your paint colors).
- Newspaper or a Plastic Tarp (to protect the table).
- Optional: A clear acrylic sealer spray (to make your pot water-proof and shiny). This step might require adult help.
I got this 36-color paint kit to make all designs below:
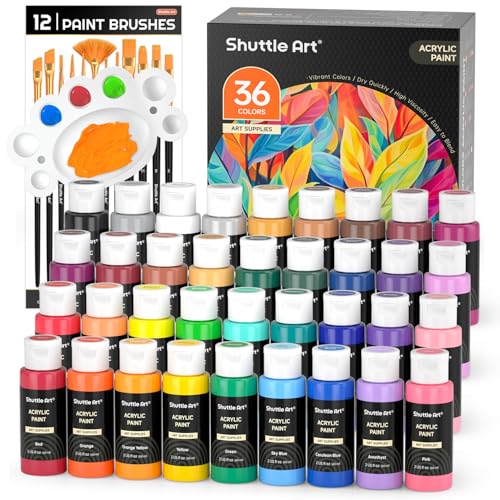
- 36 VIBRANT COLORS : Shuttle Art 36 colors acrylic paint set contains 36 unique colors highly…
- ARTIST QUALITY & STURDY PACKAGE: Creamy acrylic paints are easy to blend, mix and layer, providing…
Easy Steps to Painting Terracotta Pots (Floral Design)
- Set Up Your Workspace: Lay down the newspaper or plastic tarp over your working area. This is a crucial step! It is much easier to throw away messy newspaper than it is to clean acrylic paint off a good table.
- Make Sure Your Pot is Ready: Check your terracotta pot. If it’s dusty or dirty, wipe it clean with a damp rag and let it dry completely. Paint does not like sticking to dust.
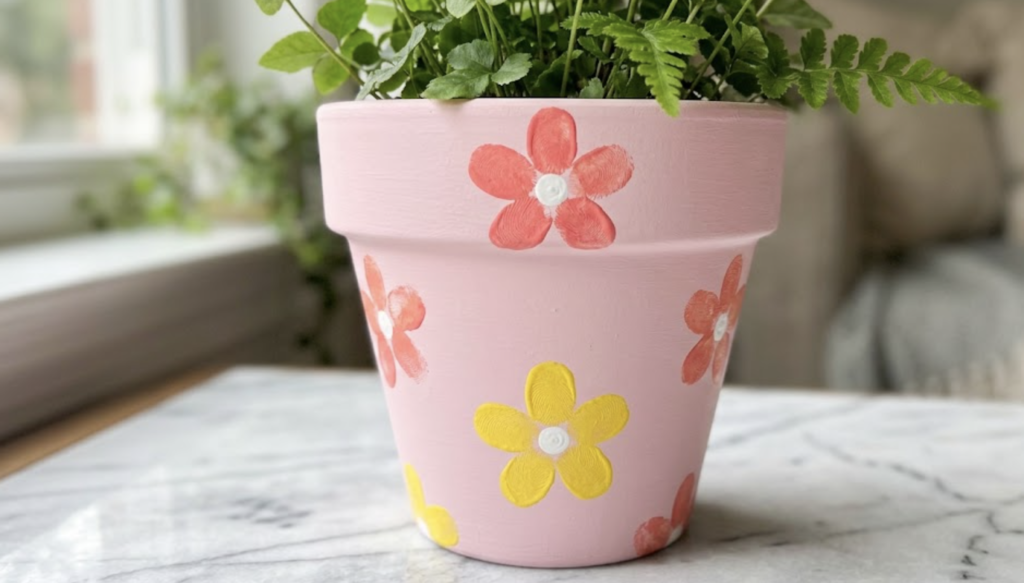
- Paint the Base Coat: The entire outside of the pot must be painted pink. Use your wider paintbrush to cover the entire outside of the pot with the pink acrylic paint. If you see the orange clay showing through, let the first coat dry and then apply a second coat of pink. Make sure it is fully dry before moving to the next step.
- Create Your Flower Petals (Two Methods!): This is where you get to decide how to make your 5-petal flowers. Choose your spot on the pot and make one flower at a time.
- Method A (Thumbprint or Fingerprint): If you want a fun, messy texture, dip your thumb or fingertip lightly into the paint (either peach or yellow). Gently press your painted finger onto the pink pot. Lift it straight up. Repeat this four more times, placing your prints in a circle to make the 5 petals. You can switch colors for different flowers. Make sure to wipe your finger before switching colors!
- Method B (Brush Painting): If you prefer using a tool, take your smaller paintbrush. Load it with either peach or yellow paint. Make five distinct “blobs” in a circle on the pot to form the 5 petals of your flower. Try to make them a similar size, but don’t worry if they aren’t perfect!
- Allow the petal colors (peach and yellow) to dry. This is important so the colors don’t mix in the next step.
- Add the Flower Centers: When your petals are dry, take your clean, small paintbrush. Dip it in the white acrylic paint. Gently paint a clean white dot right in the middle of each dried flower, exactly like in the photo.
- Seal and Dry: Let the entire pot dry completely. It is best to wait at least 24 hours. If you want your pot to stay colorful for a long time, especially if you put a real plant in it that needs watering, it’s a good idea to add a layer of clear sealer. This step is best done with an adult’s help, especially if you use spray sealer.
Terracotta Painting Starter Pack
No pot or art materials on hand? Skip the store lines. I get my supplies from here:
Table could not be displayed.More Designs Here!
Did you notice a pattern with these extra designs? You have an eagle eye if you caught it! Four out of these five awesome ideas use your own fingerprints, thumbprints, or hands to create the art. But there is one sneaky exception: the cloud design is done completely with a paintbrush!
Here is how you can recreate all five of these fun looks:
1. Busy Bumble Bees
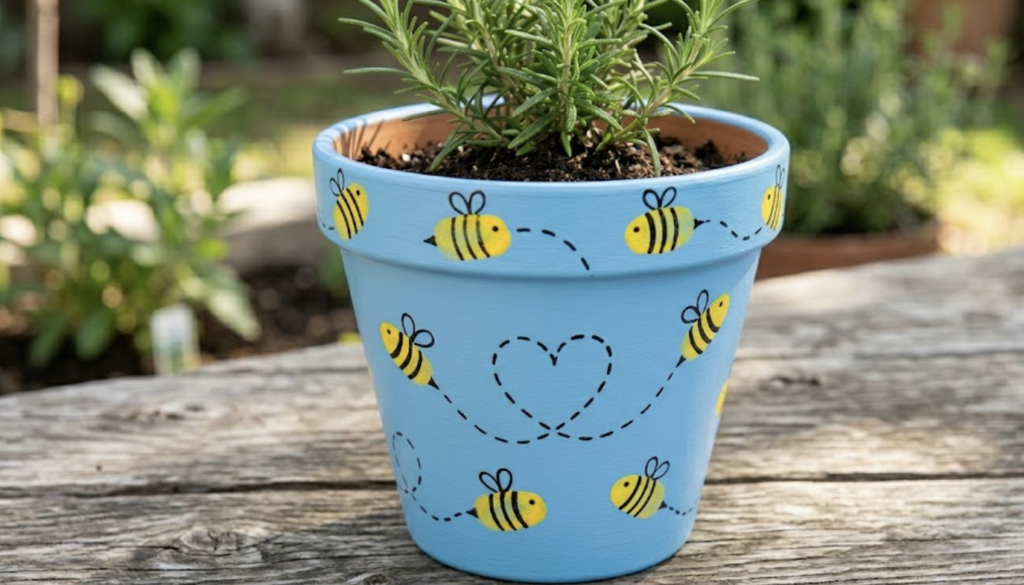
- Base Coat: Light blue.
- How to Paint It:
- Dip your thumb in bright yellow paint and press it sideways against the pot to make the bee’s body.
- Once the yellow paint dries, use a thin paintbrush or a black paint pen to draw a black head and thin vertical stripes across the body.
- Use a little bit of white or light blue paint to draw two small loop wings on top.
- Paint a cute, black dashed trail behind your bee to show where it has been flying!
2. Lucky Ladybugs
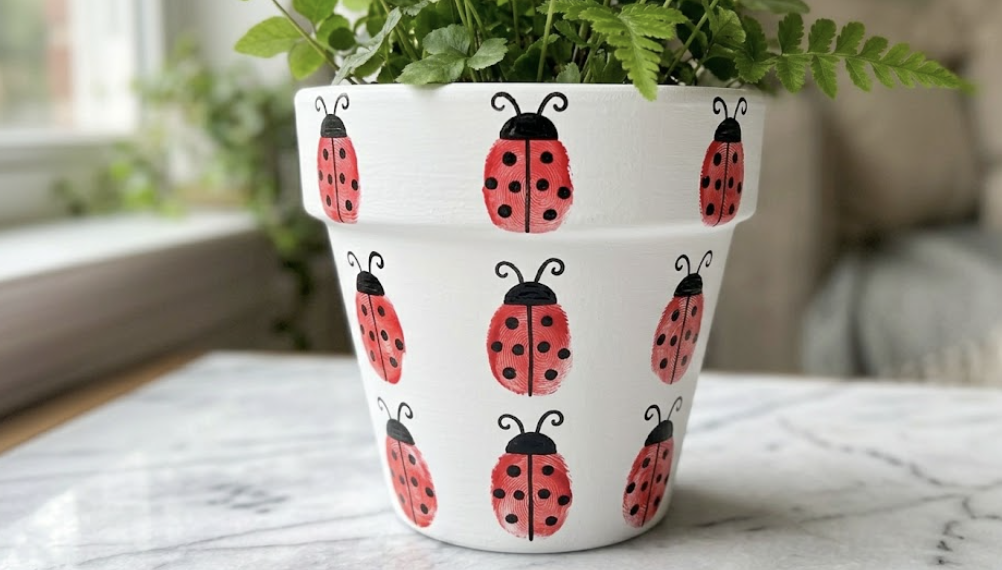
- Base Coat: Solid white.
- How to Paint It:
- Dip your finger in bright red paint and press it vertically onto the white pot to form the ladybug’s round body.
- After the red paint dries completely, use a thin brush or black marker to paint a solid black semi-circle at the top for the head.
- Draw a straight black line down the middle of the red circle to separate the wings, then add a few small black dots on each side.
- Finish it off by painting two little curly antennae on the head!
3. Vibrant Handprints
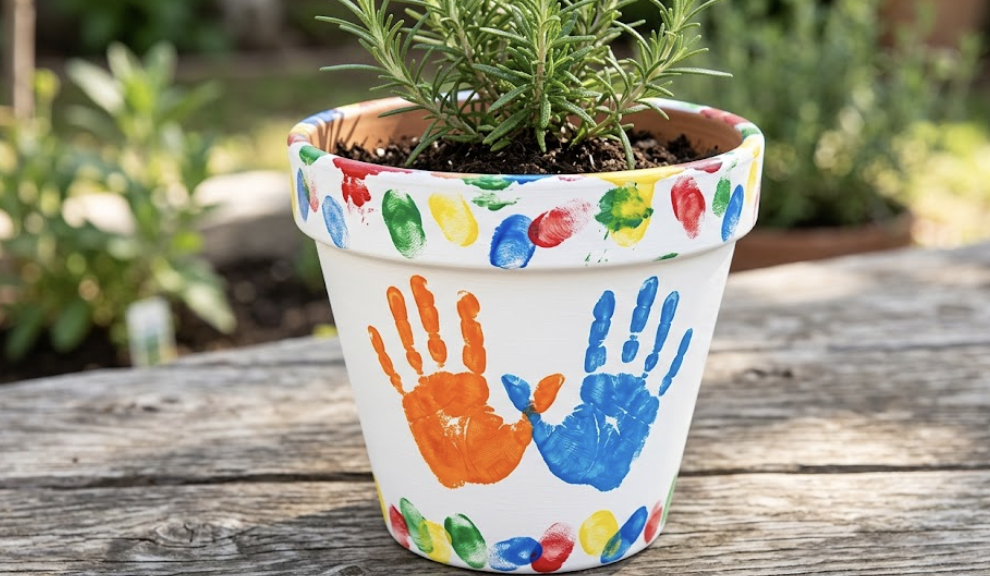
- Base Coat: Crisp white.
- How to Paint It:
- Pick your favorite bright paint colors (like orange, blue, or red) and pour them onto a paper plate.
- Carefully coat your entire palm and fingers with paint using a wide brush, or press your hand directly into the paint plate.
- Press your painted hand firmly onto the side of the pot, making sure all your fingers touch the clay, then lift straight up.
- Wash your hands thoroughly, then repeat with a different color on another side of the pot!
4. Fluttering Butterflies
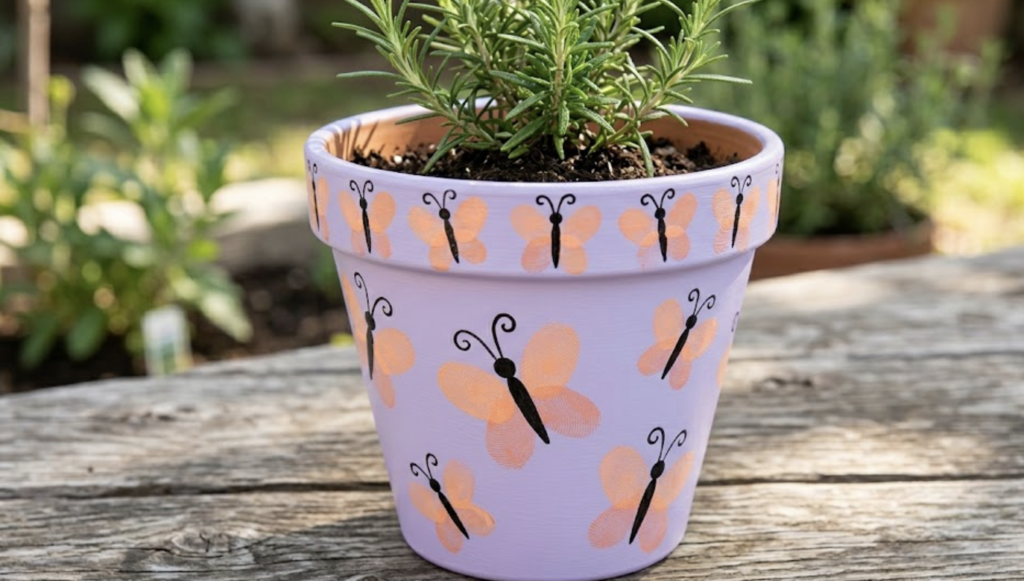
- Base Coat: Pastel purple or lavender.
- How to Paint It:
- Dip your thumb or finger into peach, pink, or orange paint.
- Press your finger down onto the pot at a slight angle to make the left wing. Dip again, and press it right next to the first print at an opposite angle to create the right wing.
- Let the wings dry, then take a thin paintbrush loaded with black paint to draw a straight body line right down the middle where the two prints meet.
- Add a little black dot for the head and two curly antennae at the top.
5. Fluffy Clouds (The Brush-Only Exception!)
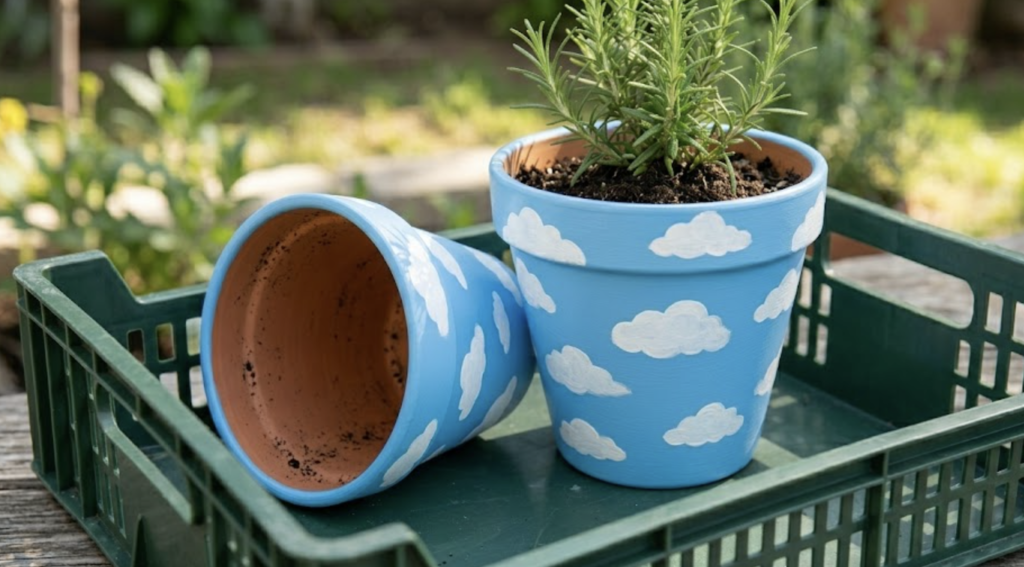
- Base Coat: Sky blue.
- How to Paint It:
- You don’t need your fingers for this one! Grab a medium-sized paintbrush and dip it in clean white paint.
- Paint a flat, straight line for the bottom of your cloud.
- Paint three or four smooth, overlapping bumps on top of that line to make a fluffy, puffy cloud shape.
- Fill in the inside of the cloud completely with white paint. Scatter a few of these clouds all around your blue pot for a beautiful, dreamy sky look.
Great job! You have successfully transformed a boring clay pot into a custom work of art. You can now put a plant in your new pot or use it to hold pencils or small toys. These also make fantastic gifts for your family or friends!
FAQs About Painting Terracotta Pots
Q: Can I use washable paint or watercolor instead?A: No. Washable paint and water colors are too watery and will not stick permanently to the absorbent clay pot. They will wash off the first time you water a plant! Acrylic paint is the best choice because it dries quickly and is water-resistant. (Be careful, though as acrylic paint can stain clothes!)
Q: Do I have to paint the flowers pink and yellow?A: No way! We used pink, peach, yellow, and white to make the design match the photo, but you can choose any color combination you like. Imagine blue flowers with yellow centers on a purple pot, or red and orange flowers on a turquoise pot. Be as creative as you want!
Q: Can I put a real plant inside my painted pot?A: Yes, but only if you used the optional sealer step (Step 6). Clay pots naturally absorb water, which can cause the acrylic paint to bubble or peel over time. A clear sealer creates a barrier that keeps the water from reaching the paint. If you did not use a sealer, it is better to use the pot for decoration (like holding dried flowers) rather than a real, watered plant.
Q: What type of paint works best on terracotta?
Acrylic craft paint is ideal for indoor use. For outdoor pots, patio paint or spray paint with a sealant offers better durability.
Q: Do I need to prime my terracotta pot before painting?
Priming isn’t required but helps colors appear brighter and last longer. A coat of white acrylic paint or a primer works best.
Q: How long does paint take to dry on terracotta?
Most acrylic paints dry within 20–30 minutes. However, waiting a few hours before applying additional layers ensures an even finish.
Quick Poll
What kind of kid projects should we make next?
Not in the choices? Tell us in the comments below!


