
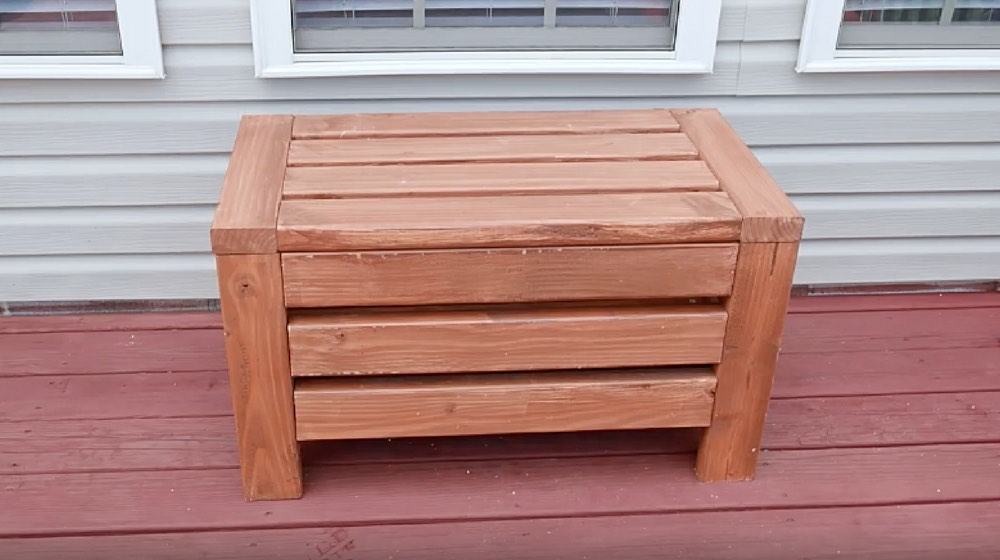

Make an outdoor storage bench seat to save space in your backyard. Today’s tutorial gives you a guide to DIYing one from scratch.
Outdoor Storage Bench Seat | A Bench For Small Yards
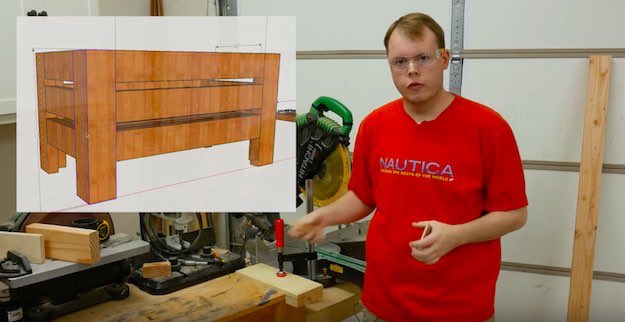
Need a seat that doubles as a storage compartment? You’re in luck! Today, I’ll be giving you a step-by-step guide to making your next DIY project: an outdoor storage bench seat that will look stellar in a small yard.
Here’s what you’ll need to make the outdoor storage bench seat:
- Miter saw
- 2×4 boards
- Deck Stain
- Kreg pocket hole jig
- Drill
- Clamp
- Screws in sizes of 1 1/2”, 2 1/2”
- Hinges
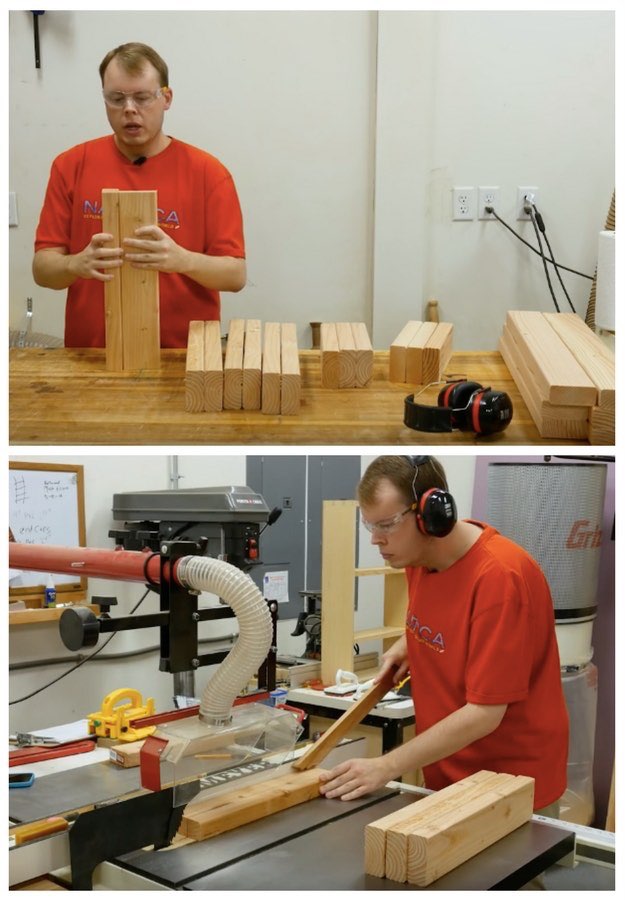
Step 1: Cut The Boards To Make Front And Back Panels

Using a miter saw, cut your 2×4 boards into 25”. You’ll need 6 of these for the front and back panels of the outdoor storage bench.
Tip: Instead of measuring each of your boards, simply place a mark using your first board, and use that to measure the remaining the 5 pieces.
Step 2: Cut The Boards For The Side Panels
Cut out 6 10” boards to serve as your bench’s side panels.
Tip: For a consistent size of side panels, make a stop board and clamp it on the area next to where your boards will be cut.
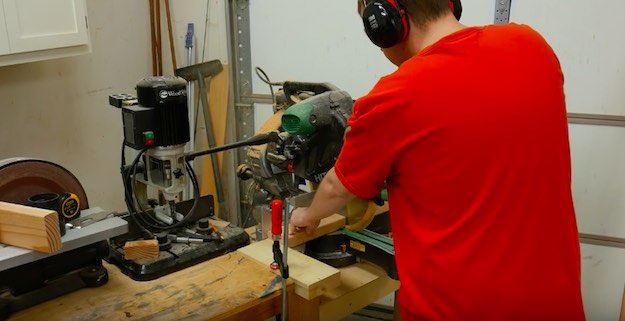
Step 3: Cut The Legs Of The Bench
Move the stop block down to 17” and cut out 8 legs for your outdoor storage bench seat. You’ll be grouping the 8 legs by twos in the next steps.
Step 4: Double Check Your Wooden Pieces
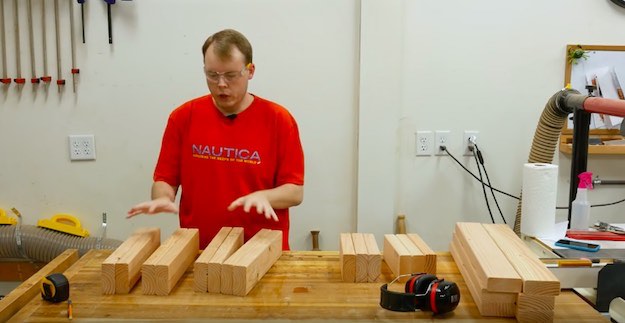
Once all the cutting is finished, you should have the following: 8 wooden pieces for the bench’s 4 legs, 6 pieces for the side panels, and 6 longer pieces for the front and back panels.
Step 5: Equalize The Leg Pieces
The legs are going to be positioned in such a way that 2 leg boards will come together in an L-like manner. However, if you position these boards by hand, you’d realize one side is wider than the other. To remedy this, simply cut 1 of the 2 leg boards by 1 1/2″ to equalize the length on both ends of the leg. Continue doing this to the rest of the 3 bench legs.
Tip: Don’t throw away the scrap pieces. You’ll be using them later as cleats for the storage shelf.
Step 6: Stain The Wooden Pieces
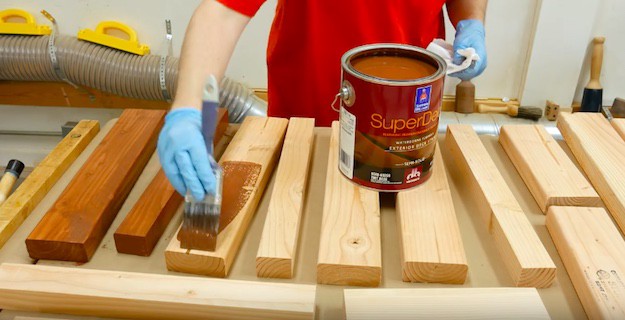
Apply the deck stain using a synthetic brush. If you’re using a water-based stain, simply rinse off the brush after your first coating and let it dry. Then, go over the pieces again for another coating.
Tip: Just in case you wanted the same stain color as the tutorial, it’s the SuperDeck Exterior Waterborne Semi-Solid Color Stain.
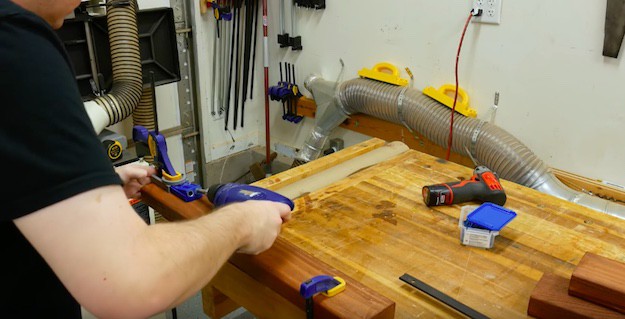
Step 7: Drill Holes Into Your Bench’s Legs
Set your Kreg pocket hole jig to 7/8” and carefully drill 3 holes into 1 side of your bench’s legs.
Tip: It’s best to set your drill bit to 7/8″ as well.
Step 8: Insert Screws Into The Bench Legs
Set your clamps to help keep the two leg pieces together. Then, insert 1 1/2” screws into the holes you’ve just drilled. This will help make the bench more sturdy.
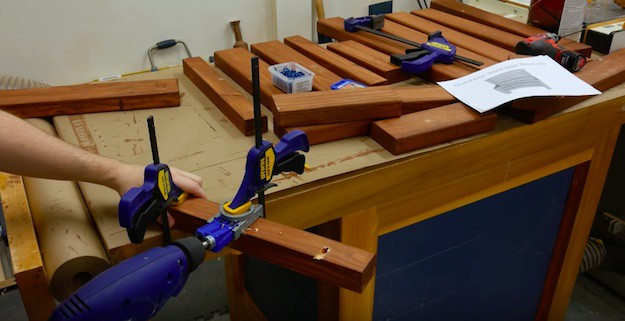
Step 9. Drill Holes Into Stretcher
Re-adjust your Kreg jig to 1/2”. Then, grab your stretcher piece, and clamp down both sides. When you’re ready, insert 2 screws on each end.
Step 10: Attach The Stretcher To The Legs
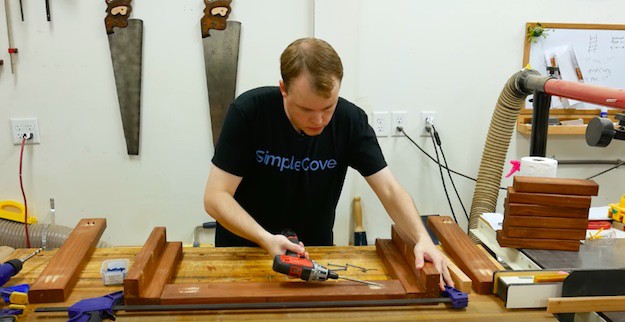
Begin assembling the pieces by placing your stretcher in between the two legs. Clamp the structure together to minimize budging, and drill screws into the holes of the stretcher.
Tip: Use 2 1/2” screws for this step.
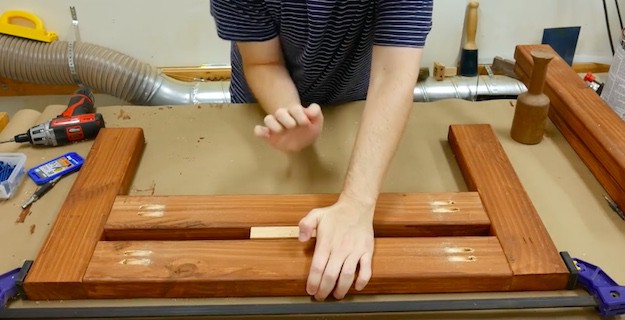
Step 11: Place A Scrap Board For Spacing
Grab one of the scrap boards from earlier and place it next to the stretcher you’ve just drilled. Taking this extra step will allow for an even spacing of the stretchers.
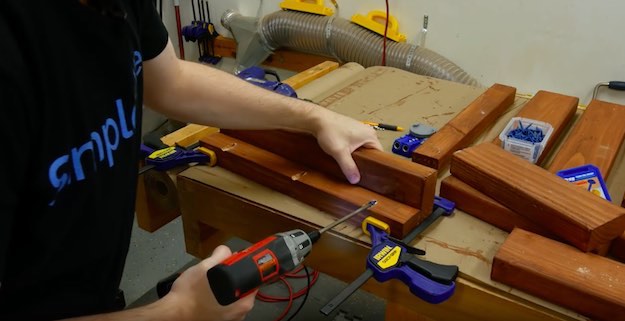
Step 12: Screw In The Rest Of The Side Panels
Take another side panel and place this below the scrap board spacer. Then, repeat steps 9 and 10 for the second stretcher. Once you’re done, remove the spacer and place it below the second stretcher. Add the remaining side panel and repeat steps 9 and 10 again. Don’t forget to do the same with the remaining legs and front/back panels.
Step 13: Attach The Side Panels
Drill 2 holes on both ends of your side panels. Then, insert screws to attach the side panels to the legs of the bench.
Tip: Don’t forget to place a scrap board in between each side panel.
Step 14: Cut The Cleats
Grab 2 of your scrap boards from earlier and cut these into 14” pieces to make cleats for the shelves. Set them aside once you’ve gotten them cut to size.
Step 15: Cut Boards For Bottom Shelf
Cut the remaining 2×4 boards into 29”. These boards will serve as the bottom shelf of your outdoor storage bench seat.
Tip: Should you find any splinters in the wood, sand them off right away.
Step 16: Cut Boards For The Top Shelf
Using your miter saw, cut out 2 boards of 17” each. Once you’re done, cut out 4 pieces of 25” for the other 4 stretcher pieces that make up the top.
Step 17: Stain The Top Shelf Boards
Finish off your top shelf boards by placing two coats of deck stain. Don’t forget to let the first coat dry before placing the second coat.
Step 18: Attach The Cleats
Position the cleat on top of the bottom side panel and drill three screws in to hold it in place. These cleats will help in providing support to your bottom shelf, so you’ll want these screwed on tight.
Step 19: Put The Bottom Shelf In Place
Place the bottom shelf, then pre-drill, and put 2 screws in each side of the bottom shelf pieces.
Tip: You can use scrap boards to help with the spacing of the bottom shelf boards. Use a 3/4 board for the outer spaces and a 1” board for the inner spaces.
Step 20: Connect The Stretcher To The Breadboard Ends
Drill 2 holes on each end of the stretcher and position your bench pieces together.
Tip: It’s best to clamp the structure down before you screw in the 2 1/2” screws.
Step 21: Place The Rest Of The Stretchers
Repeat step 20 for the rest of the remaining stretchers. Don’t forget to place a 1” spacer in between the stretchers to help with spacing.
Tip: You can choose not to use the spacer for the last stretcher. Simply align the edge of the stretcher to the ends of the breadboard.
Step 22: Attach Hinges
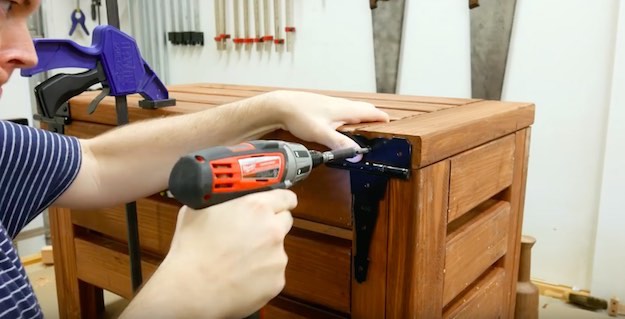
Drill in and attach your hinges at the back of the bench. This will bring the storage aspect of your outdoor bench seat turn into a reality.
And there you have it! Now, you’ve got an outdoor storage wooden bench that doubles as both a storage compartment and a seat.
Lauren and I use our outdoor storage bench seat to keep our outdoor cushions in at night. It makes a great compartment for bottles of insect repellent sprays as well.
Want to see the full video tutorial? Press play below to see the outdoor storage bench seat come to life:
I sure hope this outdoor storage bench seat helps free up more space in your backyard. Why not set aside an afternoon for this DIY project and see how it turns out?
Don’t forget to show us photos of your outdoor storage bench seat! It’d be great to hear about your stories in the comments below.
Looking for more hacks when it comes to small spaces? Check out this guide to decorating small living rooms!
Stay connected with us on Facebook, Twitter, Pinterest, and Instagram!


