
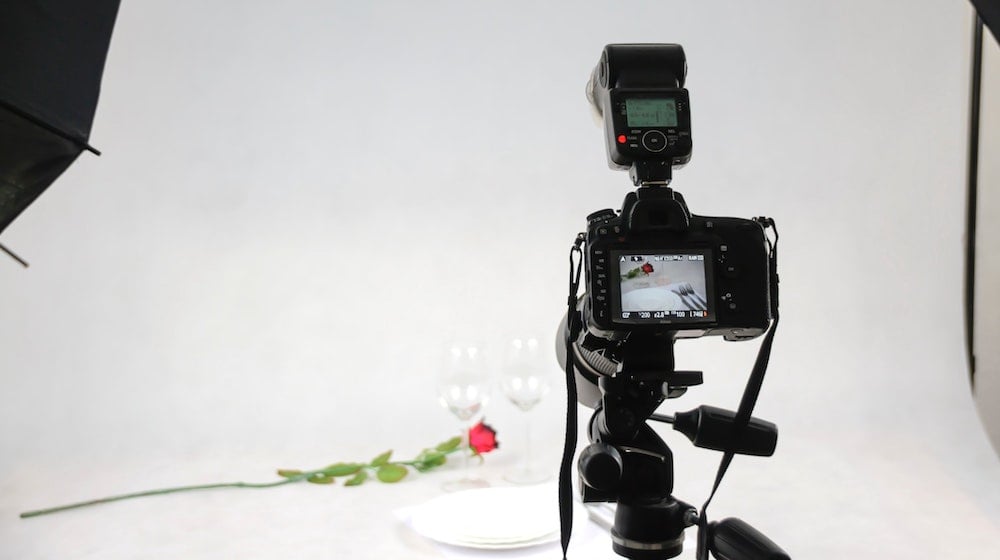

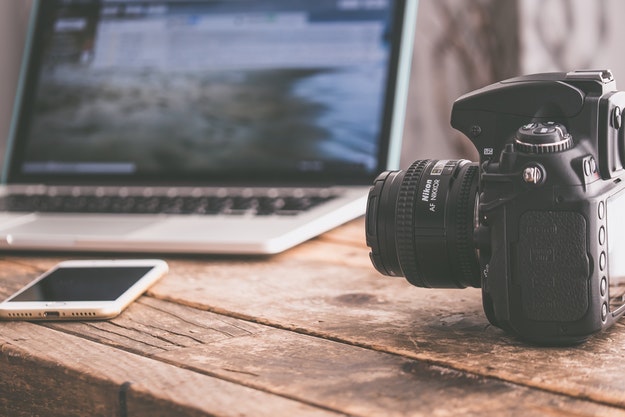
If you’re an Etsy shop owner or sell items on any online platform, I can’t stress enough how important it is to take flattering pictures of your products.
Imagine you’re walking past a bunch of shops on a street — are you more likely to check out a store with a gorgeous window display or one with an unattractive, disorganized display? Your photographs are essentially your virtual shop window. Great, eye-catching photos will draw people in while dark, dingy photos will push them away.
Because of how powerful good photographs are when it comes to selling items online, I wanted to share two invaluable tutorials that you can use for all your photos.
- How to make a light box
- How to edit your photos to make them POP!
You’ll be relieved to know that neither of these tutorials require you to have a fancy or expensive camera.
These step-by-step tutorials were created by Anna from The House of Mouse and adapted for DIY Projects.
SEE ALSO: How To Shoot Professional Looking Photographs At Home
How to Make a Light Box
Step 1
Select a box that is the right size for what you want to photograph. For small items like jewelery, a box about 30cm wide or 1 foot is good. For larger items, you’ll need a larger box.
Step 2
Cut out the top of the box and the front, leaving a bar across the top to help the box keep its shape.
Step 3
Line your box with white paper. Make a curve with the paper in the back horizontal corner, so that the edges won’t show up in your background.
Step 4
Make sure you put white paper on the sides, too. This will help to bounce the light around even more, and make your photographs really bright.
Step 5
To avoid any lines in your photographs, use a large piece of paper for your backdrop, Anna prefers a white background, so she used piece of A3 white card, but you can use any color you like. You can also use fabric if you prefer.
Step 6
Stick or pin your background in place, again making it curve in the horizontal corner.
Step 7
For your light source, Anna recommends two adjustable lamps with daylight light bulbs. (100watts will get a great result.) Daylight light bulbs are best because the colors in your photographs will be more accurate than if you use a regular yellowish bulb. Daylight light bulbs look bluish when they are not on. You can get daylight light bulbs from any well-stocked electrical store and some art supply stores because some painters use them as well.
Step 8
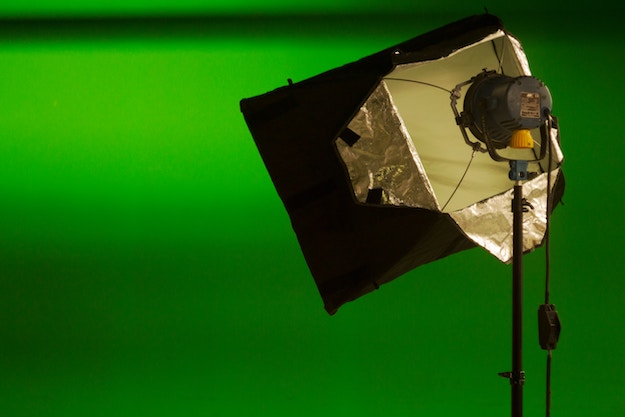
Arrange your lamps on either side of your light box. If the stands poke under your box — as they do in this photo — then stand your box on some books to make it flat. Some people prefer to just use one lamp, but Anna says she finds using two eliminates all shadows and showcase the details of your work better.
Step 9
As you can see, when the bulbs are on the light bounces around in the box in all directions! Perfect for taking bright photographs.
Step 10
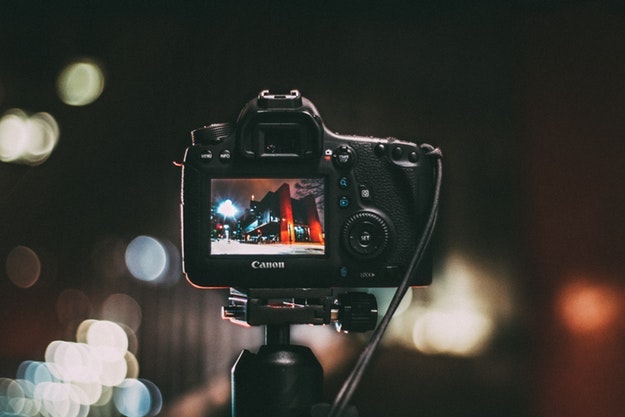
If you have a tripod for your camera then set it up in front of your light box. If you don’t have a tripod, then add one to your Christmas list! For now you can stand your camera on something to balance it.
According to Anna, the tripod allows you to shut off the flash on your camera, which is what you want to do. Sometimes when you turn off the flash on a camera, any photographs taken with the camera in your hands will look shaky. The tripod keeps the camera stable, which makes your photos nice and clear.
Your light box is now ready to use! Place your items in your light box, switch on your lamps, arrange your camera (remember to switch off your flash) and take some photographs!
How to edit your photos to make them POP!
Taking photographs with your light box is just the first step. Once you’ve got photos of your items, you will almost certainly want to touch them up in Photoshop or another photo editing program and make them look extra snazzy. Here we focus primarily on using the Levels tool to brighten your photos and make your items shine.
Step 1
To open the Levels tool in Photoshop, click the Layer menu, then New Adjustment Layer, and select Levels. Then click OK to open the tool.
Step 2
The levels tool looks like a graph or histogram. By using the dropper feature and sliding the arrows around you can create different effects, including lightening up your photographs.
Step 3
Use the dropper feature to select the lightest color in your photograph. (The dropper does not appear on all photo editing programs, but it appears in Photoshop.)
The dropper is the three little icons in the bottom right corner of the Levels tool. You can use these to select the darkest, lightest and medium tones from your photograph. Anna says she only uses the lightest one (on the far right), but feel free to play around with them to see what you end up with.
Step 4
Select the white dropper and then click it on the lightest part of your photograph. You can keep choosing a new part until you are happy with the result. As you can see, Anna selected the brightest area of her background. This will automatically readjust the photograph.
Next you can also use the arrows on the slider under your histogram to lighten or darken your photograph further. Click the arrow in the middle of your histogram and slide it to the left and right to see the results
Slide it to the left to lighten your photograph.
Or slide it to the right to make it darker.
When you are happy with your adjustments click “OK.”
Step 5
If you are using Photoshop, you will need to “flatten” your image before you can save your document as a .jpg . To do this, select the Layer menu and click Flatten Image. You are now free to save your file, but feel free to crop your image or make other adjustments before you do.
Check out the amazing before and after photos of Anna’s mouse cellist.
As you can see, using Photoshop to touch up the image made a WORLD of difference!
Did you enjoy our tutorial on how to make a light box and edit your photos to make them shine? Please let us know in the comments section below!
We love doing cool DIY projects by making craft projects, home decor projects, upcycling ideas, recipes, tutorials and anything you can do yourself. That’s why we created this site, we want people to be more in touch with their creative side and realize that there’s a lot of things that they can do themselves. We’d love to hear from you and create a community of DIY enthusiasts where any project is just a click away. Stay connected with us on Facebook, Twitter, Pinterest and Instagram!
Looking for more DIY photography tip? Then you need to check out…
11 DIY Photography Equipment Hacks


