


Stenciling 101: Things you should know before you stencil
Stenciling is awesome. What a great way to add an artists touch to a space that you can DIY with just a little time and attention to detail. OMG! So fun!
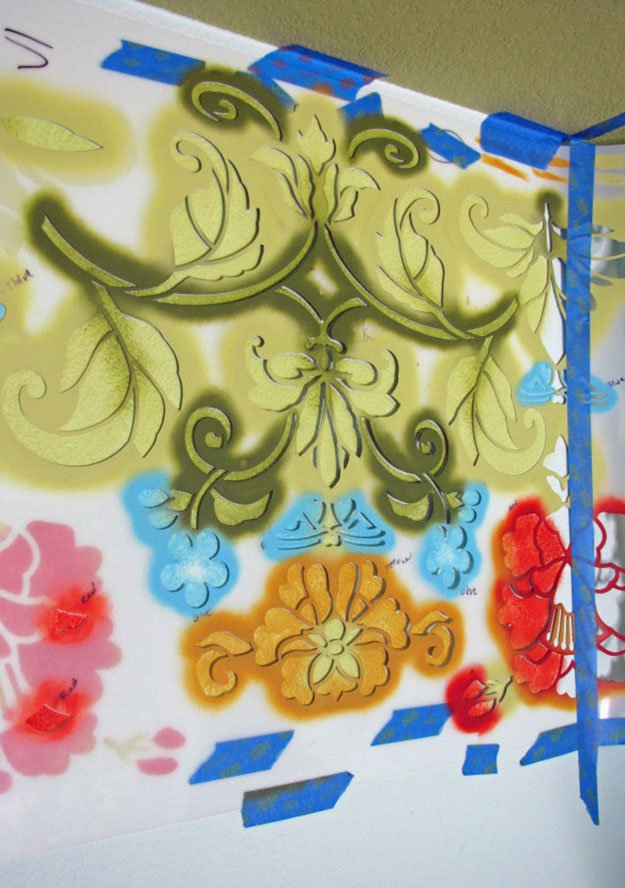
1. Practice first
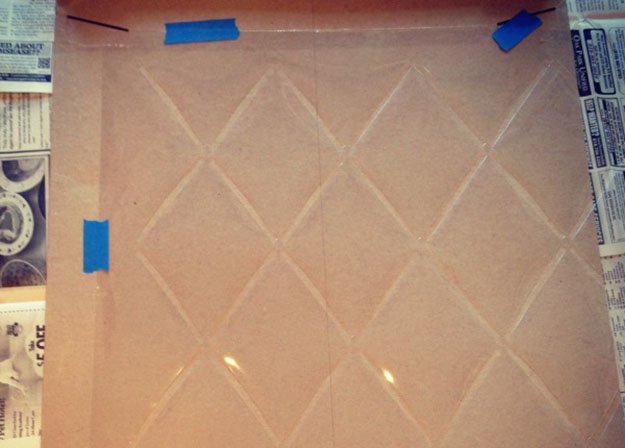
Find a piece of cardboard, paper, anything, and practice your stencil idea before the final result! You want to make sure you like the way it looks before you commit to an entire project.
2. Clean your surface
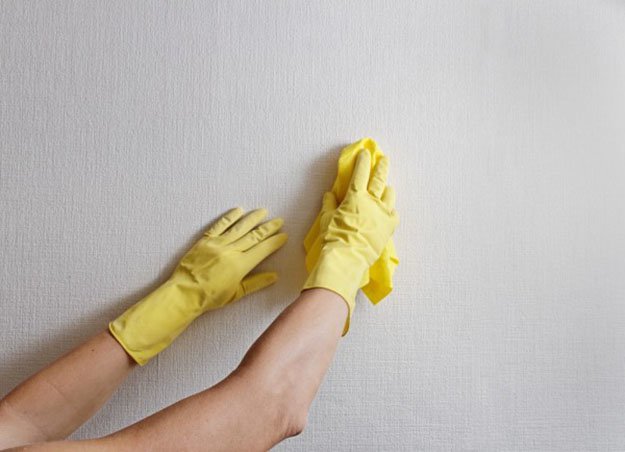
Before you begin any project, make sure you are working on a clean, dirt free, dust free, and solid surface. Repair any holes and allow any paint at least 24 hours to dry before you begin.
3. Less is more
When applying stencils, less is more. Do not overload your brush and work with light coatings. Take your time applying 2-3 coats for an opaque coating.
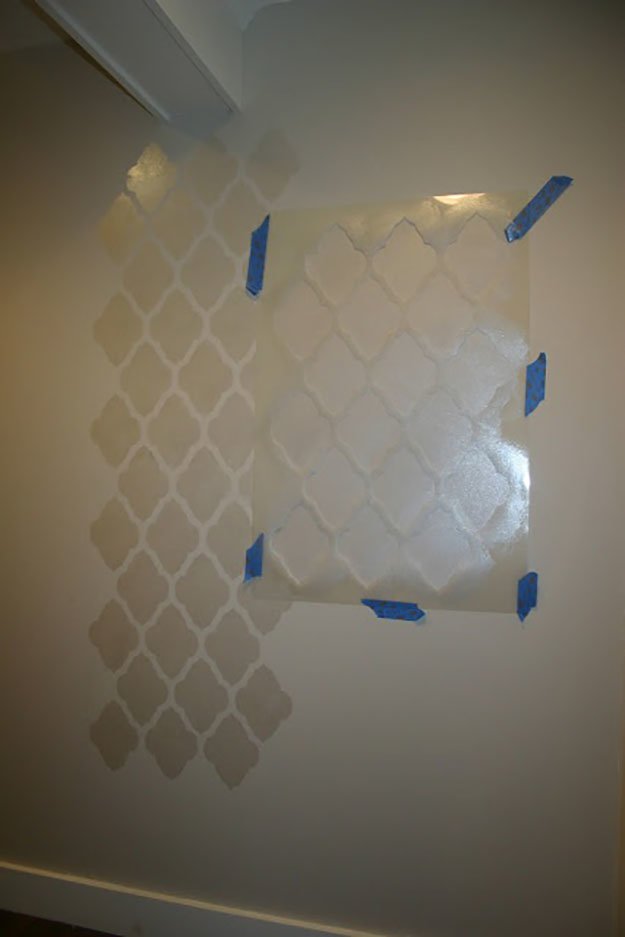
4. Mark your area

Use painters tape to mark off the area you are going to stencil. Use painters tape to hold your stencil in place as you go. You can also use a delicate adhesive spray on the back of your stencil.
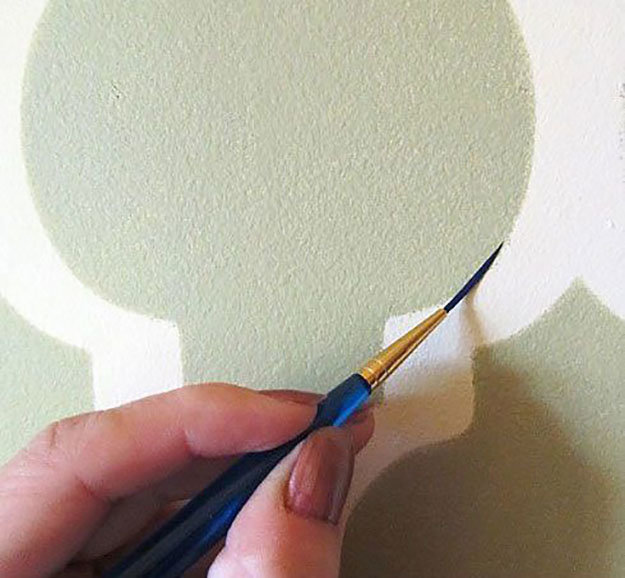
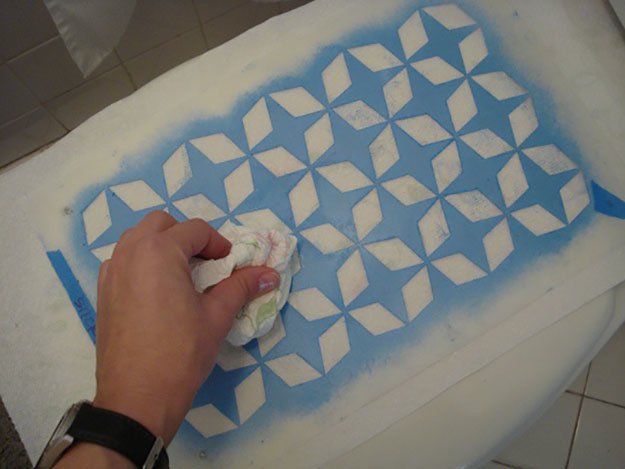
5. Pounce, never swipe
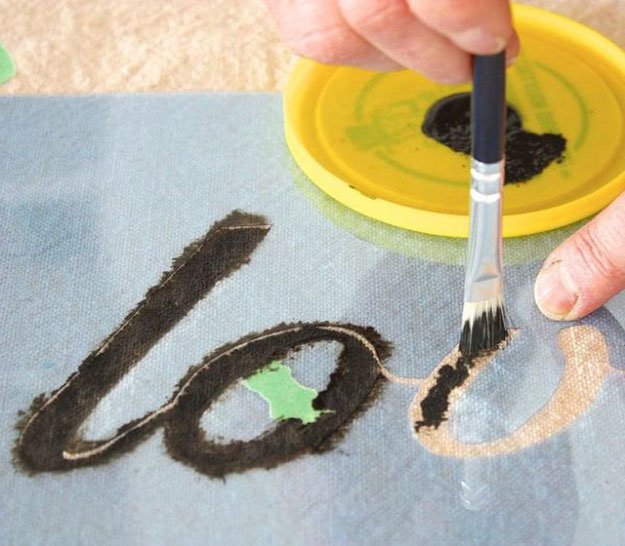
When using stencil brushes, use a direct up/down motion known as pouncing. This ensures solid coverage and is less likely to cause bleeding.
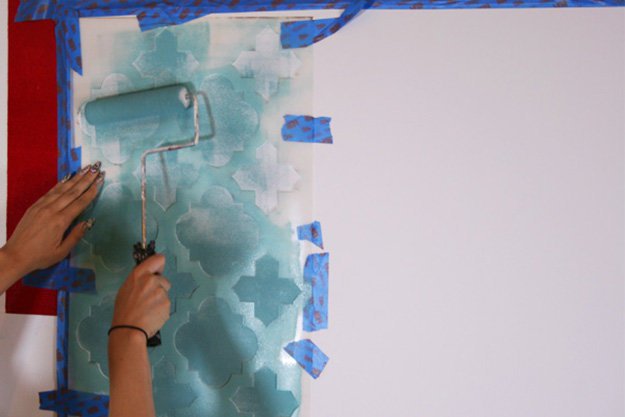
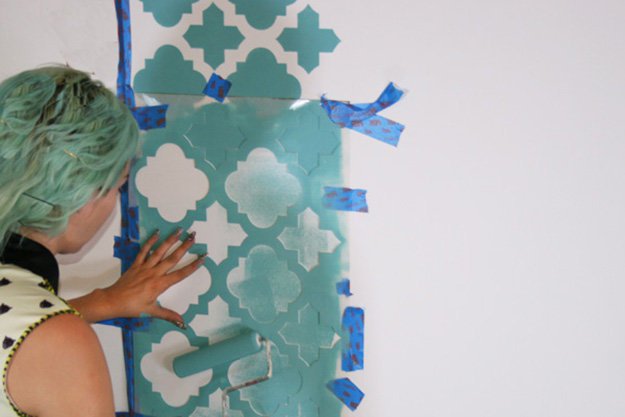
6. Use paint roller
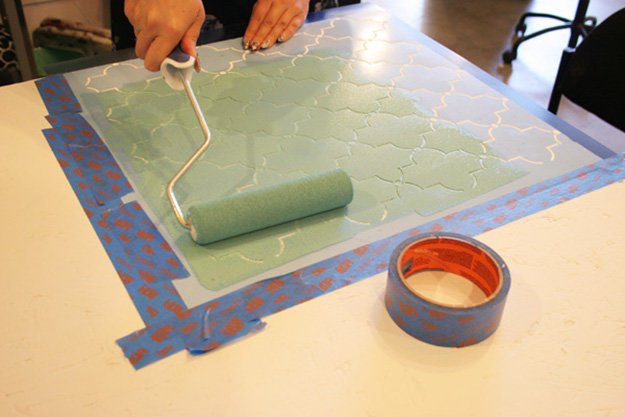
For bigger projects, a paint roller will be useful. Thick rollers work great.
7. Blot paint on paper towel first
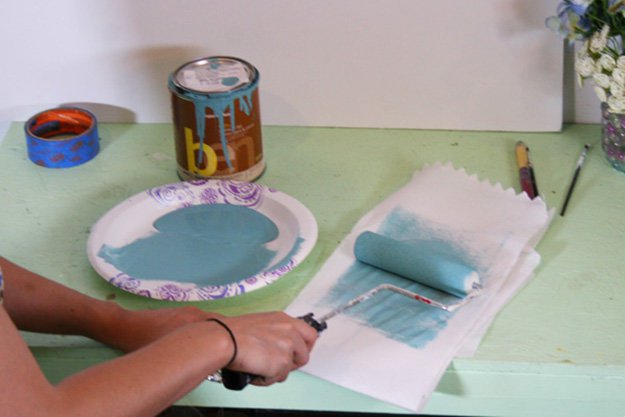
After loading your paint brush or roller, dab excess paint off onto a paper towel. You want to work with a very minimal amount of paint at a time. The brush should almost look dry.
8. Layer consistently for a clean finish
For a solid finish, make sure you have applied an even coating of paint over your stencil.
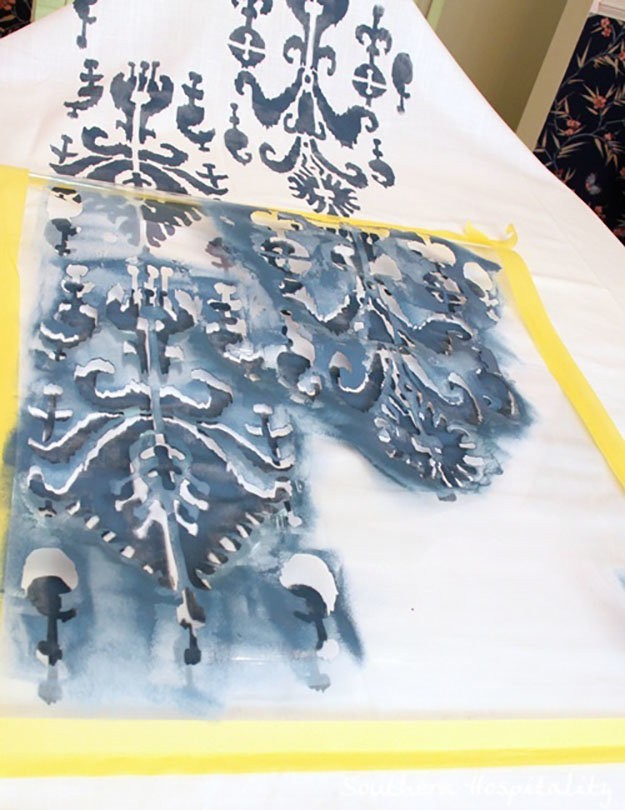
9. Or create shading
On the contrary, you can apply uneven coatings of paint to create shading and dimension.
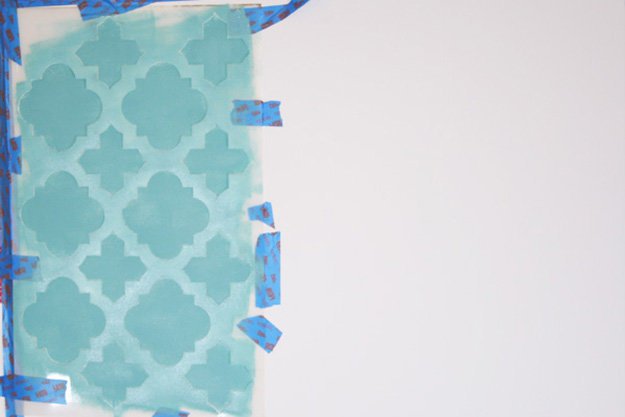
10. Check on your work

Gently peel back a corner of your stencil as you go to see how it is looking. Don’t do this all of the time, but a peek here or there never hurt anyone.
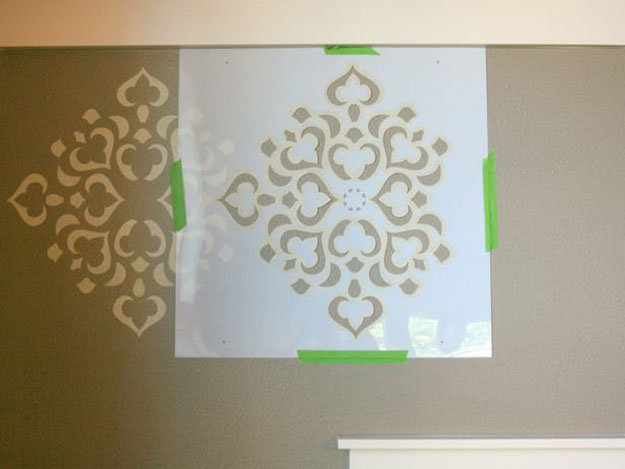
11. Start in the middle
If you are stenciling a large piece of furniture, or a wall, or anything with a big repeat pattern, you should start your stencil in the center. Measure to find your stencil so it appears where you want it, this will be the foundation you line up your stencil against for the rest of the project.
12. Work your way in
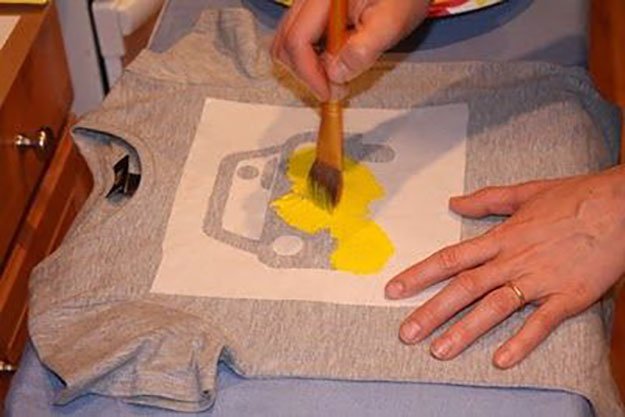
When painting with a stencil brush over the stencil itself, work from the outside in so paint is less likely to go underneath the stencil.
13. Do not roll over stencil edge

Be careful with your paint roller. Be sure to stop before going over the edge of the stencil on all sides for a flawless finish.
14. Wait for it to dry
Your stencil paint should dry right away, but use caution as you pick up your stencil pieces and place them back down, to make sure you don’t smudge any wet paint.
15. Line up stencil over itself
When you are doing a repeat pattern, your stencil might have come with a grid to line up. If it did not, you can always line up your stencil over the existing pattern on the wall. Line it up so the patterns match, but do not paint over this area. Paint as you normally would over the rest of the stencil. repeat.
16. Keep base coat on hand
Having some extra base coat lying around will be useful to touch up any errors. Treat this paint like an eraser to clean up your finished look.
17. Line them up
Don’t worry about imperfections, line up your stencil the best you can, keep it straight, and don’t roll over the same area twice. The eye will never notice.
18. It looks better far away
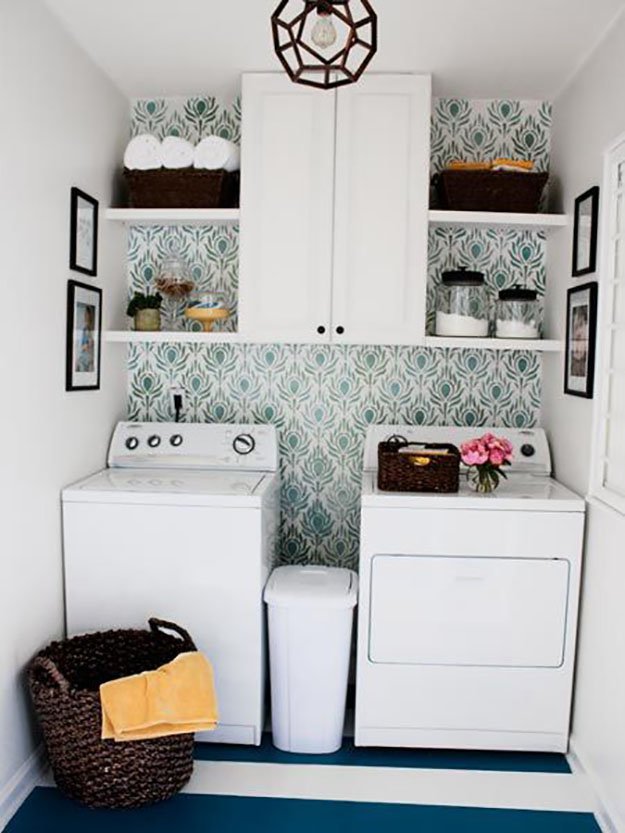
Keep in mind, that your stencil is hand-done, it is not supposed to be perfect. While it probably looks great, we are our own worst critics. Take a step back and admire your entire piece from afar. No one will notice any small errors, the eye goes to the piece as a whole. The only people who spot errors are the ones looking for them.
19. Corners
Do not attempt both walls at once. Do them separately. Roll to the edge, finish with a stencil brush.
20. Quickly wipe up mistakes with a damp cloth
Mistakes happen, having a damp paper towel on hand might help erase small errors. If it’s a huge faux-pas, waiting for it to dry and then painting over it with base and starting over might be the best solution.
21. Store stencils flat
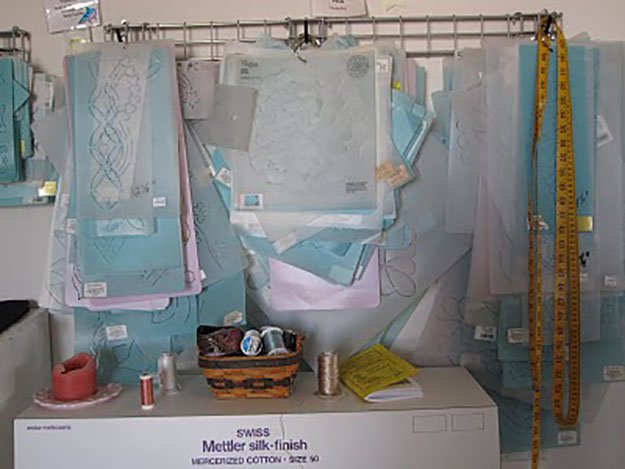
Never roll your stencils. Store them on a flat surface. Protecting them between paper, or hanging them on a rack is also a solution as long as they are flat and safe.
22. Fix breaks
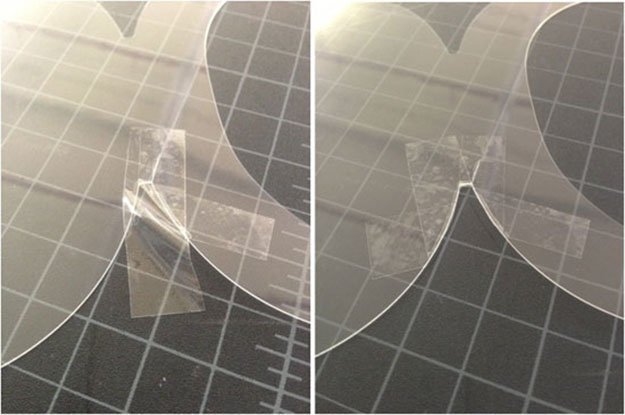
Use clear tape to fix any breaks in your bridge. Unfortunately this does happen, but it’s a simple fix. If your lost the bridge piece, you could even fake a new one with intricately placed clear tape.
23. Clean stencil
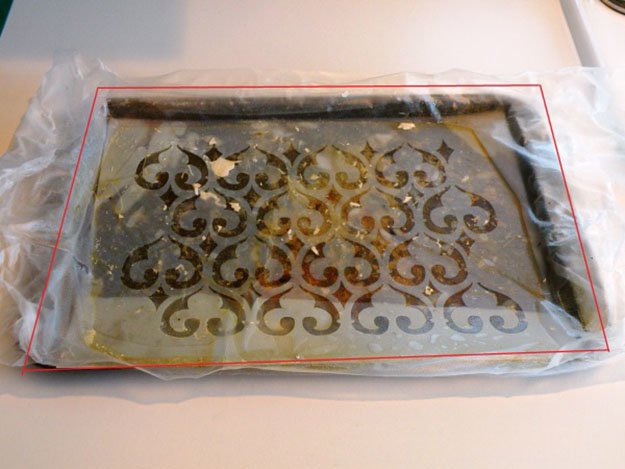
Once you have finished a project your stencil will be covered in paint. If you ever want to reuse it, you will want it to be clean again, right? Stencils are easy to clean. the paint will come off easily in water, lay it on a flat surface like a cookie sheet and place it in the sink. Run warm water over it and gently scrub so the paint peels away. Do not let the paint run down the drain. If the paint is not coming off, try using a mild cleanser, and soaking the stencil.


