



How to Make a DIY Glow Stick | Instructions
This DIY glow stick is a great project to do with the kids! It’s quick, easy and can be adapted to different sizes and colors.
This project is by Kipkay and the video can be found here.
Supplies you need:
- A clear, plastic pen
- Electrical tape
- 3v button cell battery (You’ll need one battery for every light you use.)
- LED
- Super glue
DIY Glow Stick Instructions
Step 1:
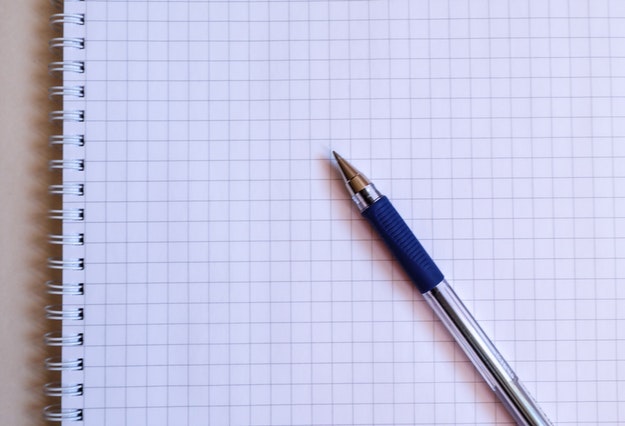
Take your pen apart so all that is left is the clear plastic casing. This way you have an opening for your LED to slide inside.
Step 2:
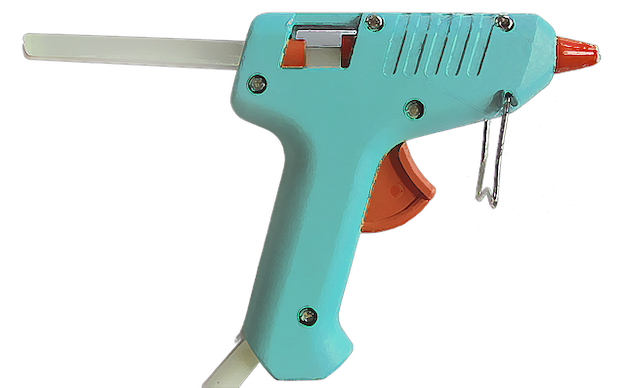
Grab your LED and superglue. Apply some glue to the base of the bulb and place it inside the pen casing.
Step 3:
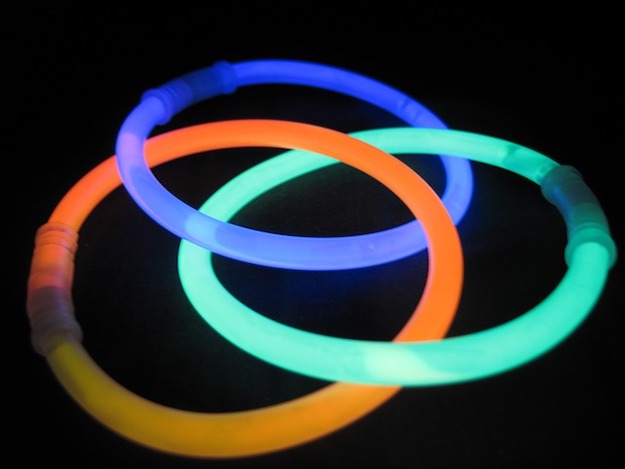
Once you’ve glued the bulb in place, grab the battery and tape it in between the prongs on the bulb. Your light will light up!
Step 4:
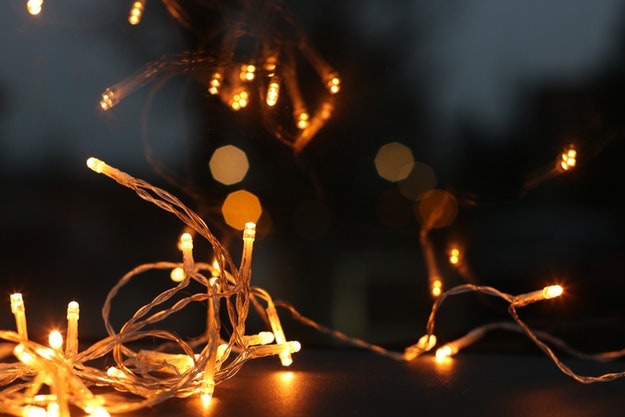
Now that you know how to make a simple glow stick using a pen and a single LED, adapt the design by adding multiple LEDs of different colors and maybe even use a larger clear tube!
Hope you enjoyed this tutorial on how to make a DIY glow stick!
You can find the Kipkay video here.









