

At a Glance: Plastic Bottle Planters
- Time: 1 to 2 hours per project (plus drying time for paint).
- Skill Level: Beginner-friendly (requires basic measuring, cutting, and painting).
- The Gist: Transform standard plastic recycling into stunning hanging lanterns, painted blossom drops, and horizontal living walls using basic tools and vibrant paints.
DIY Plastic Bottle Planters
We walk this earth seeing the waste that modern life leaves behind especially those empty plastic bottles. It’s easy to look at them and see trash, but when we look closer, we see an opportunity to restore balance and give these materials a second life. Want to upcycle those bottles? I’ll share three ways to do that, but here’s the catch: we aren't just making the plain old boring, cut-a-bottle-and-voila kind of project. We’re bringing bold color and design into it. Below are three creative ways to turn discarded plastic into vibrant homes for your plant relatives.
Design 1: The Lantern Hanger
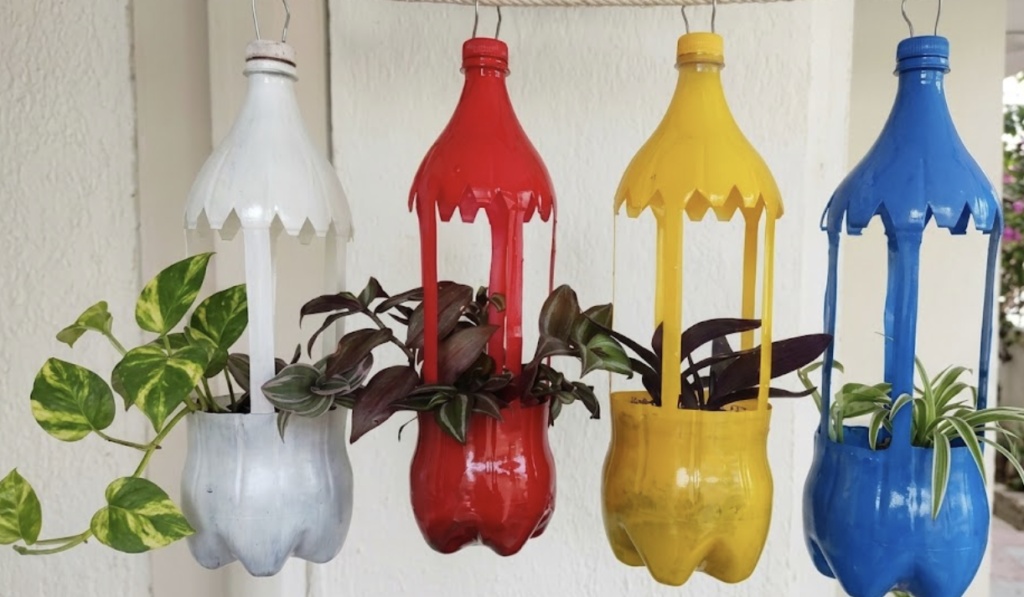
This design transforms a standard bottle into an elegant, architectural lantern that lets the wind and light flow through.
Materials Needed:
- 2-liter or 1-liter plastic bottles (cleaned, labels removed)
- Sharp utility knife (X-Acto or similar) and sturdy craft scissors
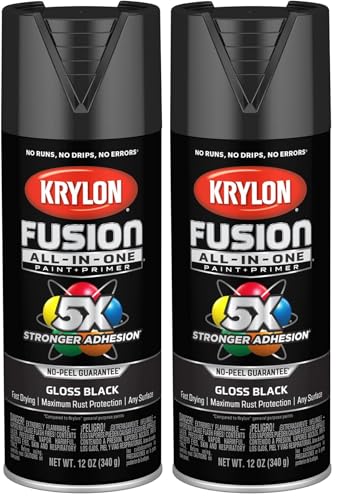
- Spray paint formulated for plastic (White, Red, Yellow, Blue)
- Heavy-gauge galvanized hanging wire
- Pliers
- Fine-grit sandpaper (220 grit)
- Potting soil and trailing plants
Step-by-Step Instructions:
- Map the Cuts: Using a marker, draw a line 4 inches up from the bottom base—this is your soil bowl. Draw a scalloped, pointed “canopy” pattern about 2 inches down from where the bottle starts to taper into the neck.
- Draw the Pillars: Connect the top canopy to the bottom bowl by drawing four vertical strips, each exactly 1/2 inch to 3/4 inch wide, spaced evenly around the bottle.
- Cut the Negative Space: Carefully pierce the plastic with your utility knife and cut out the large windows between your vertical strips. You will be left with a lantern shape. Lightly sand the cut edges so they are smooth.
- Paint: In a ventilated area, apply two light coats of spray paint, covering both the inside and outside of the bottle. Let it dry completely.
- Rig the Hanger: Drill a small hole directly through the center of the plastic bottle cap. Cut an 8-inch piece of heavy wire. Bend it into a U-shaped loop, push the ends down through the top of the cap, and use pliers to twist the ends securely inside the cap so it cannot pull through. Screw the cap onto the bottle.
- Plant: Add a small layer of pebbles at the bottom, fill the 4-inch base with soil, and tuck your plant inside.
I put together this starter pack because tracking down the right gear at local hardware stores can be such a headache sometimes:


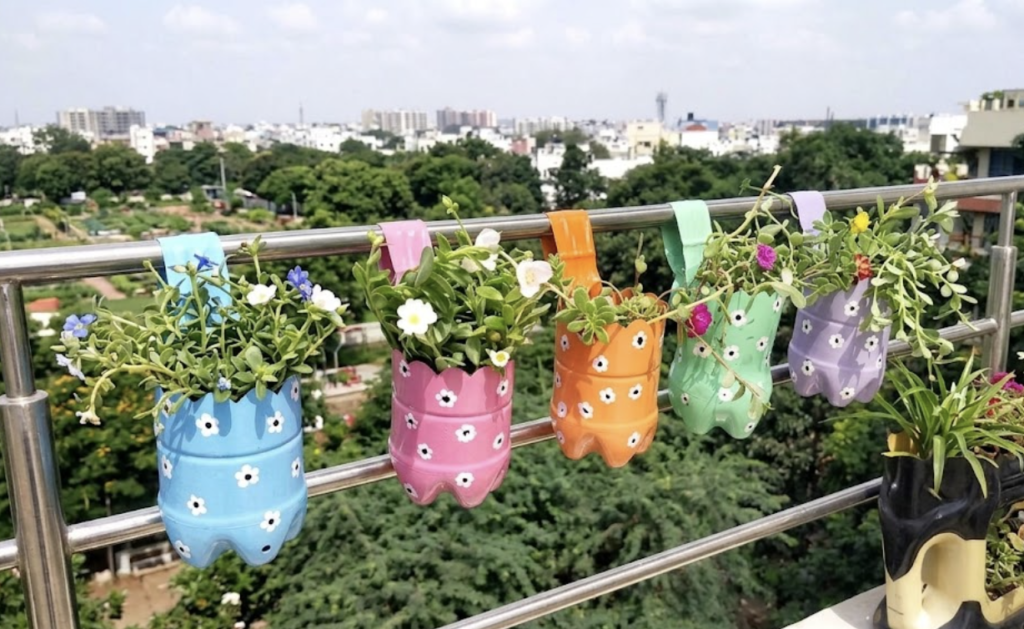
Design 2: The Painted Blossom Drop
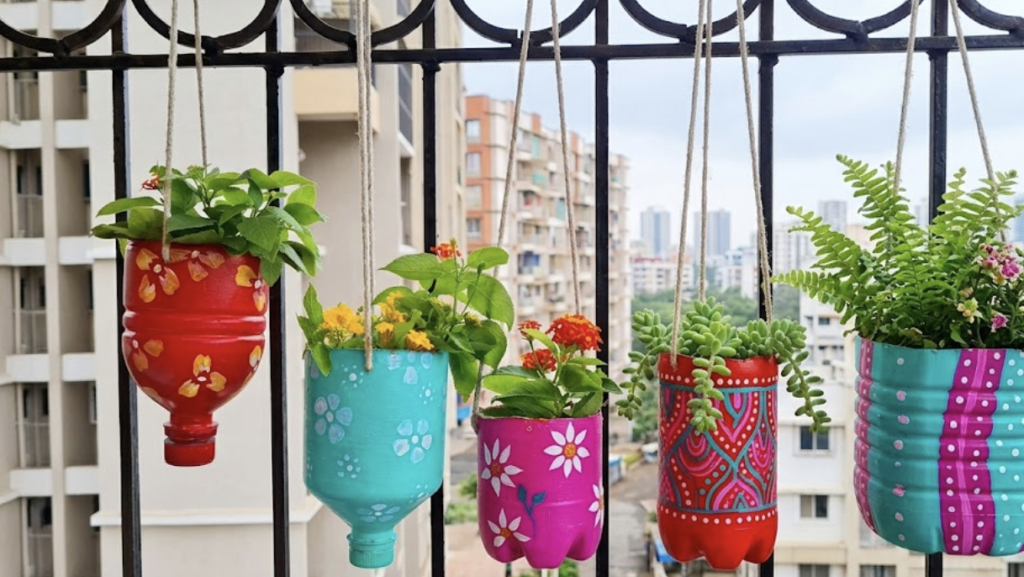
Here, we flip our perspective. By turning the top half of the bottle upside down, we create a beautiful, hanging bell shape painted with the flowers of the earth.
Materials Needed:
- Assorted plastic bottles (water or soda)
- Utility knife or scissors
- Acrylic craft paints (bright base colors plus white/green for flowers)
- Paintbrushes (one wide, one fine-tip)
- Clear UV-resistant waterproof spray sealer
- Natural jute twine
- Standard hole punch
- Drill with a 1/8-inch bit
Step-by-Step Instructions:
- Divide the Bottle: Measure exactly halfway up your bottle. Wrap a piece of masking tape around it as a guide, and cut it cleanly. Keep the top funnel half (with the cap).
- Prep for Hanging: Using your hole punch, punch three holes evenly spaced around the wide, cut rim. Leave about 1/2 inch of plastic above the hole so it won't tear.
- Base Coat: Paint the outside of the bottle with a solid, vibrant acrylic base color (deep blue, sunset orange, vibrant red). It may take two coats. Let dry.
- Paint the Blossoms: Using your fine brush, hand-paint simple five-petal flowers and green leaves scattered across the surface. Let the paint cure.
- Seal and Drain: Spray the outside with a clear waterproof sealer to protect your art from the elements. Drill two small 1/8-inch drainage holes directly into the plastic bottle cap, and screw it on tight.
- Hang: Cut three equal lengths of twine (about 24 inches each). Tie one end of each string to a punched hole, gather them together at the top, and tie a strong loop knot. Fill with soil and blooming flowers.
I compiled this quick starter pack so you can just get everything delivered and dive right into painting:


Design 3: The Living Wall Horizon

When space is scarce, we grow upward. This design lays the bottles horizontally to create an organized, earthy wall garden against brick or wood.
Materials Needed:
- Large plastic bottles (identical shapes work best for a grid)
- Utility knife
- Spray paint (earth tones: terra cotta, mustard yellow, deep river blue, sage green)
- Drill
- Screws and masonry wall anchors (if mounting to brick) or wood screws
- Washers
Step-by-Step Instructions:
- The Main Cut: Lay the bottle flat on your table. On the side facing the sky, trace a large rectangle. Leave about 1.5 inches of plastic intact near the neck and the base for structural integrity. Cut this rectangle out.
- Drainage: Turn the bottle over. Drill 4 to 5 small holes along the bottom side for water to escape.
- Mounting Holes: On the “back” side of the bottle (the part that will touch the wall), drill two holes, spaced about 4 inches apart.
- Color the Vessel: Spray paint the outside of the bottles in alternating earthy colors. Keep the caps on to seal the end. Let them dry completely.
- Mount to the Wall: Hold the bottle horizontally against your wall. Mark the wall through your mounting holes. Drill your wall, insert anchors if needed. Place a washer on your screw (this stops the screw head from tearing the plastic), put the screw through the inside of the bottle, and drive it firmly into the wall.
- Planting: Fill your new horizontal troughs with soil and plant herbs like basil and rosemary, or bright pansies.
I've wasted way too much time wandering store aisles looking for the exact heavy-duty hardware and colors for this build. Snagging this complete starter pack guarantees you have exactly what you need so your wall garden actually stays up.
We honor the earth by not adding to its burdens, turning what was cast away into vessels of life. Wood, plastic, earth, and seed all of it has purpose when guided by thoughtful hands. May your gardens grow strong and your walls bloom bright.
FAQs
- Do these plastic bottle planters need drainage? Yes, water must flow. Always drill or poke holes in the lowest point of your design (the caps for Design 2, the bottom sides for Design 3) so roots do not drown.
- What kind of paint actually sticks to plastic? Standard acrylic can peel. Use spray paint explicitly labeled “Bonds to Plastic” for your base coats. If hand-painting with acrylics (like Design 2), always seal it with a clear outdoor topcoat.
- What plants grow best in these? For the vertical lanterns and drops, use shallow-rooted trailing plants like pothos or creeping jenny. For the horizontal wall bottles, herbs (basil, thyme) and small bedding flowers (pansies) thrive beautifully.
- Will the sun degrade the plastic over time? Sunlight can make raw plastic brittle, but fully painting the outside acts as a protective shield against UV rays, significantly extending the life of your planters.
- Can I use these indoors? Absolutely. Just be mindful of the drainage. If using indoors, place them where water won't damage your floors, or skip the drainage holes and add a deep layer of gravel at the bottom to catch excess water.
QUICK POLL
What kind of garden project gets you excited?
Not in the choices? Let us know in the comments below!