



Last Updated: May 2026
Transform your backyard into a cozy cinema with a DIY outdoor movie screen. You can enjoy popular films under the stars without the hassle of crowded and expensive theaters and create a memorable experience for your loved ones. This project is both fun and budget-friendly, which makes it perfect for creating unforgettable family movie nights. So, if you’re ready to dive in, let’s go through the steps!
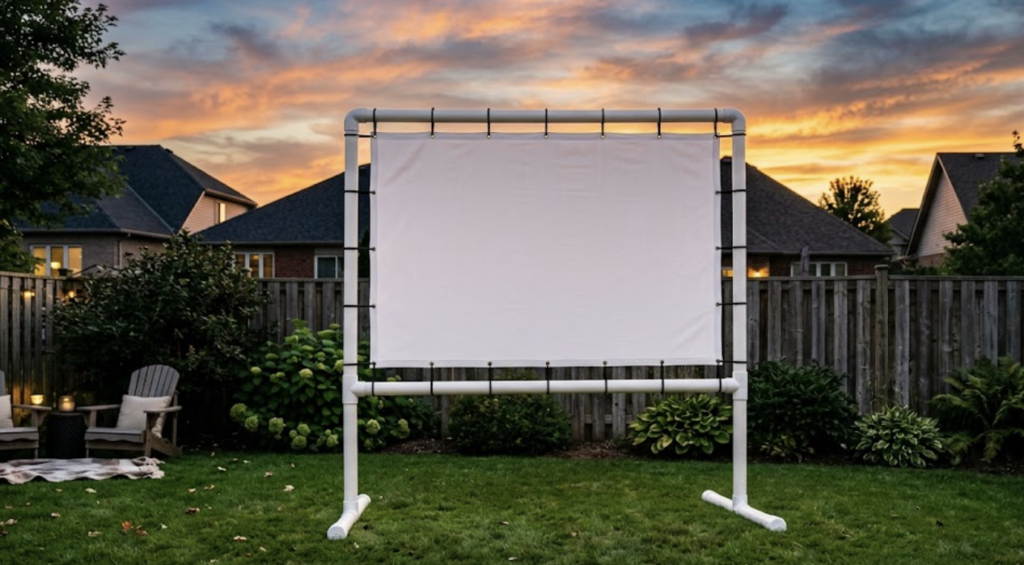
- Total Frame Dimensions: 7 ft tall x 5 ft wide x 2 ft deep base.
- Final Screen Size: 54 inches wide x 30 inches high (1.85 Aspect Ratio).
- Estimated Build Time: 3-4 hours.
🎬 Materials & Tools Needed
The Frame Components
- Pipe: 3 @ 10-foot (or 4 @ 3-meter local standard) lengths of 1-inch Schedule 40 PVC.
-
Fittings (1-inch slip):
- 2 @ 90-degree Elbows
- 4 @ Standard Tees
- 4 @ End Caps
- Extras: PVC Cement (for base only), Sandbags for weight.
The Screen Components
- Fabric: 2 Yards of White Blackout Cloth (Rubberized/matte side used for viewing).
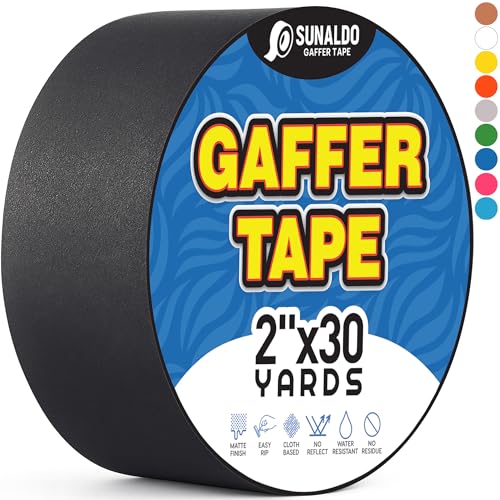
- Border: 1 Roll of 2-inch wide Black Gaffer Tape or Gorilla Tape.
- Hardware: 1 Kit of 3/8-inch Metal Grommets (Includes hole punch and setting anvil).
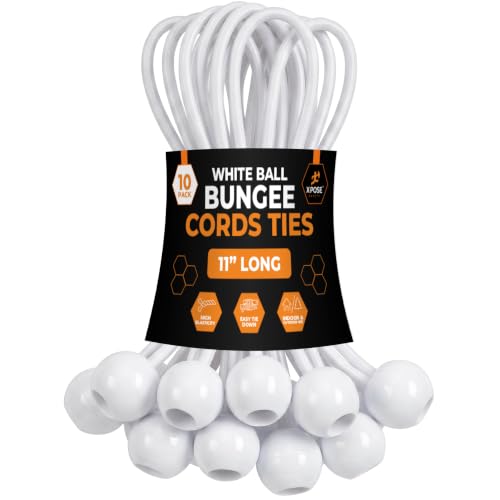
- Mounting: 1 Pack of 4-inch Bungee Ball Cords (Need at least 12).
Tools Required
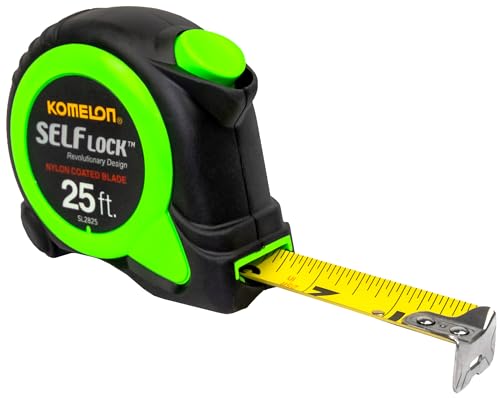
- Measuring tape & pencil/marker
- PVC cutter or fine-tooth hacksaw
- Heavy-duty scissors or utility knife
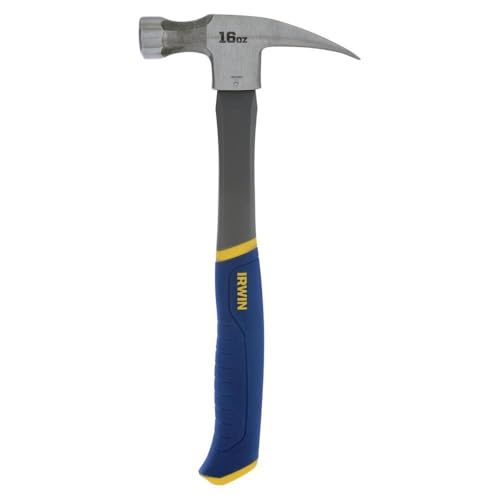
- Hammer & scrap piece of wood (for punching grommets)
Tool Starter Pack for Beginners
These were the tools that made my measuring, cutting, and screen setup easier and the results cleaner. Here’s where I got them:


Part 1: Master Cut List (The Frame)
Measure twice, cut once to minimize waste.
- Horizontal Crossbars: 2 @ 60 inches
- Lower Upright Legs: 2 @ 48 inches
- Upper Side Uprights: 2 @ 36 inches
- Base Feet: 4 @ 12 inches
Part 2: Step-by-Step Assembly Instructions
Phase 1: Build the Frame
- Construct the T-Bases (The 2ft footprint): Insert two 12-inch Base Feet pipes into the opposite, straight ends of a Tee fitting. Cap the exposed ends with your End Caps. Repeat for the second leg. (Tip: Glue these sections with PVC cement for permanent stability).
- Erect the Lower Legs: Insert one 48-inch Lower Leg into the upward-facing port of each Base Tee.
- Set the Middle Crossbar: Cap the top of both 48-inch legs with a Tee fitting. Ensure the side ports face exactly inward toward each other. Slide your first 60-inch Horizontal Crossbar into these inward-facing ports. Your frame will now stand upright.
- Finish the Top Loop: Insert the two 36-inch Upper Side Uprights into the top ports of your middle Tees. Press a 90-degree Elbow onto the top of both 36-inch pipes (pointing inward). Slide your final 60-inch Horizontal Crossbar into the Elbows to close the rectangle. Make sure all pipes are fully seated into their fittings.
Phase 2: Construct the Custom Screen
- Cut the Fabric: Lay the blackout cloth flat (matte/rubberized side up). Measure, mark, and cut a perfect rectangle exactly 54 inches wide by 30 inches high.
- Apply the Black Border: Take your 2-inch black tape and start along one edge. Apply it so exactly 1 inch sits on the white fabric, and 1 inch hangs off. Flip the fabric over and fold the hanging 1 inch onto the back. Smooth out bubbles. Repeat for all four sides. You now have a rugged, double-reinforced 1-inch border.
- Punch the Holes: Place scrap wood under a corner. Position your 3/8-inch hole punch exactly in the center of the black tape border (1/2 inch from the outer edge). Strike firmly with the hammer. Punch all 4 corners, plus 2 evenly spaced holes on the top/bottom edges, and 1 centered hole on the left/right edges (Total: 12 holes).
- Set the Metal Grommets: Place the tall half of the 3/8-inch grommet on your anvil. Slide the punched hole over the neck. Add the flat washer ring on top. Strike the setting tool with your hammer until the metal neck rolls and locks tight. Repeat for all 12 holes.
Here’s where I go my materials for the screen and mounting process:

Phase 3: Final Mounting
- Hold the finished screen inside the upper 60″ x 36″ PVC frame section.
- Push the loop of a 4-inch bungee ball cord through a corner grommet, wrap it entirely around the white PVC pipe, and stretch it over the plastic ball.
- Secure all four corners first to perfectly center the screen. Then, attach the remaining bungees. The cords will pull the reinforced tape, instantly snapping the screen drum-tight!
Eco Notes & Finish
- Longevity: By only gluing the base feet and friction-fitting the rest, you can easily break this massive 7-foot frame down and store it in a closet or garage. The blackout cloth can be wiped clean with a damp rag, eliminating replacement waste!
Sound and Projection
Investing in a quality portable projector and outdoor speakers can significantly enhance your experience. Portable projectors come in various ranges and can easily connect to a laptop or streaming device. Moreover, wireless outdoor speakers are ideal, as they reduce the need for long cables and deliver great sound. You can find the perfect setup to complement your DIY outdoor movie screen by exploring Outdoor Speaker Depot for top-notch wireless outdoor speakers. Additionally, high-quality sound and projection equipment will ensure that everyone can hear and see the movie clearly, no matter where they are seated.
Snacks and Refreshments
Of course, no movie night is complete without snacks. Set up a refreshment stand with popcorn, candy, and drinks. You can use a rolling cart or small table to hold your snacks and consider adding a popcorn machine for that classic theater vibe. Not only does this add to the movie-going experience, but it also provides a fun and interactive element for your guests. Furthermore, offering a variety of snacks will cater to different tastes, making the event more enjoyable for everyone.
Want to elevate your movie night to the next level? Explore more creative ideas for making your movie experience unforgettable!
Weather Considerations
As you plan your DIY outdoor movie screen setup, keeping an eye on the weather forecast is crucial. If rain is possible, have a backup plan like a tent or canopy to protect your equipment and guests. On cooler nights, provide blankets and consider setting up a portable heater or fire pit for warmth so everyone stays comfortable. Being prepared for different weather conditions ensures your movie night goes off without a hitch. In addition, taking these precautions allows you to host movie nights throughout the year regardless of the season.
An Unforgettable Cinema Experience
Building a DIY outdoor movie screen is a rewarding project that can turn your backyard into an entertainment haven. Using simple materials and creativity, you can create a space where memories are made and movies come to life. Whether it’s a summer blockbuster or a timeless classic, watching a film under the stars is an experience everyone will cherish.
P.S. We’d love to see your outdoor movie setups! Share your creations with us and inspire others to create their own backyard cinemas!
QUICK POLL
What kind of free plan should I send next?
Not in the choices? Comment down below.









