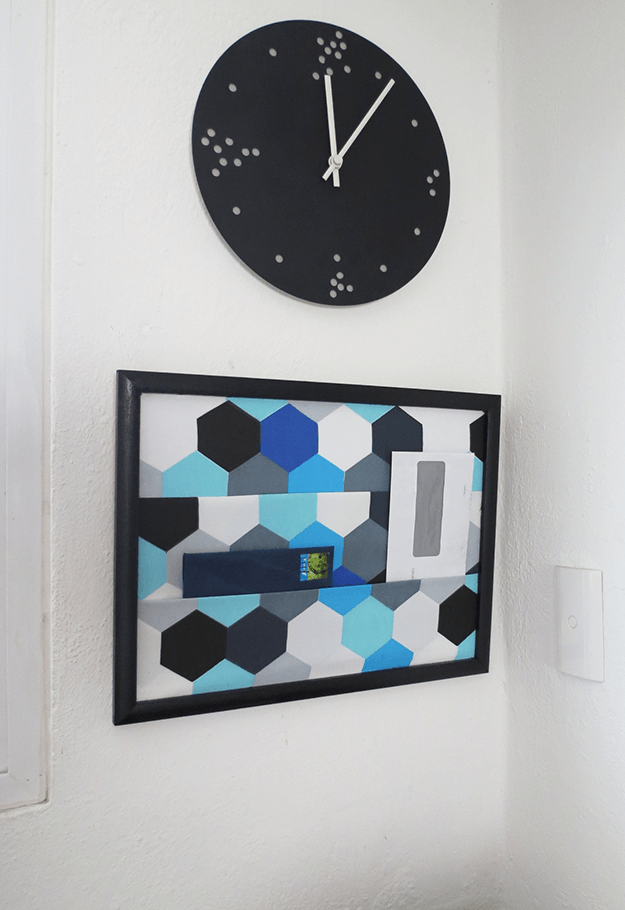


If you have a super busy lifestyle, organizing is one of the skills that you should acquire. One of the most overlooked organizational task is the mail, which almost always ends up in a pile on your kitchen table. And we all know what happens when we leave our mail unorganized – unpaid bills, unanswered letters, ignored correspondences. But don’t fret, this cute mail organizer will ensure that no birthday card from grandma goes unread.

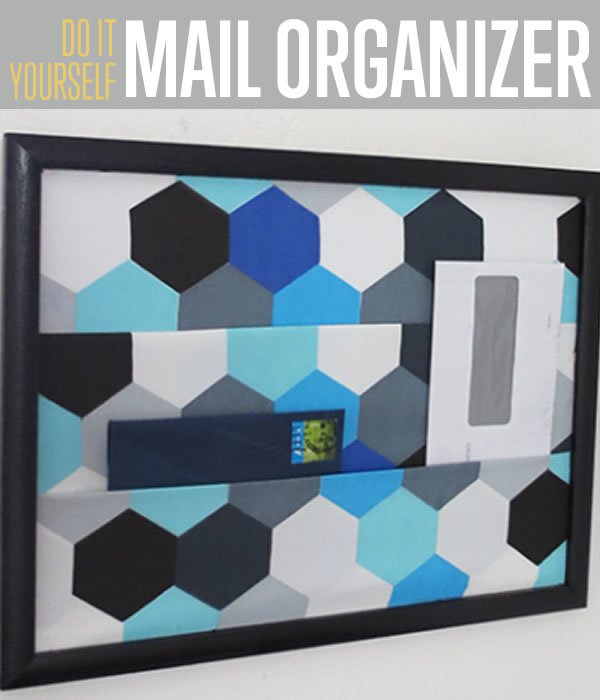
Ready to Make Your Cute Wall Mounted Organizer?
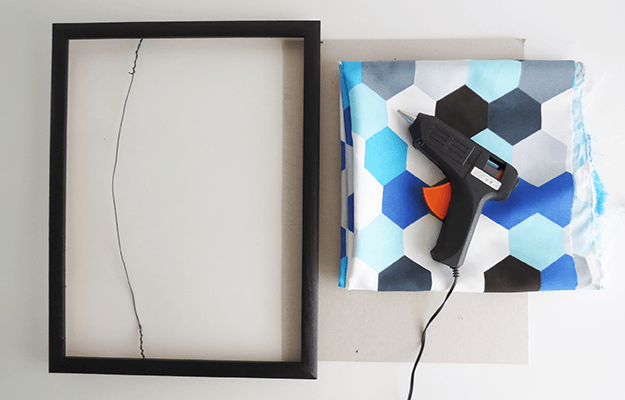
Supplies:
How to Make a Hanging Mail Organizer
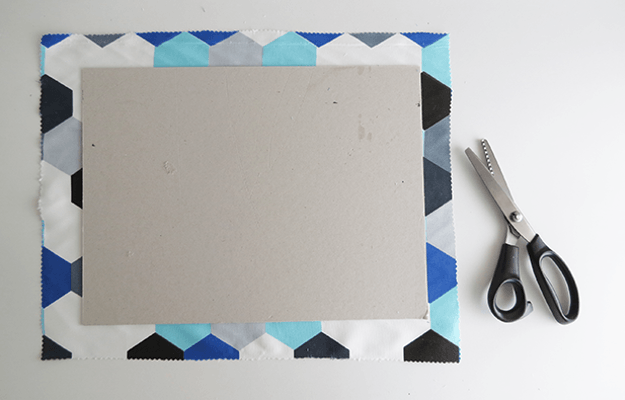
STEP 1:
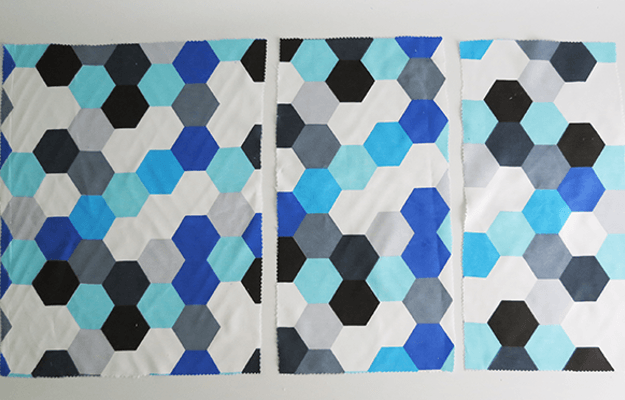
Cut a cardboard piece that fit into your choice of frame. Cut a rectangle from the fabric that’s 2 inches wider than the cardboard.
STEP 2: Cut 2 smaller rectangles. The width is the same as the first rectangle but the height must be ⅔ of the first rectangle. For example, my first rectangle was 20” width x 15” high , so my two smaller rectangles are 20“ width x 10” high. These measurements will change according to the size of your chosen frame.
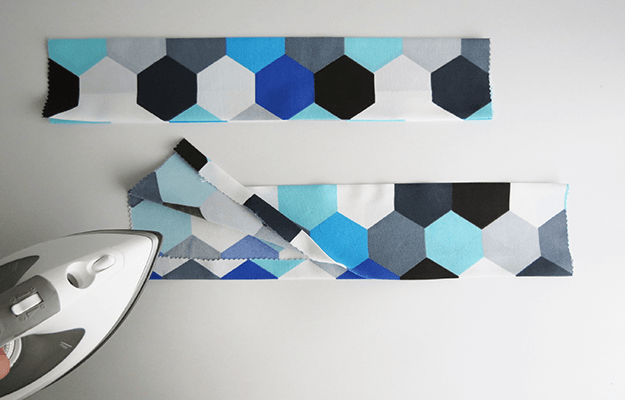
STEP 3: You’re going to use the two small rectangles to make pockets for your DIY mail organize. Fold the hem. Take the part that you folded and fold it again in half. Iron them to mark the folds.
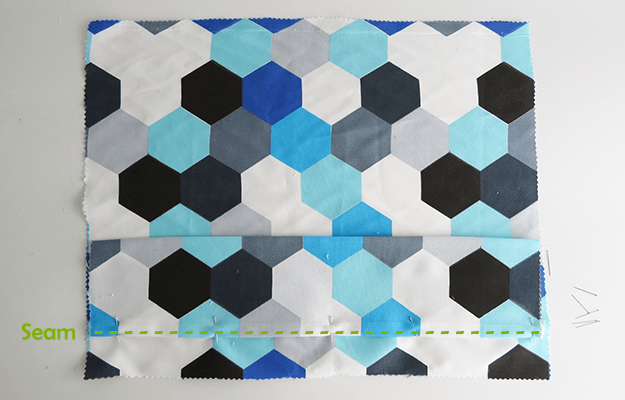
STEP 4: Measure 1 inch from the bottom of the large rectangle. Pin one of the smaller rectangles on it. Sew them together. This is the bottom pocket of your mail organizer.
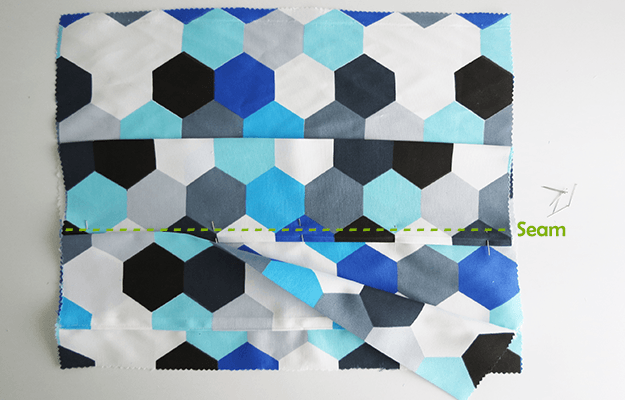
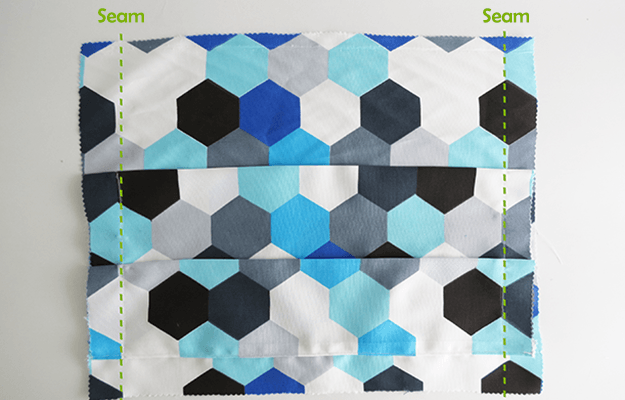
STEP 5: Above the first pocket, pin and sew the second pocket (smaller rectangle). Be sure that the first pocket will cover up the seam of the second one above it.
STEP 6: Sew the edges together. The distance between the two vertical seams must be the same as the cardboard width.
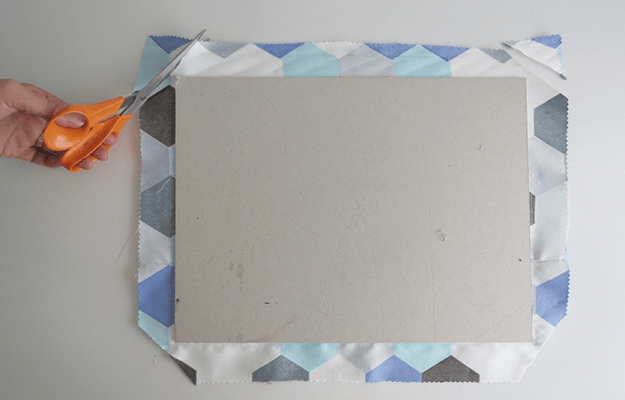
STEP 7: Turn the fabric wrong side up, place the cardboard on top of it and cut off the corners.
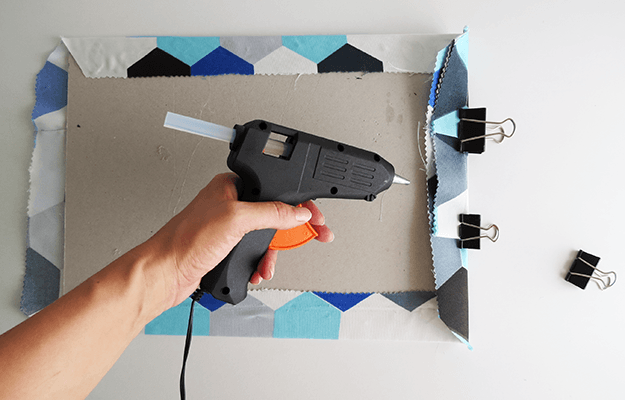
STEP 8: Using a glue gun, fix the fabric on the cardboard. You can use clips or clothespins to hold the fabric while you glue.
STEP 9: Put your mail organizer in the frame and glue them together. For a wall mail organizer, hang the mail organizer on the wall using two small screw eyes on the back of the frame and putting a wire between. You can also place magnets at the back if you want to put it on your fridge.

And that’s it, your cute hanging mail organizer is ready to use.