


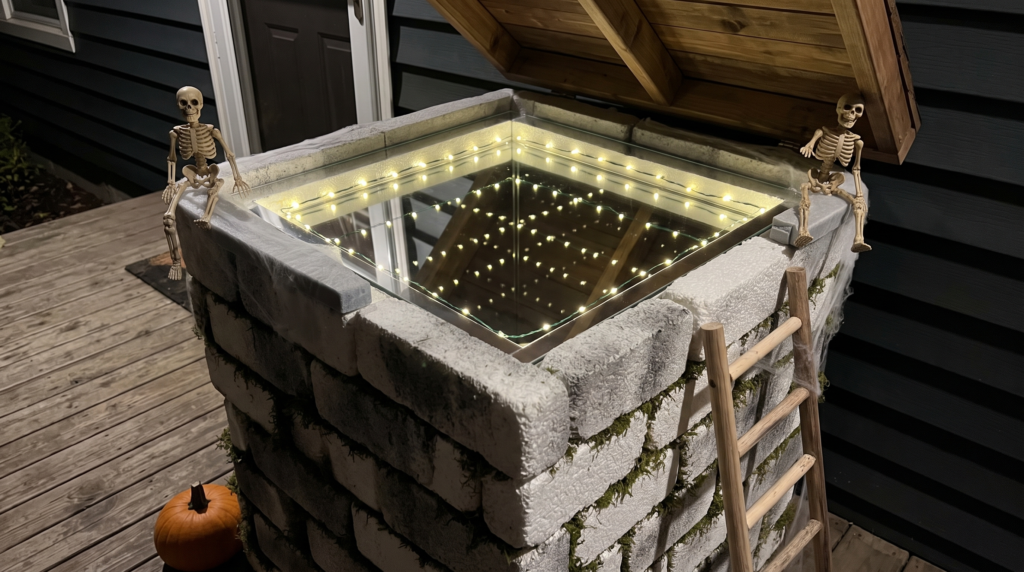

At a Glance: Halloween Infinity Well
- The tunnel comes from two mirrors and a ring of lights. A plain mirror sits on the bottom, the lights go around the inside, and a lid with mirror film goes on top.
- Use battery LED fairy lights, not a bulb. They stay cool inside a plastic bin wrapped in foam, and there’s no cord to run outside.
- About an afternoon of work, plus drying time. The foam bricks need a day or two to dry before you glue them on.
A Halloween infinity well is a plastic storage bin dressed up as an old stone well, with a mirror on the bottom, a ring of battery LED lights inside, and a lid covered in mirror film. Look down through the lid and the lights repeat into a tunnel that seems to drop forever. Jump to the supplies or skip to the mirror trick.
If you’ve seen one of these glowing on a porch and wondered how it looks so deep, it’s the same trick as the infinity mirrors in a fun house. The light bounces back and forth between two mirrors, and each bounce looks a little farther away.
The good news is that the hard-looking part is the easy part. The bricks take the most time, and they’re just painted foam.
The one thing worth buying new is the lights. A small string of battery fairy lights gives you the ring of light the tunnel needs, and it stays cool inside the bin. This set has 30 tiny warm white LEDs on 10 feet of thin green wire. That’s about one loop around the inside of a medium bin, so measure yours first. (paid link)
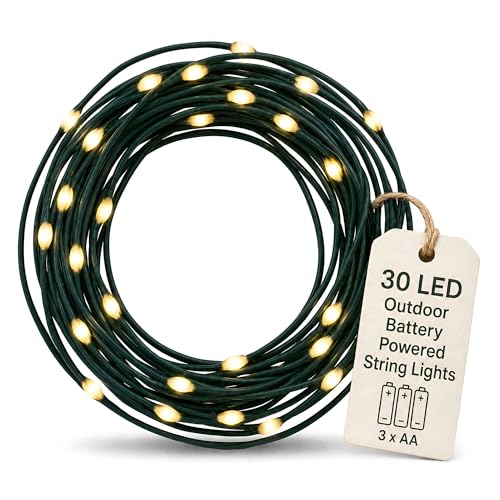
- Battery Operated String Lights: Perfect as small Christmas tree lights, battery operated Christmas...
- Multifunctional Christmas Lights Battery Operated - These versatile christmas lights battery...
As an Amazon Associate, DIYProjects.com earns from qualifying purchases.
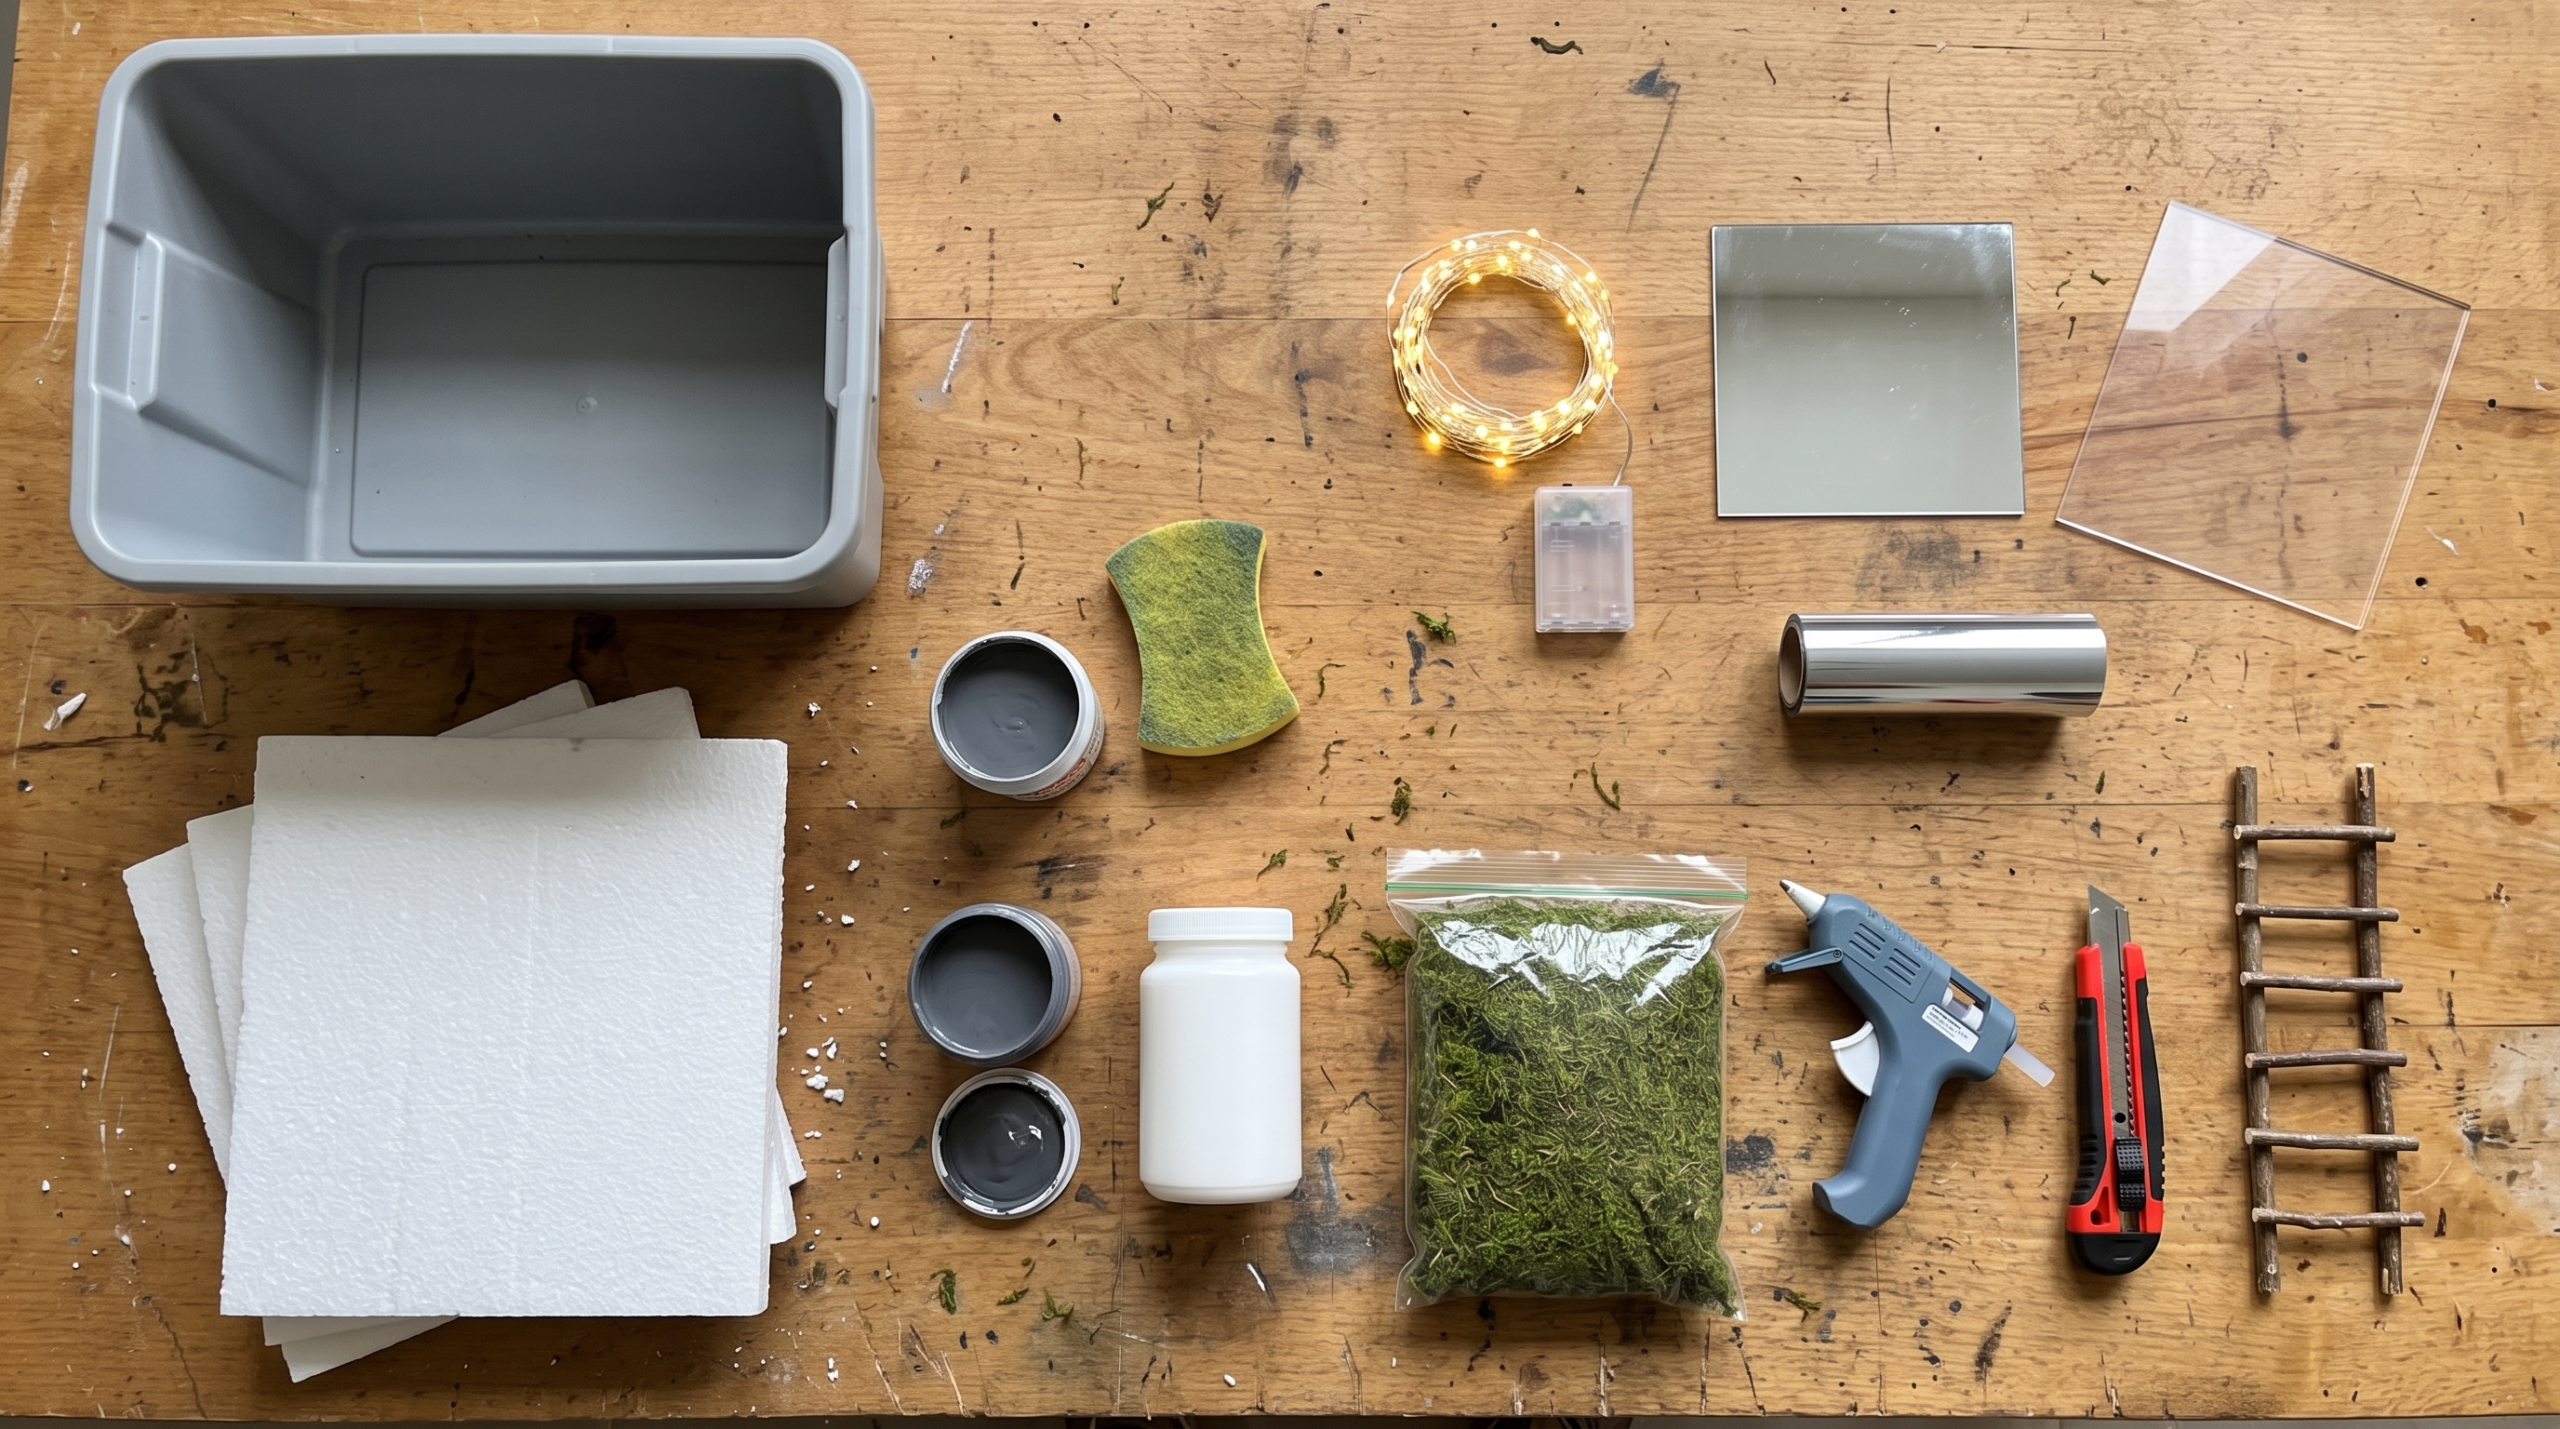
What do you need to make a Halloween infinity well?
Makes one well, about the size of your storage bin
- Plastic storage bin. A square or round one with straight sides. Take off any handles.
- Foam insulation sheets, about three. The plain white kind from the hardware store.
- Water-based sealer. Mod Podge or white glue thinned with a little water.
- Gray acrylic or latex paint, plus a little black. Water-based only.
- A kitchen sponge and a utility knife.
- Low-temp glue gun and glue sticks.
- Mirror tile or craft mirror that fits flat on the bottom of the bin.
- Battery LED fairy lights. Warm white looks most like an old lantern.
- Clear acrylic sheet cut to the size of the bin’s opening. Most hardware stores will cut it for you.
- Two-way mirror window film. Sometimes sold as privacy or one-way film.
- Craft moss, a few thin sticks for the ladder, and any Halloween extras you like.
Quick tip: Ask the store to cut your acrylic sheet when you buy it. You’ll skip the hardest cut in the whole project.
How do you make a Halloween infinity well?
Six steps. Do the bricks first, since the paint needs time to dry.
1. Seal and paint the foam

Brush a coat of water-based sealer over the foam sheets first. Regular spray paint melts this kind of foam, and the sealer gives the paint something to grip. Let it dry fully. A day or two is safest.
Any water-based sealer works here. This kit has two big bottles and a set of foam brushes, which is more than three foam sheets need, so you’ll have plenty left for other crafts. (paid link)
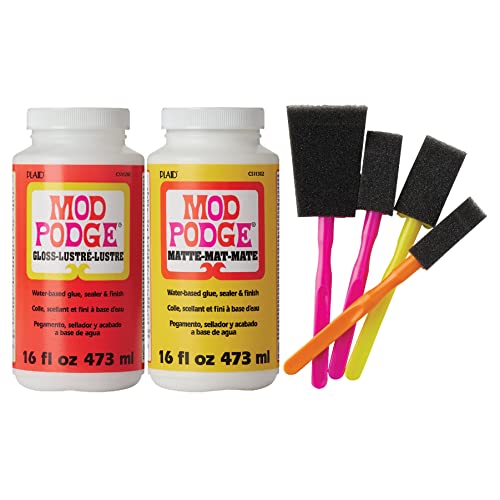
- CONVENIENT & VERSATILE KIT – Add this multi-purpose set of a 16 oz Mod Podge Matte and a 16 oz Mod...
- DURABLE FINISH – This handy decoupage glue comes in a beautiful clear, matte and gloss finish to...

As an Amazon Associate, DIYProjects.com earns from qualifying purchases.
Paint the sheets gray. Then dip a sponge in a slightly darker gray and stamp a brick pattern across them. Uneven bricks look older, so don’t fuss.
2. Cut the bricks and glue them on
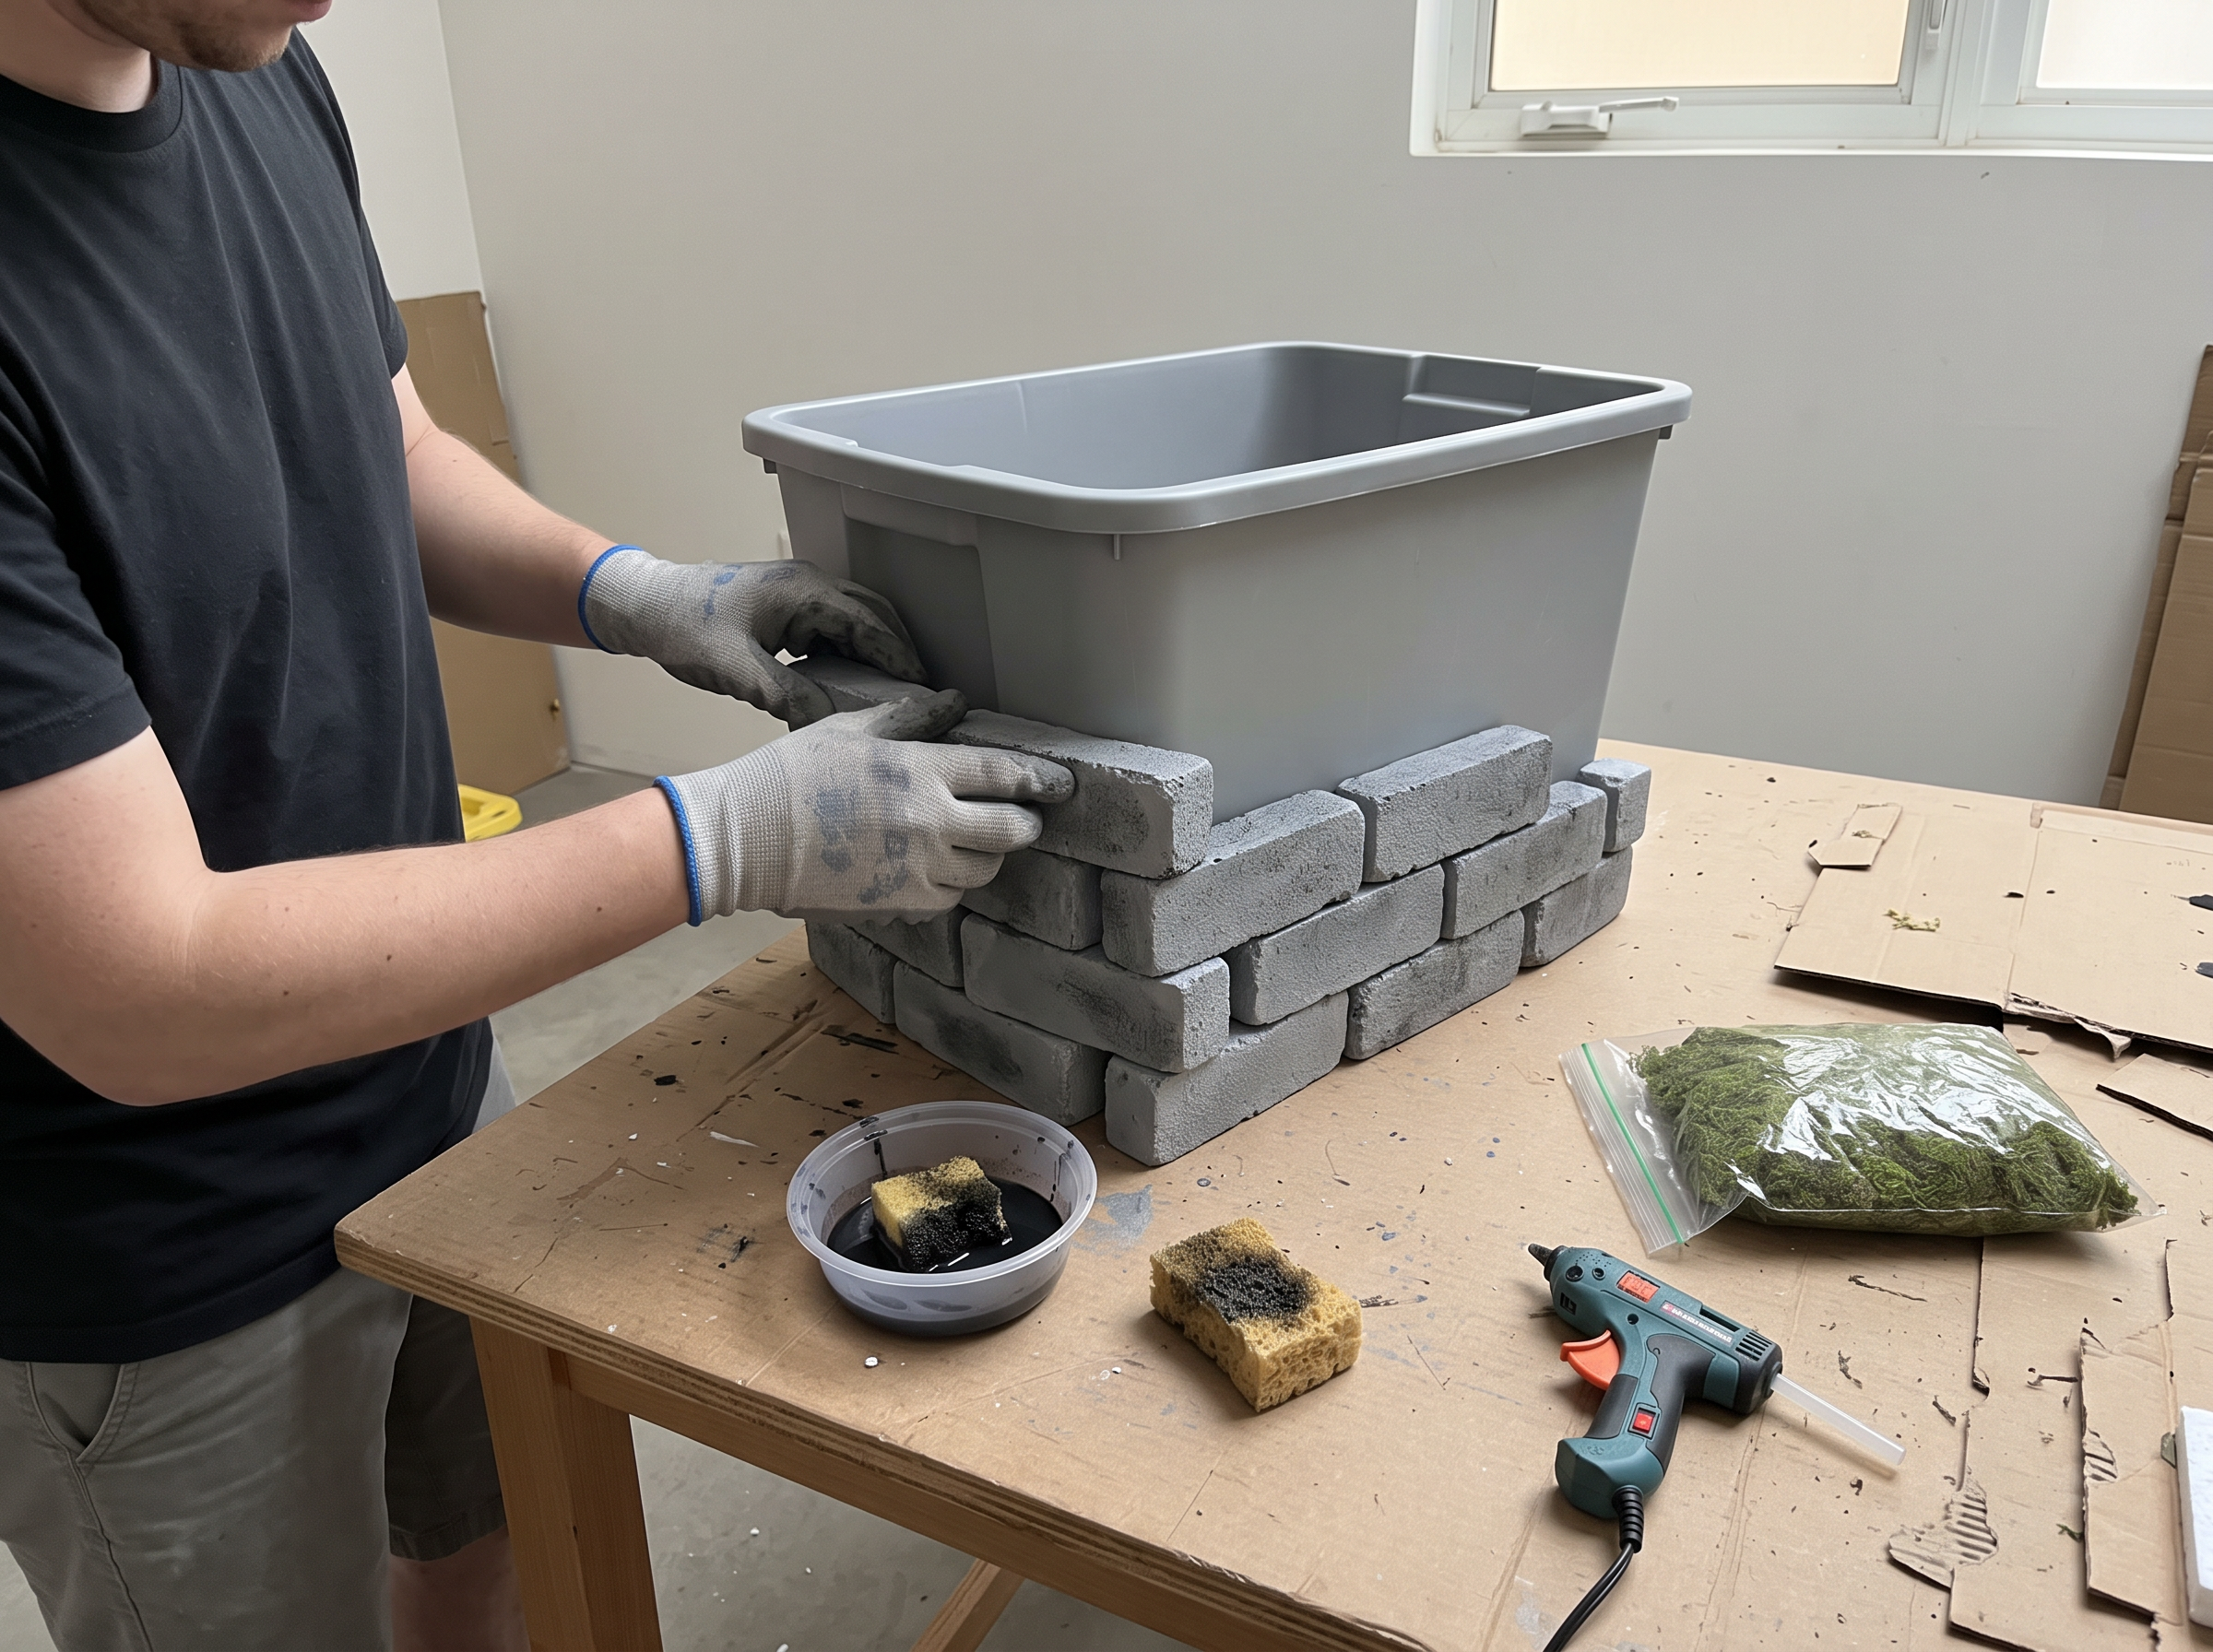
Cut the painted sheets into bricks with a utility knife. Glue them to the bin in a staggered row, starting at the bottom and working up. A low-temp glue gun holds foam without melting a hole in it.
For an old, damp look, dab a little watered-down black paint into the cracks with the sponge. Then glue tufts of moss along the bottom rows and in the gaps.
3. Make the little ladder
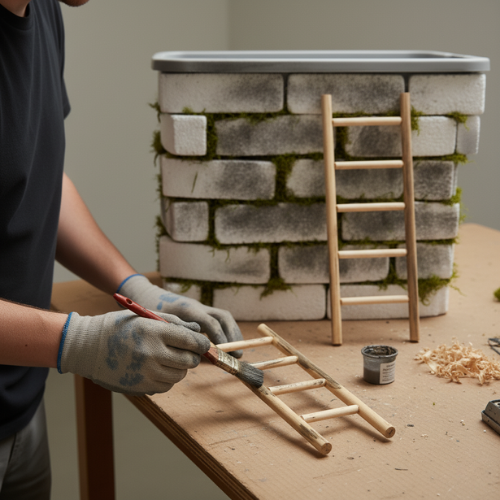
Glue a few thin sticks across two longer ones to make a small ladder. Paint it gray and black so it looks weathered. Lean it against the outside wall of the well. The lid will cover the top, so the ladder lives outside.
4. Set the mirror and lights inside
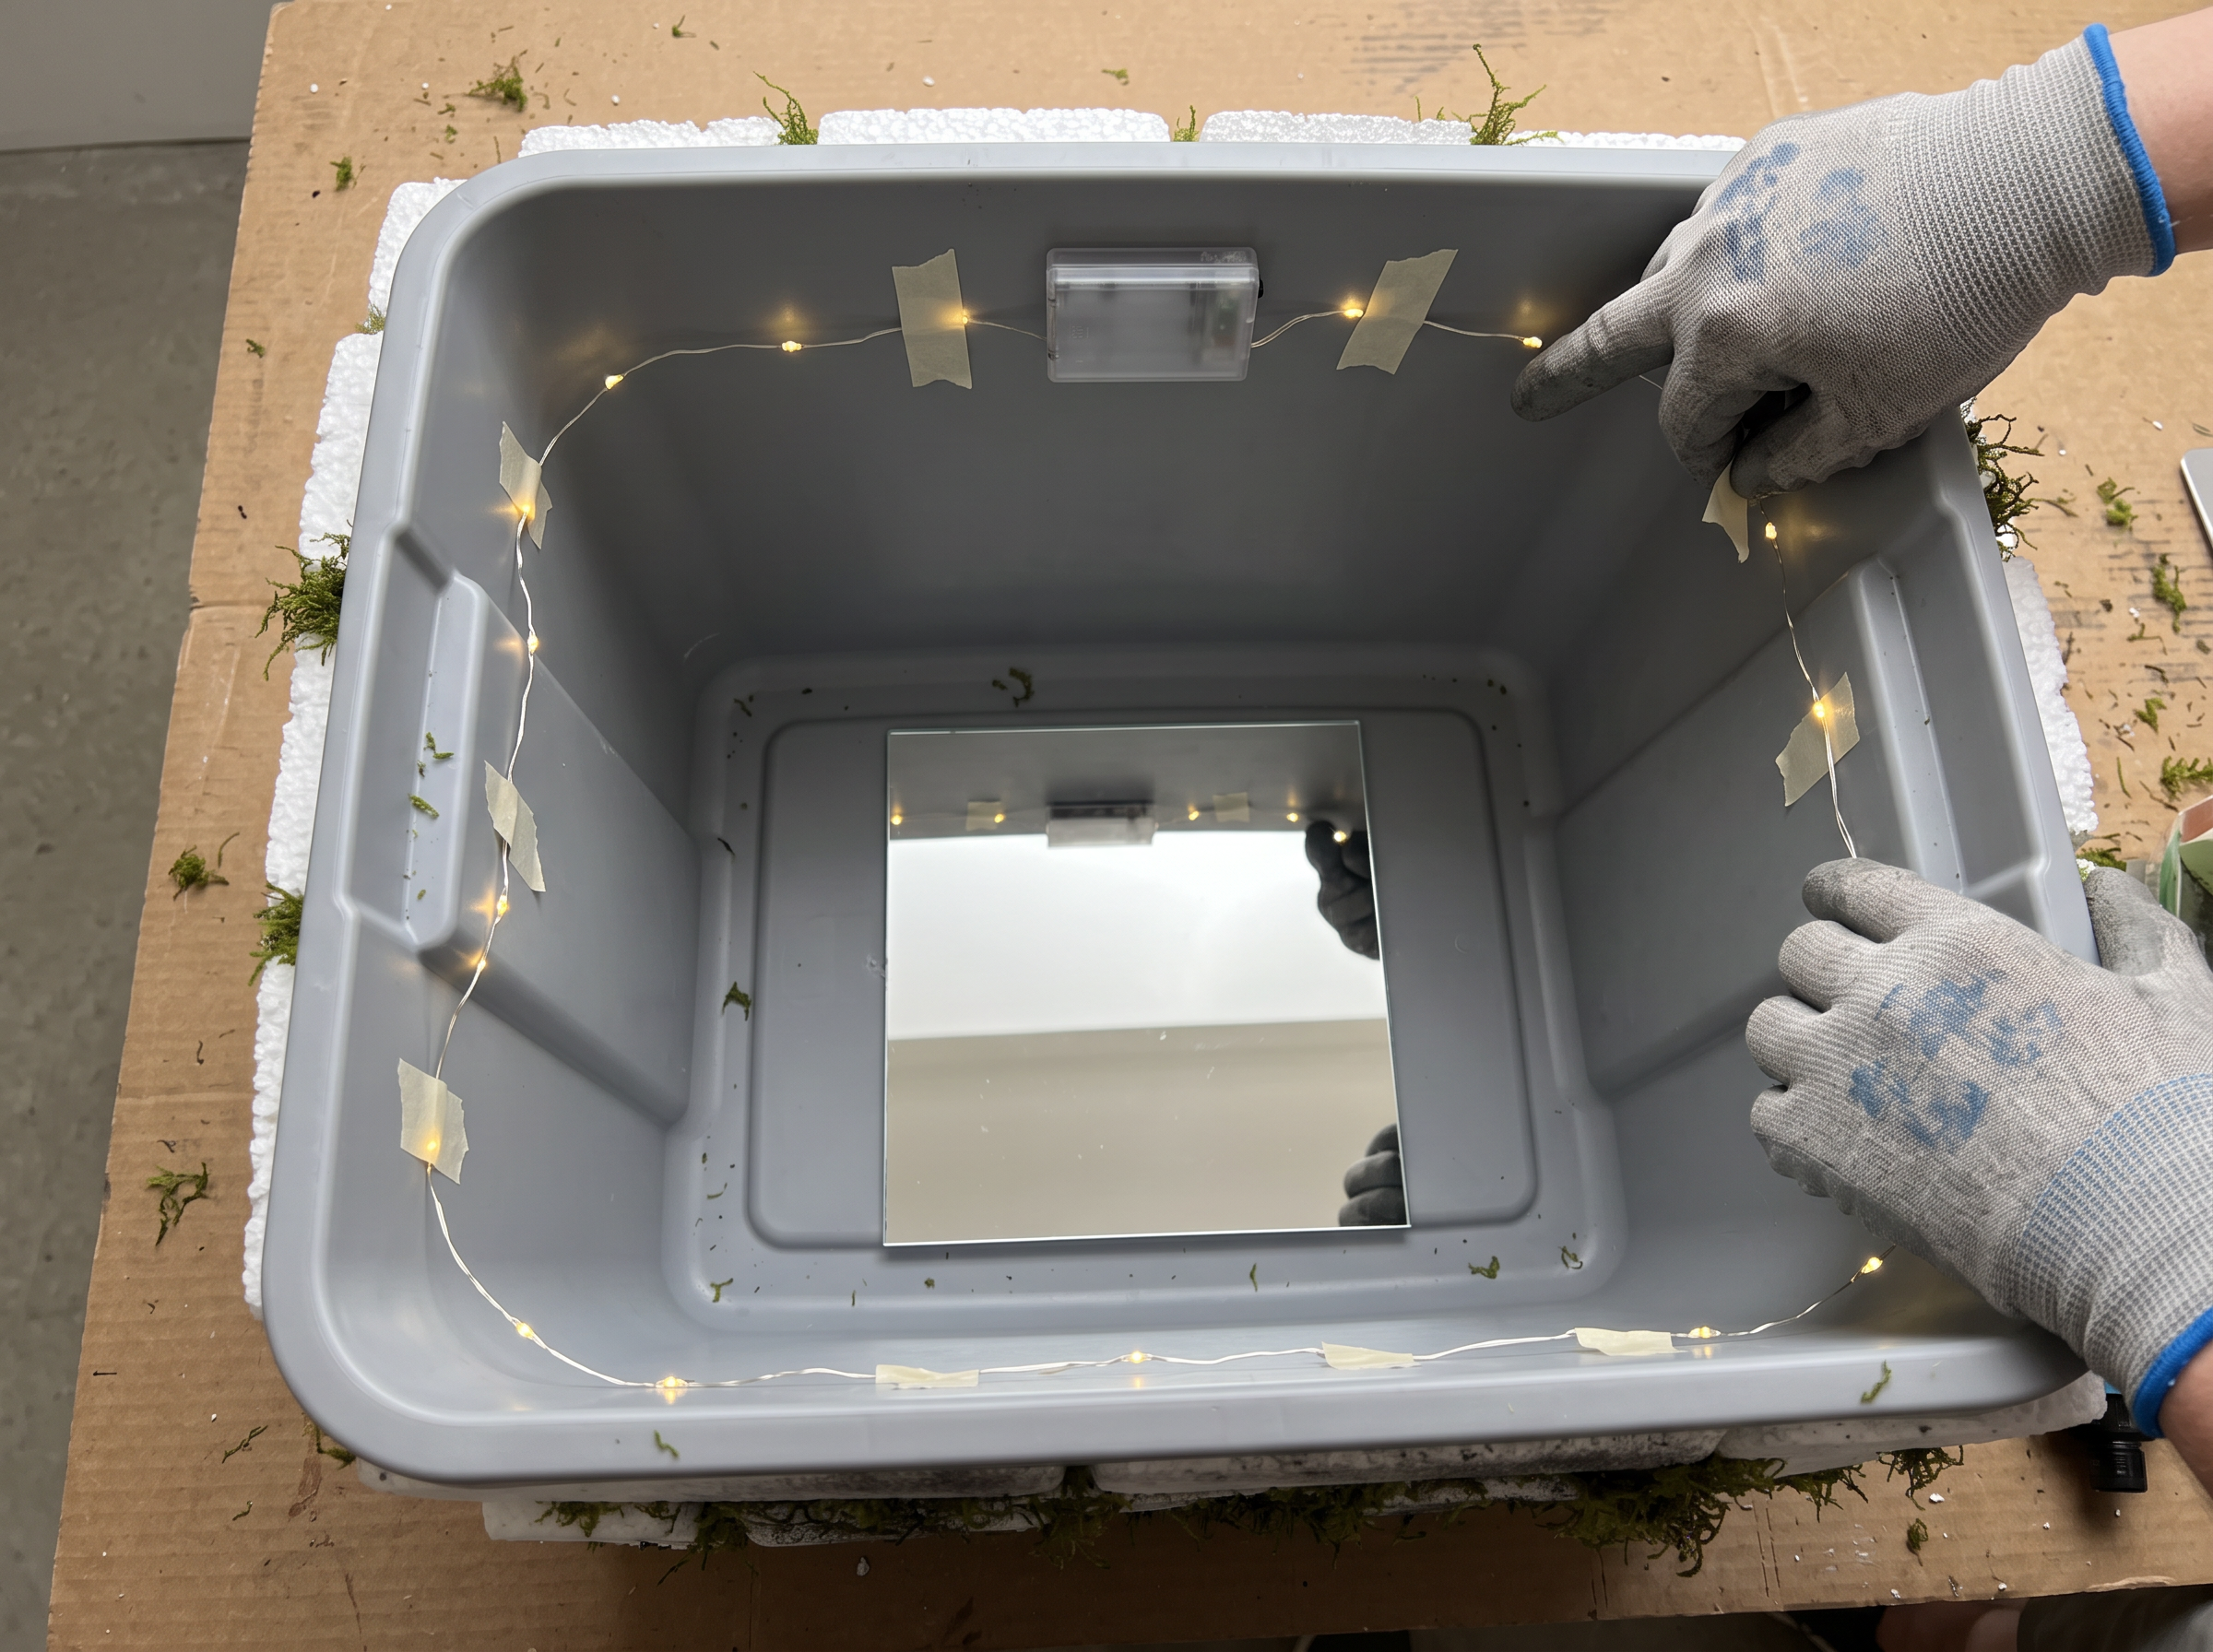
Lay the mirror tile flat on the bottom of the bin, shiny side up. Then tape your fairy lights in one ring around the inside wall, a couple of inches below the rim. Tape the battery box inside near the top too, so you can reach the switch.
Keep the lights in a neat, even ring. A tidy ring repeats into a clean tunnel. A tangle repeats into a blur.
5. Put on the mirror lid
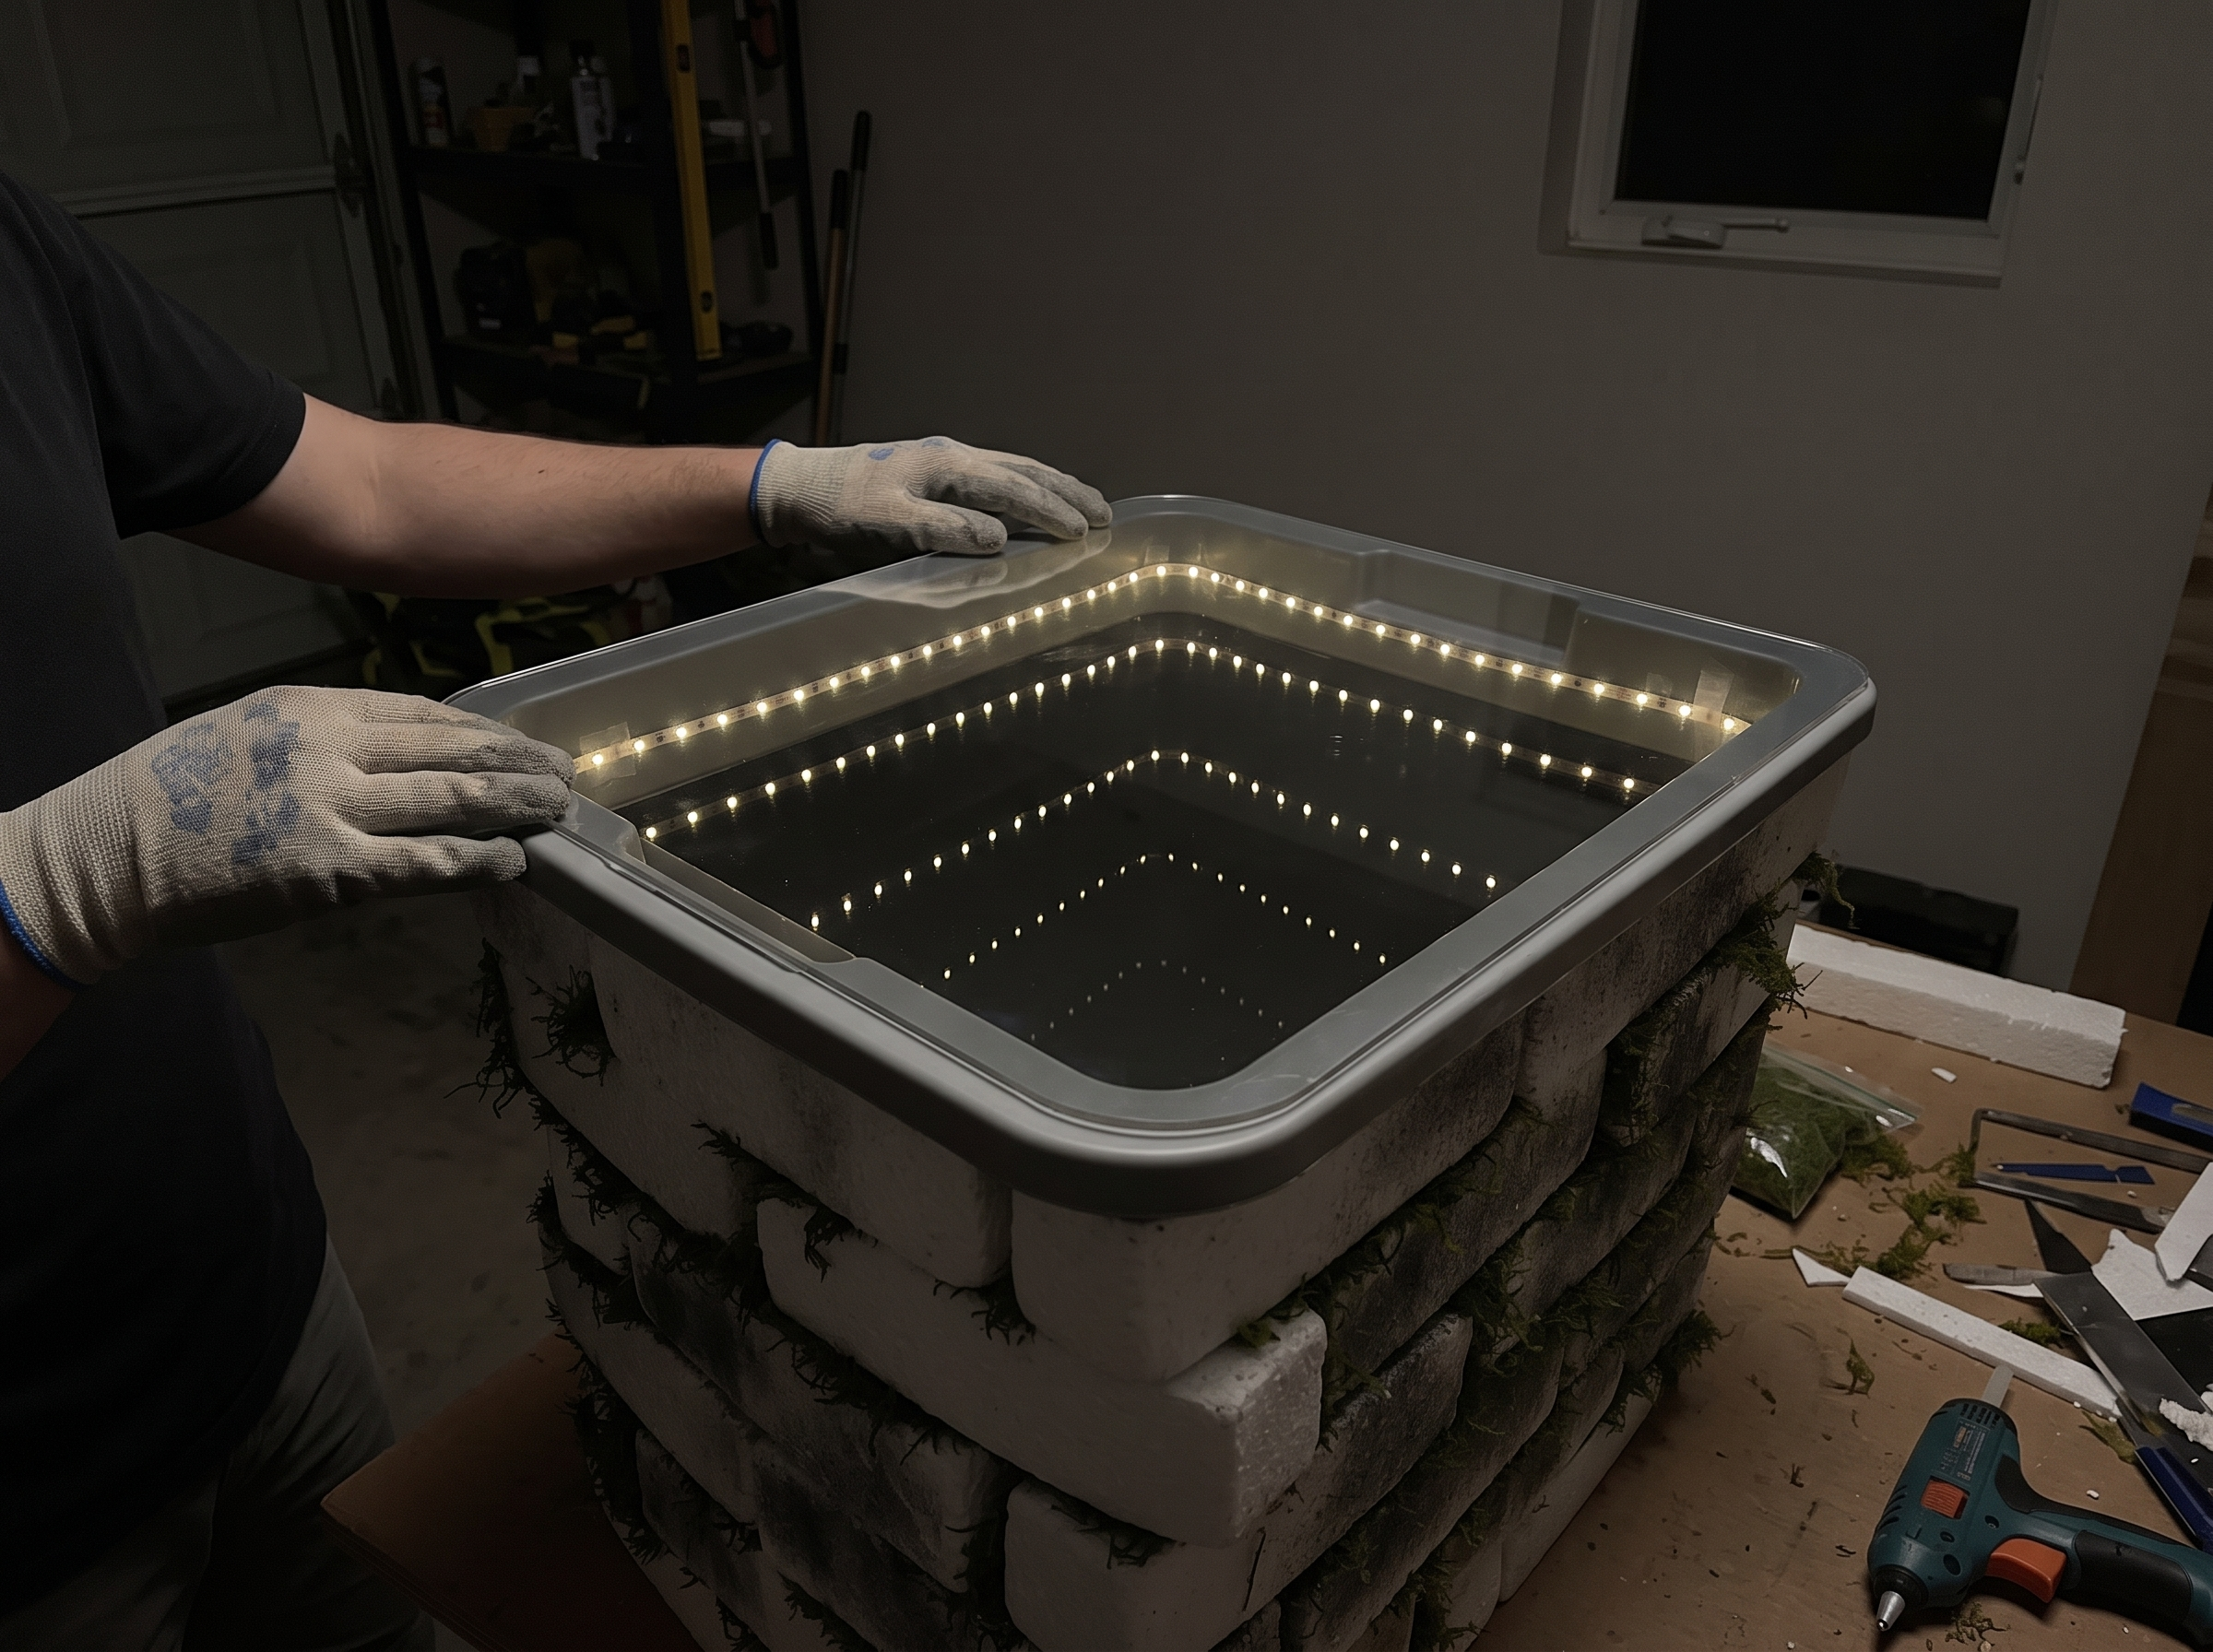
Stick the mirror film onto the acrylic sheet, smoothing out bubbles as you go. Lay the sheet on top of the well with the shiny film side facing down, toward the lights.
Now switch the lights on and look straight down. The ring of light should repeat into a tunnel. If you mostly see your own reflection, it’s too bright around the well. Turn off nearby lights or wait until dark, then check that the film faces the lights.
6. Set the scene
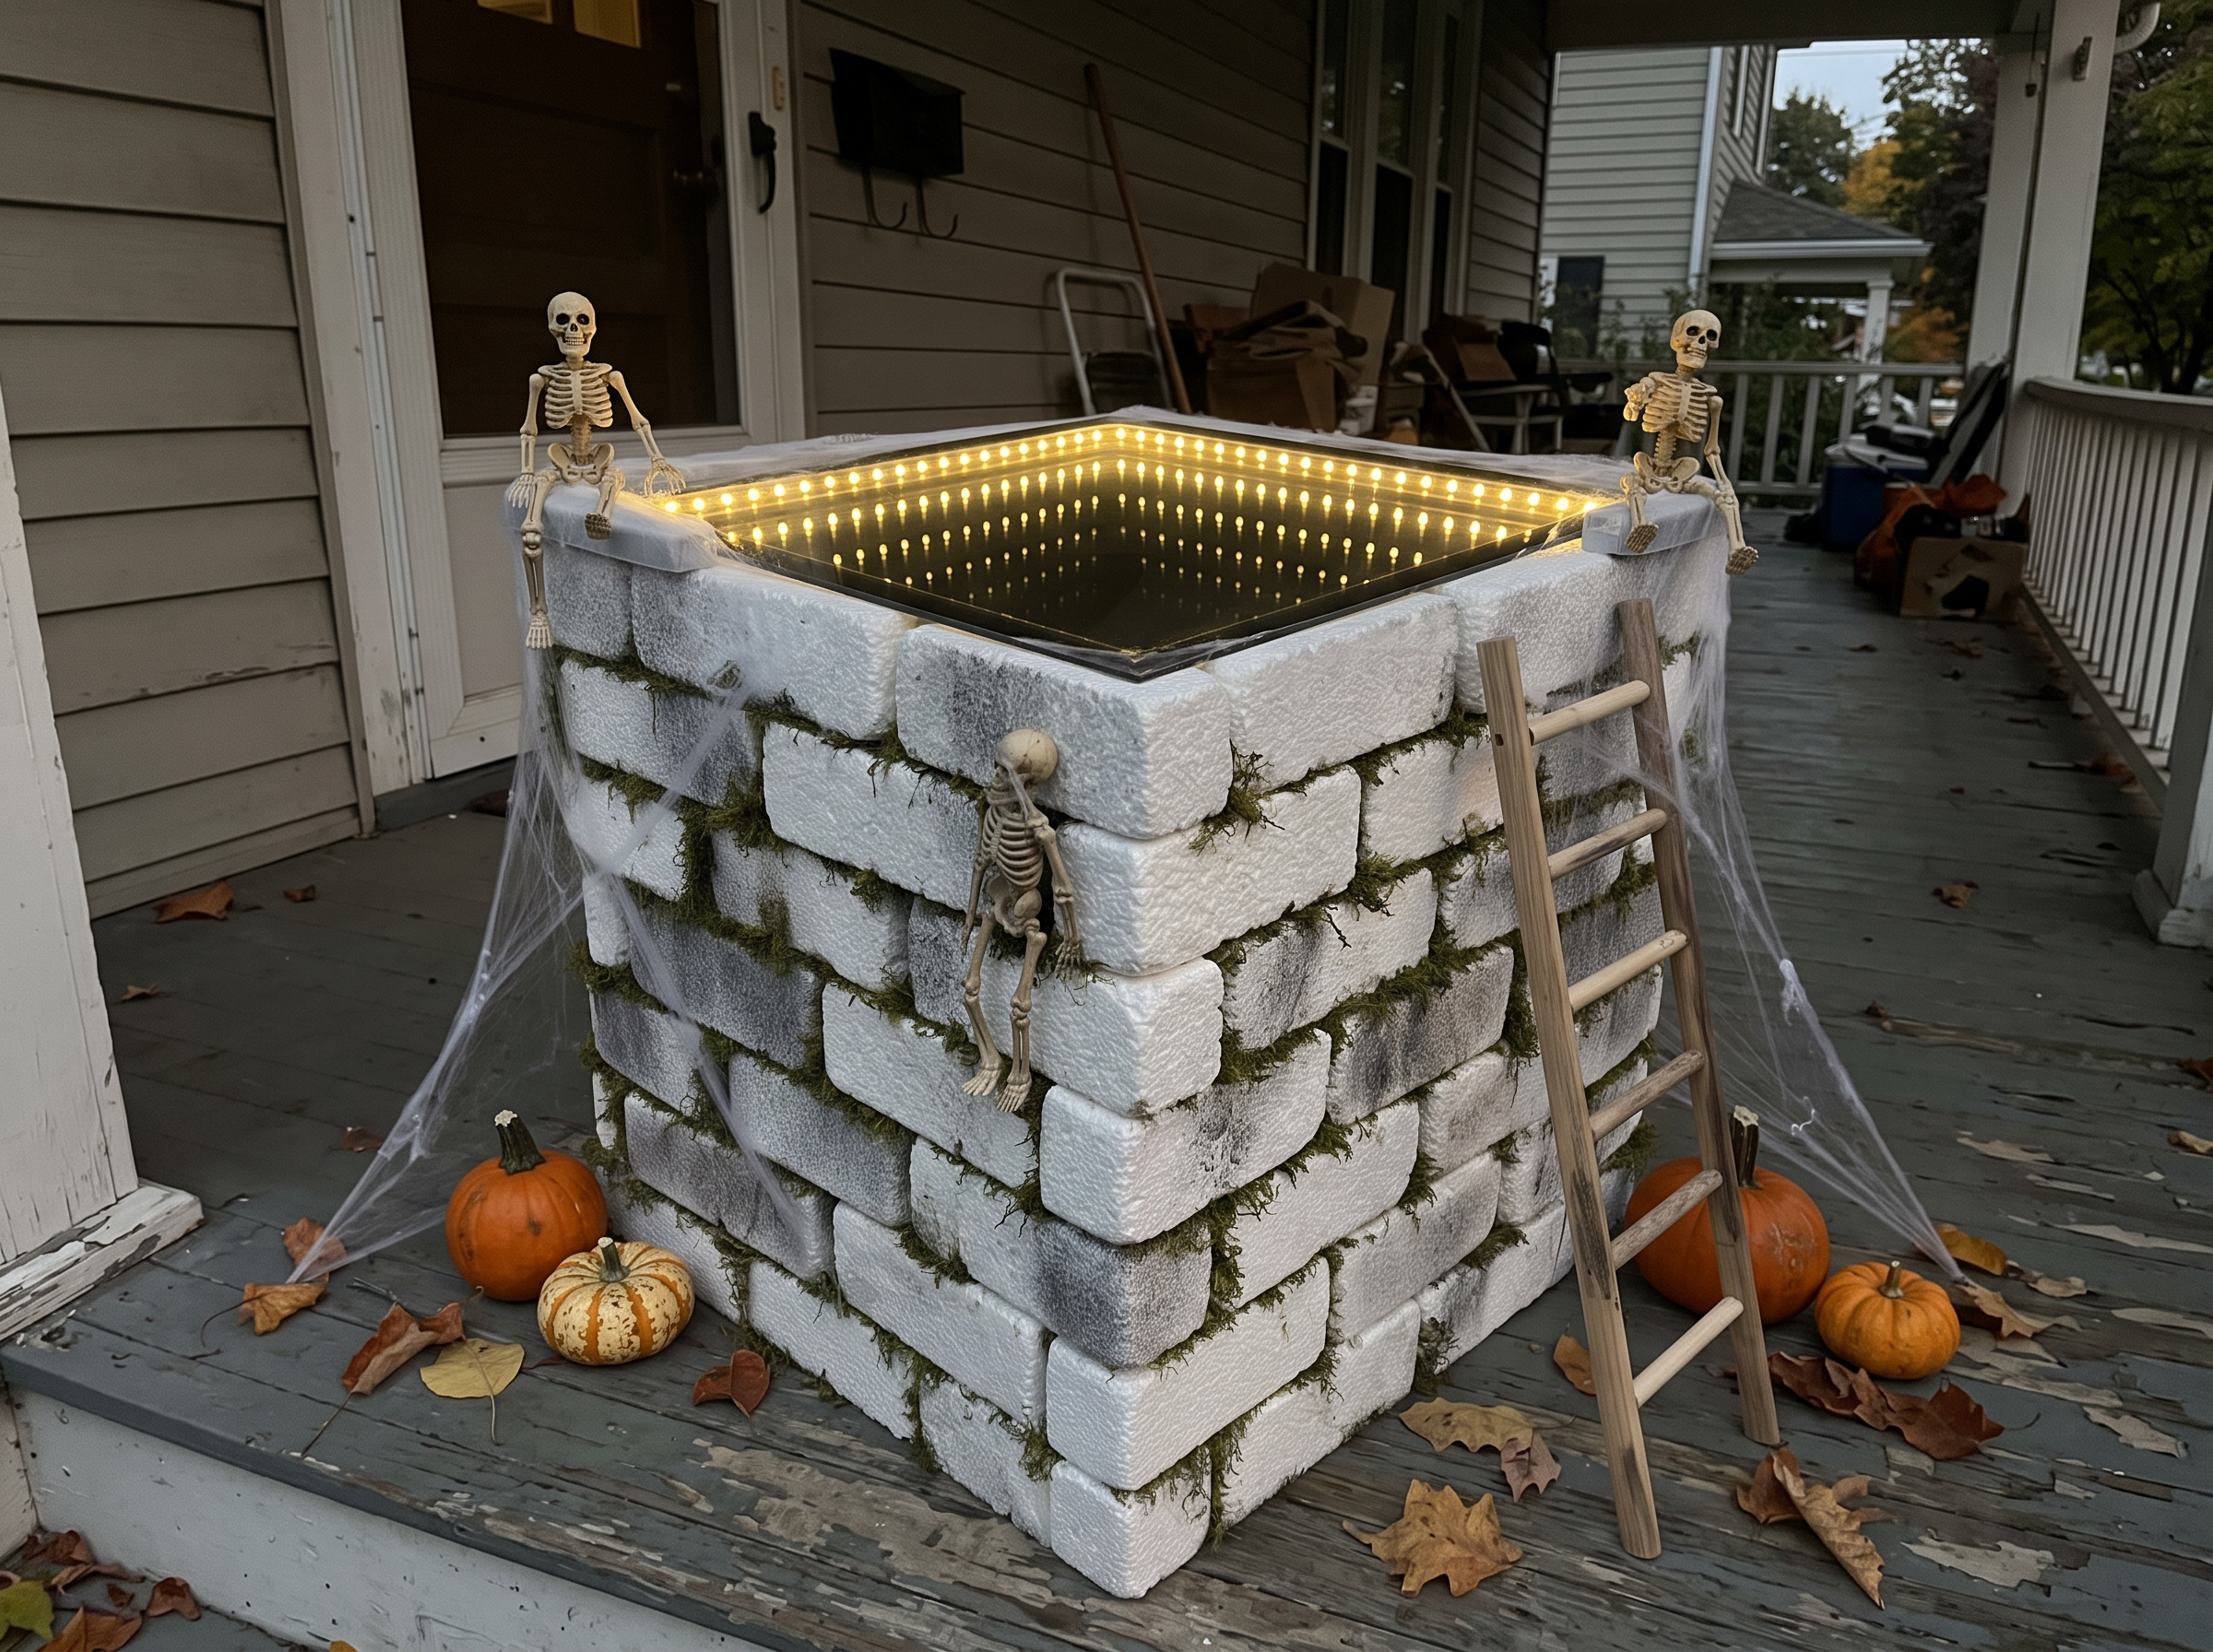
Add skeletons, cobwebs, or a few small pumpkins around the base. The effect looks best after dark, when the inside of the well is brighter than the yard around it.
Two easy things to get right
The film faces down. The shiny side goes toward the lights, so the light bounces between the film and the mirror below.
It needs the dark. In daylight the film acts like a window and the tunnel fades. Set it out at dusk and it really comes alive.
What does a Halloween infinity well cost?
These are planning estimates. Prices change by store and season.
- Under $25: Use a bin you already own, leftover paint, and a mirror tile from the craft store. Buy the foam, film, and lights.
- About $40 to $50: Everything new, including a precut acrylic sheet and a big bag of moss.
- $60 and up: A bigger bin, two strings of lights for a deeper tunnel, and fog or a few skeletons to dress it up.
Is a Halloween infinity well safe to leave outside?
Use battery LED lights only. The U.S. Consumer Product Safety Commission recommends battery-operated lights instead of candles for Halloween decorations, and a hot bulb or a candle has no place inside a plastic bin wrapped in foam.
Keep it on a covered porch or bring it in when it rains, since the battery box isn’t built for a downpour. Acrylic edges can be sharp, so sand them lightly or cover them with tape. Let a grown-up handle the glue gun and the utility knife.
Once it’s set up, turn off the porch light and look straight down. If you can count at least a few rings of light before they fade into the dark, you nailed it.
Looking for more spooky builds? Our cheesecloth floating ghosts look great hanging above the well, and the Baba Yaga hut uses the same weathered paint trick. For something softer, try the boho ghost wall hanging.
A well that keeps going
A Halloween infinity well looks like it took a whole weekend and a magic trick. It’s really painted foam, one mirror, a string of lights, and a lid. Set it out on Halloween night and watch people lean in for a second look.
Show us your well
We’d love to see how deep yours goes. Share a photo with us on Facebook, save this one to your Halloween board on Pinterest, and find more easy fall builds on Instagram.
A few helpful answers
Halloween infinity well FAQs
Tunnels, lids, and keeping it for next year.
Check the film and the light. The shiny side of the film has to face down toward the lights. The room or yard also needs to be darker than the inside of the well, so try it after sunset.
No, the top has to let you see through. A regular mirror blocks the view completely. Two-way film on clear acrylic reflects most of the light back down but still lets you look in.
One even ring is enough. A short string of 20 to 30 LEDs around a medium bin makes a clear tunnel. More lights make it brighter, but keep them in a single neat ring.
Yes, as long as the sides are straight. Cut the foam bricks a little narrower so they wrap around the curve. Ask the store to cut a round acrylic lid, or trim a square one to sit on top.
Take out the batteries and lift off the lid. Wrap the acrylic lid in a towel so the film doesn’t scratch, and keep the well somewhere dry so the moss and foam last.
Where are you setting up your infinity well this year?
Some of you are putting this right by the front door for trick-or-treaters. Others are saving it for a party or a spooky garage walk-through.
Tell us where yours is going, then share your best decorating spot in the comments.









