


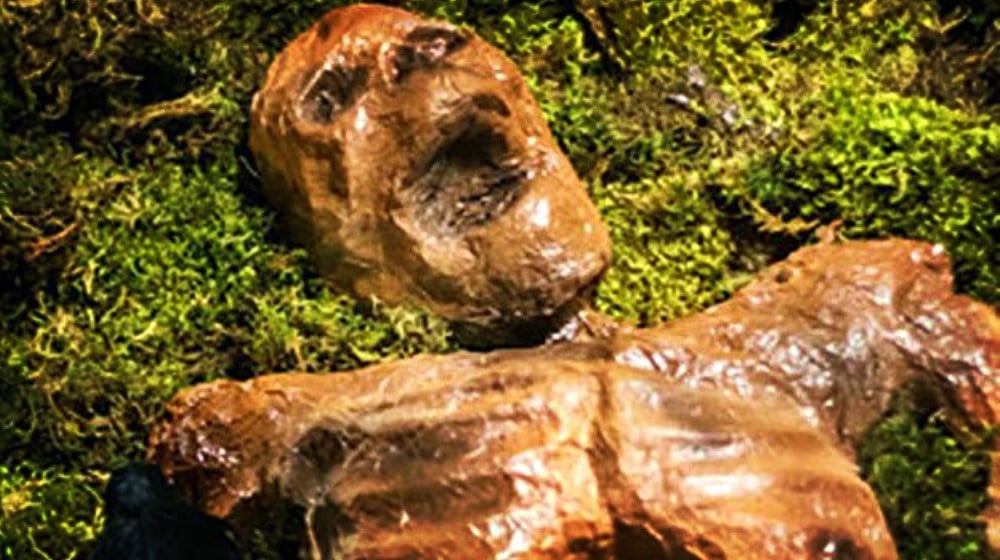

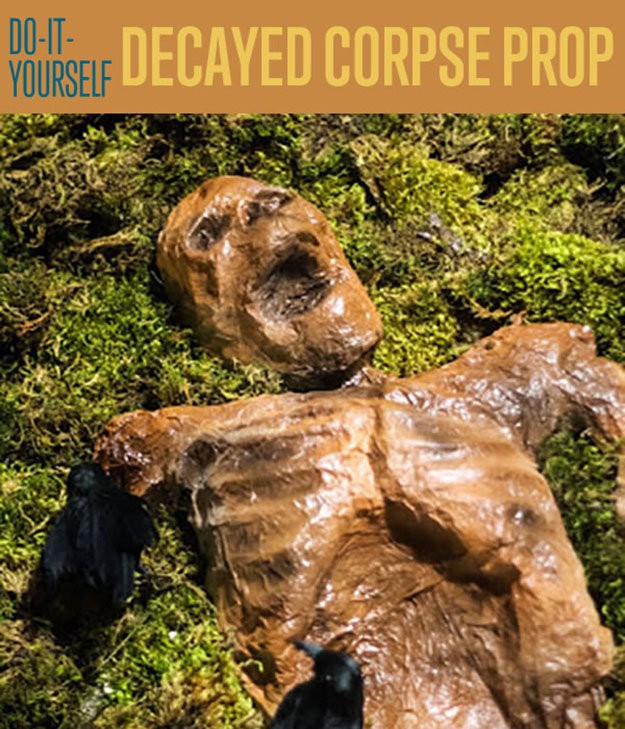
Looking for super scary Halloween decorating ideas? This decaying corpse Halloween props tutorial will scare the living daylights out of guests and trick-or-treaters. Learn how to make one now with this DIY guide!
Halloween Decorating Ideas | How to Make a Decayed Corpse
What You Will Need:
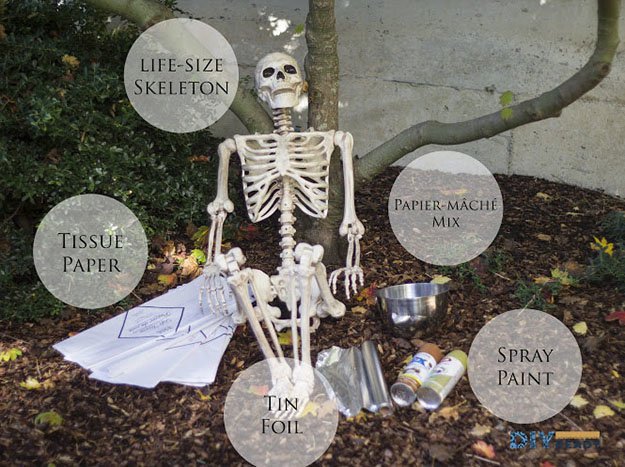
- Life-sized plastic skeleton
- Tissue paper
- Tin foil roll
- Spray paint (caramel-brown + dark brown)
- Moss (not pictured – optional)
- Fake crows (not pictured – optional)
- Scissors
For DIY Papier-mâché:
- 2/3 cups flour
- 4 Tbsp. rice flour
- 3 Tsp salt
- 2 tsp baking soda
- 3.5 cups boiling water
- 2 cups cold water
Instructions:
Step 1. Make Homemade Papier Mâché
First, mix the dry ingredients. Add in cold water. Pour the mixture into boiling water and let it boil for another 4 minutes. Remove from the burner and let it cool.
Step 2. Wrap the Skeleton in Tin Foil
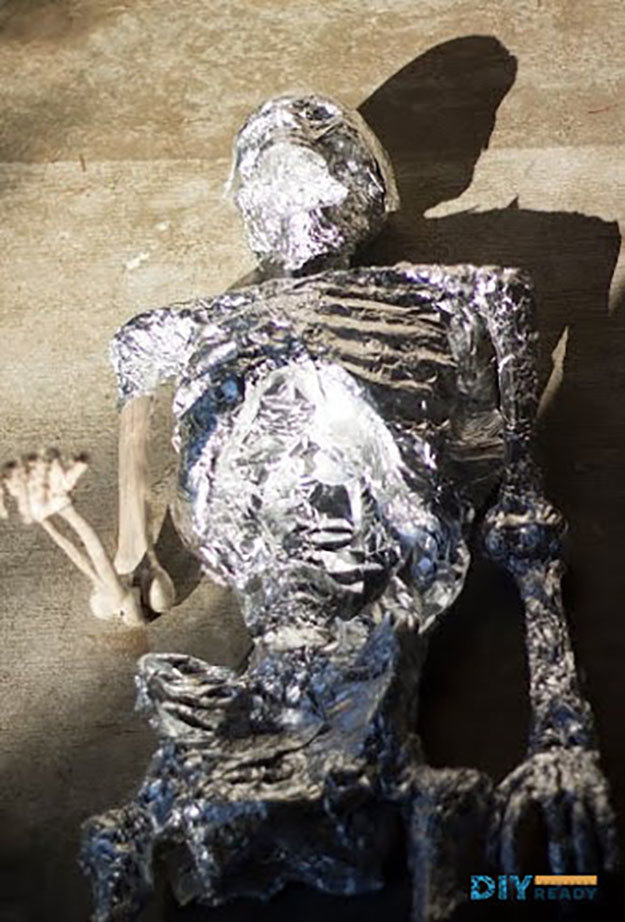
Cover your skeleton in tinfoil. I decided to have part of the legs and arms missing in the final project, to add to the decaying effect. Don’t worry about covering the back of the skeleton. We will be nestling it into moss at the end, so the back won’t matter.
Step 3. Cover Skeleton in Your Homemade Papier Mâché
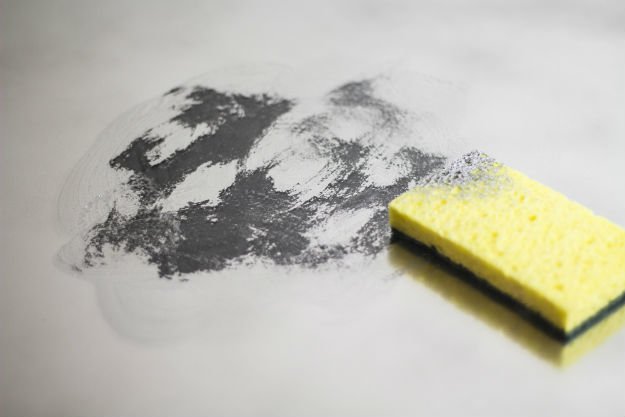
Tear strips of tissue paper. Brush a strip with the papier-mâché mixture. Make sure it’s saturated, then scrape off any goopy extra. Spread it out onto the skeleton, smoothing it into the grooves of the bones. Repeat until the skeleton is completely covered.
One of the key things to remember is to not goop on the papier-mâché mix too thickly. Otherwise, your project will take days and days to dry. Make sure everything is saturated, but not blobby.
Step 4. Let the Papier-Mâché-Covered Skeleton Dry
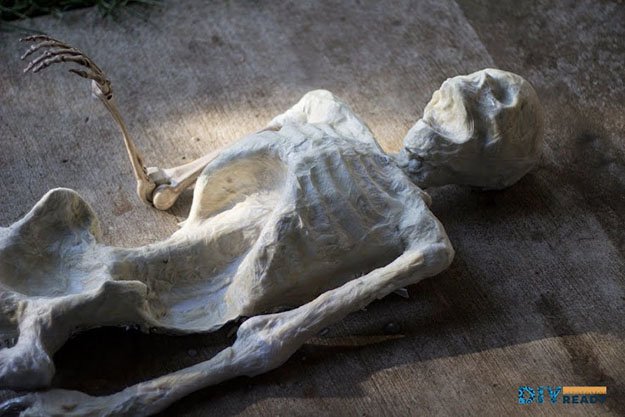
Keep spreading the papier-mâché in layers over the tinfoil skeleton until you’ve covered all of the areas that you want to. Let it dry for several days in a clean, dry area.
Step 5. Pull Papier-Mâché Cast From Skeleton Pattern
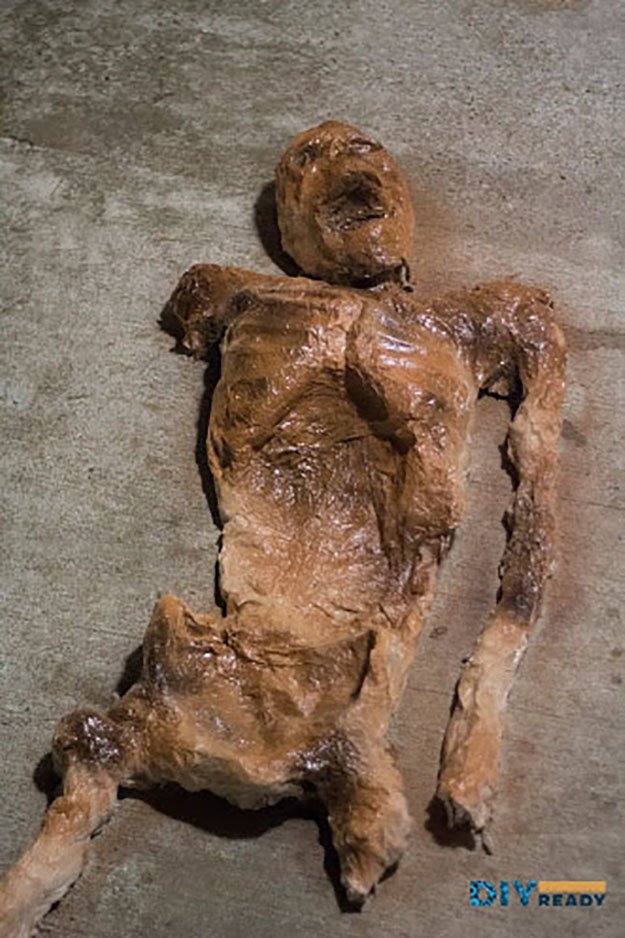
After the papier-mâché has dried for a few days and is nice and stiff, pull the shell off of the skeleton. You might have to use some scissors to snip some seams along the back, but just work gently and carefully, and everything should pull away smoothly.
Step 6. Paint Decayed Corpse Prop
Grab your spray paints (I only used two colors – dark brown and caramel brown) and start spraying! It only took about 30 seconds to spray my project, because I went for an organic, blotchy, rotting look. Just spray and shade your piece until you like how it looks. I played in the darker brown for the eyes, nose, mouth, and rib areas particularly.
Step 7. Prop Papier-mâché Decayed Corpse for Halloween Decor
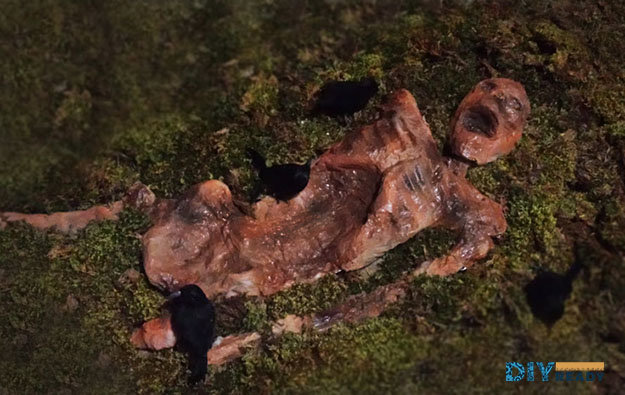
After the paint has dried, grab some moss, twigs, dirt, fake crows, and any other fun and creepy things that you can find. Arrange them around the corpse, and you’re done!
Watch this video from Dad Labs on how to create a Halloween front yard for inspiration and make room for your DIY scary Halloween props somewhere:
Rotting, disgusting, and oh-so-fun, grotesque do-it-yourself Halloween props like this one will have your guests recoiling in fright and admiring your prop-building skills. With simple steps and easily accessible supplies, this project is fantastic for beginners and advanced crafters alike. Have fun decorating for Halloween this year!
Excited to make this Halloween decorating idea? Tell us how your project went in the comments section below! We’d also love to see a picture of it.
Up Next: Make a Creepy Rotting Corpse Scarecrow | Outdoor Halloween Decorations

Stay connected with us on Facebook, Twitter, Pinterest, and Instagram!
Editor’s Note: This post was originally published on October 21, 2014, and has been updated for quality and relevancy.









