



Last Updated: August 2026
You hand your kid a craft project and thirty seconds later you’re the one finishing it. Sound familiar? Washi tape craft projects for kids exist precisely to break that cycle. The tape is repositionable, it tears cleanly, and it sticks to almost anything without leaving a sticky nightmare behind. No wet glue. No paint-soaked table. No tears because they “ruined it.” Just tape, a surface, and a kid who can actually finish something on their own.
Quick answer: The best washi tape craft projects for kids include bookmarks, decorated frames, notebooks, bunting banners, and canvas art. Washi tape is low-mess, repositionable, and suitable for ages 3 and up. All 12 projects are listed below.
What Makes Washi Tape Perfect for Kids?
Regular craft supplies punish mistakes. Glue dries wrong. Paint bleeds. Kids get frustrated and quit. Washi tape does the opposite.
It peels off and resticks. If a strip lands crooked, pull it up and try again. No damage to the surface, no ruined project, no meltdown. That one feature changes everything for kids who haven’t built confidence yet.
It’s also paper-based, so cleanup is just throwing scraps in the bin. And it comes in hundreds of patterns. Stripes, florals, geometric prints, seasonal designs. Kids can mix and match without any artistic training and still produce something that looks intentional.
Budget matters too. A decent variety pack costs less than $15. You get enough tape for a dozen projects, maybe more. Compare that to a set of paints that half-dries in the tubes before the next craft session.
What You Need Before You Start
The setup takes under five minutes. Here’s what you actually need, broken down by budget:
Material cost
| Budget | What you get |
|---|---|
| Minimum $2-3 | One roll of tape and a piece of cardstock. Covers 5 of the 12 projects. |
| Mid $8-12 | A 6-12 roll variety pack, cardstock, scissors, and a few dollar-store frames or notebooks. |
| Quality $14-18 | A 20+ roll set, canvas panels, small terra cotta pots, and a cutting mat for cleaner edges. |
You don’t need a cutting mat or a ruler for most of these. Kids can tear the tape by hand for organic edges, or use scissors for straight lines. Both look good. Let the kid choose.
12 Washi Tape Craft Projects for Kids
These are ordered from simplest to more involved. Ages 5-7 can tackle the first six independently. Ages 8-12 can run with all twelve.
1. Washi Tape Bookmarks
Cut a strip of cardstock about 2 inches wide and 7 inches long. Cover it in overlapping strips of washi tape, mixing patterns. Trim the edges. Done. Time: 5 minutes. Age: 5+. This is the best first project because success is guaranteed.
2. Decorated Picture Frames
Grab a plain wood or cardboard frame from the dollar store. Run strips of washi tape along each edge, overlapping at the corners. Let the kid choose the pattern placement. Time: 10 minutes. Age: 5+. The result is something genuinely giftable.
3. Washi Tape Pencil Case
A plain canvas pencil pouch becomes a custom one with horizontal strips of washi tape down the front panel. Press firmly. The tape adheres well to canvas and holds through normal use. Time: 8 minutes. Age: 5+.
4. Gift Tags and Cards
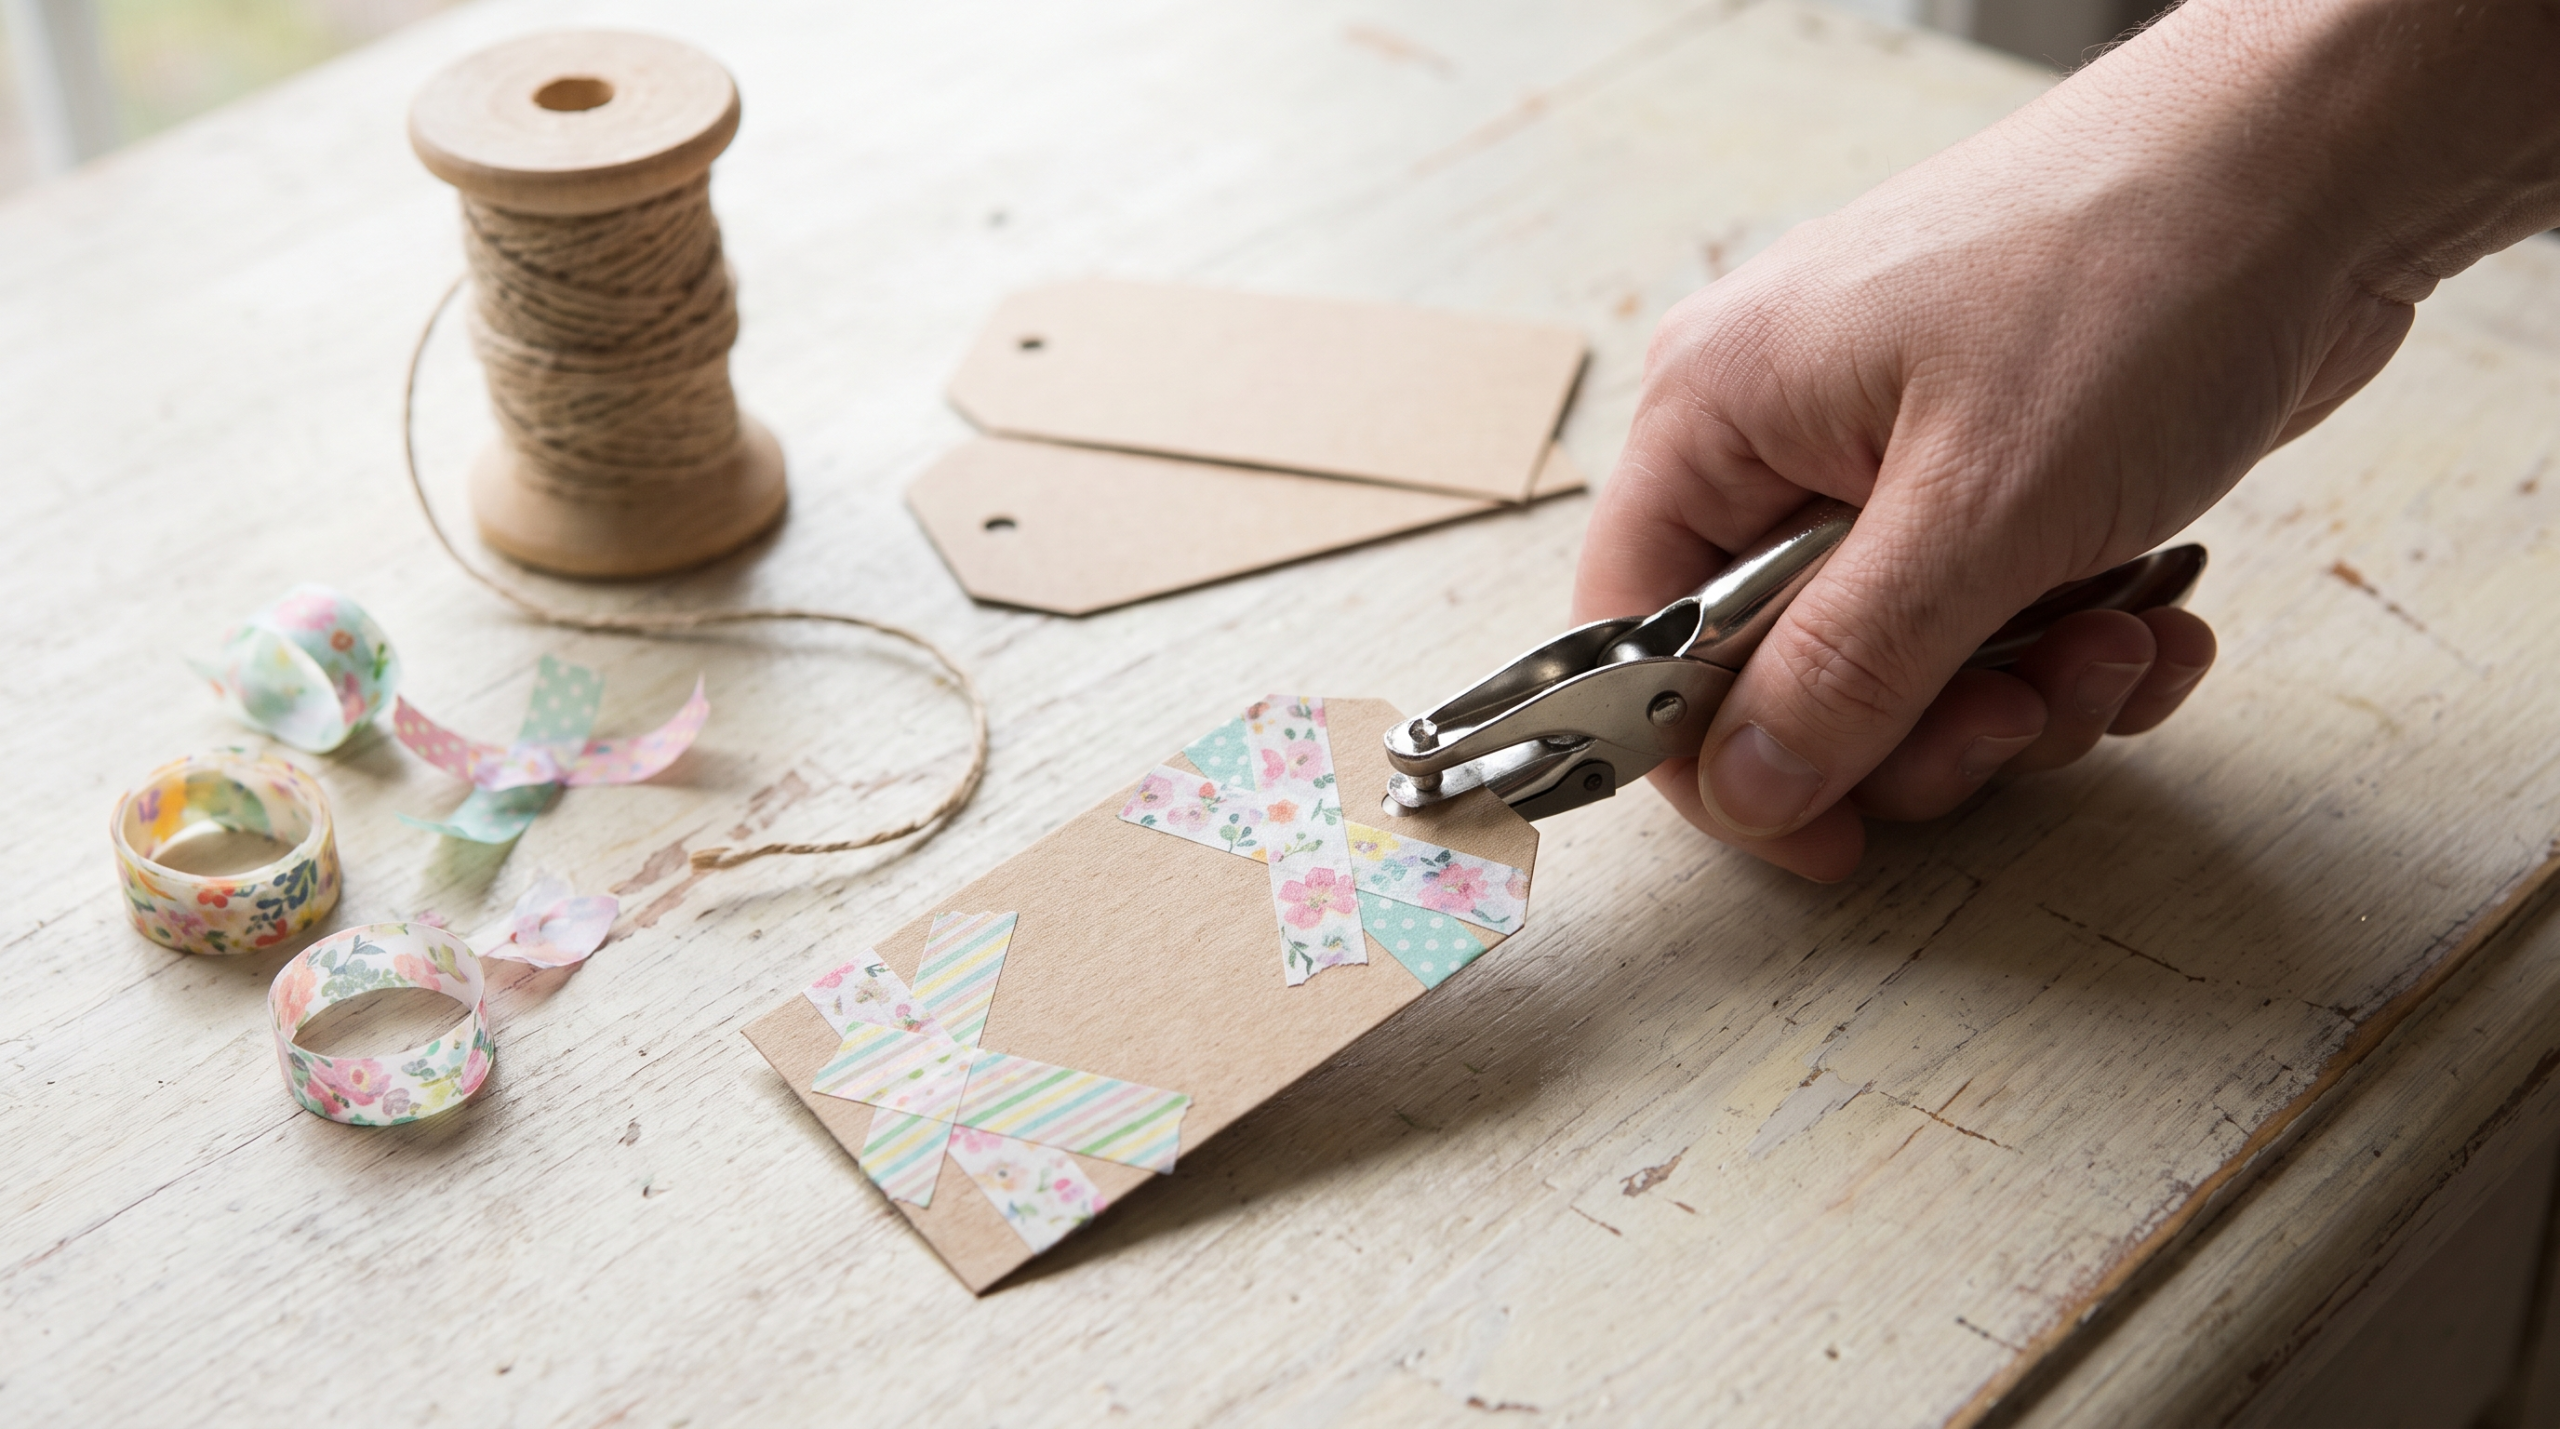
Cut cardstock into tag shapes. Decorate with washi tape strips, chevron borders, or tape “frames” around a handwritten message. Punch a hole, thread twine, and you have a custom gift tag. Time: 10 minutes. Age: 6+.
Related: DIY paper crafts for kids
5. Washi Tape Geometric Art on Paper
Lay strips of washi tape diagonally across a sheet of white cardstock in a grid or starburst pattern. Press flat, then draw or color in the sections between the tape strips. Peel the tape to reveal clean lines. Time: 15-20 minutes. Age: 6+.
6. Decorated Plant Pots
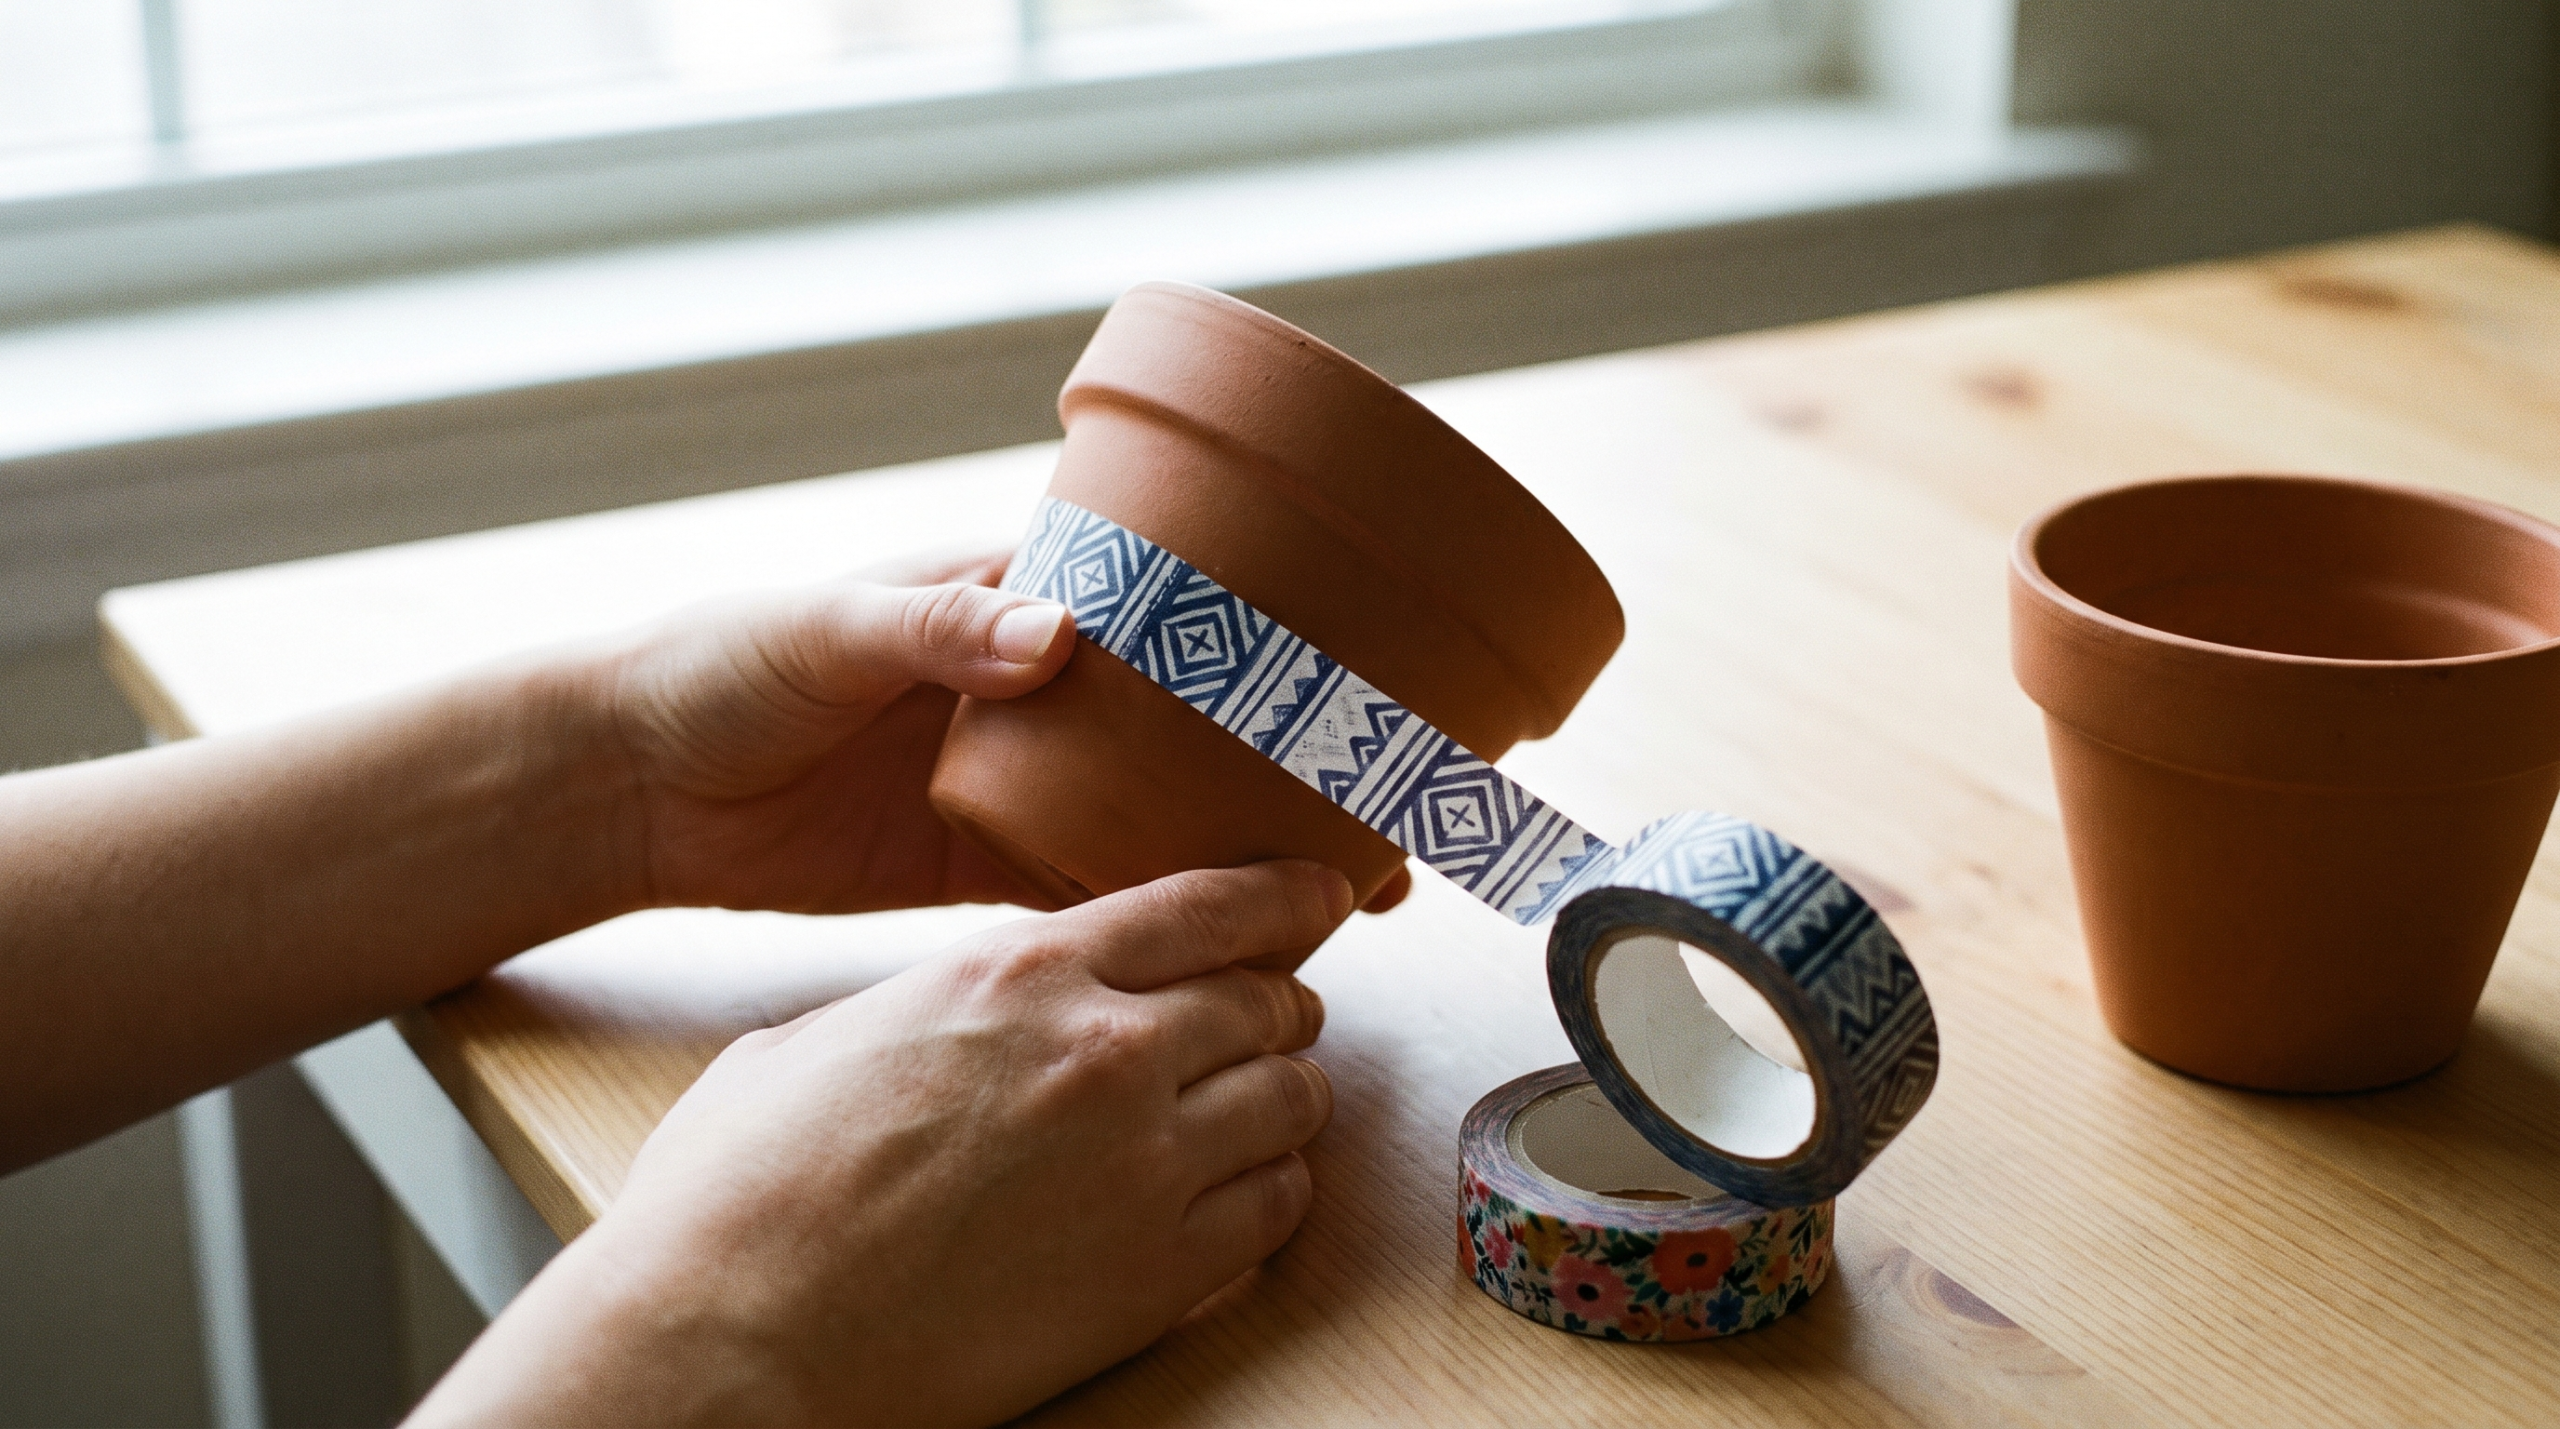
Small terra cotta pots take washi tape well. Wrap horizontal bands around the pot, alternating patterns. The tape won’t survive outdoor rain, but it’s perfect for indoor plants. Time: 10 minutes. Age: 5+. Great for a Mother’s Day or teacher gift.
7. Washi Tape Phone Case Makeover
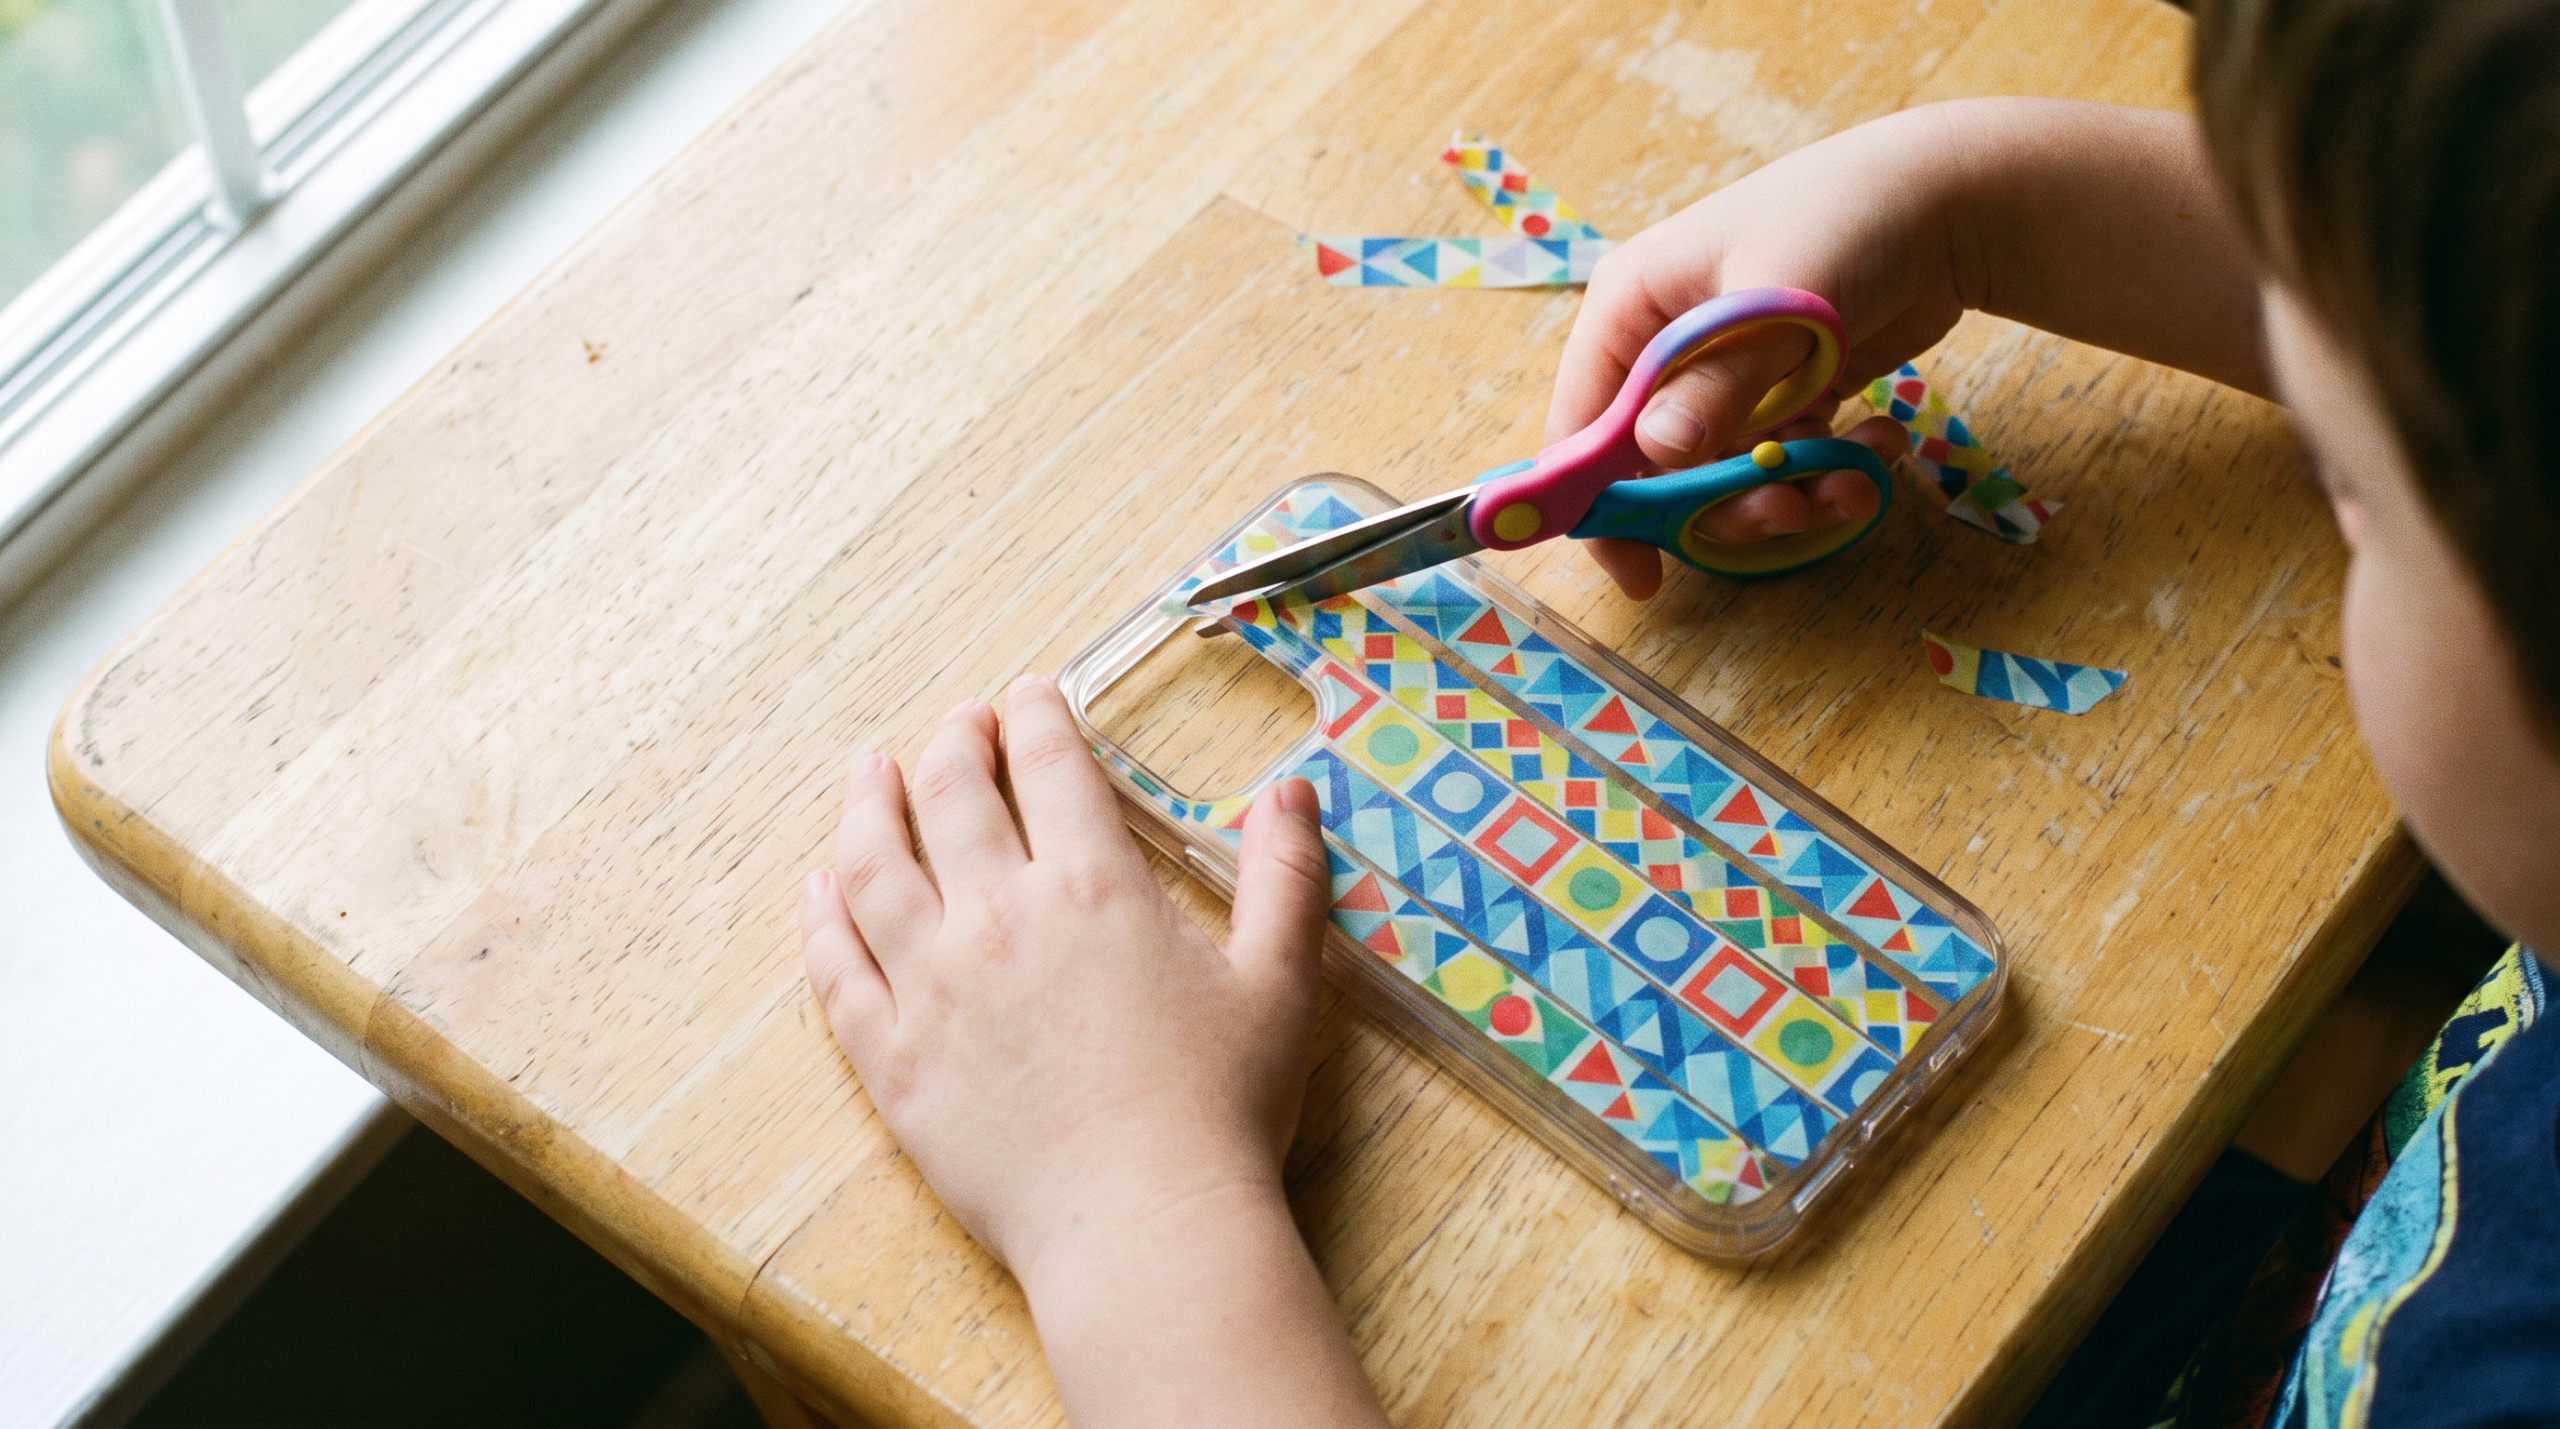
Clear or plain phone cases are a blank canvas. Apply washi tape strips in diagonal lines or a geometric grid. Trim the excess around the camera and buttons with scissors. Time: 15 minutes. Age: 8+. This one specifically appeals to the “I want something that looks like mine” instinct older kids have.
8. Washi Tape Bunting Banner
Cut equilateral triangles from cardstock. Run a strip of washi tape along the top edge of each one, folding it over a length of twine. Space them evenly. Hang across a window or shelf. Time: 20 minutes. Age: 7+.
Related: Easy crafts for beginners
9. Decorated Notebooks and Journals
Composition notebooks or plain journals transform fast. Horizontal stripes across the cover, a washi tape border around a label, or a diagonal grid over the whole front. Time: 10 minutes. Age: 6+. Back-to-school projects hit differently when the kid made it themselves.
10. Washi Tape Canvas Art
A small 5×7 canvas panel from the craft store works perfectly. Apply strips in any direction. Abstract, geometric, horizon lines. Fill some sections with colored pencils or marker before peeling the tape. The crisp edges look way more intentional than freehand painting. Time: 25-30 minutes. Age: 7+.
11. DIY Gift Wrap With Washi Tape
Plain kraft paper becomes custom wrapping paper when you run diagonal lines of washi tape across it before wrapping. Or use washi tape to seal the seams instead of regular tape. It looks intentional and holds fine for normal gift-giving. Time: 5 minutes per package. Age: 6+.
12. Washi Tape Sticker Sheets
Press strips of washi tape onto a sheet of parchment paper. Draw shapes on top (stars, hearts, arrows), cut them out, and peel off the parchment. You have custom stickers with the same repositionable properties as the original tape. Time: 20 minutes. Age: 7+. These become trading currency among siblings.
How Do You Make Washi Tape Crafts With Kids?
The setup is the adult job. The making is the kid’s job. That line matters more than any specific technique.
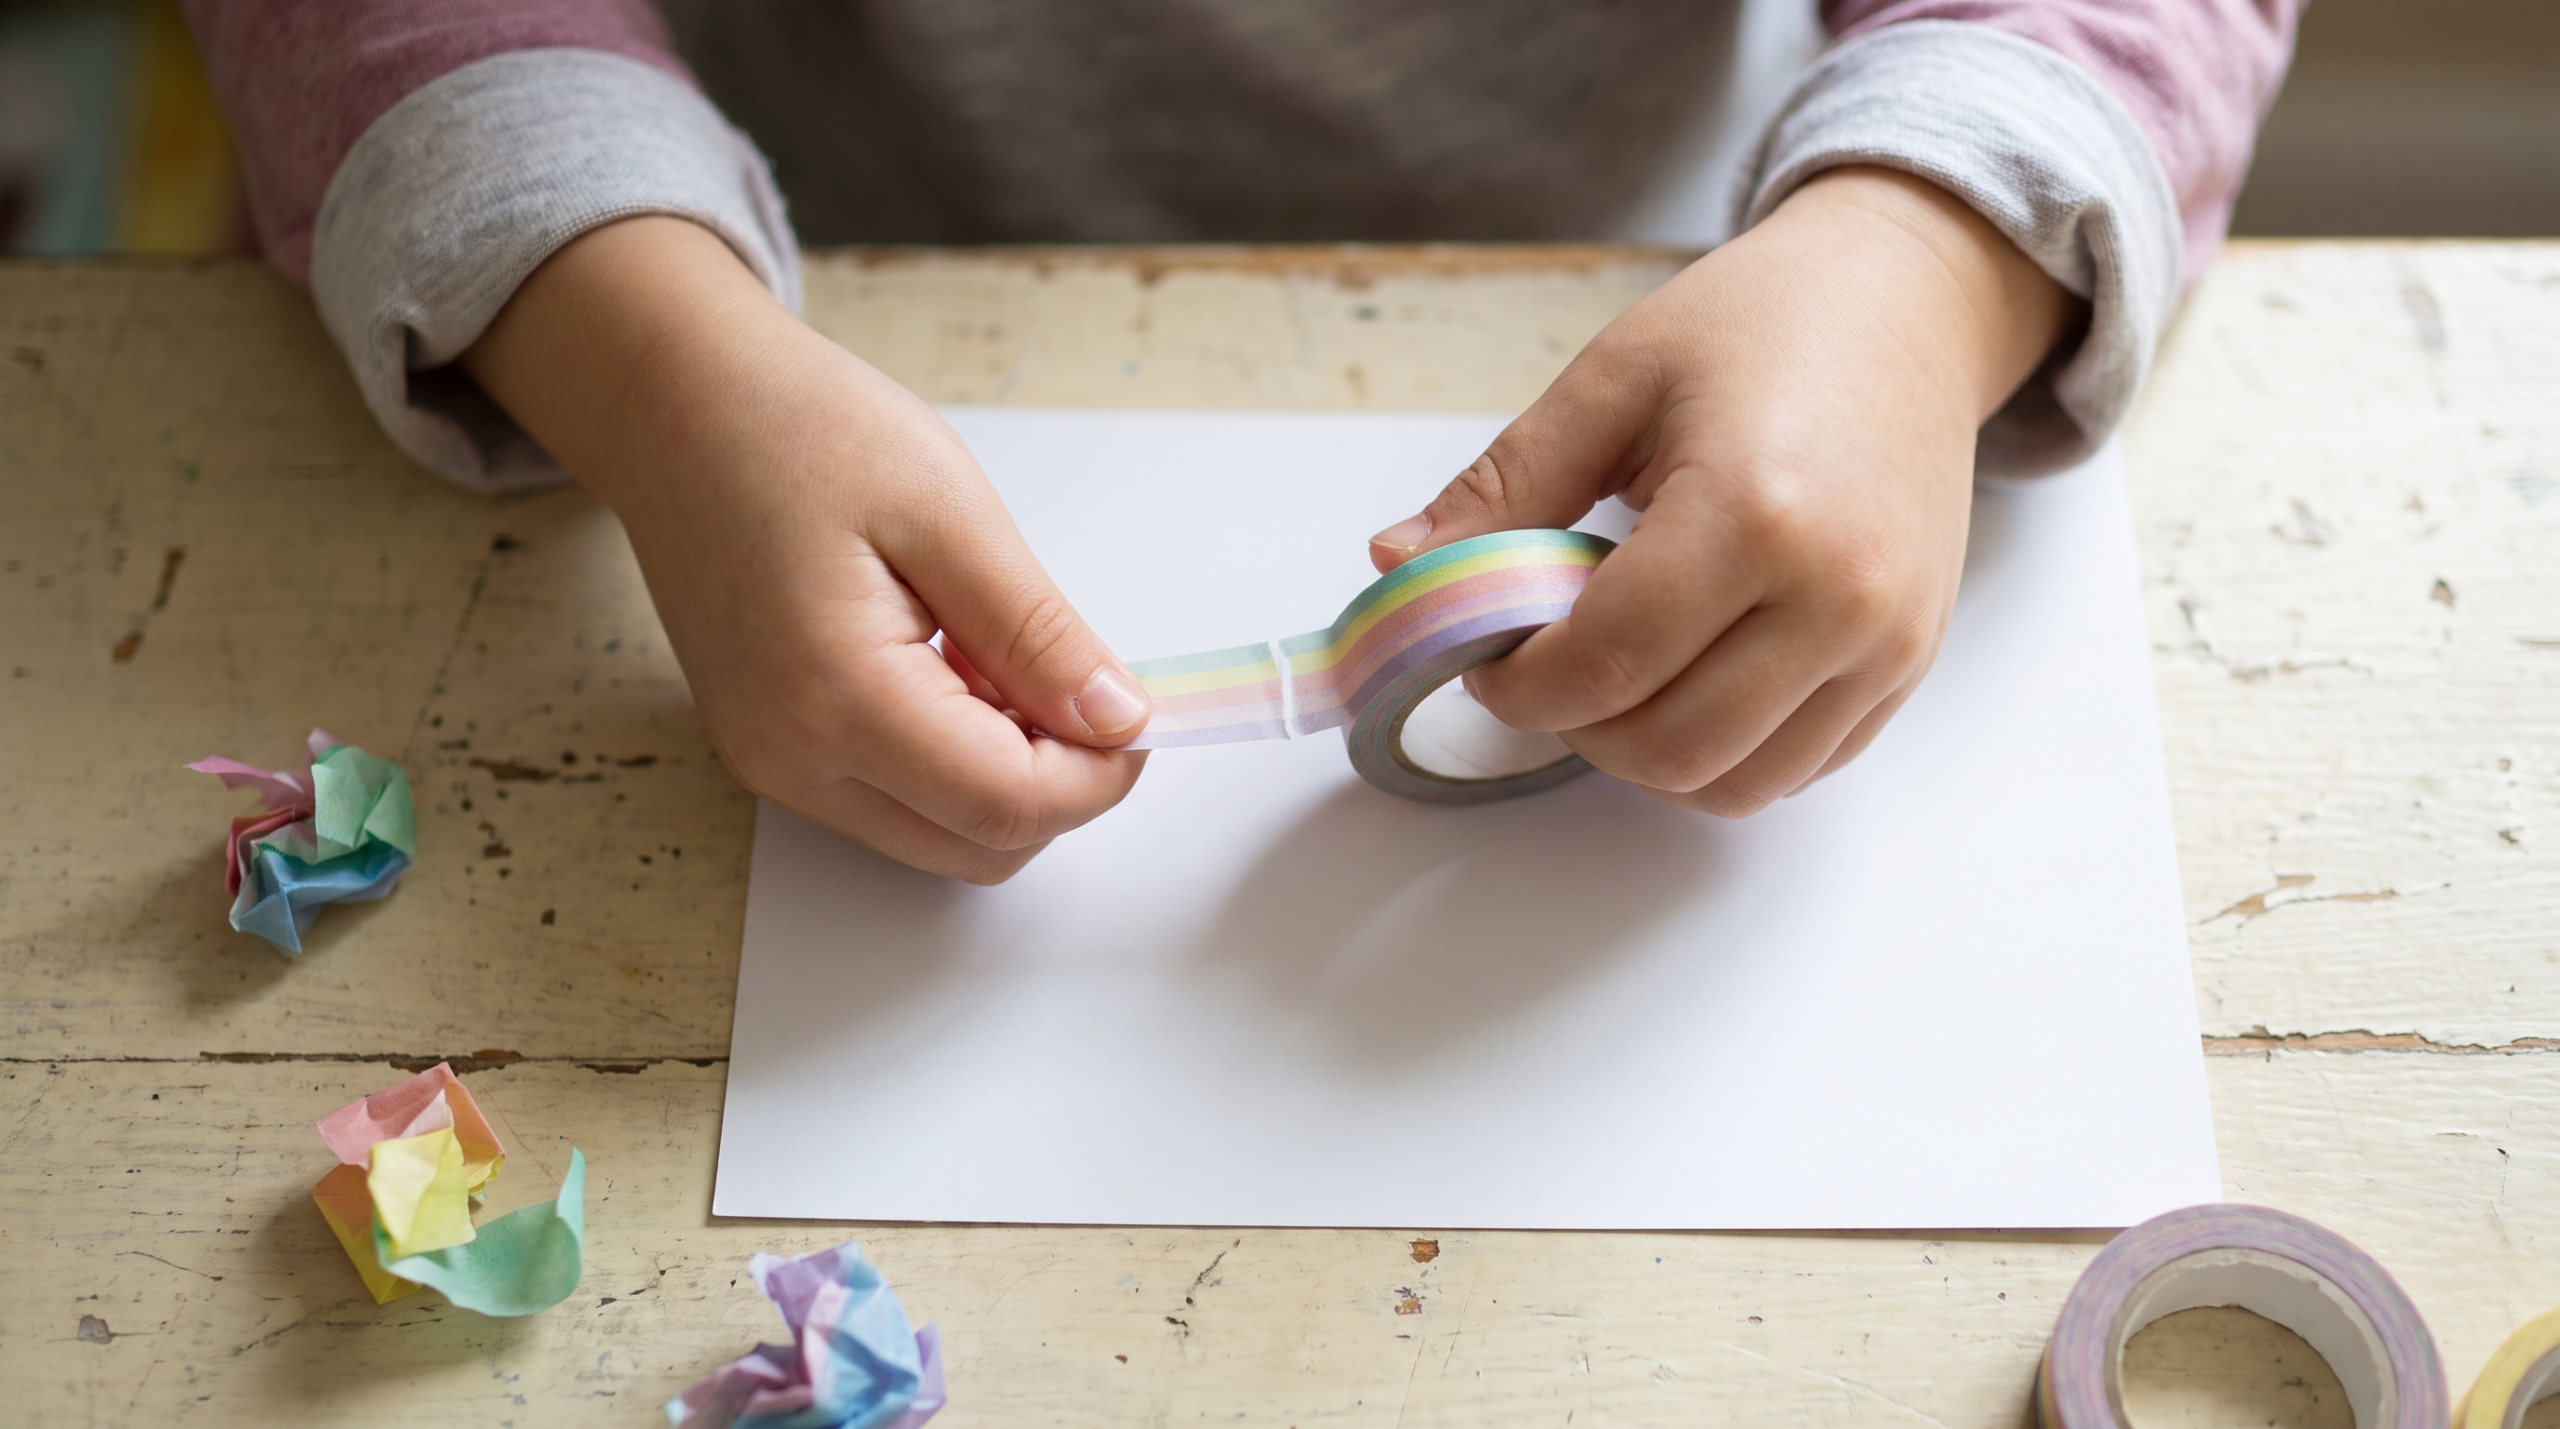
For kids under 7, pre-open the tape rolls and maybe cut a few starter strips. Then step back. Younger kids are in process mode. The act of sticking tape down is the reward, not the finished product. Don’t redirect, don’t fix the wobbly edges. Let them finish.
For ages 8-12, hand over the supplies and give them a goal. “Make something you’d want on your desk” produces better results than “make a bookmark.” Older kids want ownership. The more specific your instructions, the less invested they’ll be in the outcome.
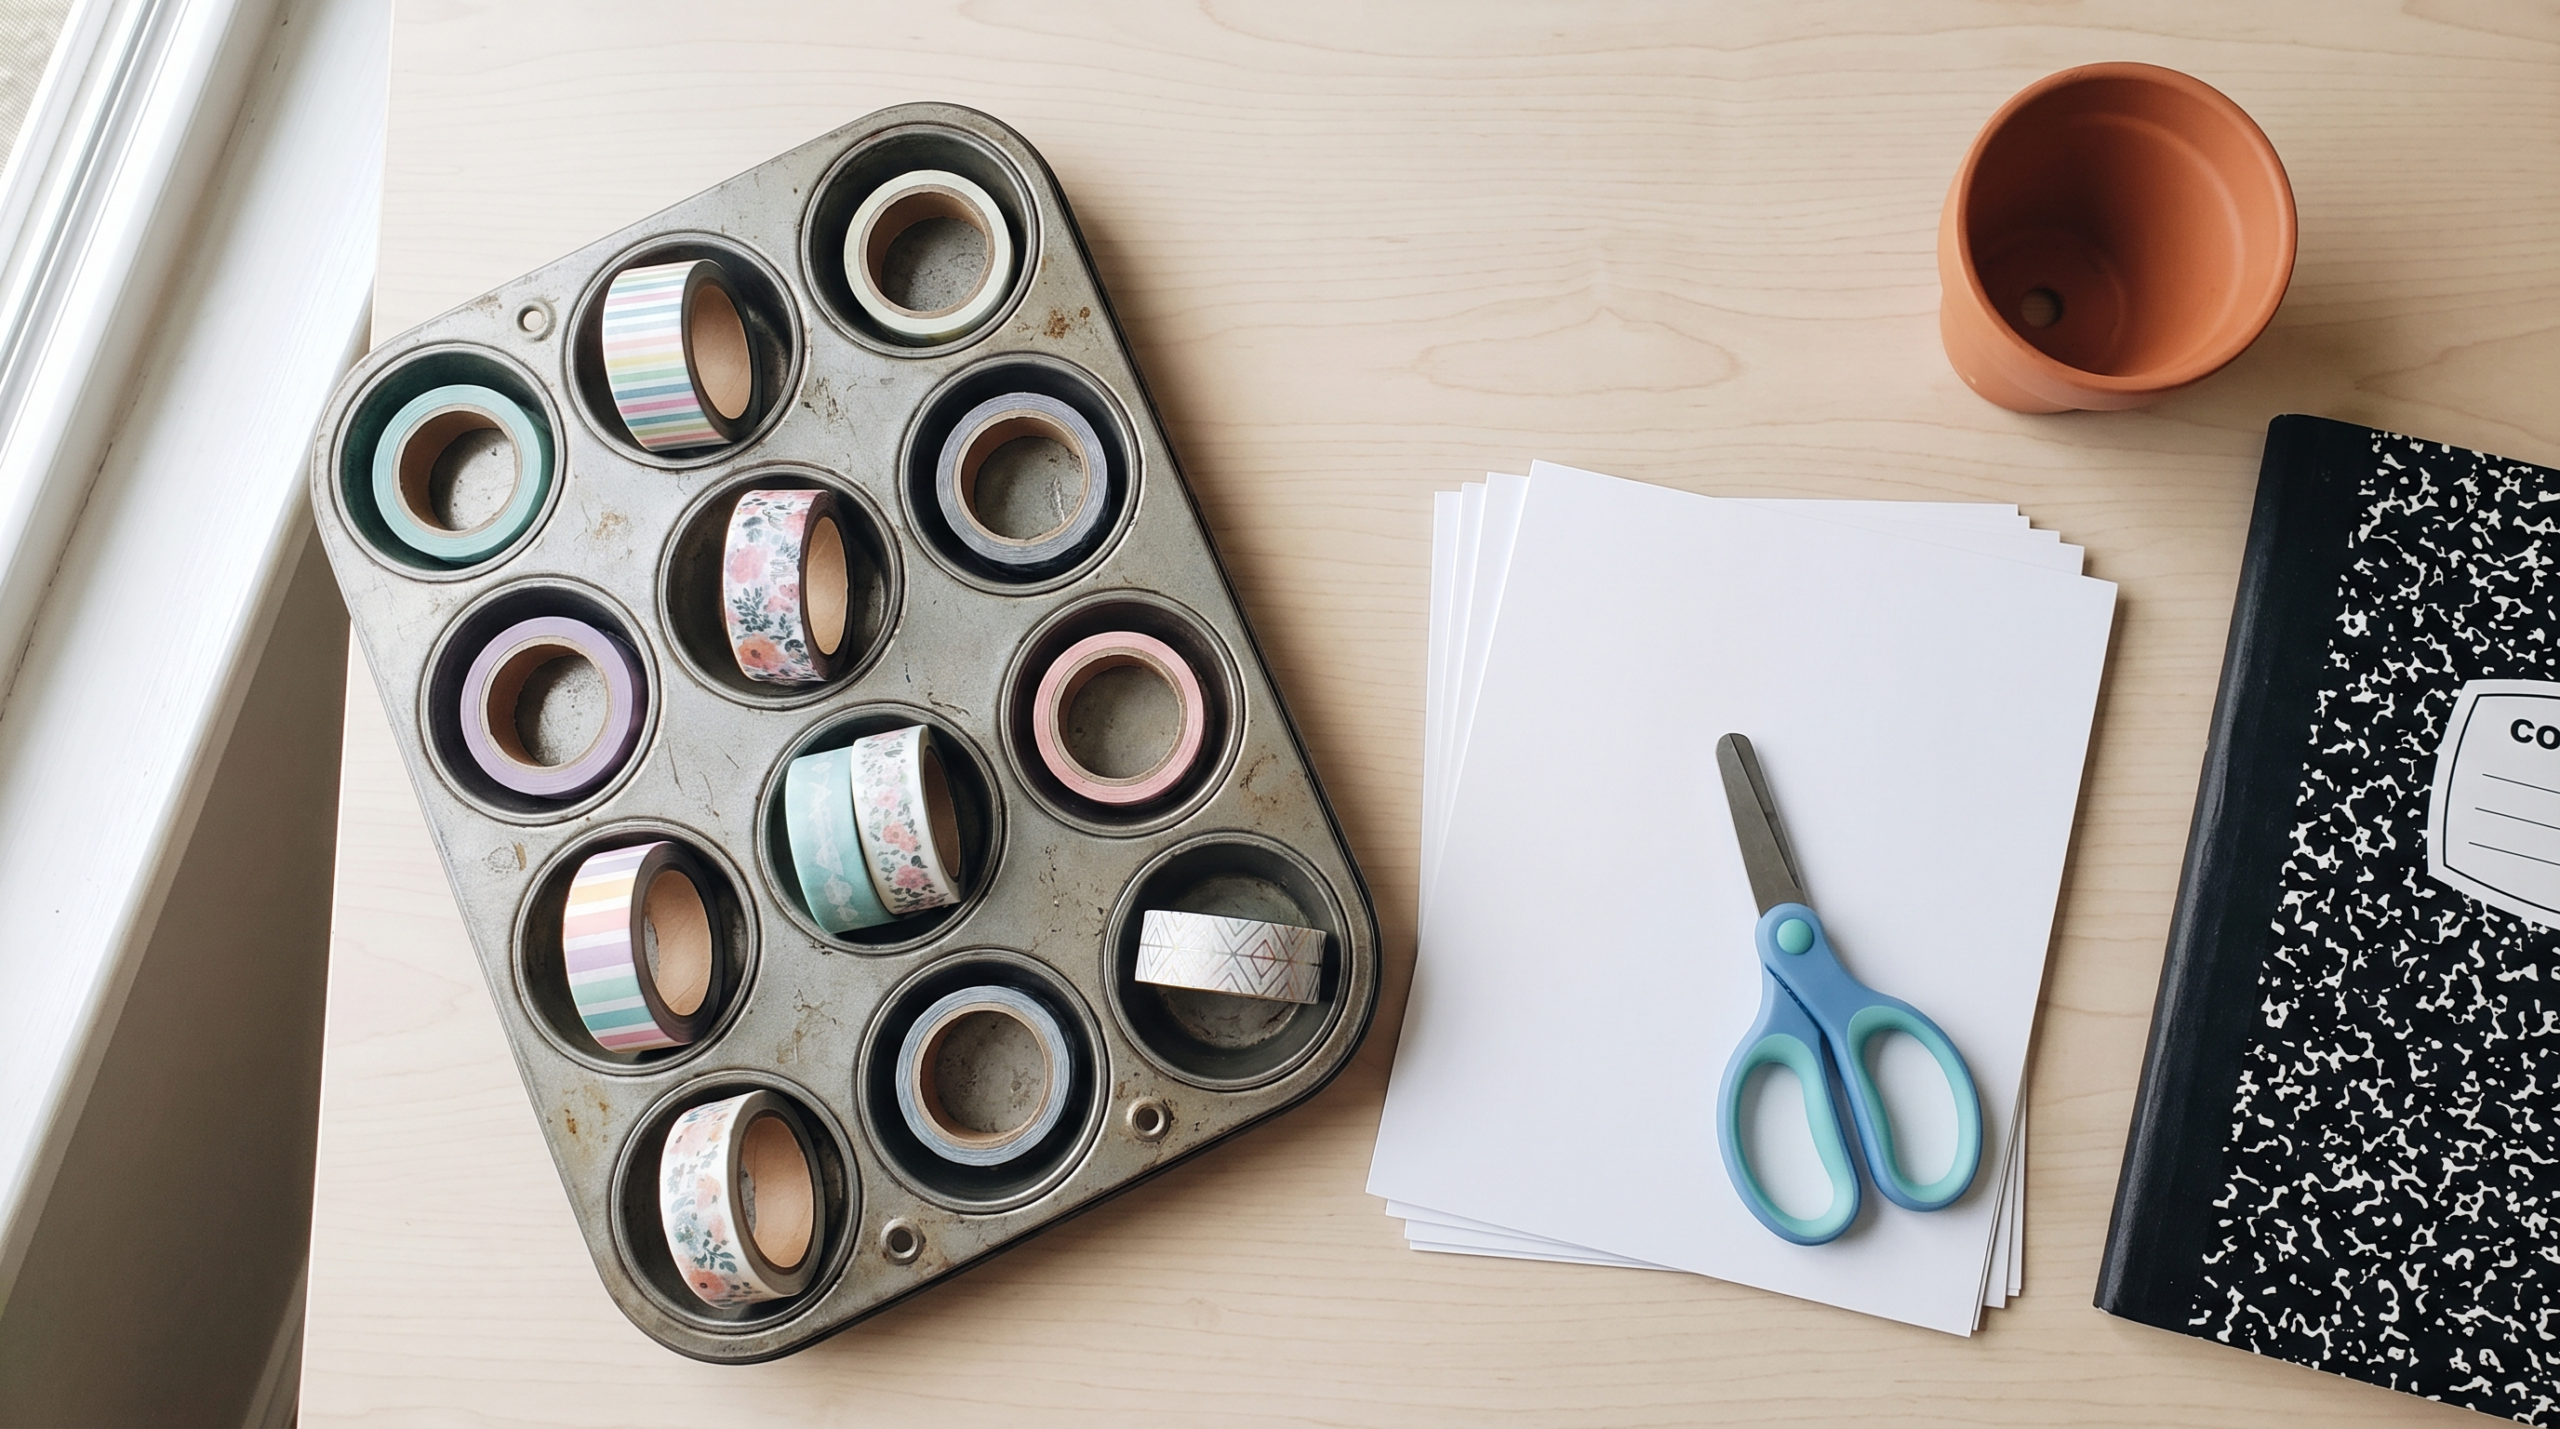
One practical tip: put the tape rolls on a small tray or into a muffin tin before starting. Rolls that wander off the table kill momentum. Two minutes of organization saves twenty minutes of searching.
What Age Is Appropriate for Washi Tape Crafts?
The short answer: younger than you’d think.
Ages 3-4 can tear and stick with supervision. The tape won’t hurt them, and the tactile experience is genuinely engaging. You’ll want to supervise because scissors aren’t age-appropriate yet, but tearing works fine.
Ages 5-7 are the sweet spot for washi tape craft projects for kids. Fine motor skills are developed enough for clean application, scissors are manageable, and the completion hit is real. Projects 1-6 on this list are fully in range.
Ages 8-12 can tackle all twelve projects independently, including the more design-forward ones like canvas art and geometric paper designs. This age group often develops genuine aesthetic preferences fast. Buy a bigger variety pack and let them go.
Frequently Asked Questions
What can kids make with washi tape?
Kids can make bookmarks, decorated frames, notebooks, gift tags, bunting banners, canvas art, custom sticker sheets, phone case covers, and decorated plant pots with washi tape. The material works on paper, cardstock, canvas, wood, glass, and most plastic surfaces. Projects range from 5-minute bookmarks to 30-minute canvas designs depending on age and interest.
Are washi tape crafts messy?
Washi tape crafts are among the least messy craft options for kids. The tape is paper-based with a light adhesive, so there’s no wet glue, no paint, and no drying time. Cleanup is literally throwing scraps in the bin. The tape doesn’t leave sticky residue on tables or hands when used normally.
What surfaces does washi tape stick to?
Washi tape sticks to paper, cardstock, cardboard, canvas, wood, glass, ceramic, metal tins, and most smooth plastics. It does not adhere well to textured or porous surfaces like rough concrete or unfinished wood with heavy grain. For fabric, it works temporarily but won’t hold through washing.
Does washi tape stay on permanently?
Washi tape is designed to be repositionable and removable. It stays in place reliably for decoration purposes but can be peeled off cleanly from most surfaces without damage or residue. On paper or cardstock, pressing firmly and leaving it for several weeks can make removal slightly harder, but it remains removable. It’s not a permanent adhesive.
How do you store washi tape for kids’ craft sessions?
The simplest storage is a small open tray or box where kids can see all the rolls and grab what they want. Muffin tins work well for smaller rolls. For larger collections, a pegboard with small pegs keeps rolls visible and sorted by color. Avoid bags or drawers. Out of sight means out of mind for most kids, and they’ll stop reaching for the tape between projects.
Common Mistakes When Doing Washi Tape Crafts With Kids
Most of these aren’t craft mistakes. They’re setup mistakes.
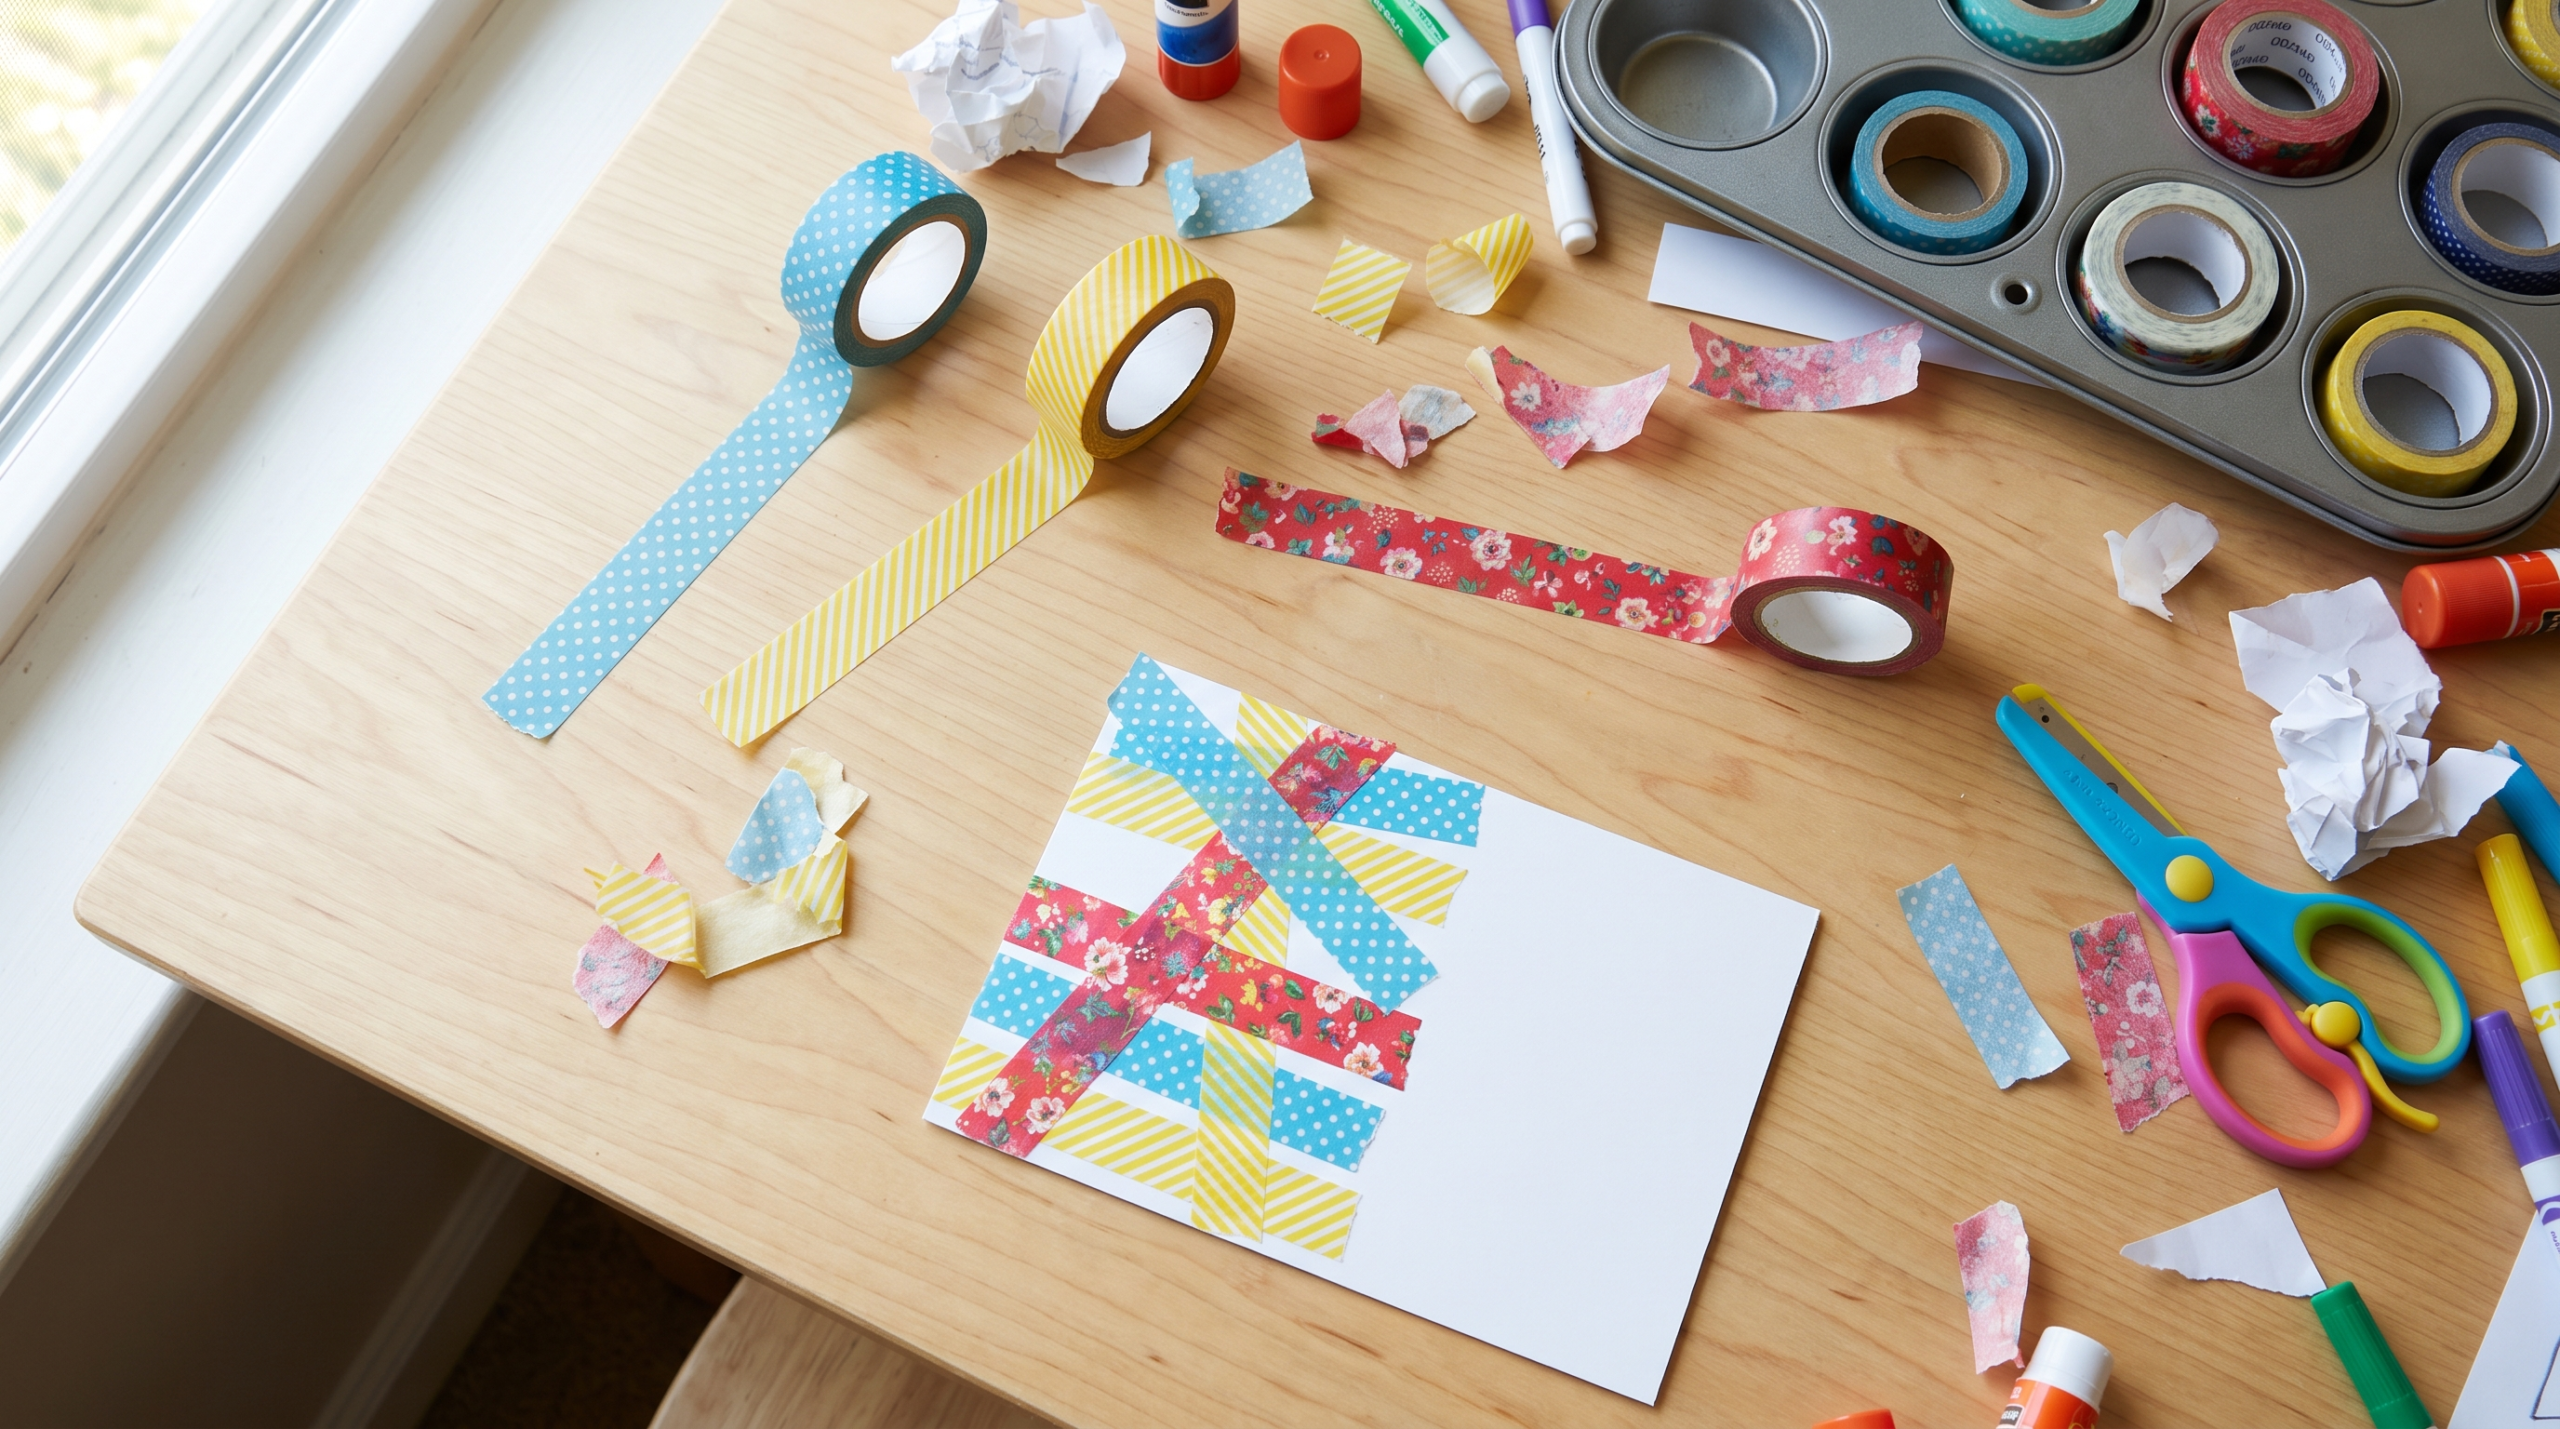
- Buying only one roll. One pattern limits mixing. Kids get bored fast when there’s only one option. A 6-roll minimum gives enough variety to keep engagement up through the whole session.
- Not letting kids choose their own patterns. The adult picks the “nice” tape, the kid is stuck with it, and the project feels like homework. Lay out the options and let them pick first.
- Over-scaffolding. You start helping fix a wobbly edge, then before long you’re running the whole project. Kids disengage when adults take over. The wobble is fine. Finished beats perfect every time.
- Expecting photo-perfect results. These are kid-made crafts. The charm is the imperfection. If you’re mentally prepping for Instagram-worthy output, adjust the expectation before you start.
- Forgetting scissors. Washi tape tears unevenly when ripped by hand if you want clean lines. A pair of kid-safe scissors doubles the quality of the result and takes 10 seconds to add to the setup tray.
Quick Poll: What’s your washi tape craft strategy?
- Set out supplies and let the kid run wild
- Follow a specific project step by step
- Start a project, get distracted, and let the kid finish it (and the entire roll)
The Bottom Line: Start With a Bookmark
Washi tape craft projects for kids work because the failure mode is zero. Nothing gets ruined. Nothing needs to dry. The kid makes something real in five minutes. That first win is the thing that makes them ask to craft again tomorrow instead of begging for screen time.
Start with a bookmark. Hand them three rolls of tape, a piece of cardstock, and a pair of scissors. Walk away. You’ll come back to twelve bookmarks and a kid who wants to know what they can decorate next.
Grab a variety pack and pick your first washi tape craft project for kids today. More ideas in Crafts & Decor.









