

🛠️ At a Glance: DIY Wooden Desk Organizer
- Time Commitment: 3–5 hours (plus drying time)
- Skill Level: Beginner to Intermediate
- Estimated Cost: $15–$25 (using standard hobby boards)
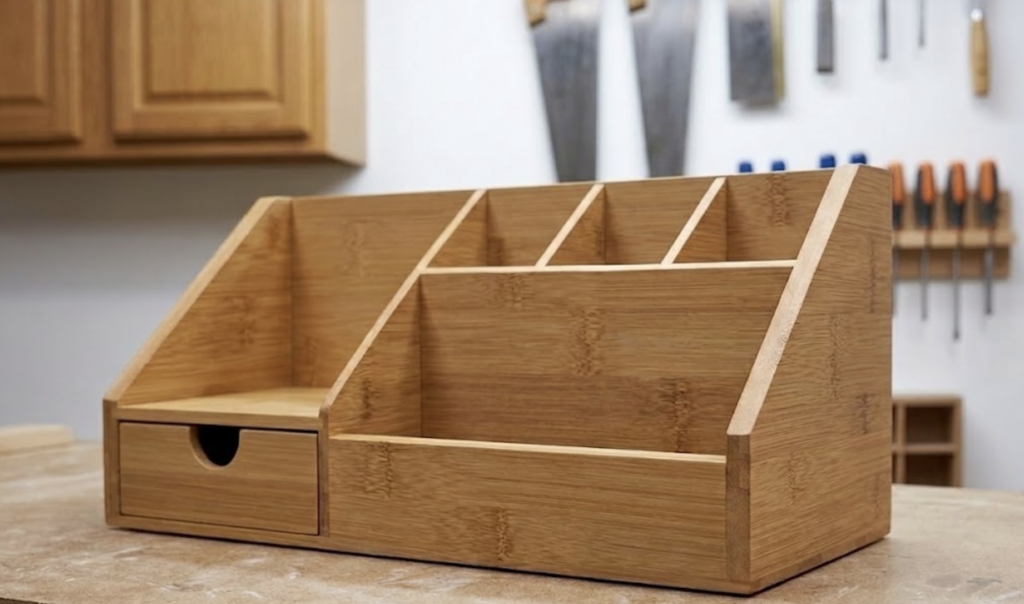
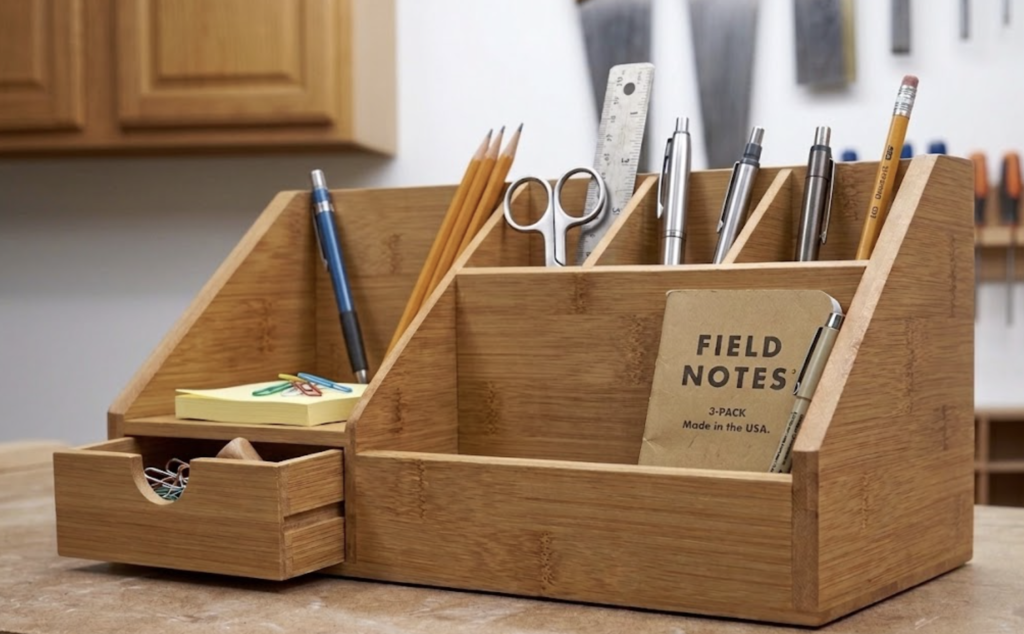
This desktop organizer is an absolute classic. It is a fantastic, highly functional woodworking project that keeps your workspace tidy while letting you flex your precision cutting skills.
⚠️ Safety Reminder
Wear PPE (gloves, goggles, ear protection, dust mask). Use sharp tools responsibly. For load-bearing projects (decks, sheds, barns), check local building codes (e.g., Round Rock, TX regulations) and consult pros. Work in ventilated spaces; minimize dust with eco-friendly practices.
📋 Materials & Tools List
To make this beginner-friendly and eliminate the need for industrial planners, we will design this around standard 1/4″ thick material (such as poplar or oak hobby boards, or premium plywood sheets).
Materials
- Wood Stock: Two 1/4″ x 6″ x 4′ FSC-certified hobby boards (Poplar, Pine, or Oak).
- Joinery: High-quality wood glue (e.g., Titebond II). Note: Because 1/4″ wood is too thin for standard screws or nails without splitting, we will use an ultra-secure glue-and-tape clamp method.
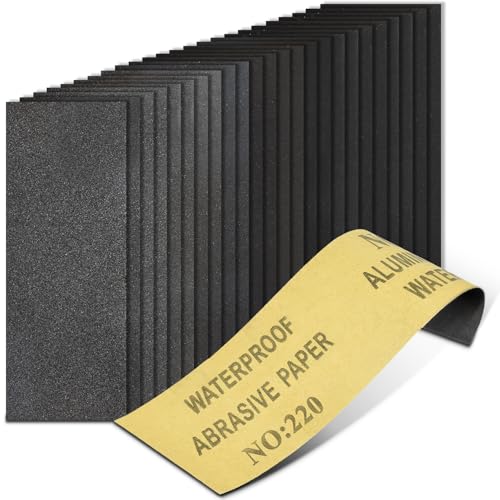
- Finishing: Fine 220-grit sandpaper, followed by a low-VOC clear coat or linseed oil for eco-friendly sustainability.
Tools Needed
- Miter saw, table saw, or a fine-tooth hand miter saw
- Scroll saw or Jigsaw (for cutting the side profile slopes)
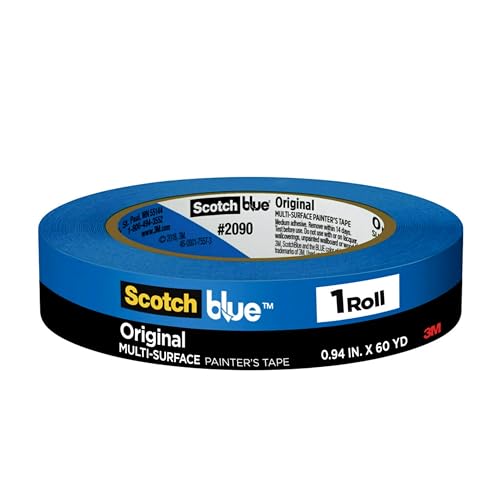
- Blue painter's tape (acts as clamps for thin wood glue-ups)
- Tape measure and pencil
📐 Precise Cut List
| Component | Qty | Thickness | Width | Length | Shape/Notes |
| A: Bottom Base | 1 | 1/4″ | 6″ | 9-5/8″ | Standard rectangle |
| B: Side Panels | 2 | 1/4″ | 6″ | 4-1/8″ | Sloped (4-1/8″ back height to 1-3/8″ front height) |
| C: Back Wall | 1 | 1/4″ | 4-1/8″ | 9-1/8″ | Standard rectangle |
| D: Back Slot Divider | 1 | 1/4″ | 4-1/8″ | 9-1/8″ | Creates the long rear paper slot |
| E: Main Center Divider | 1 | 1/4″ | 3-3/4″ | 4-1/8″ | Sloped; separates left and right zones |
| F: Left Storage Shelf | 1 | 1/4″ | 3-3/4″ | 4″ | Sits flat above the drawer |
| G: Right Front Lip | 1 | 1/4″ | 1-3/8″ | 4-7/8″ | Holds items in the right lower tray |
| H: Cubby Dividers | 2 | 1/4″ | 3-3/4″ | 4-1/8″ | Sloped; creates the three pen compartments |
| I: Drawer Front | 1 | 1/4″ | 1-5/16″ | 3-15/16″ | Features a 1″ semi-circle finger pull cutout |
| J: Drawer Sides/Back/Bottom | 1 set | 1/4″ | Custom | Custom | Sized slightly smaller than opening for easy sliding |
New to woodworking projects? Our free Cut List Optimizer lays out every piece on your plywood sheet . Paste in your dimensions and it tells you exactly how to cut the sheet so nothing goes to waste.
🔨 Step-by-Step Instructions
Phase 1: Prepping the Sloped Profiles
- Mark the Side Panels (B): Take your two side pieces. On the back edge, measure and mark up 4-1/8″. On the front edge, measure and mark up 1-3/8″. Along the top edge, measure inward 1-3/4″ from the back corner to create the flat top lip. Draw a straight line connecting that 1-3/4″ mark to the 1-3/8″ front mark.
- Cut the Slope: Use a jigsaw or hand saw to carefully cut along your angled line. Clamp both pieces together and sand them simultaneously so they match perfectly.
- Replicate for Internal Dividers: Use one completed side panel as a template to trace and cut the exact same sloped angle onto the Main Center Divider (E) and the two Cubby Dividers (H).
Phase 2: The Core Assembly (Glue-Up)
- Dry Fit First: Lay out the Bottom Base (A). Place the Back Wall (C) and Side Panels (B) together without glue to ensure everything sits flush.
- Install the Back Slot: Glue the Back Wall (C) onto the rear edge of the base. Measure exactly 1-3/4″ forward from the back wall and glue the Back Slot Divider (D) parallel to it. Secure with painter's tape tightly drawn across the joints.
- Attach the Sides: Apply wood glue to the exposed edges and attach the two outer Side Panels (B).
Phase 3: Interior Organizers & Left Drawer
- Set Center & Left Shelf: Glue the Main Center Divider (E) exactly 4″ from the inner left wall. Slide the Left Storage Shelf (F) horizontally into the left section at a height of 1-3/8″ from the base, creating the housing for your drawer.
- Assemble Right Cubbies: Glue the Right Front Lip (G) to the front right opening. Evenly space your two Cubby Dividers (H) within the right compartment approximately 1-7/16″ apart and glue them in place.
- Assemble the Drawer: Glue the drawer box pieces together, ensuring the Drawer Front (I) is centered. Use a small coping saw or Forstner bit to cut out the half-moon finger slot before gluing.
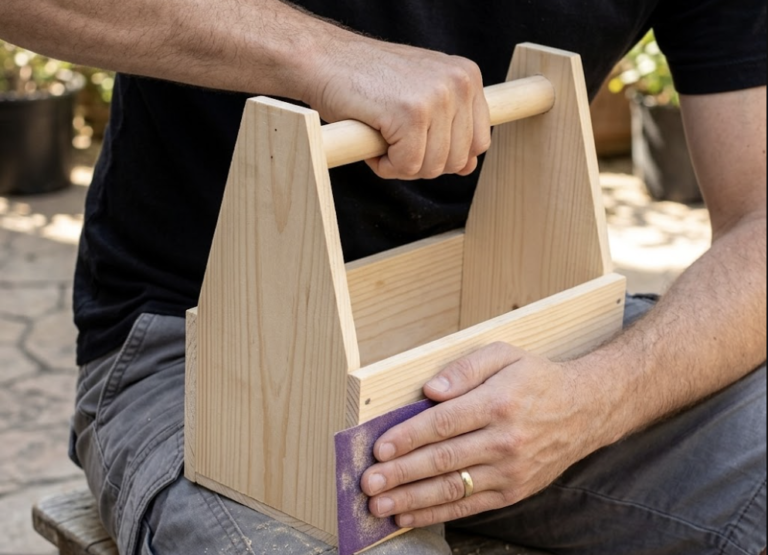
Phase 4: Sanding & Eco-Friendly Finishing
- Once the glue has cured for 24 hours, pull off all painter's tape.
- Sand all exterior edges flat with 220-grit sandpaper to soften any sharp corners.
- Wipe clean and apply a thin layer of low-VOC, plant-based clear oil finish to preserve the gorgeous natural look of the wood grain.
If you're building your first few woodworking projects, scrolling through numerous listings can sometimes get too much. So I'm sharing the exact beginner-friendly tools I used when I started out. Hope this helps!

DIY Wooden Desk Organizer FAQs
1. Can I use nails or screws instead of just wood glue?
Because the wood used here is only 1/4″ thick, standard nails or screws will almost certainly split the wood. High-quality wood glue creates a chemical bond that is actually stronger than the wood fibers themselves! If you want extra security, you can use a micro-pin nailer (23-gauge).
2. How do I make sure the drawer slides smoothly without binding?
The secret is giving it wiggle room. The cut list purposefully shaves 1/16″ off the absolute height and width of the drawer opening. After finishing, rub a little bit of beeswax or a standard candle along the bottom edges of the drawer to drastically reduce friction.
3. What is the easiest way to cut those small angled pieces safely?
Cutting small pieces on a large power miter saw can be dangerous for your fingers. Use a simple, manual hand miter box or a small craft scroll saw. Always use a push-block or a sacrificial piece of scrap wood to hold small parts steady.
4. I don't have hobby boards. Can I use standard 1/2″ plywood?
Yes! However, if you change the wood thickness to 1/2″, you must subtract the extra thickness from your interior cut pieces (like the shelf and dividers), otherwise your final organizer will end up wider and bulkier than the photo.
5. How can I easily cut out the half-moon finger pull on the drawer?
Clamp the drawer front flat onto a piece of scrap wood. Position a 1″ spade bit or Forstner bit right on the top edge line so that exactly half of the circle overlaps the drawer piece. Drill straight down through it slowly to get a perfectly smooth radius without splintering.
Quick Poll
What should we build together next?
Not in the choices? Comment down below!