


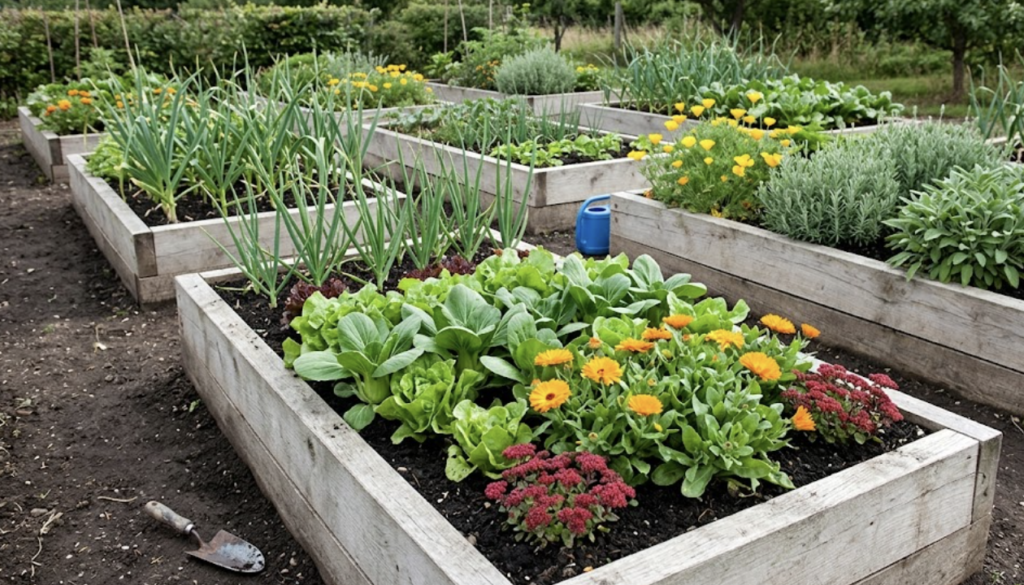

At a Glance: Raised Garden Bed 4x8x2
- Project Size: 4′ Wide x 8′ Long x 2′ High
- Skill Level: Beginner
- Estimated Time: 3–5 hours (grab a buddy to make it faster!)
- Cost Estimate: $150–$300 (heavily dependent on choosing premium cedar vs. standard untreated pine)
Why Build This Raised Garden Bed?
Spring is the ultimate season for fresh starts, and there’s no better way to kick off the warmer months than by building your own raised garden bed! As a woodworker, I see a lot of complex plans, but this 4x8x2 design is a true classic because of its simplicity and massive yield potential.
This project is highly family-centric. The 2-foot height means less bending over (saving your back!), and it’s the perfect height for kids to get their hands dirty planting seeds. It’s a fantastic weekend activity to tackle with a partner or the whole family. You get to teach practical building skills on Saturday and basic gardening on Sunday. Let’s turn that grassy backyard into a productive, beautiful garden space!
Safety Reminder: Always wear PPE (gloves, safety glasses, and ear protection) when operating power tools. Use sharp tools responsibly. Work in a ventilated space, and minimize dust with eco-friendly practices. Since you’re growing food in this bed, ensure you’re using untreated wood or naturally rot-resistant lumber like cedar.
RELATED: Low-Maintenance Landscaping: The Lazy Gardener’s Guide to a Stunning Yard
Raised Garden Bed Step-by-Step Guide
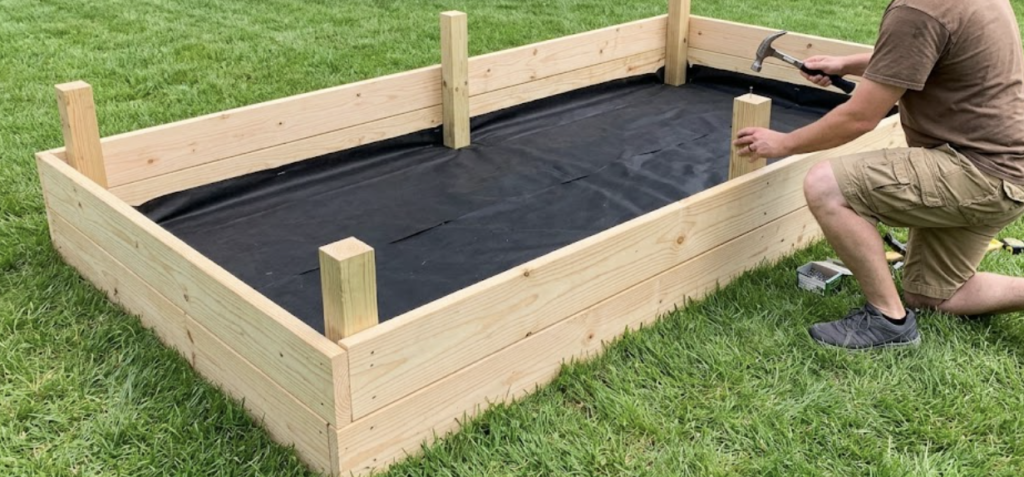
Materials List
| Item | Quantity / Description |
| Lumber (Sides) | 4 boards — 2″ x 12″ x 8′ (Cedar or Untreated) |
| Lumber (Ends) | 4 boards — 2″ x 12″ x 4′ (Cedar or Untreated) |
| Braces/Cleats | 6 pieces — 1.5″ x 1.5″ x 2′ (Standard 2x2s cut to length) |
| Seat Boards | 2 boards — 1″ x 4″ x 6′ |
| Screws (Braces) | 32 count — 2 ½” exterior coated screws |
| Screws (Ends) | 24 count — 3 ½” exterior coated screws |
| Tools Needed | Power drill, drill bits, tape measure, 24″+ spirit level |
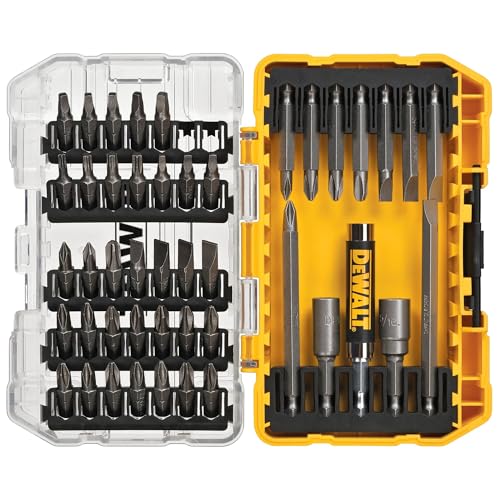
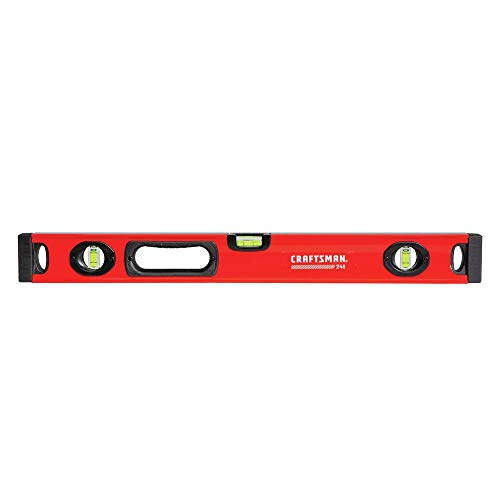
I ruined my first garden bed using standard screws that rusted out almost immediately, so now I only buy premium exterior ones. I also finally tossed my cheap plastic level for a solid 24-inch box beam, because fixing a crooked, heavy frame after it’s built is a total nightmare. Add a decent drill, and here are the exact three items you need to get this done right:

The Soil Recipe (per bed)
| Component | Volume (Cubic Yards) | Volume (Cubic Feet) |
| Topsoil | 1.5 yards | 40 cu. ft. |
| Compost | 0.7 yards | 20 cu. ft. |
| Peat Moss | 0.4 yards | 4 cu. ft. |
Instructions
Step 1: Build the 8-Foot Side Panels
Start by laying two of your 2″x12″x8′ boards flat on a level surface, edge-to-edge, to create a massive 24-inch high wall. Grab three of your 2-foot braces. Place one brace flush at the left edge, one flush at the right edge, and one directly in the center (at the 4-foot mark). Secure these braces to the long boards using your 2 ½” coated screws. Drive the screws through the braces and into the 2x12s. Repeat this exact process for the second 8-foot wall.
Step 2: Attach the 4-Foot End Boards
This project requires two people for this step. Stand your two completed 8-foot side panels upright, parallel to each other, with the braces facing inward. Have your partner hold one 2″x12″x4′ end board flush against the ends of the 8-foot side panels. Using your 3 ½” exterior screws, drill through the face of the 4-foot end boards directly into the thick ends of the 8-foot side boards and the interior corner braces.
Step 3: Complete the Box
Stack your second set of 2″x12″x4′ end boards directly on top of the ones you’ve just attached. Secure them in the exact same manner using the 3 ½” screws, ensuring all corners are square and flush. You’ve now got a complete, heavy-duty 4x8x2 box.
Step 4: Level and Position
Move the frame to your desired location in the yard. Choose a spot that gets at least 6–8 hours of full sun per day. Place your spirit level across the top edges of the bed in several places (lengthwise and widthwise). If it’s uneven, dig out a little dirt from underneath the high corners until the entire box sits perfectly level.
Step 5: Add the Seats (Optional but Recommended)
Take your two 1″x4″x6′ boards and center them flat along the top edges of the long sides of the bed. Secure them downward into the top edge of the 2×12 walls using your remaining screws. They’ll provide a comfortable ledge to sit on or rest your tools while tending the garden.
Step 6: Fill the Bed
Before adding dirt, you’ll want to lay down cardboard at the base to smother the grass underneath. Mix your topsoil, compost, and peat moss thoroughly as you fill the bed. This specific ratio ensures great drainage while holding enough nutrients and moisture for heavy-feeding vegetables.
I remember trying to plant my first raised bed and realizing halfway through that I didn’t own a decent pair of gloves or a hand trowel. If you’re just starting out, save yourself the multiple trips to the store and just grab a beginner’s tool kit. Here is a great all-in-one pack to get you going:
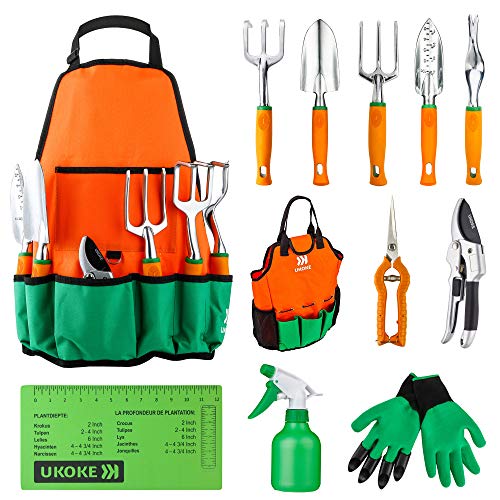
- 🌱Perfect Gift for Garden Lovers – This premium gardening tool set is the ultimate gift for men…
- 🌱12-Piece Heavy-Duty Tool Set: This comprehensive set includes heavy-duty pruning shears and…

Step 7: Plant and Enjoy!
Your bed’s ready! Plant your favorite spring vegetables. Tomatoes, peppers, carrots, and leafy greens will thrive in this deep, nutrient-rich environment.
Eco Note: Minimize waste by optimizing cuts at the lumberyard. If you have leftover 1×4 or 2×2 scraps, cut them down to make DIY garden stakes and row markers!
Building your own raised garden bed is incredibly rewarding. By taking a few hours this weekend to assemble this robust 4×8 raised bed, you’re setting yourself up for years of organic, homegrown food. The thick 2-inch lumber will stand the test of time, and the deep soil volume will give you monster yields. Grab your drill, head to the lumberyard, and let’s get growing!
FAQs Raised Garden Bed 4x8x2
Do I need to line the inside of the wood with plastic?
If you’re using untreated pine or cedar, you don’t need a plastic liner. In fact, plastic can trap moisture against the wood and accelerate rotting. If you want to protect the wood slightly, line the inside with landscaping fabric to keep the soil contained while allowing it to breathe.
Why use a mix of topsoil, compost, and peat moss?
Bagged garden soil alone can become too compacted in a bed this deep (2 feet). Topsoil provides bulk and structure, compost delivers vital organic nutrients, and peat moss ensures light, airy drainage and moisture retention so plant roots can easily expand.
How long will untreated wood last compared to Cedar?
Untreated standard pine will typically last 3 to 5 years in a garden bed before rot sets in, depending on your local climate. Cedar (or Redwood) contains natural oils that resist rot and insects, easily lasting 10 to 15 years. Cedar costs more upfront but pays off in longevity.
QUICK POLL
If I sent you a free build plan next week, what would you want?
Not in the choices? Comment down what build plans you wanna see next.









