


Project at a Glance: Classic Wooden Bench
- Skill Level: Total Beginner (No crazy joinery required!)
- Time Investment: 2 to 4 hours (Perfect for a Saturday afternoon)
- Estimated Cost: $30 to $50 (Depending on your choice of lumber)
If you’ve been wanting to dip your toes into woodworking but feel completely intimidated by crazy joinery or massive tool lists, you are in the perfect place.
Today, we are building a rock-solid, 48-inch classic wooden bench. It’s perfect for the entryway, the foot of your bed, or out on the patio. Best part? You can easily knock this out in a Saturday afternoon, even if your woodworking experience is pretty much zero.
(We also have a free printable PDF blueprint for this build! Grab that at the bottom of the post to keep on your workbench).
Let’s grab a cup of coffee, fire up the saw, and get into it!
What You’ll Need
Don’t worry, you won’t need a massive workshop for this. Keep it simple.
The Tools:
- Miter Saw or Circular Saw (to make your cuts)
- Power Drill (you’ll want a drill bit for pilot holes and a driver bit for the screws)
- Tape Measure & Speed Square (the speed square is your best friend for keeping things straight)
- Sander (or just some sanding blocks and elbow grease)
The Materials:
- Lumber: You can build this entire thing using standard dimensional lumber from the hardware store (2x4s and 2x3s). If you’re putting it outside, I highly recommend spending a little extra on cedar so it holds up to the weather!
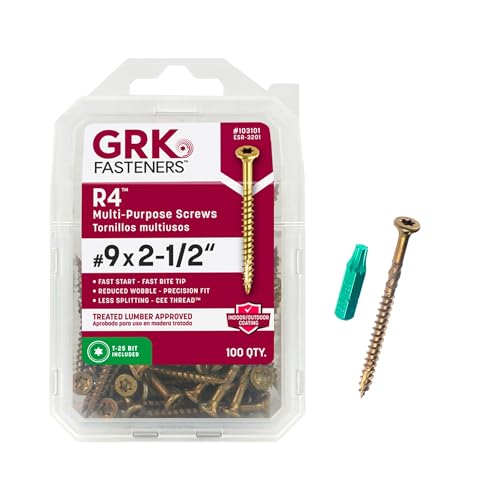
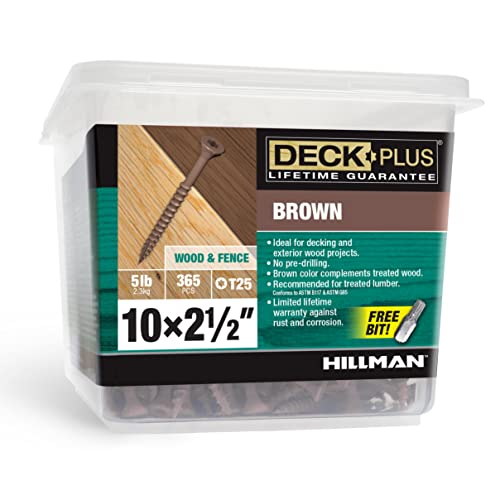
- 2 1/2-inch Wood Screws: Make sure they are “exterior-grade” if your bench is living outdoors.
- Good Quality Wood Glue: Screws hold the wood together, but the glue is what actually makes it strong. Don’t skip it!
For this bench, don’t overthink the materials. The lumber gives it shape, but the screws and glue are what keep it from getting wobbly later.
If there’s even a chance this bench ends up on a porch, patio, mudroom, or entryway, I’d start with outdoor-friendly screws and good wood glue. It’s a small upgrade that helps the whole project hold up better over time.

The Cut List (Measure Twice, Cut Once!)
Take your time here. If your cuts are accurate, the assembly is going to feel like building with giant Lego blocks.
- (A) Top Boards: Cut 4 pieces at 48″ (using 1×4 or 2×4 lumber)
- (B) Legs: Cut 4 pieces at 17″ (using 2×4 lumber)
- (C) Side Supports: Cut 2 pieces at 14″ (using 2×4 lumber)
- (D) Long Stretchers: Cut 2 pieces at 40 1/2″ (using 2×3 lumber)
- (E) Short Stretchers: Cut 2 pieces at 10 1/2″ (using 2×3 lumber)
Hate doing the math for your lumber? Before you tackle your next build, be sure to try out our Cut List Generator! Just plug in your parts, and it automatically calculates the most efficient way to map out your boards so you save money at the lumber yard and minimize your scrap wood.
Classic Wooden Bench Step by Step
Step 1: Build the Leg Frames (The Foundation)
We’re going to build the two sides of the bench first. Grab two of your Legs (B) and one Short Stretcher (E).
Lay the legs flat on your table. Put the short stretcher horizontally between them, about 3 or 4 inches up from the bottom.
- DIY Pro Tip: Put a dab of wood glue on the ends of the stretcher before you screw it in.
- Beginner Secret: Always drill a “pilot hole” with a regular drill bit before putting your screw in. This stops the wood from splitting! Drive your 2 1/2″ screws straight through the outside of the legs into the stretcher. Repeat this so you have two identical leg frames.
Step 2: Add the Side Supports (Giving it a “Hat”)
Now, take one of your Side Supports (C). This piece acts like a little hat that sits horizontally right across the very top of your leg frame.
You want this board to sit perfectly flush (totally level) with the top of your legs. If it’s bumpy here, your seat will be wobbly later! Slap some glue down, pre-drill, and drive your screws straight through the side support and down into the top of the legs. Do this for both frames.
(Note: If you’re looking at our conceptual 3D diagram, you might see a long blue board running right under the top boards. Just ignore that part. They’re totally optional. Stick to this text guide, and your bench will be structurally perfect).
Step 3: Connect the Halves
Time to make it look like a piece of furniture! Stand your two leg frames upright.
Take your two Long Stretchers (D) and position them between the frames. You want them to line up perfectly with the short stretchers you attached in Step 1. Grab a buddy to hold the frames steady, or use some clamps if you’ve got ’em. Glue the ends, pre-drill, and drive your screws through the legs and into the long stretchers. Boom. You’ve got a solid base.
Step 4: Lay Down the Top Boards
You’re in the home stretch! Take your four Top Boards (A) and lay them flat across your frame. They should rest directly on top of the Side Supports.
- Spacing Tip: You want the front and back boards to be perfectly flush with the edges of your frame. For the boards in the middle, eyeball a small, even gap between them (about 1/4 inch). This gives the wood room to expand and contract with the weather, and lets rain drain through if it’s sitting outside.
- Once you love how they look, screw them straight down into the side supports (two screws per board end).
The Finishing Touches
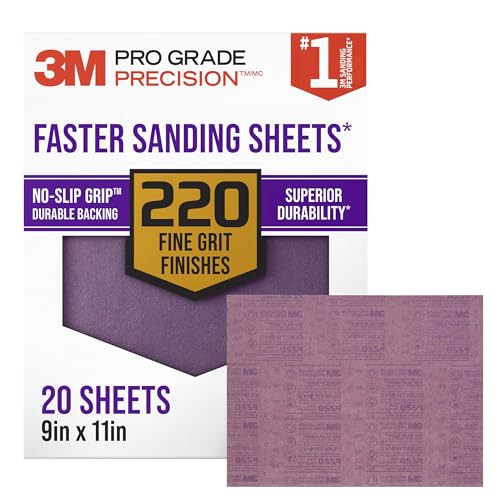
You built a bench! Now it’s time to make it pretty. Grab your sander with some 120-grit paper and smooth everything out. Pay extra attention to the top edges and corners so nobody catches a splinter when they sit down. Follow up with 220-grit paper to make it buttery smooth.
Finish it off with your favorite stain, or paint it a fun accent color. If it’s going on the porch, don’t forget two coats of exterior polyurethane to protect your hard work.
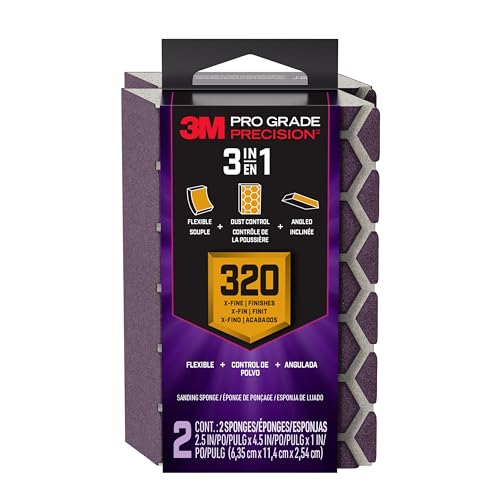
Don’t rush this part. A bench can be built perfectly and still feel cheap if the edges are sharp or the seat feels rough. I like starting with 120-grit to knock down the rough spots, then finishing with 220-grit. A sanding sponge also helps soften the corners. Here’s where I got the materials:

Final Step: Grab the Free Bench Plan
And that’s it. One simple wooden bench, built in a weekend, without complicated joinery or a garage full of tools. Take your time with the cuts, drill your pilot holes, and don’t rush the sanding. Those little steps are what make a beginner project look solid and worth showing off. Want the cut list and steps in one place?
Frequently Asked Questions (FAQs)
1. Can I use treated lumber for this bench? Yes! If your bench is going to live out in the garden or on an uncovered patio, pressure-treated pine or cedar are fantastic options. Just keep in mind that pressure-treated wood from the big box stores is often very “wet,” so you might need to let the bench dry out for a few weeks before you apply any stain or paint.
2. Do I really need to use wood glue? Absolutely! It’s tempting to skip it, but screws just hold the wood tight while the glue dries. The wood glue is what actually gives the bench its long-term strength and keeps it from getting rickety over time.
3. How do I prevent the wood from splitting when I screw it together? Always drill a pilot hole first. Use a drill bit that is slightly smaller than the threads of your screws. This removes some wood so the screw has room to go in without forcing the board to crack apart.
4. Can I make this bench longer or shorter? Definitely. The beauty of this design is its simplicity. If you want a 36-inch bench or a 60-inch bench, simply adjust the length of the Top Boards (A) and the Long Stretchers (D) to your desired length. All the other leg and side support cuts stay exactly the same!
5. What size screws should I use? For standard 2×4 and 2×3 lumber, 2 1/2-inch exterior wood screws are the sweet spot. They are long enough to bite deeply into the adjoining board, but short enough that they won’t poke all the way through the other side.
You’ve got this! Woodworking is all about taking it one step at a time. If you build this bench, please tag me in your photos over on Instagram. I want to see what colors you guys choose!
QUICK POLL
Measure twice, cut once. How often do you actually do this?
Already voted? Tell us why in the comments.









